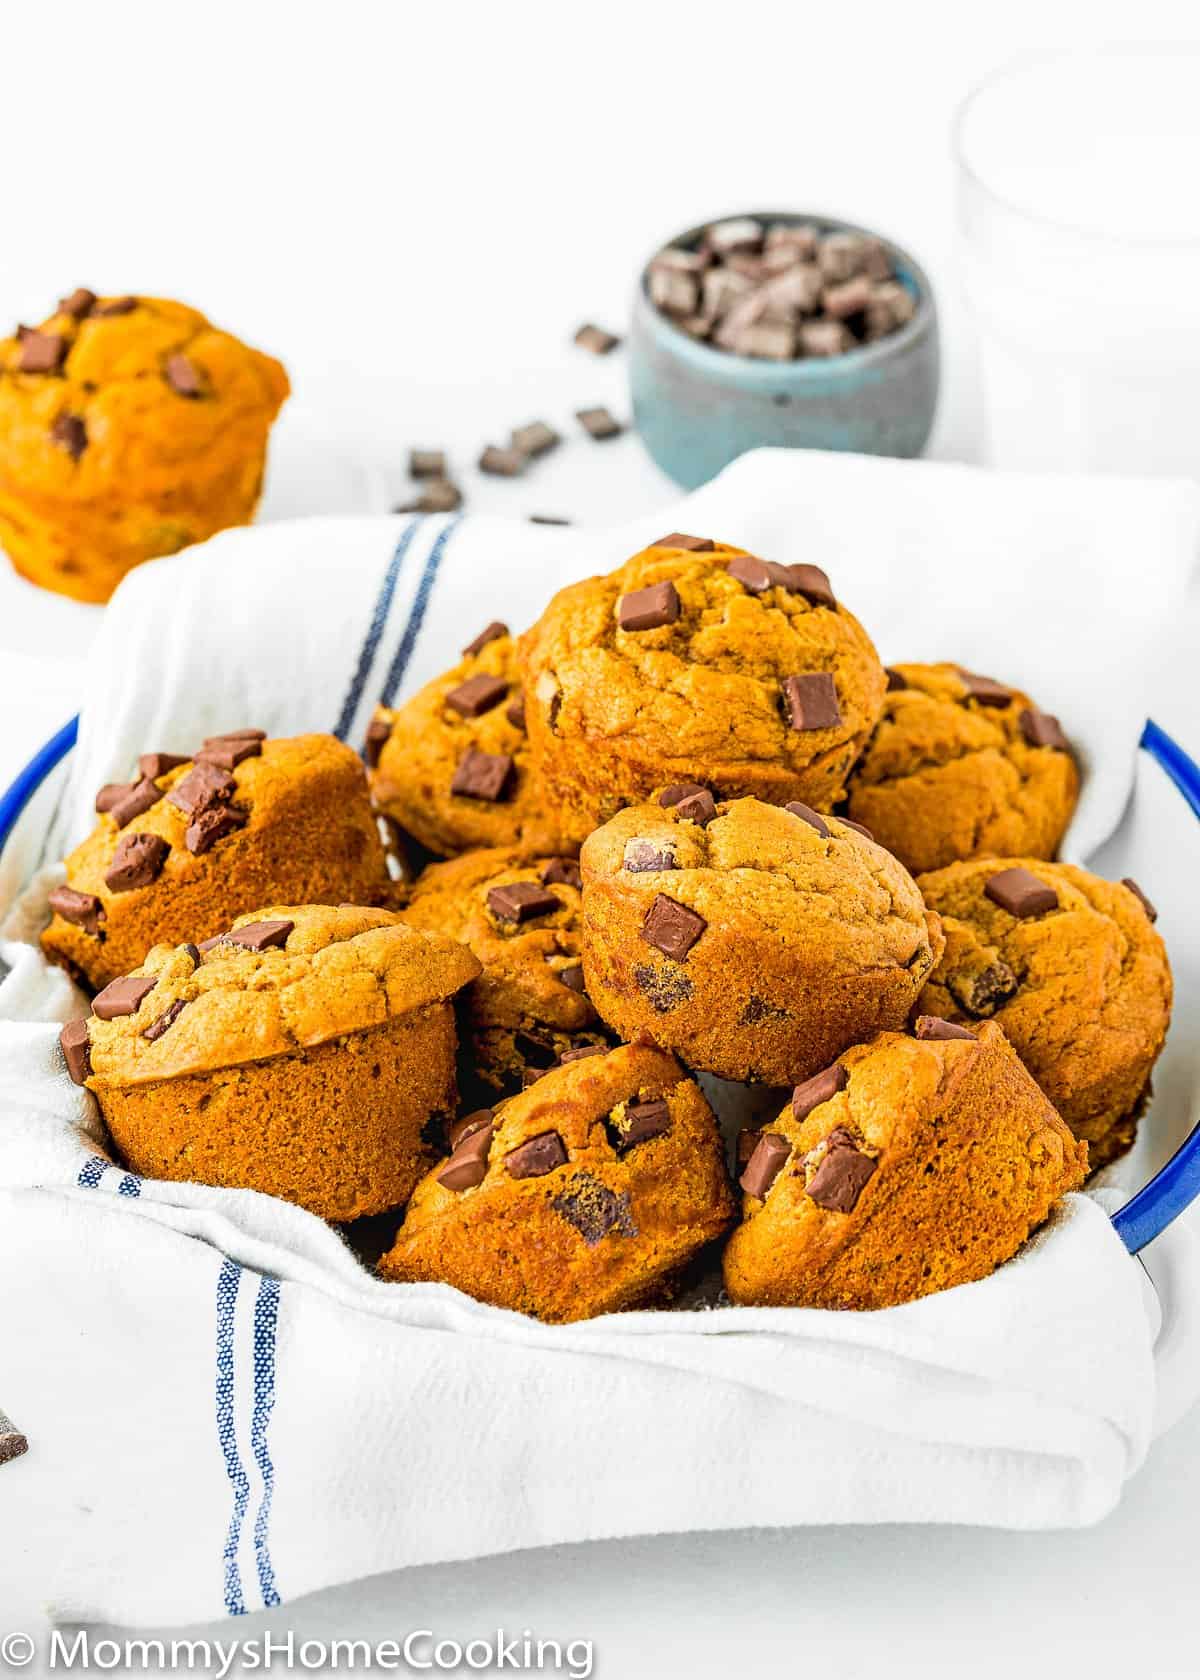
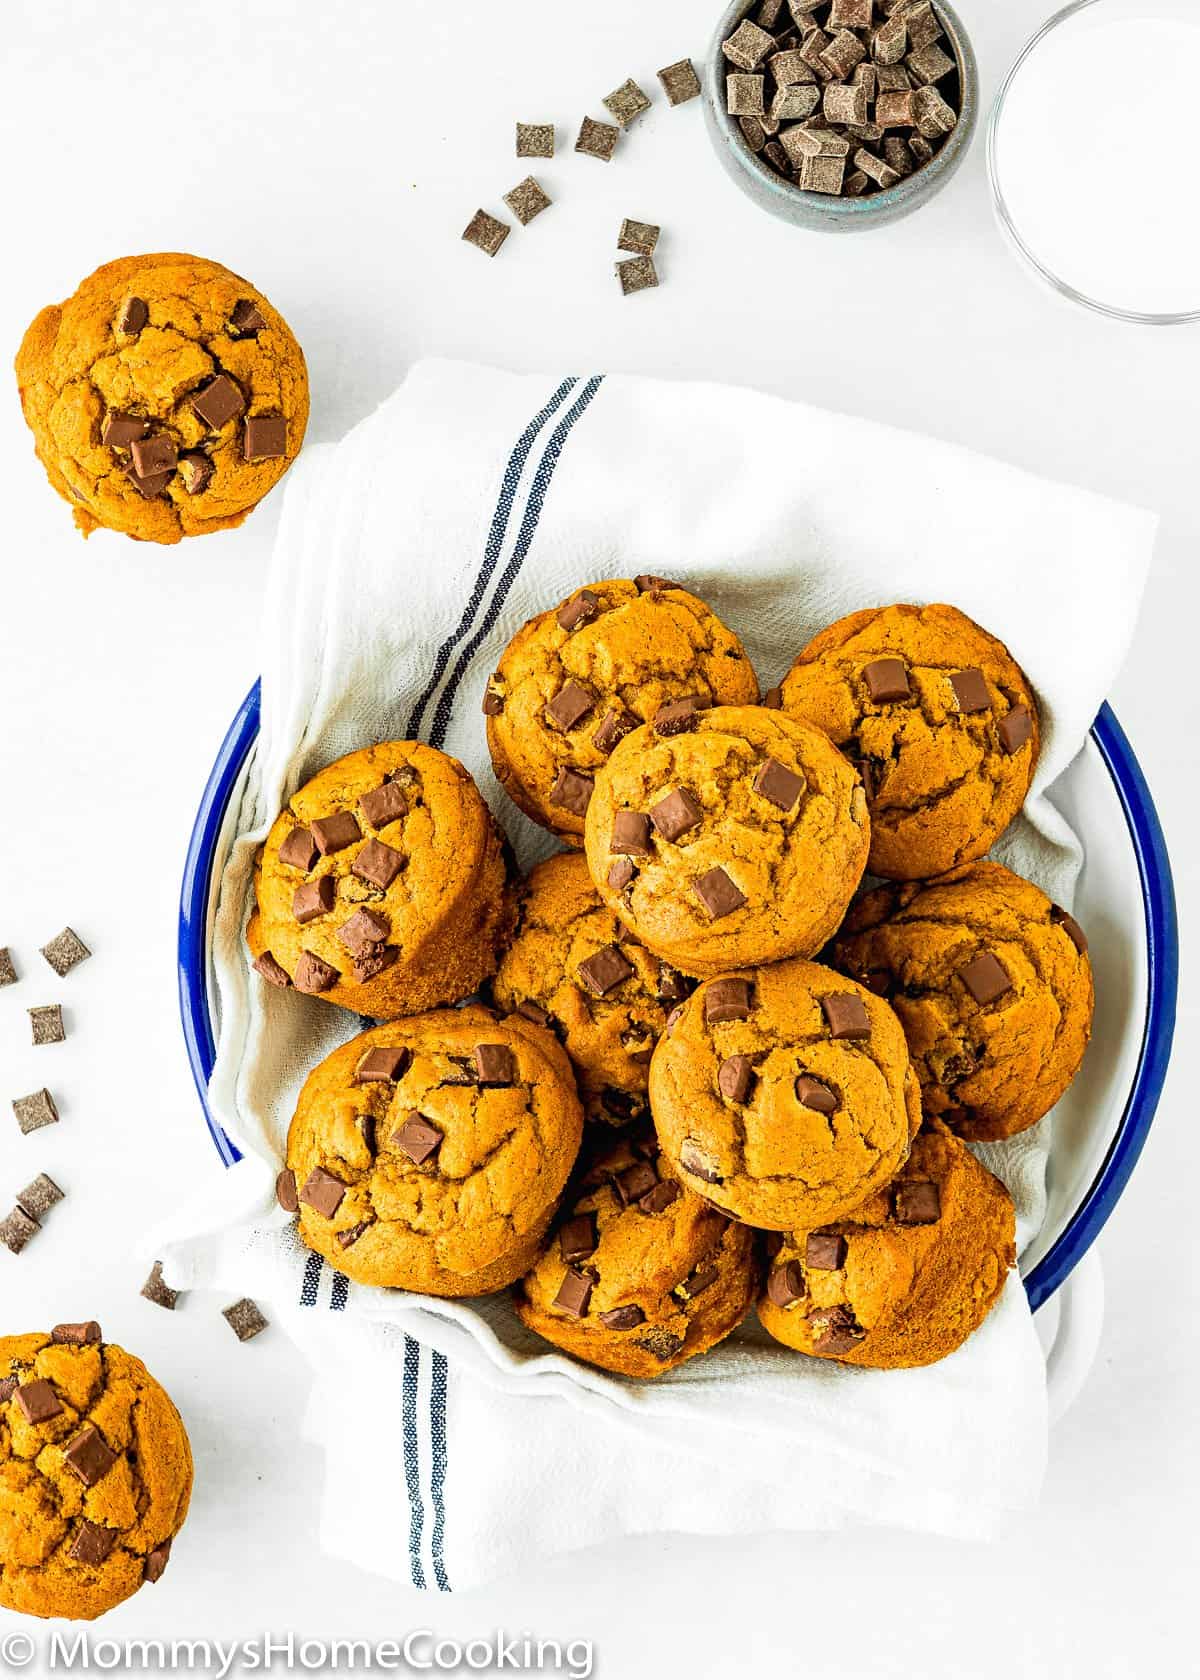
Eggless Chocolate Chip Pumpkin Muffins Recipe Highlights
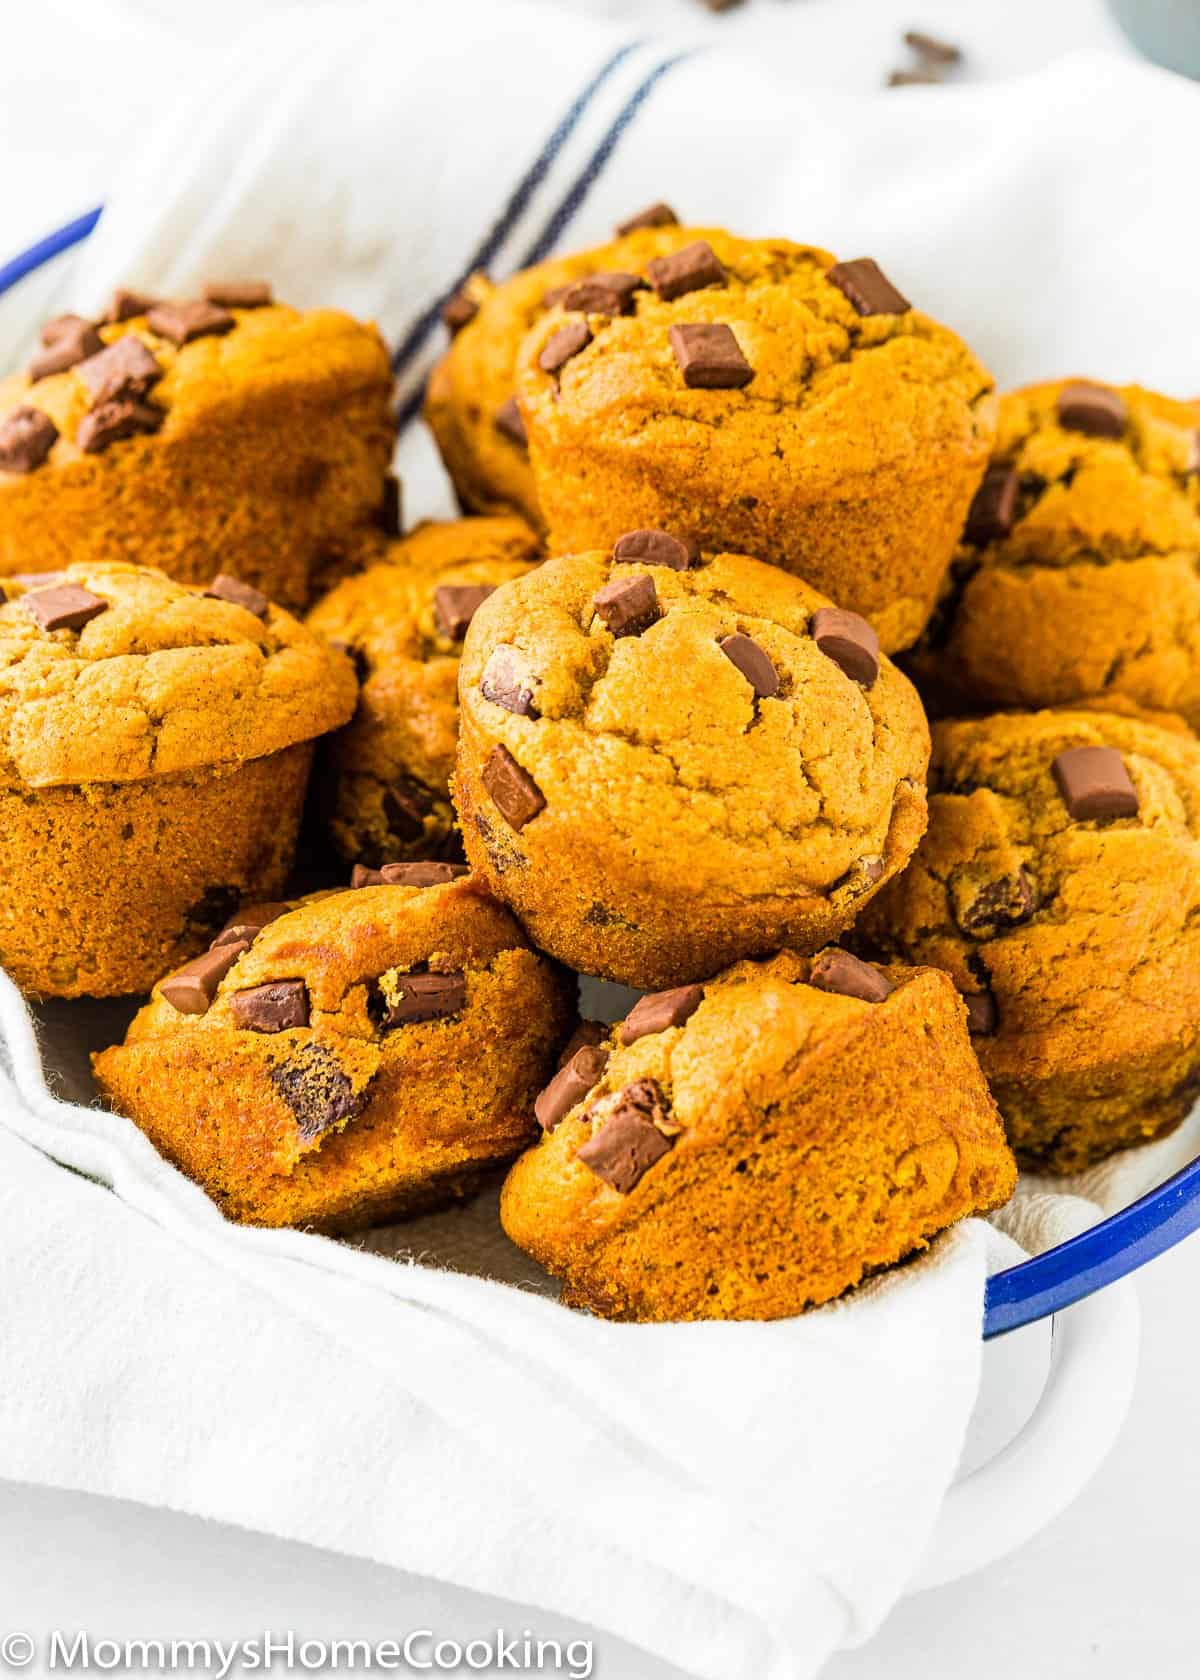
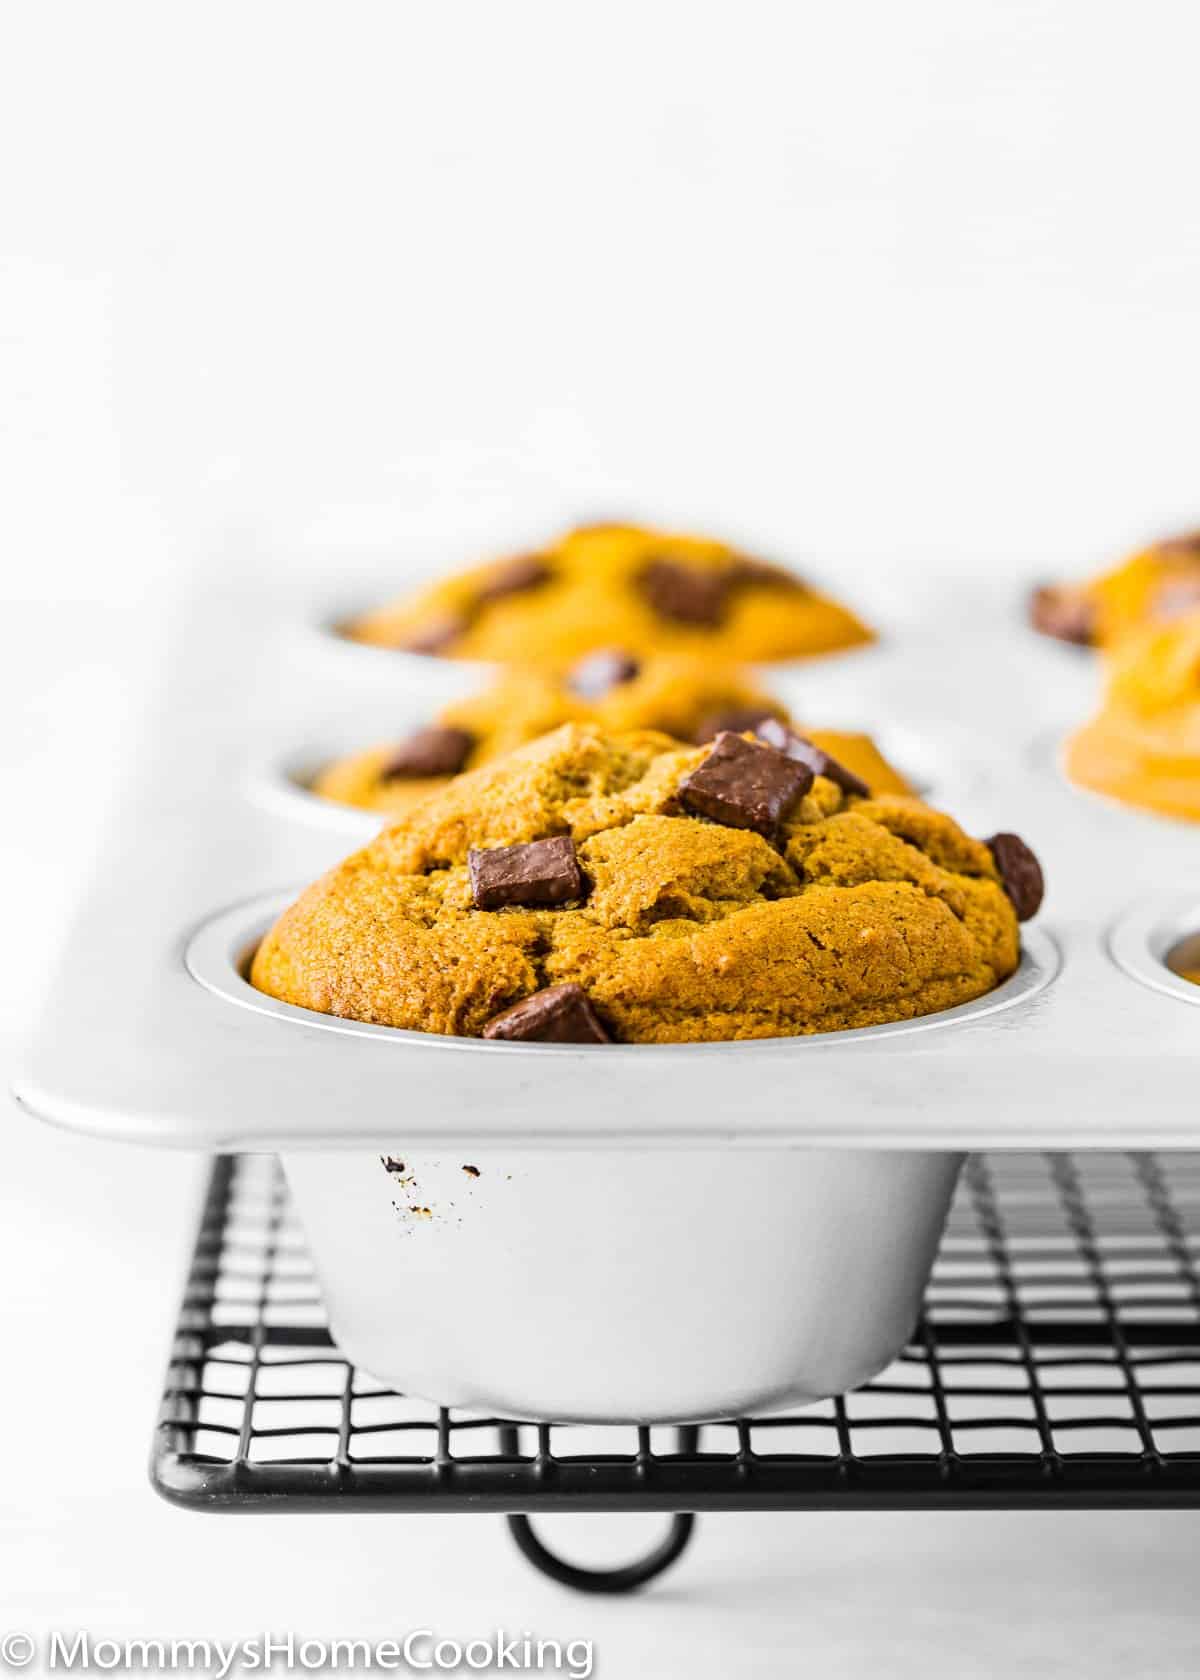
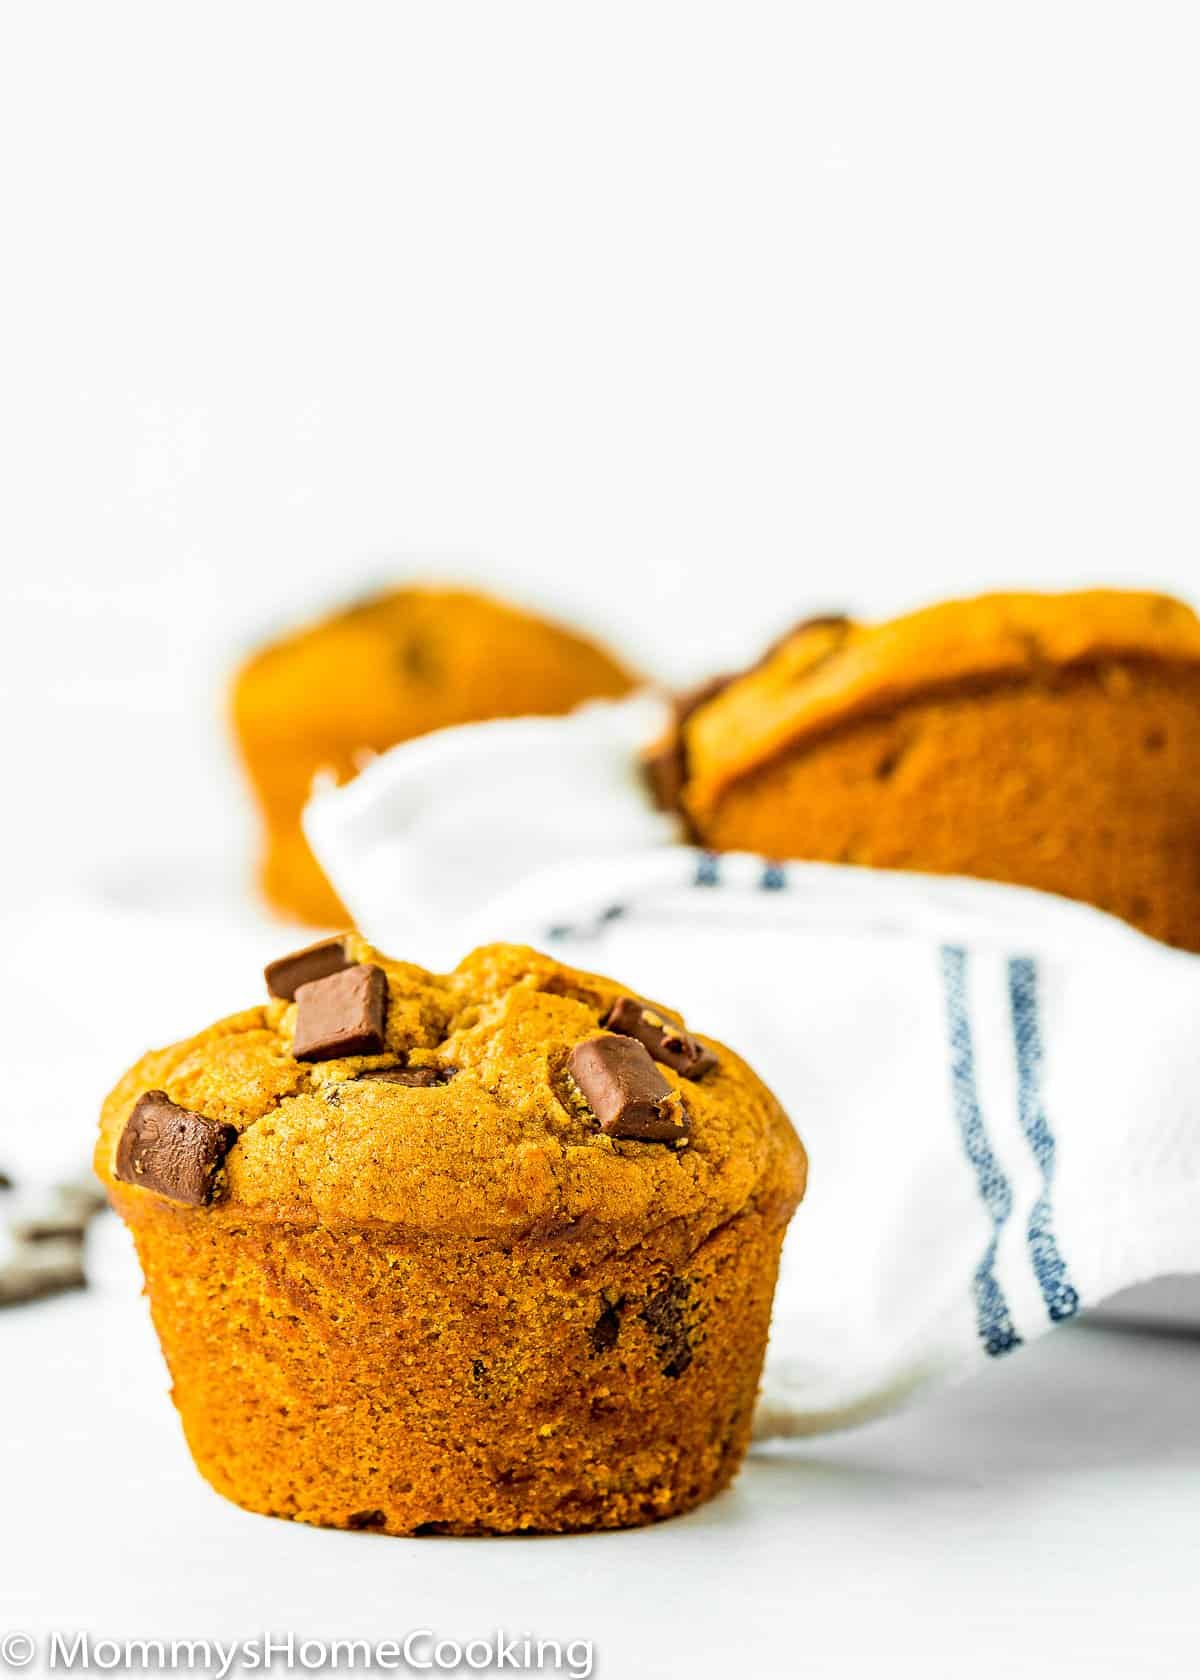
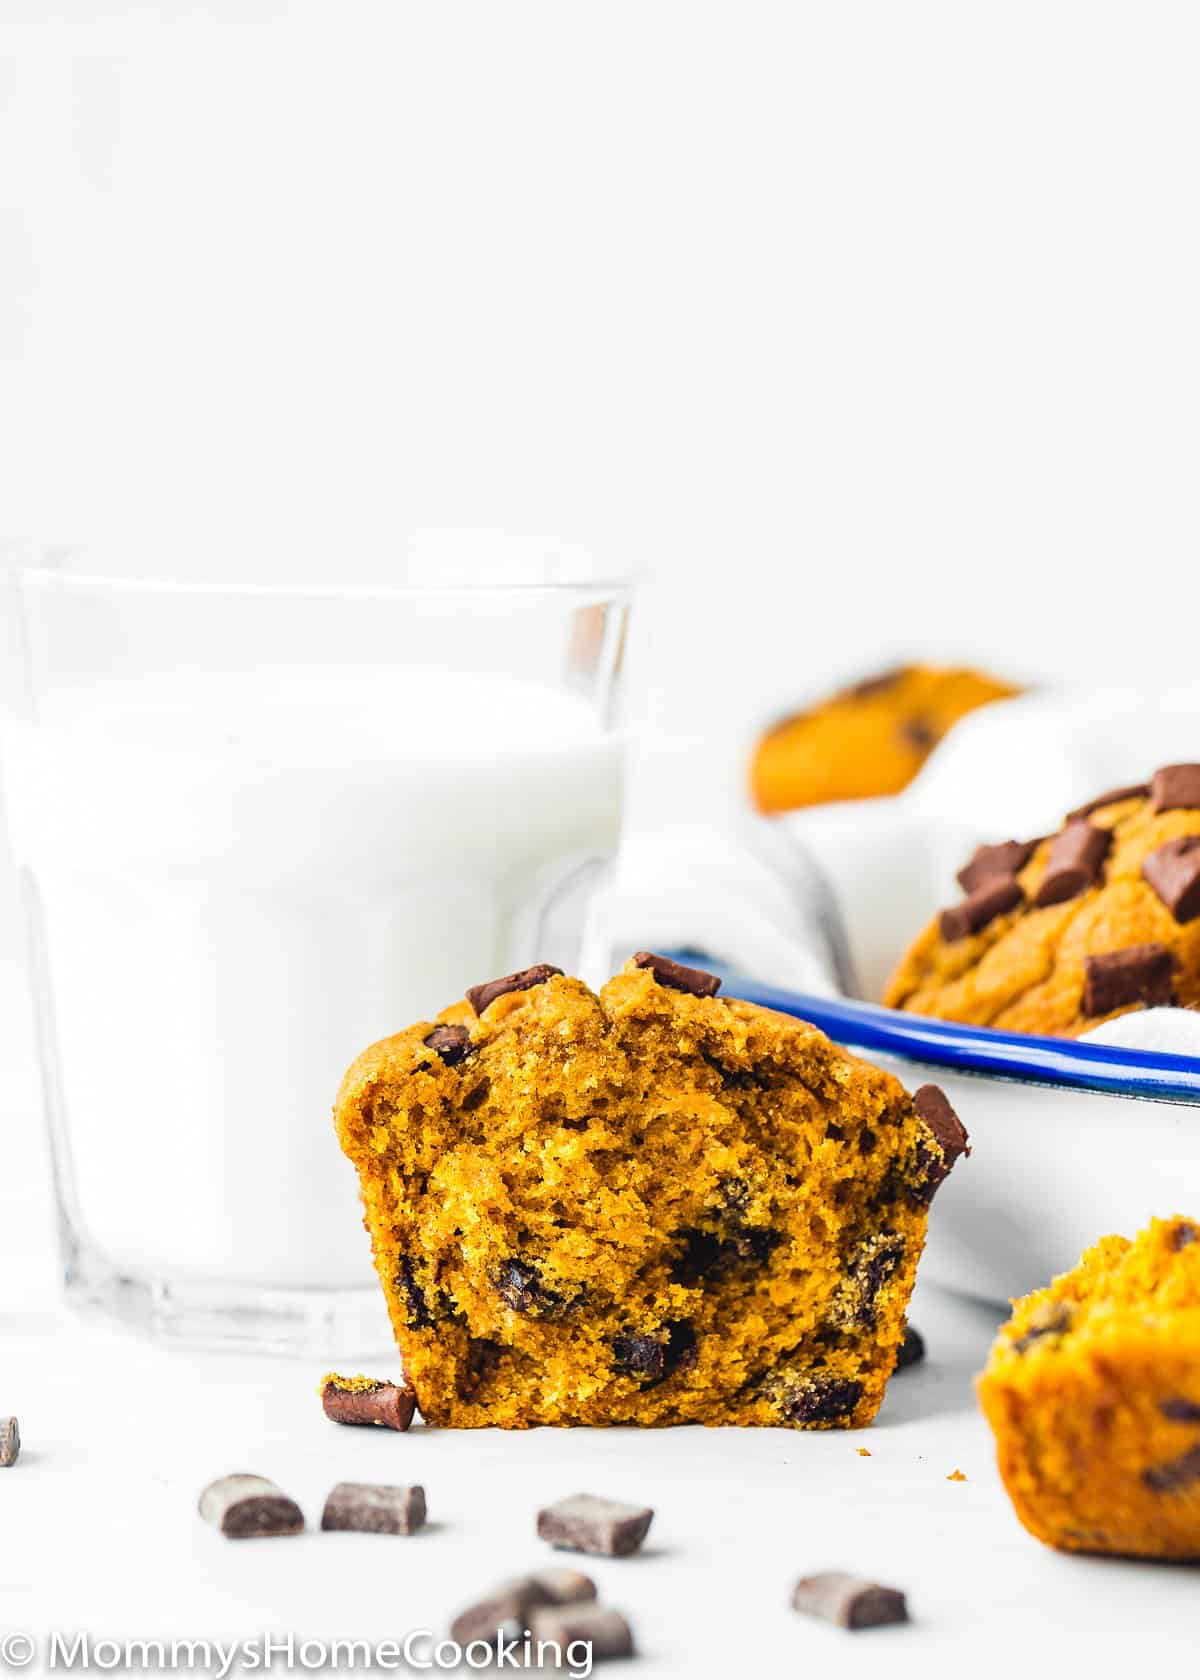
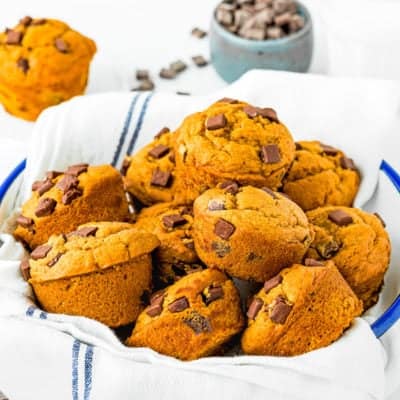
These Eggless Chocolate Chip Pumpkin Muffins are truly exceptional! They’re delicious fall treats that taste so good you’ll want to make them all year round. They look and taste like they’re fresh out of a bakery with gorgeous domed tops and plenty of fall flavors. This moist Eggless Chocolate Chip Pumpkin Muffins recipe is super easy to make because it uses only simple ingredients, and no mixer is required. You’ll fall in love with one bite!
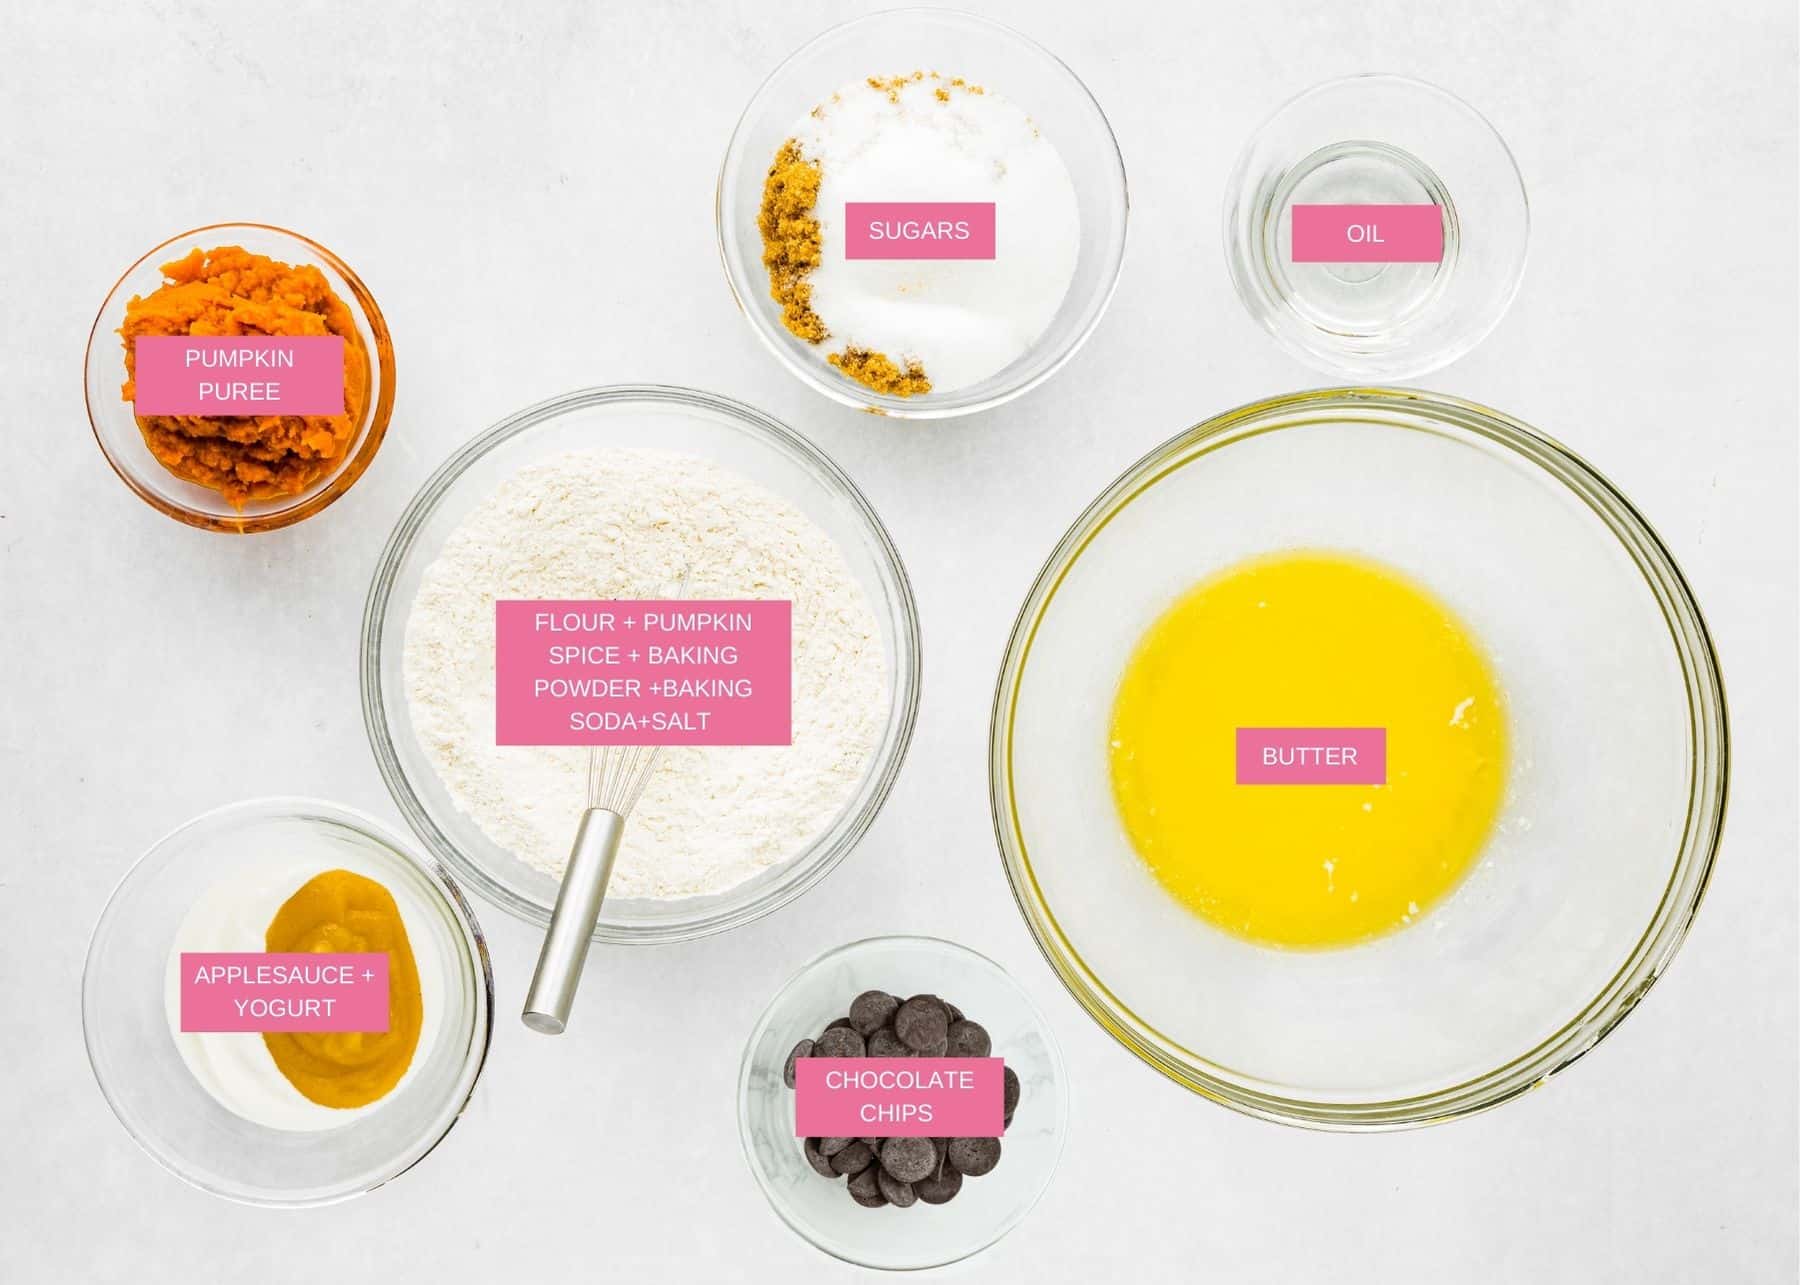
Ingredients You’ll Need
Please check the recipe card at the bottom of the post for exact quantities and detailed instructions (scroll down).
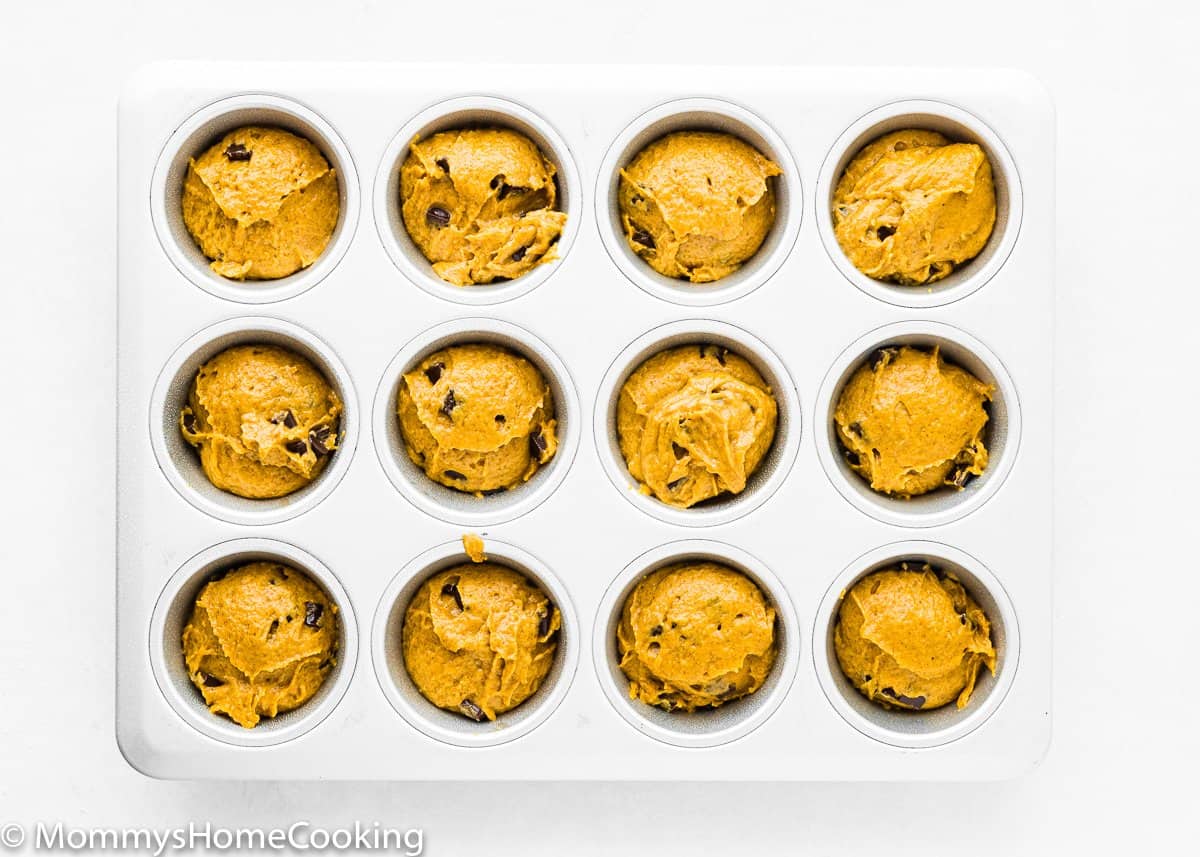
Step 4 – Fill the Muffin Pan
Fill the muffin cups right to the top. NOTE: you can add a few more chocolate chips on top of each muffin if desired.
Step 1 – Mix Dry Ingredients
Mix the flour, pumpkin spice, baking powder, baking soda, and salt in a large bowl until combined. Add the chocolate chips and mix to coat with the flour mixture.
Step 2 – Mix Wet Ingredients
Combine melted butter, oil, brown sugar, granulated sugar, pumpkin puree, yogurt, applesauce, and vanilla in a mixing bowl.
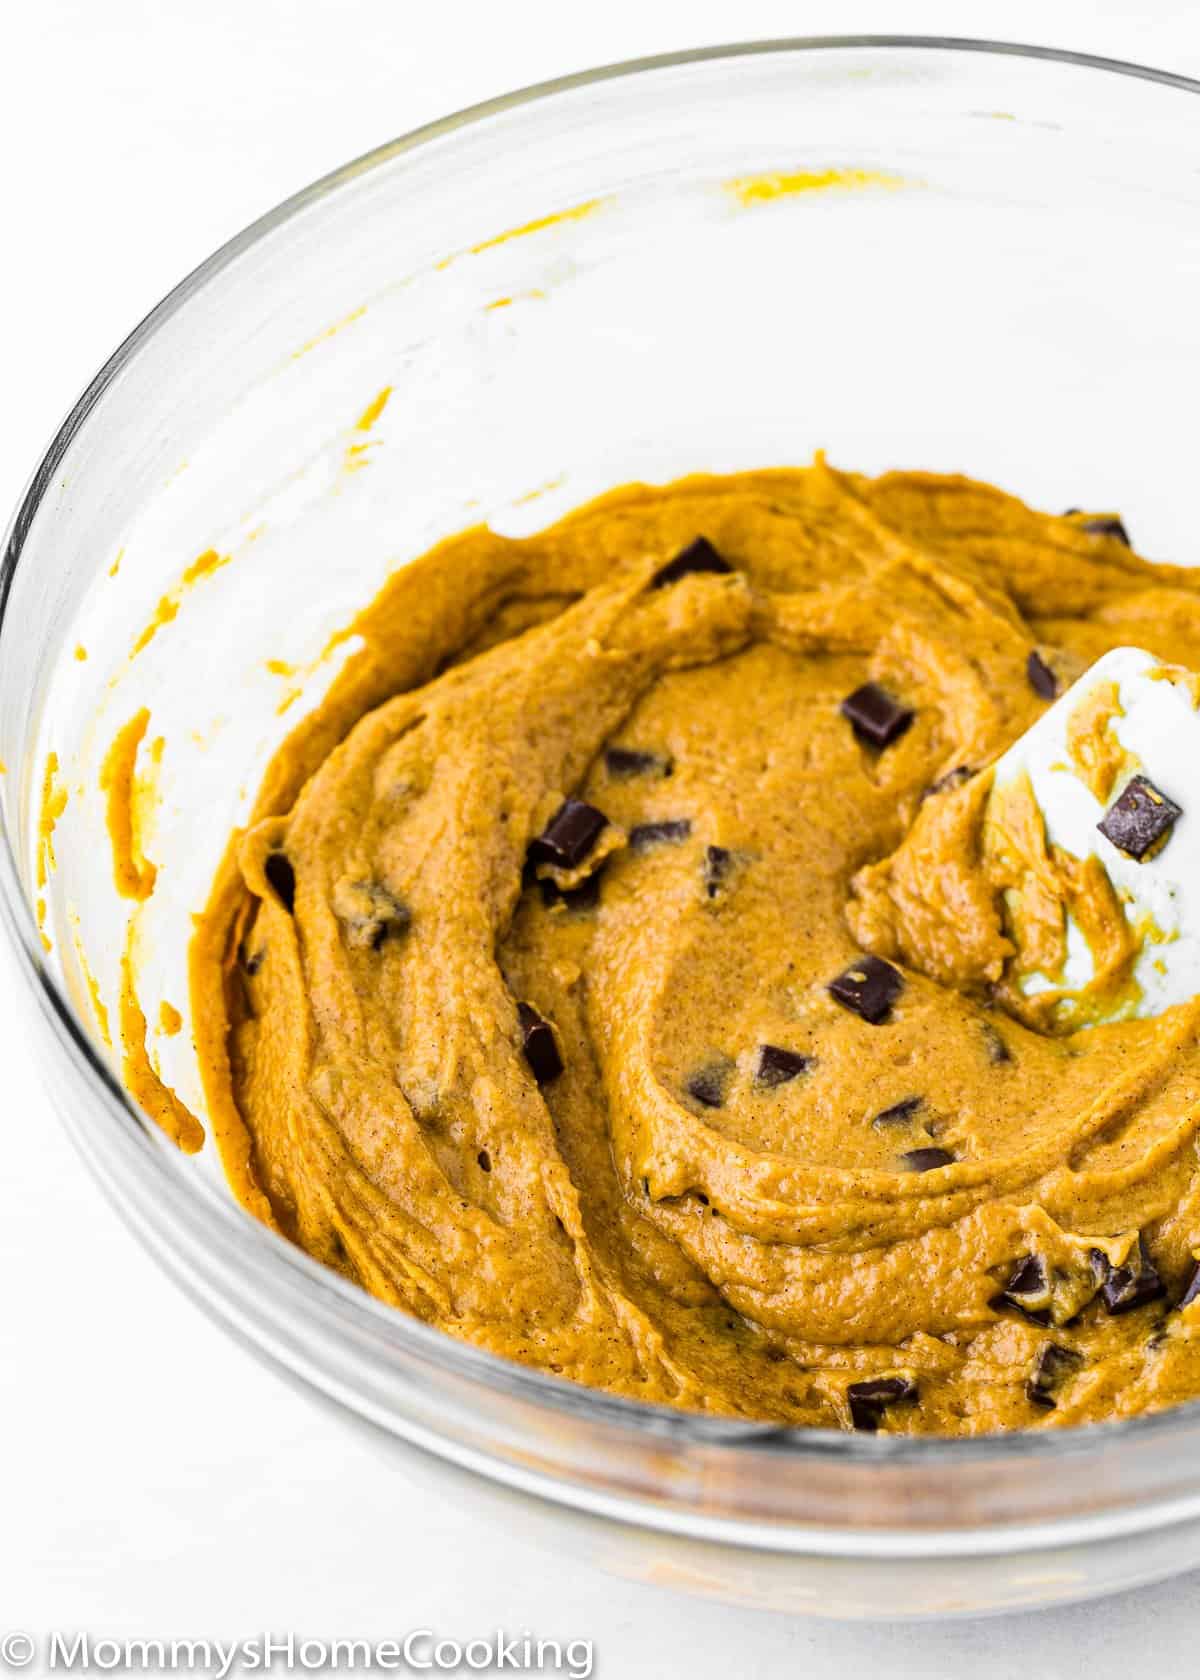
Step 3 – Combine Dry & Wet Ingredients
Fold the wet ingredients into the dry ingredients and mix everything together by hand. Do not overmix; the batter will be thick and a little lumpy.
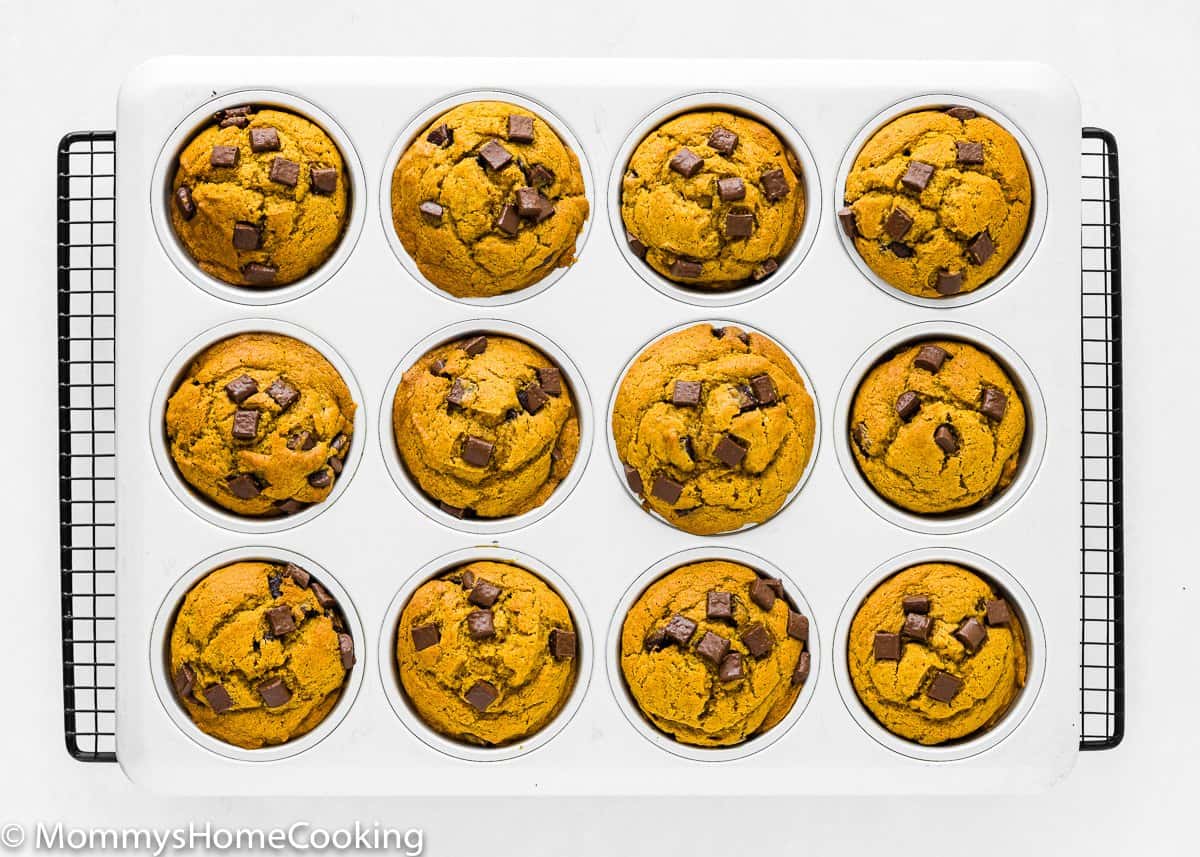
Step 5 – Bake
Bake for 5 minutes at 425ºF (220ºC), then reduce the oven temperature to 350ºF (180ºC) and continue baking until golden brown and a toothpick inserted in the center comes out clean, another 20 to 23 minutes.
NUTS: If you’d like to add a bit of crunch to your pumpkin muffins, you can add 1/2 cup of chopped nuts to the batter. I love to add pecans to mine! PUMPKIN PIE SPICE: This is a blend of ground cinnamon, nutmeg, ginger, cloves, and allspice and is easily found in most American grocery stores. If this blend is not available in your country, you can use 2 tsp cinnamon, 1/4 tsp nutmeg, ¼ tsp ginger, ¼ tsp cloves, and ¼ tsp allspice. APPLESAUCE: I realized that applesauce is not a common ingredient in many countries, so here is my trick to make quick and easy applesauce: Place peeled apple pieces in a medium microwaveable bowl. Cover and microwave until softened, about 4 minutes. Transfer to a food processor. Add a pinch of ground cinnamon and puree until smooth.
DAIRY-FREE
Use your favorite yogurt and dairy-free or vegan butter. My favorite dairy-free butter for baking are:
Miyoko’s Creamery Organic Vegan Butter. Earth Balance Vegan Buttery Sticks.
Preheat the oven for at least 15 minutes before getting started to give it plenty of time to reach the ideal recipe temperature. Don’t overmix the batter. Instead, mix just until you’ve evenly distributed the ingredients throughout the batter. Bake the muffins as soon as the batter is ready. Don’t open the oven door until the muffins have set. Leave the oven closed until the minimum time is stated in the recipe. Every oven is different, so baking times always have to be taken with a grain of salt. Oven thermostats can be wildly off, affecting baking time, so keep an eye on yours. The muffins are done when a toothpick inserted in the center comes out clean.
More Egg-Free Muffins Recipes You’ll Love!
Easy Eggless Banana Bread Muffins Eggless Sugar Donut Muffins Eggless Bakery-Style Chocolate Chip Muffins Easy Eggless Cornbread Muffins Eggless Strawberry Muffins How To Get Extra Tall Muffins Browse more recipes…
FREEZING: Muffins can also be frozen for up to three months. A great way to have muffins whenever you want! To freeze these muffins, let them cool completely, then wrap them in plastic wrap and then with foil. Place the double-wrapped muffins in a freezer bag, and don’t forget to label them! Thaw frozen muffins in the refrigerator and then bring them to room temperature or warm up in the microwave or a 300°F oven for 4-5 minutes if desired.
Recipe Card 📖
You’ve asked, and I’ve answered! Read on for a handful of answers to the most frequently asked questions about eggless baking. This recipe was originally published on September 2021. The recipe remains the same, but more notes, tips, photos, and information have been added to the post in October 2022 to make it as helpful as possible!