This post is sponsored by Bob’s Red Mill! Thanks for supporting the brands that support Jessica in the Kitchen! All thoughts and opinions are my own! I’ve been making this pumpkin granola for years, and let me tell you, it only gets better each year. I swap some things out, increase some quantities and voila – here’s my best version yet! When I make it, my entire home smells like a cafe (the kinds with a bakery inside) for a few hours. It’s like a natural fall candle. Then when it cools, you get to dive into a true five-star granola treat at home! I love that it’s also great for snacking on the go, including hiking or camping! I’m not much of a camper myself, but I can definitely see you reaching for a handful of this. Looking for more pumpkin breakfast ideas? Try my pumpkin pancakes, pumpkin French toast, and pumpkin waffles!
Notes on the Ingredients
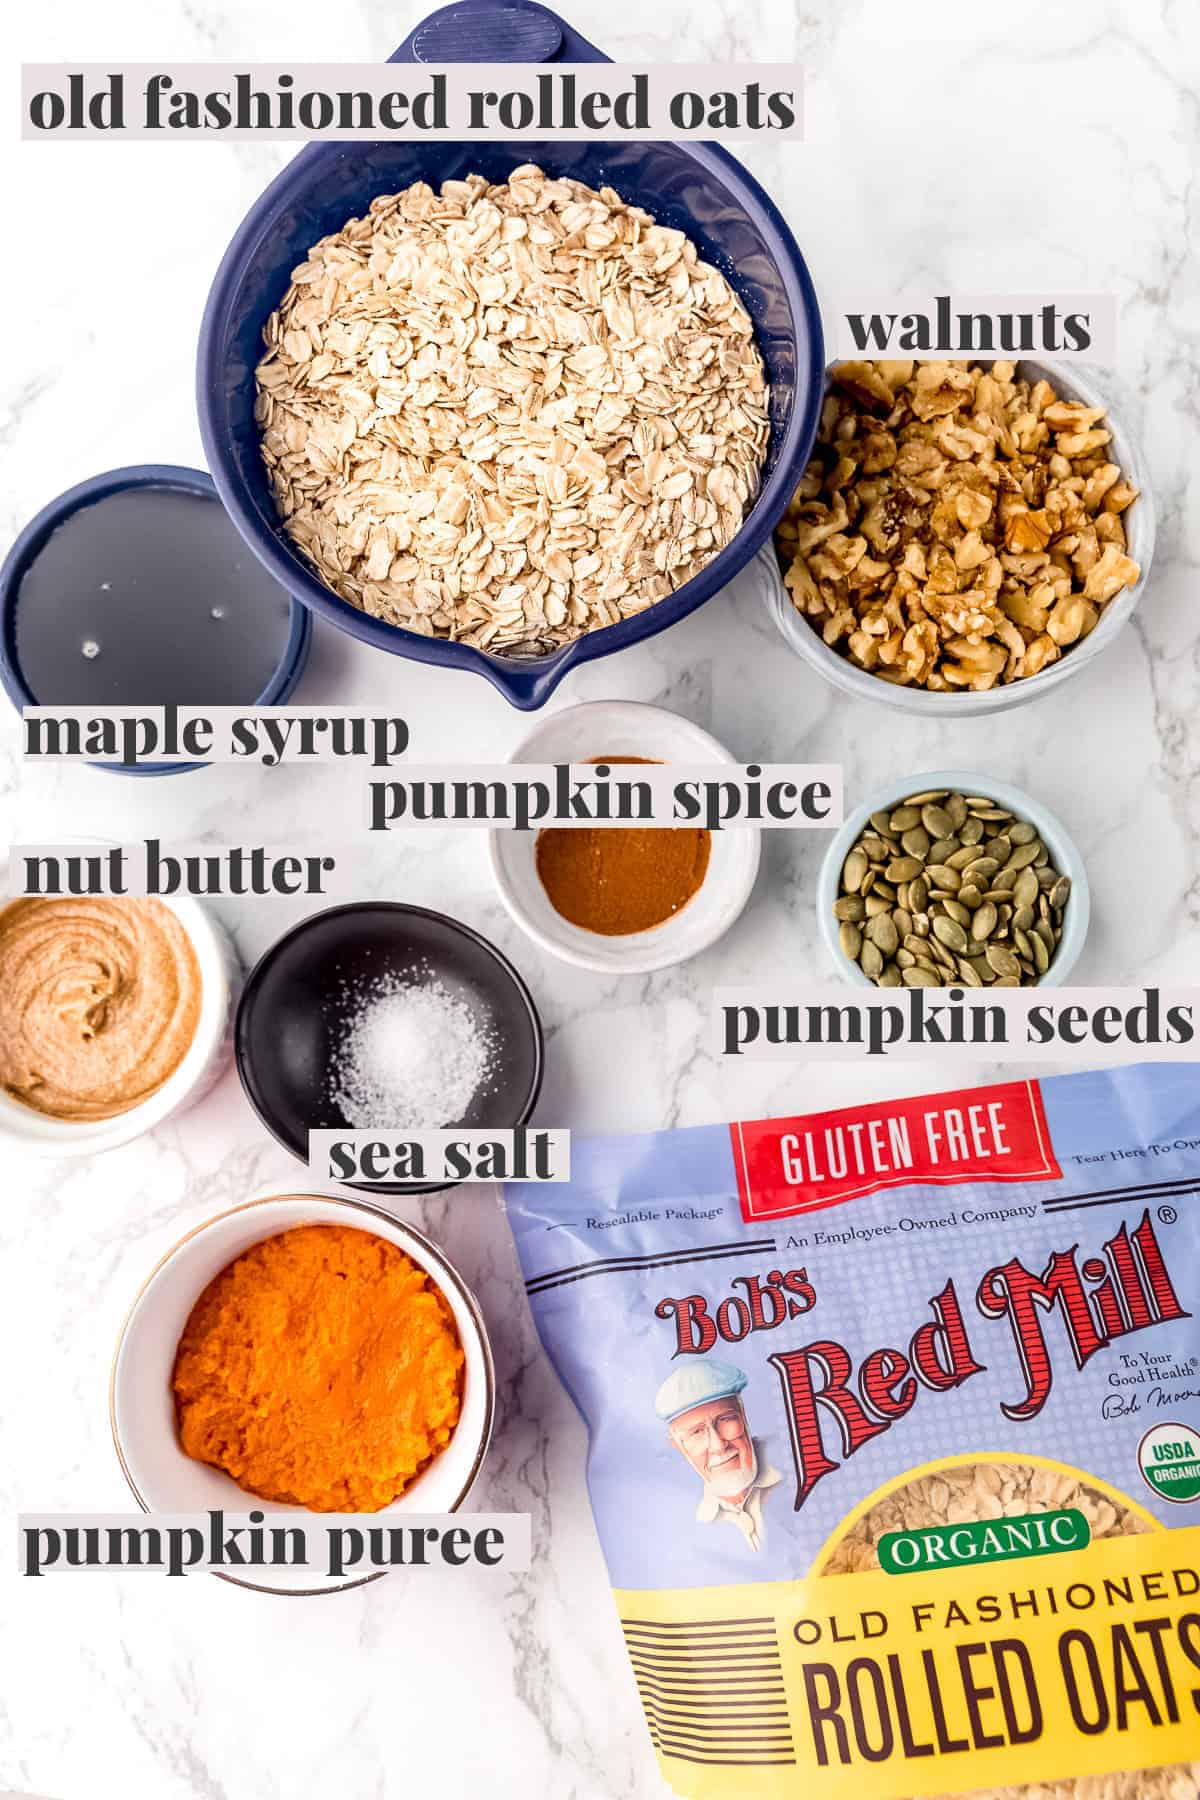
This recipe is made with just a handful of ingredients. Scroll down to the recipe card for measurements.
Old fashioned oats: Old fashioned oats are necessary for the best texture of the pumpkin granola! My favourite brand to use is Bob’s Red Mill’s Gluten Free Old Fashioned Rolled Oats! It’s certified gluten-free, are high quality and are Non-GMO. They have a great texture and consistency and I love the size of the bags that it comes in! Definitely pick up several bags; you’ll love it! Pumpkin: This adds a delicious depth of flavour and actually helps to coat the granola, helping to prevent it from burning in the oven. Almond butter: You can also substitute any other nut butter or tahini – just ensure it’s a runny nut butter! Walnuts and pumpkin seeds: Ensure they’re unsalted and raw, and feel free to sub in any other nuts or seeds here too!
How to Make Pumpkin Granola
Here’s a quick overview of how to prepare this pumpkin granola recipe. Scroll down to the recipe card for detailed instructions.
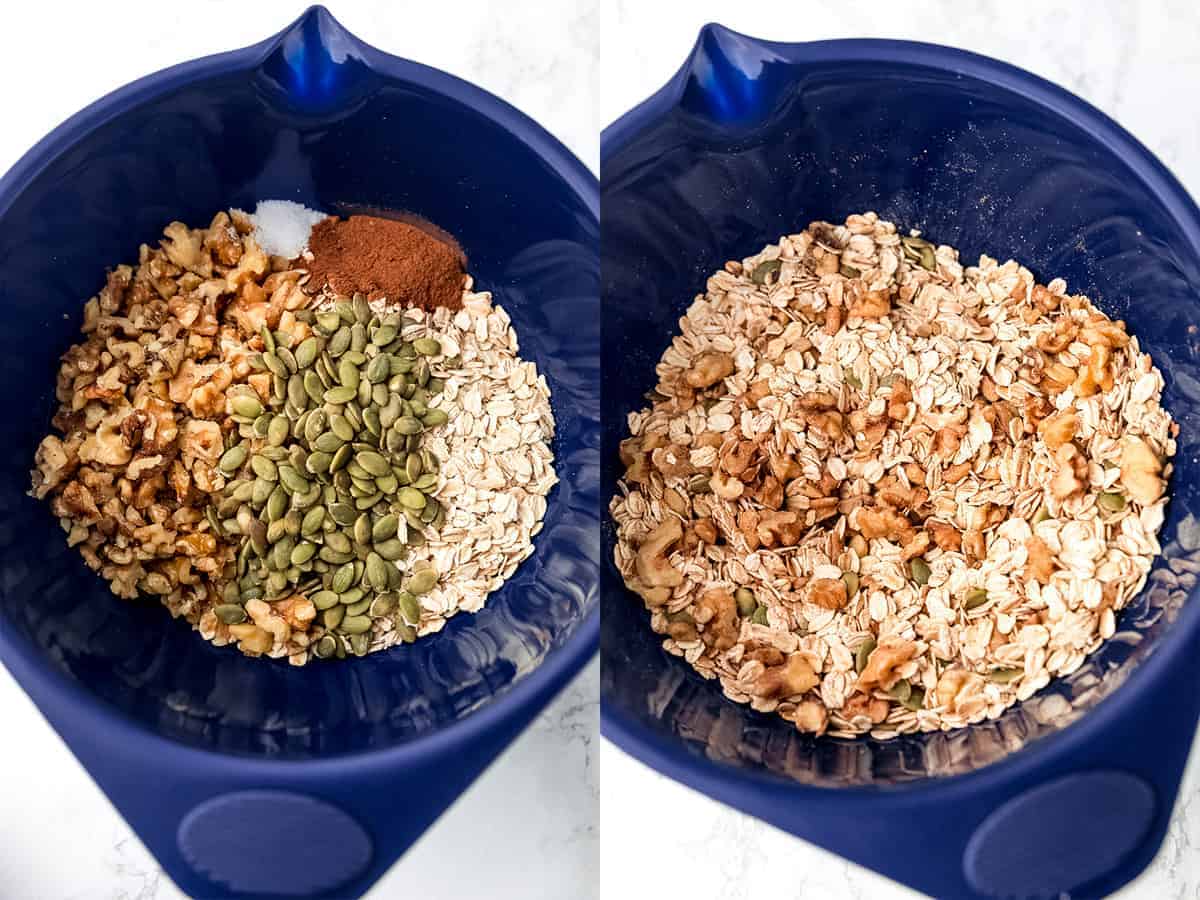
Combine ingredients. First, add all the dry ingredients into a bowl. Stir them together.
Combine wet ingredients. Next, add all the wet ingredients into a separate small bowl. Vigorously stir them all together until smooth and combined.
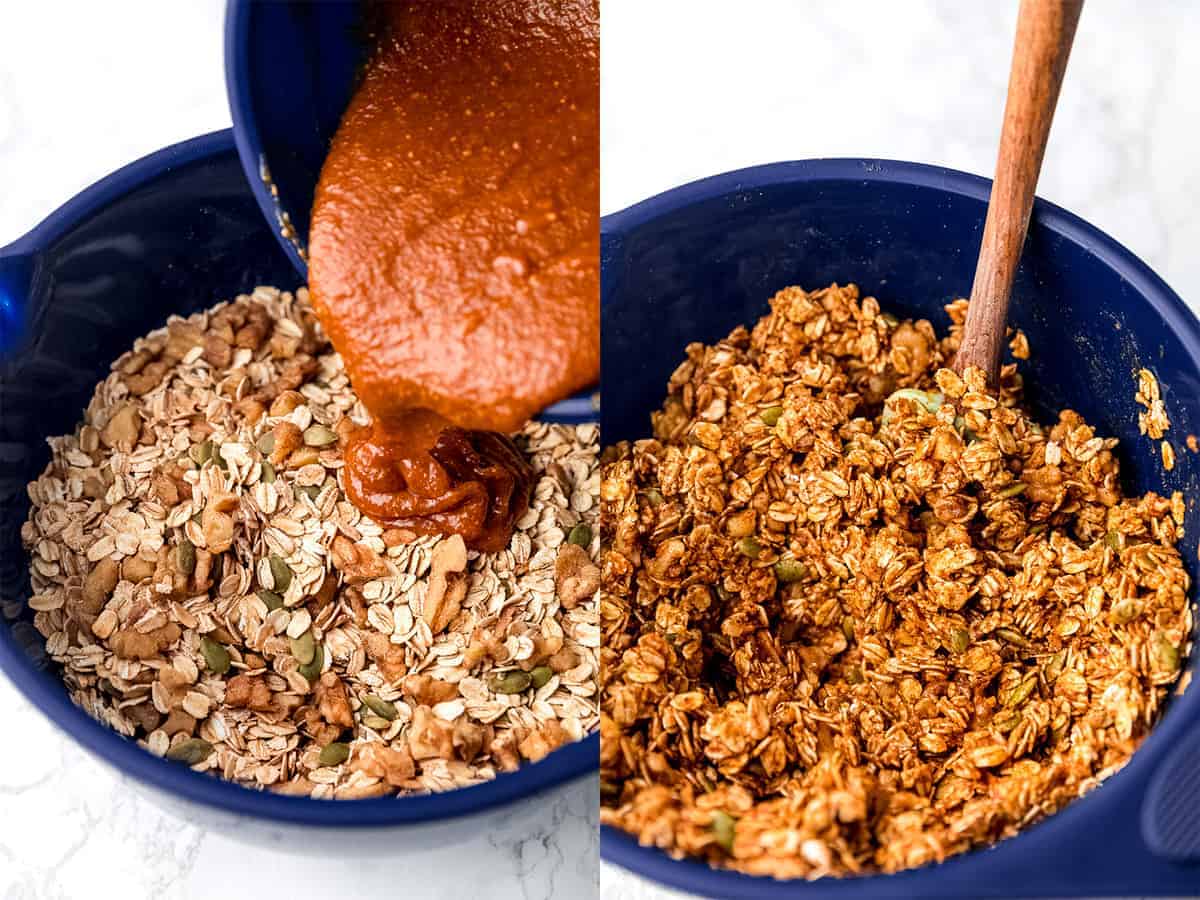
Then pour the wet ingredients into the dry ingredients. Stir everything together with a spatula or wooden spoon until combined and coated. So easy!
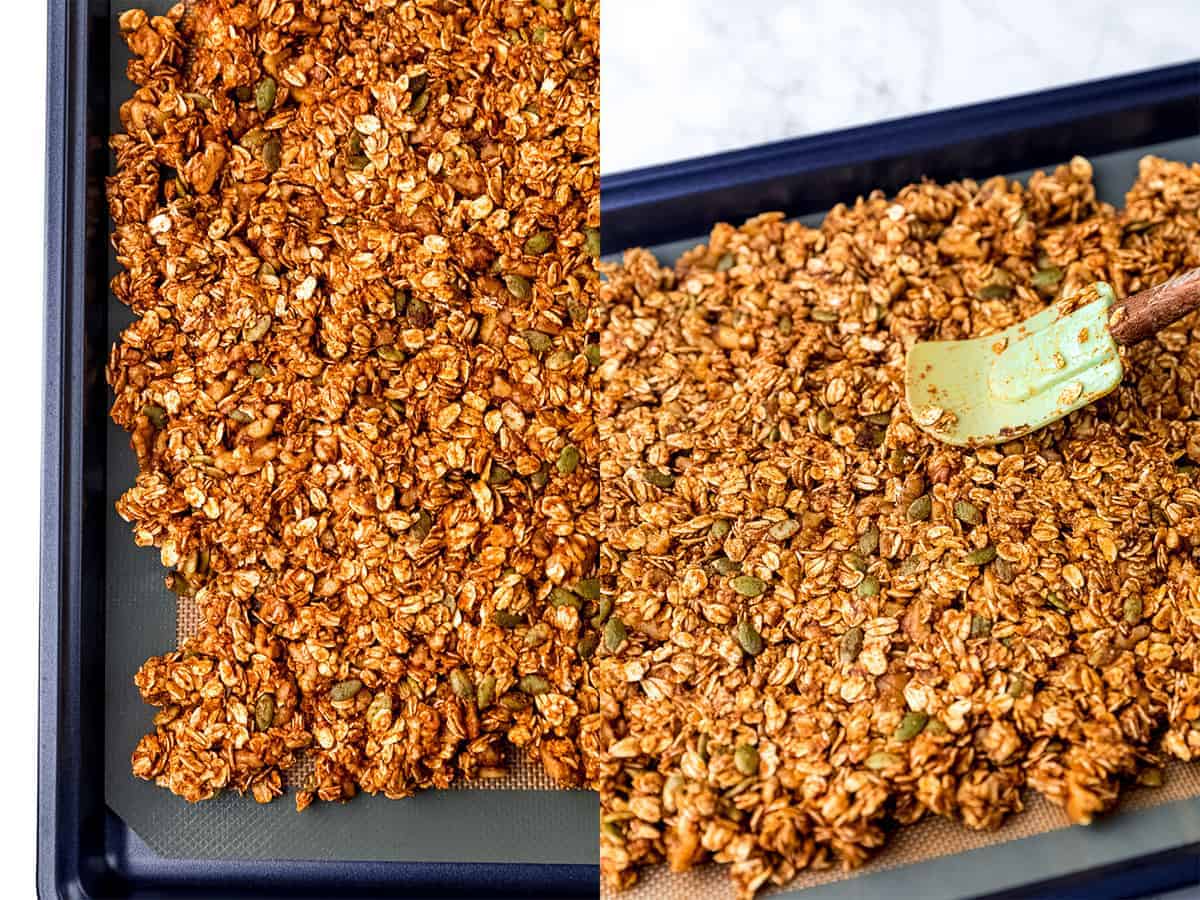
Spread it all onto a baking sheet in a nice layer. Not too thick but not too thin or you won’t great clusters. Be sure to press the granola together with the spatula or your fingers to get some nice clusters.
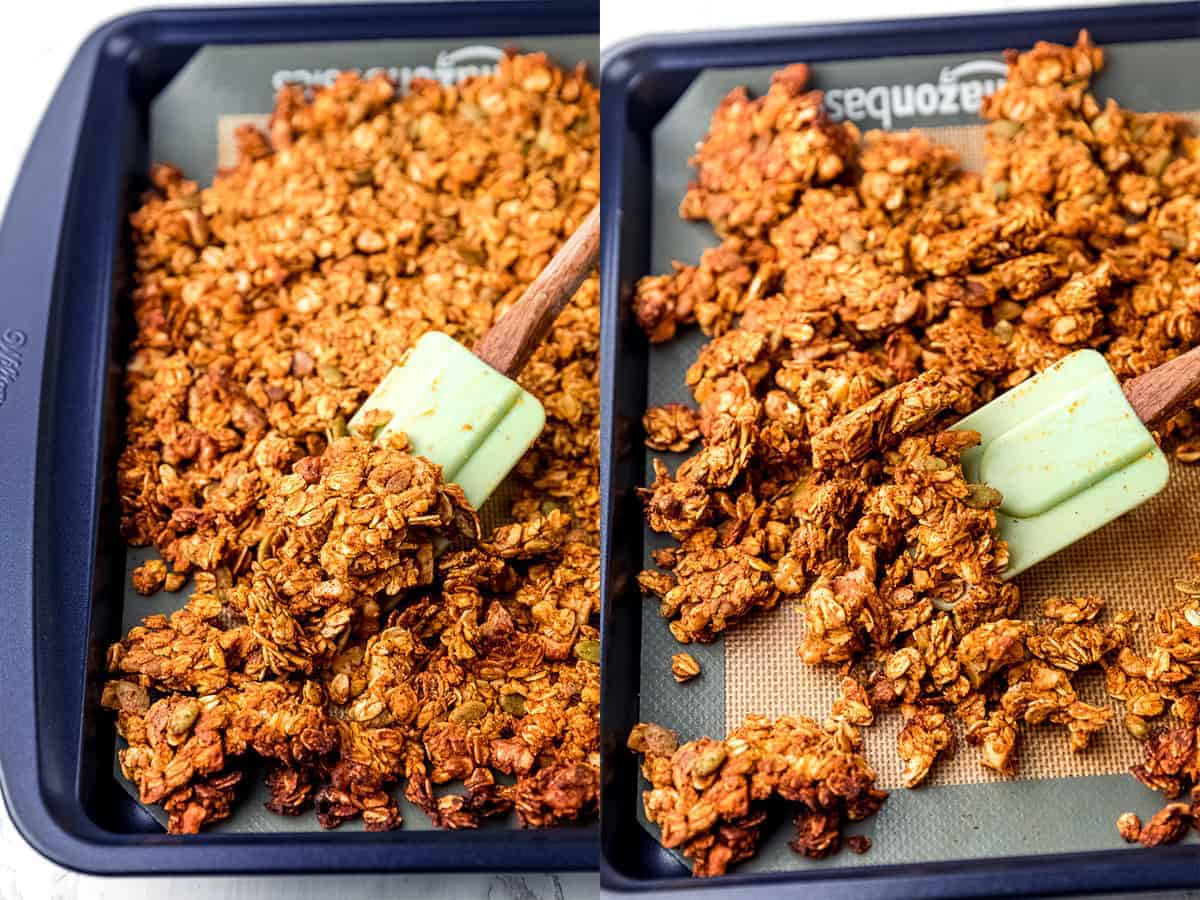
Bake for 25 minutes. Stir the mixture halfway (when you have around 12.5 minutes left). Stir it gently, then place back inside the oven. Cool. Remove from oven and let cool COMPLETELY before touching to ensure it’s crunchy.
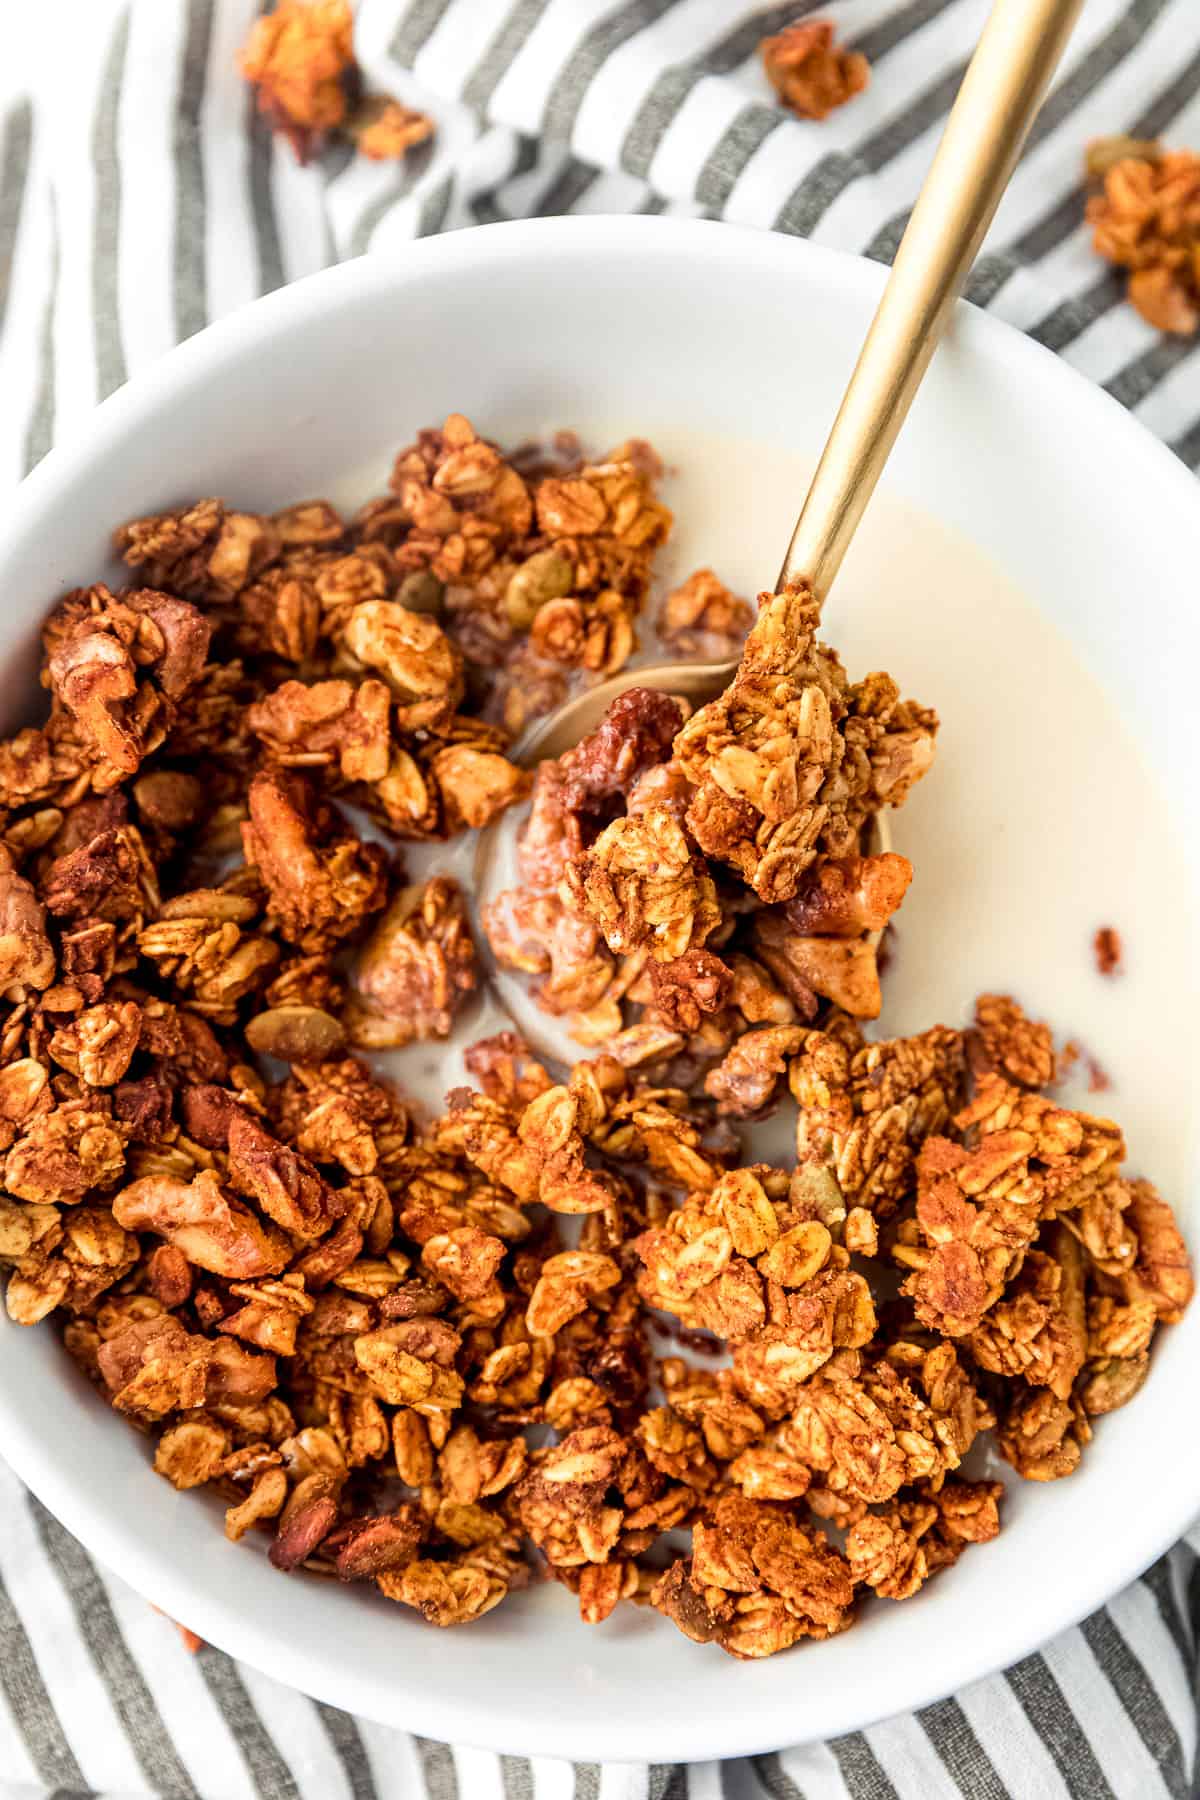
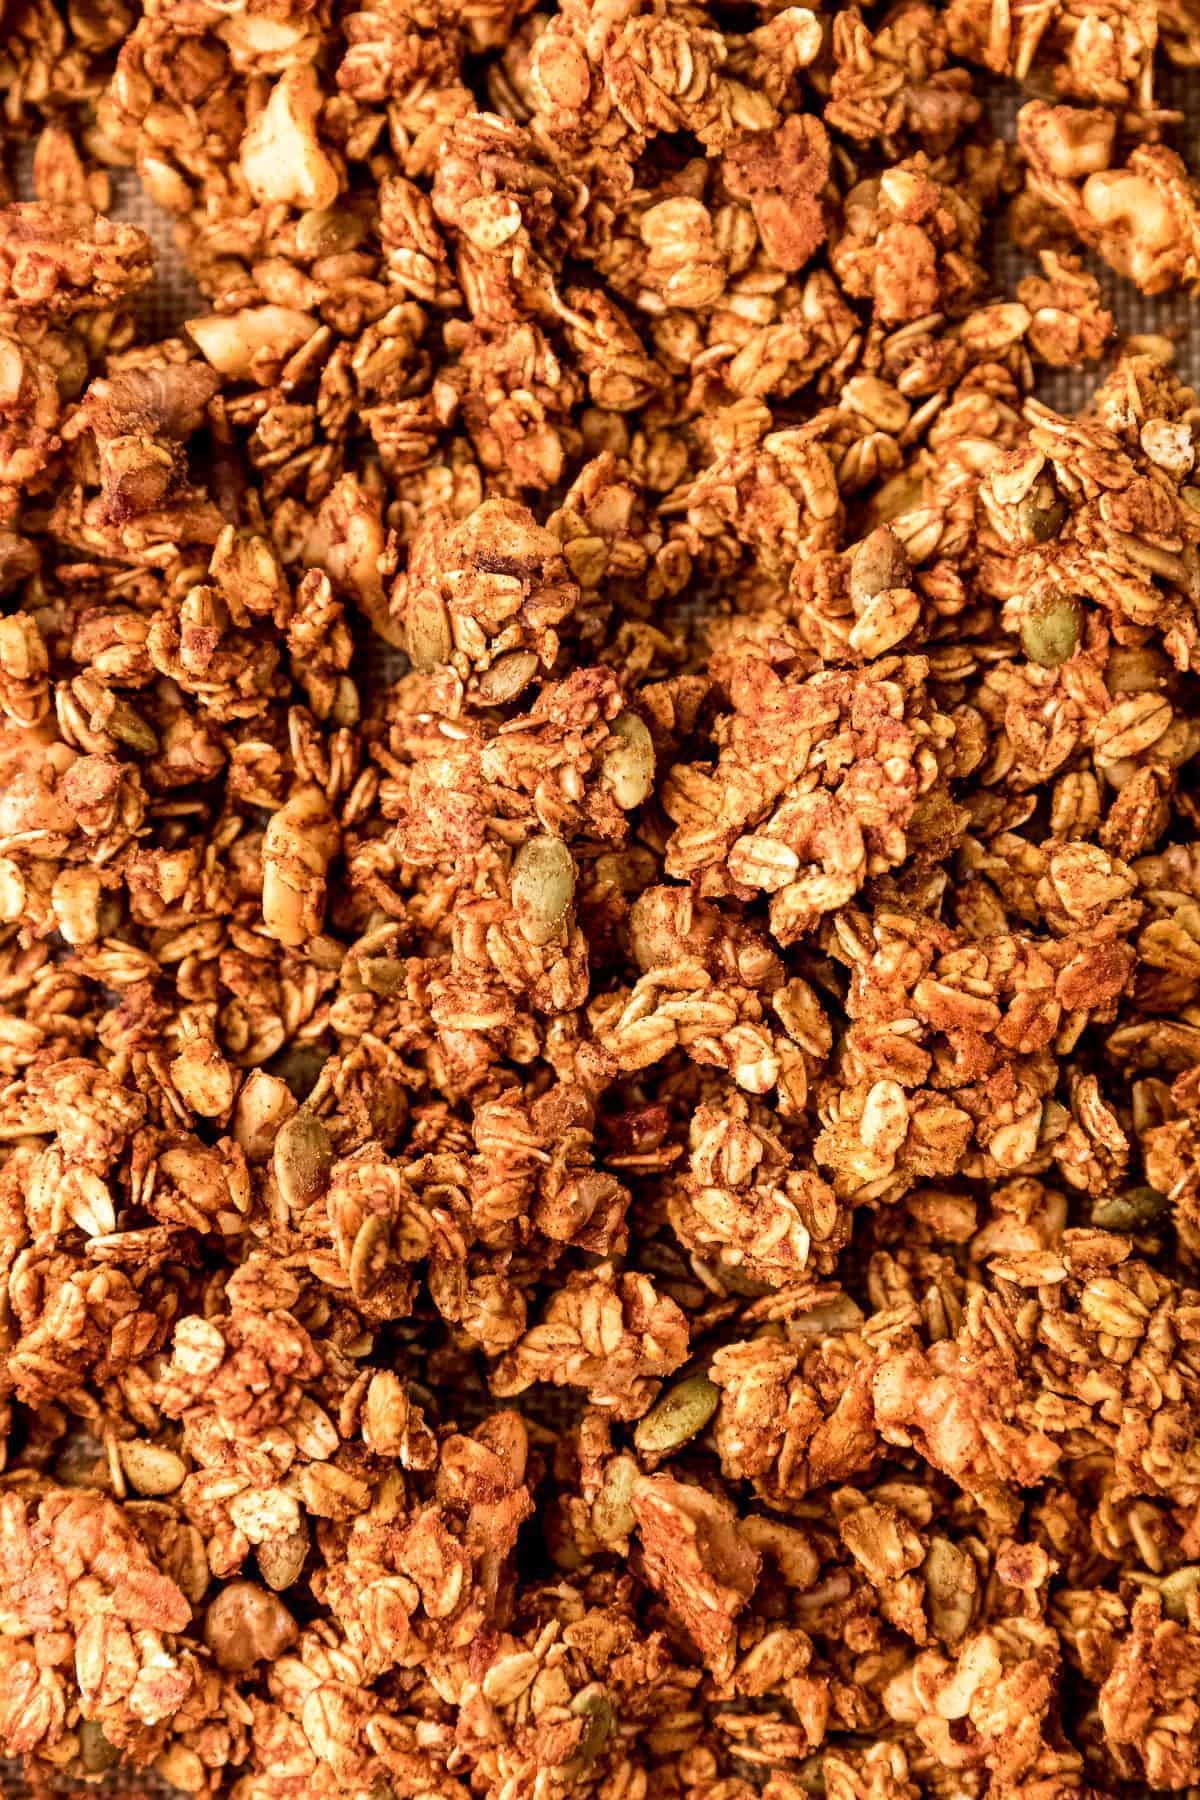
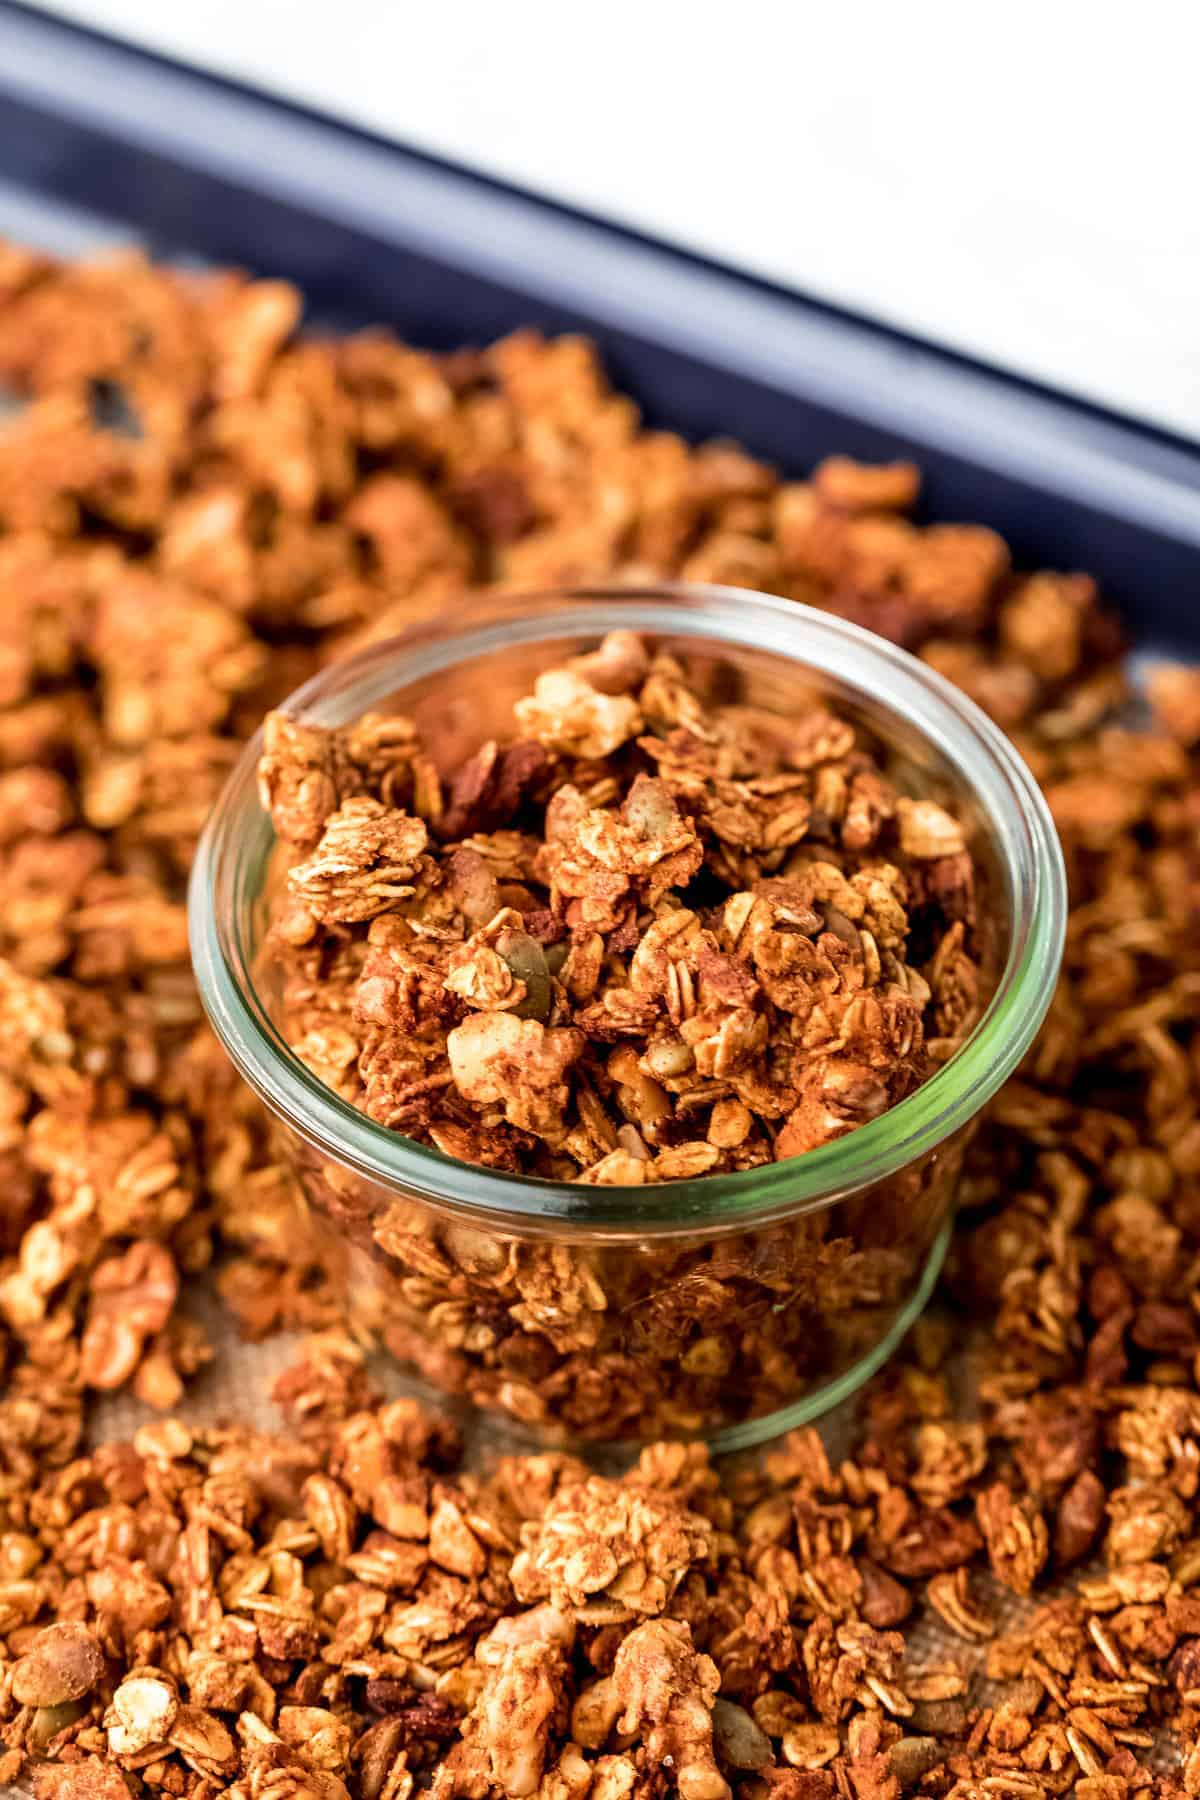
Enjoy! When cooled, remove and enjoy immediately, or store in an airtight jar for up to a few weeks.
Here are some tips for the best clumping granola and thick clusters:
Press the granola. Press down the granola on the sheet with your spatula or with your hands Be gentle. When you’re flipping/stirring the granola midway, be gentle with it so you don’t disturb any clusters. Cool completely. After it’s finished cooking, let it cool completely before touching. That way everything gets nice and crunchy and the clusters hardens. I’ll admit – it’s hard to do! Gav and I snuck quite a few pieces, but once it cooled?! It’s like a masterpiece! Add some additional ingredients. Optionally to make this even better, throw in some dried fruit (like cranberries), white chocolate or chocolate chips as soon as they come out of the oven. Chocolate makes everything better! Microwave the nut butter. If your nut butter isn’t runny enough, you can microwave it for about 10 seconds first.
Serving Suggestions
Serve this with my Cashew Milk, my vegan yogurt or my vegan ice cream!
How to Store Pumpkin Granola
The best way to store this granola is in an airtight jar or zipped bag. It’ll last up to a month in your fridge (and will stay crunchy).
More Pumpkin Recipes:
Pumpkin Muffins Vegan Pumpkin Cheesecake Pumpkin Sheet Cake Pumpkin Mug Cake
Enjoy friends! If you make this Vegan Pumpkin Granola, please snap a photo and tag #jessicainthekitchen on Instagram! We’d also love if you would leave a comment below, and give the recipe a rating! Thanks so much!