Oriana’s Thoughts On The Recipe
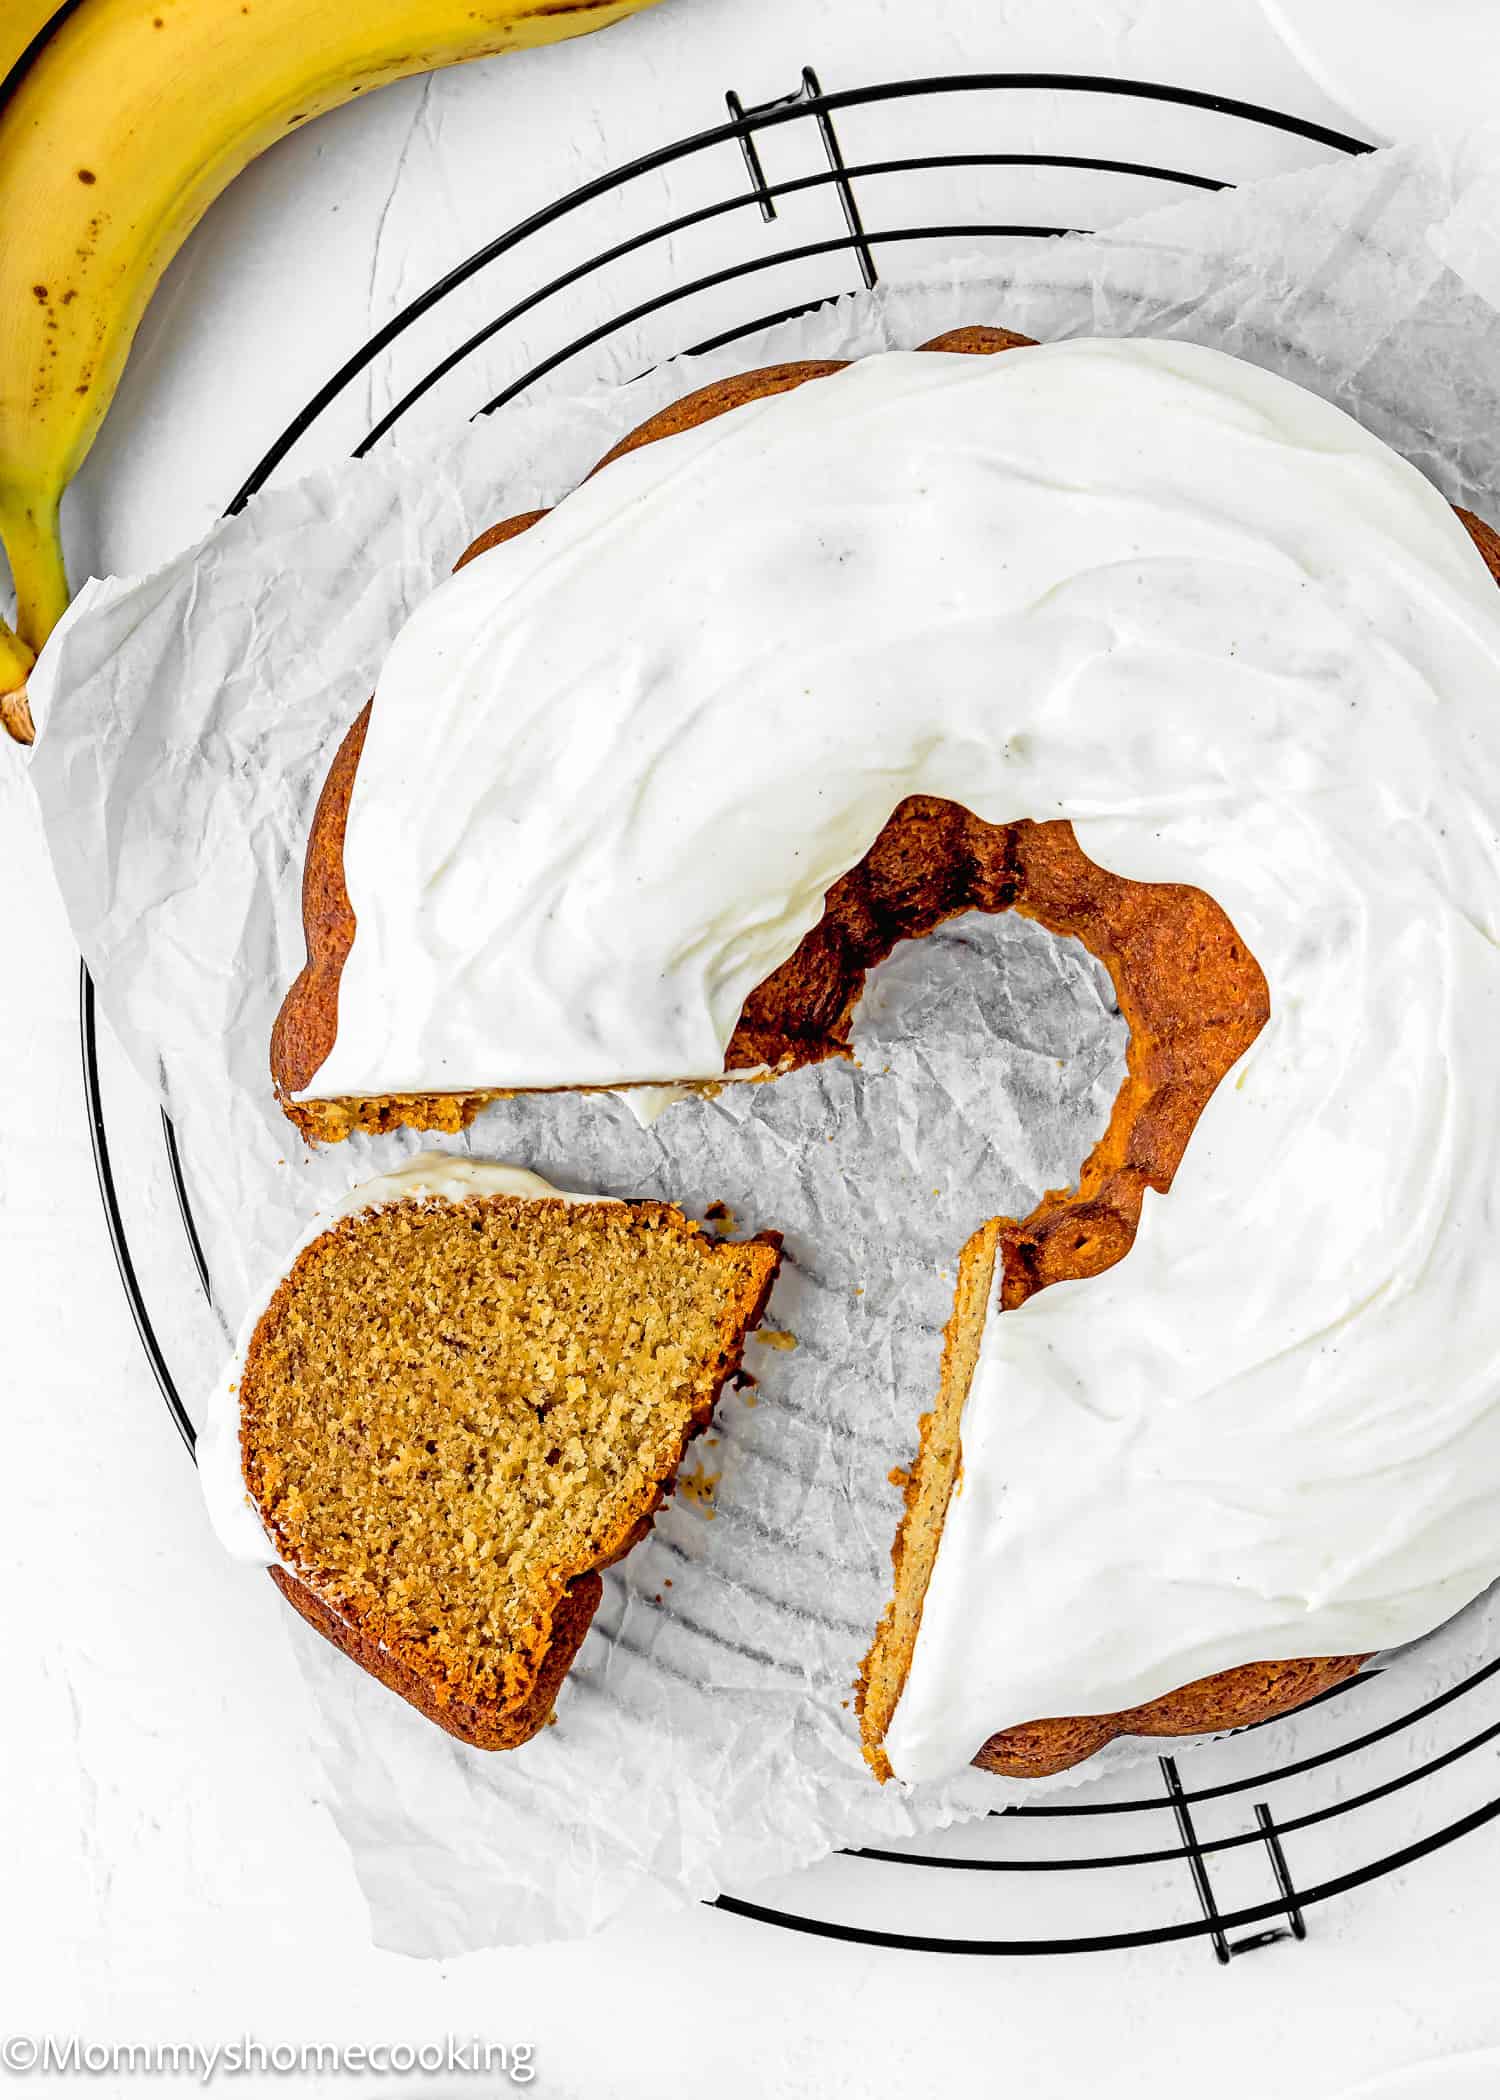
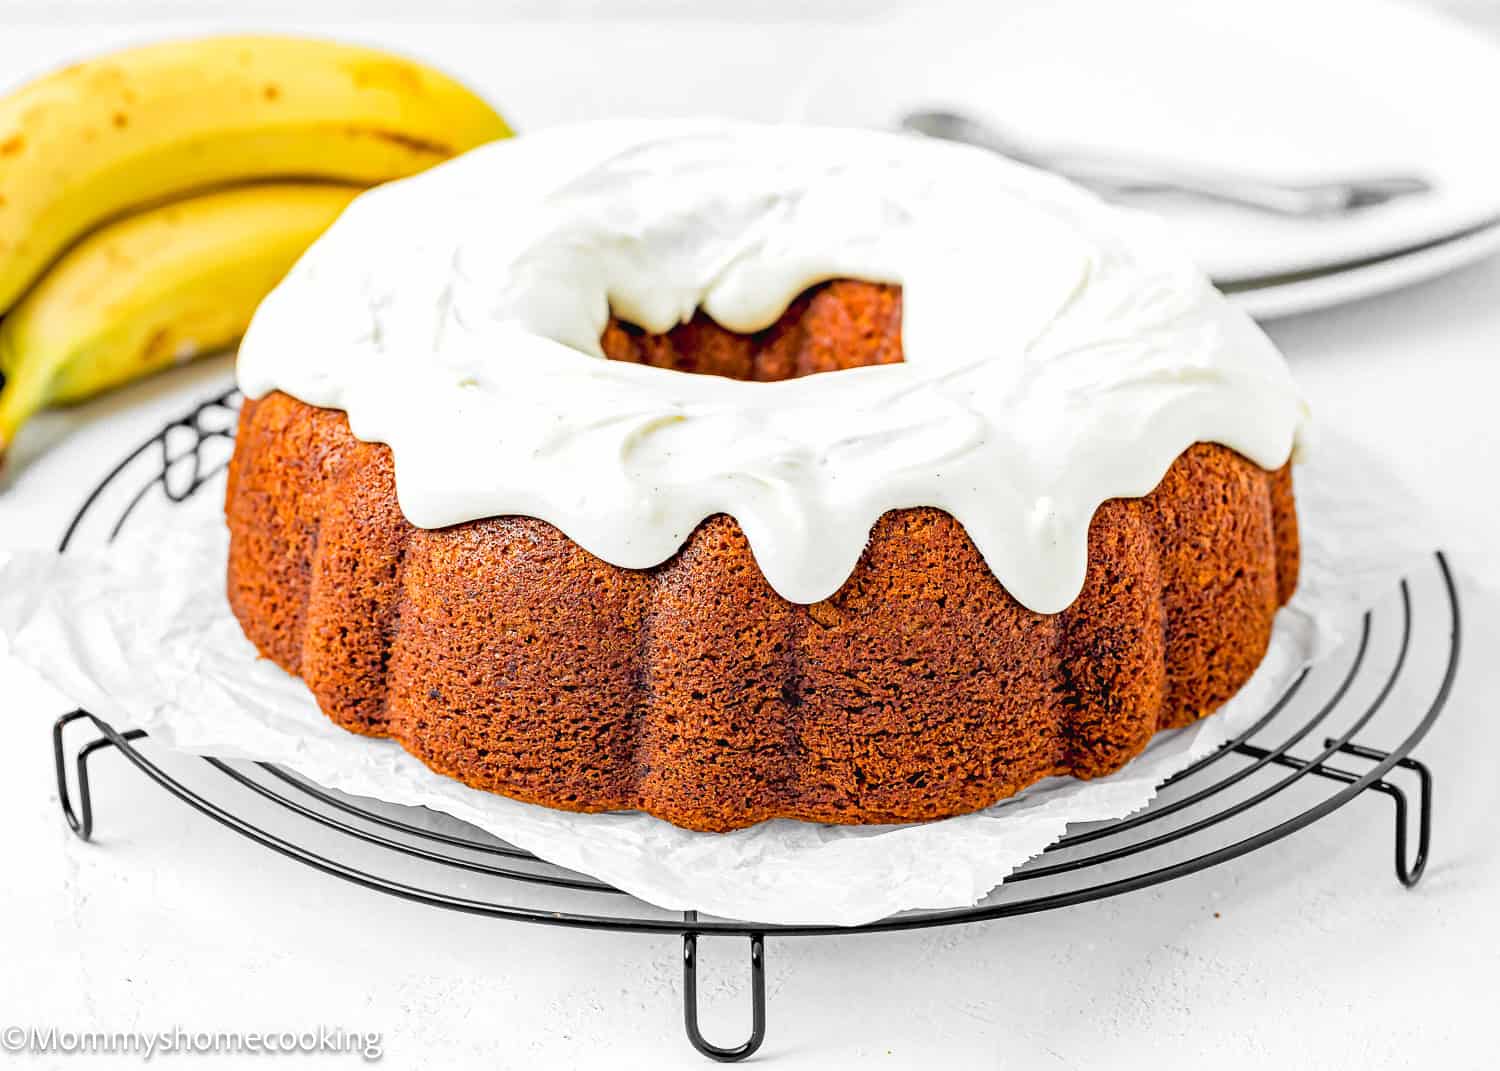
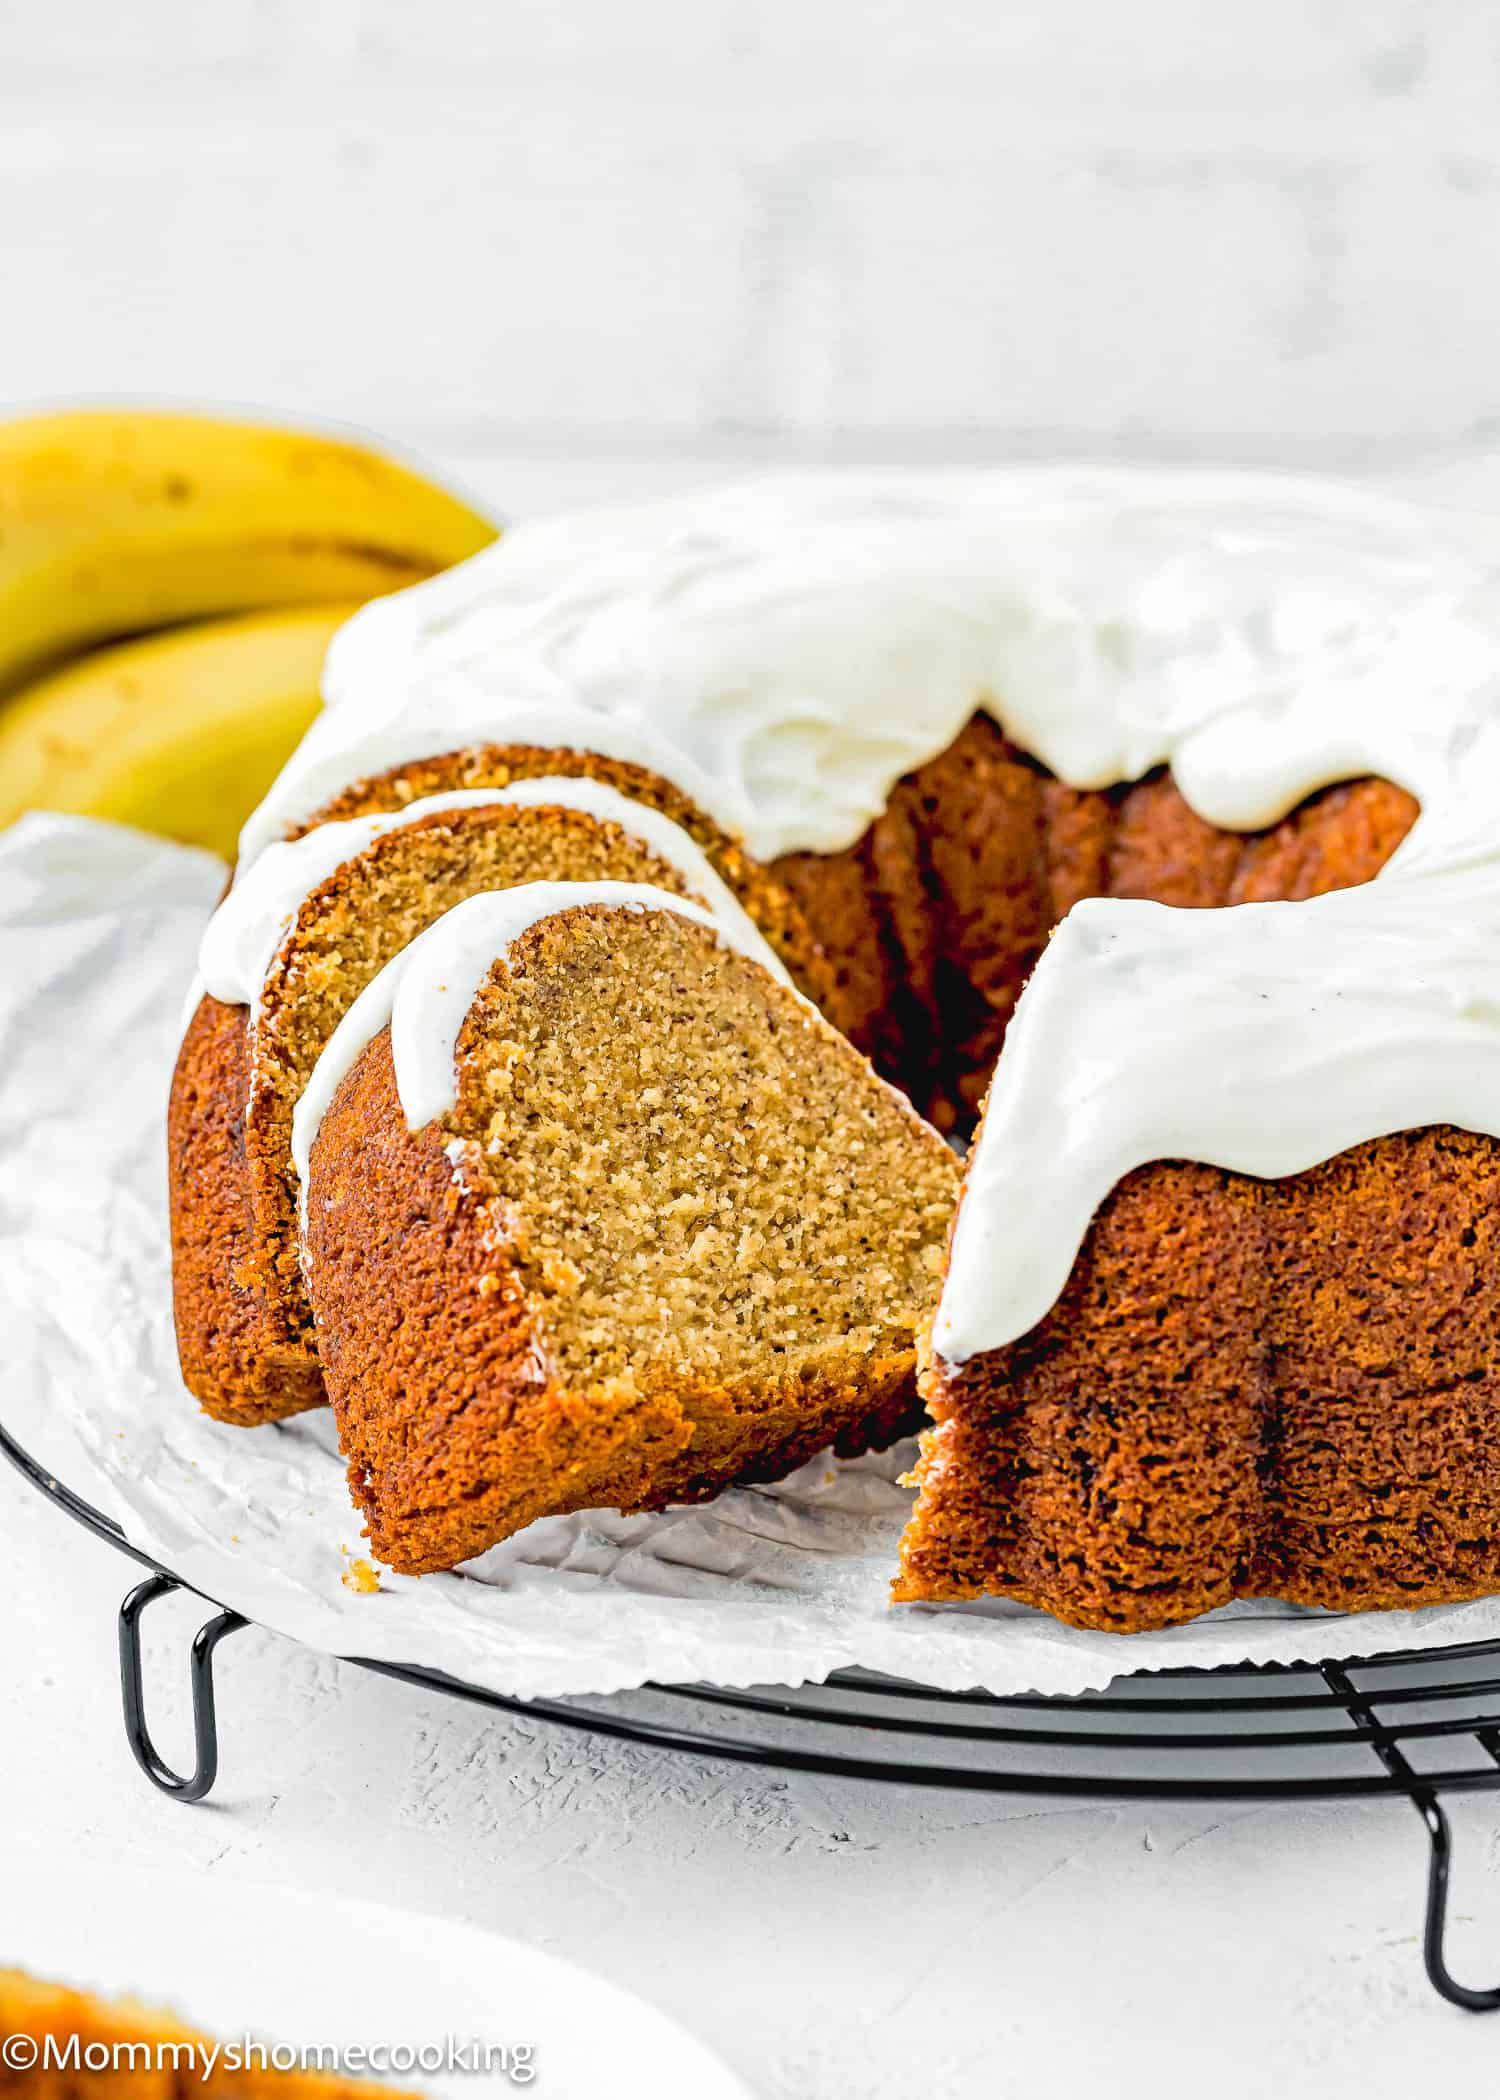
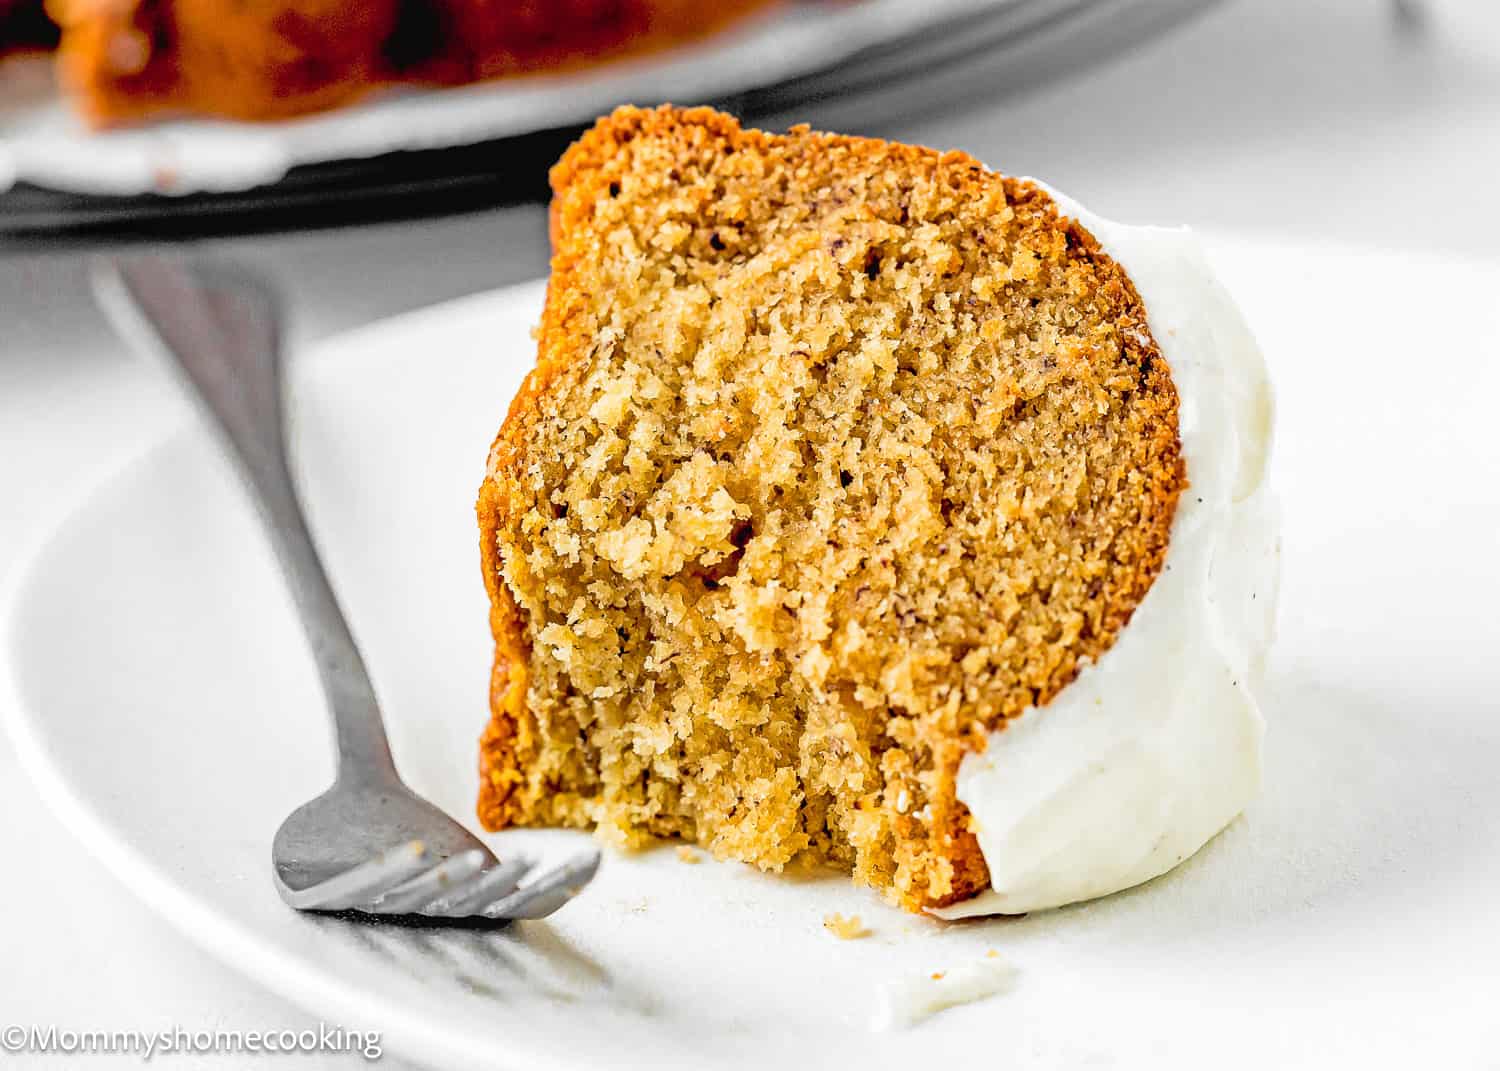
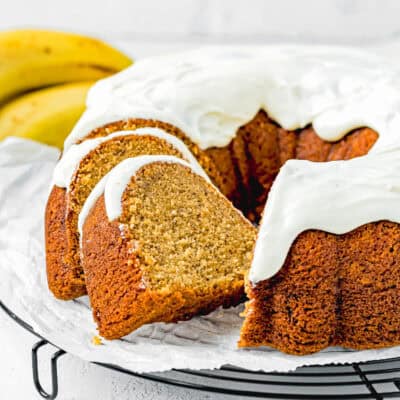
There’s just something so comforting about a slice of banana cake, don’t you think? This Eggless Brown Butter Banana Bundt Cake is a treat I turn to whenever I want to bake something special but easy. The brown butter gives the cake a nutty, caramelized flavor that makes it irresistible. This Eggless Brown Butter Banana Bundt Cake is simple and impressive. With just a few pantry staples and ripe bananas, you can whip up a cake that feels like it took a lot more effort. Plus, the cream cheese icing drizzled on top? It’s like the cherry on a sundae—absolutely divine! I often make this cake to share with friends, and it never fails to bring smiles all around. This banana bundt cake is totally egg-free and can be easily adapted to be dairy and gluten-free, too. If you’re like me and enjoy spreading a little joy through baking, this is the perfect cake to do just that. Whether it’s a family gathering, a friendly get-together, or a simple treat for yourself, this cake is always a good idea.
Ingredients You’ll Need, Substitutions & Notes
Please check the recipe card at the bottom of the post for exact quantities and detailed instructions (scroll down). Effortless to Make: Even though it tastes like a bakery-quality treat, this cake is a breeze to whip up. You don’t need any fancy equipment or hard-to-find ingredients—just a bowl, a whisk, and a love for baking. A Classic That Never Gets Old: This cake is one of those timeless desserts that people just can’t get enough of. It’s got that familiar banana flavor we all love, but with a few upgrades that make it feel fresh and exciting every time. The Magic of Brown Butter: Brown butter is like a secret weapon in baking. It adds a deep, rich, nutty flavor that takes this banana cake from good to incredible. Once you’ve tried it, you’ll wonder how you ever made banana cake without it. Divine Texture: Thanks to the bananas, yogurt, and the right mix of ingredients, this cake turns out wonderfully tender, moist, and fluffy. Each bite is light yet satisfying, with a perfect crumb that melts in your mouth. Perfect for Sharing: This Bundt cake is made for sharing! It’s just the right size to bring to a party or to slice up for neighbors. Plus, it’s so pretty with that cream cheese icing drizzled over the top—it’s sure to impress!
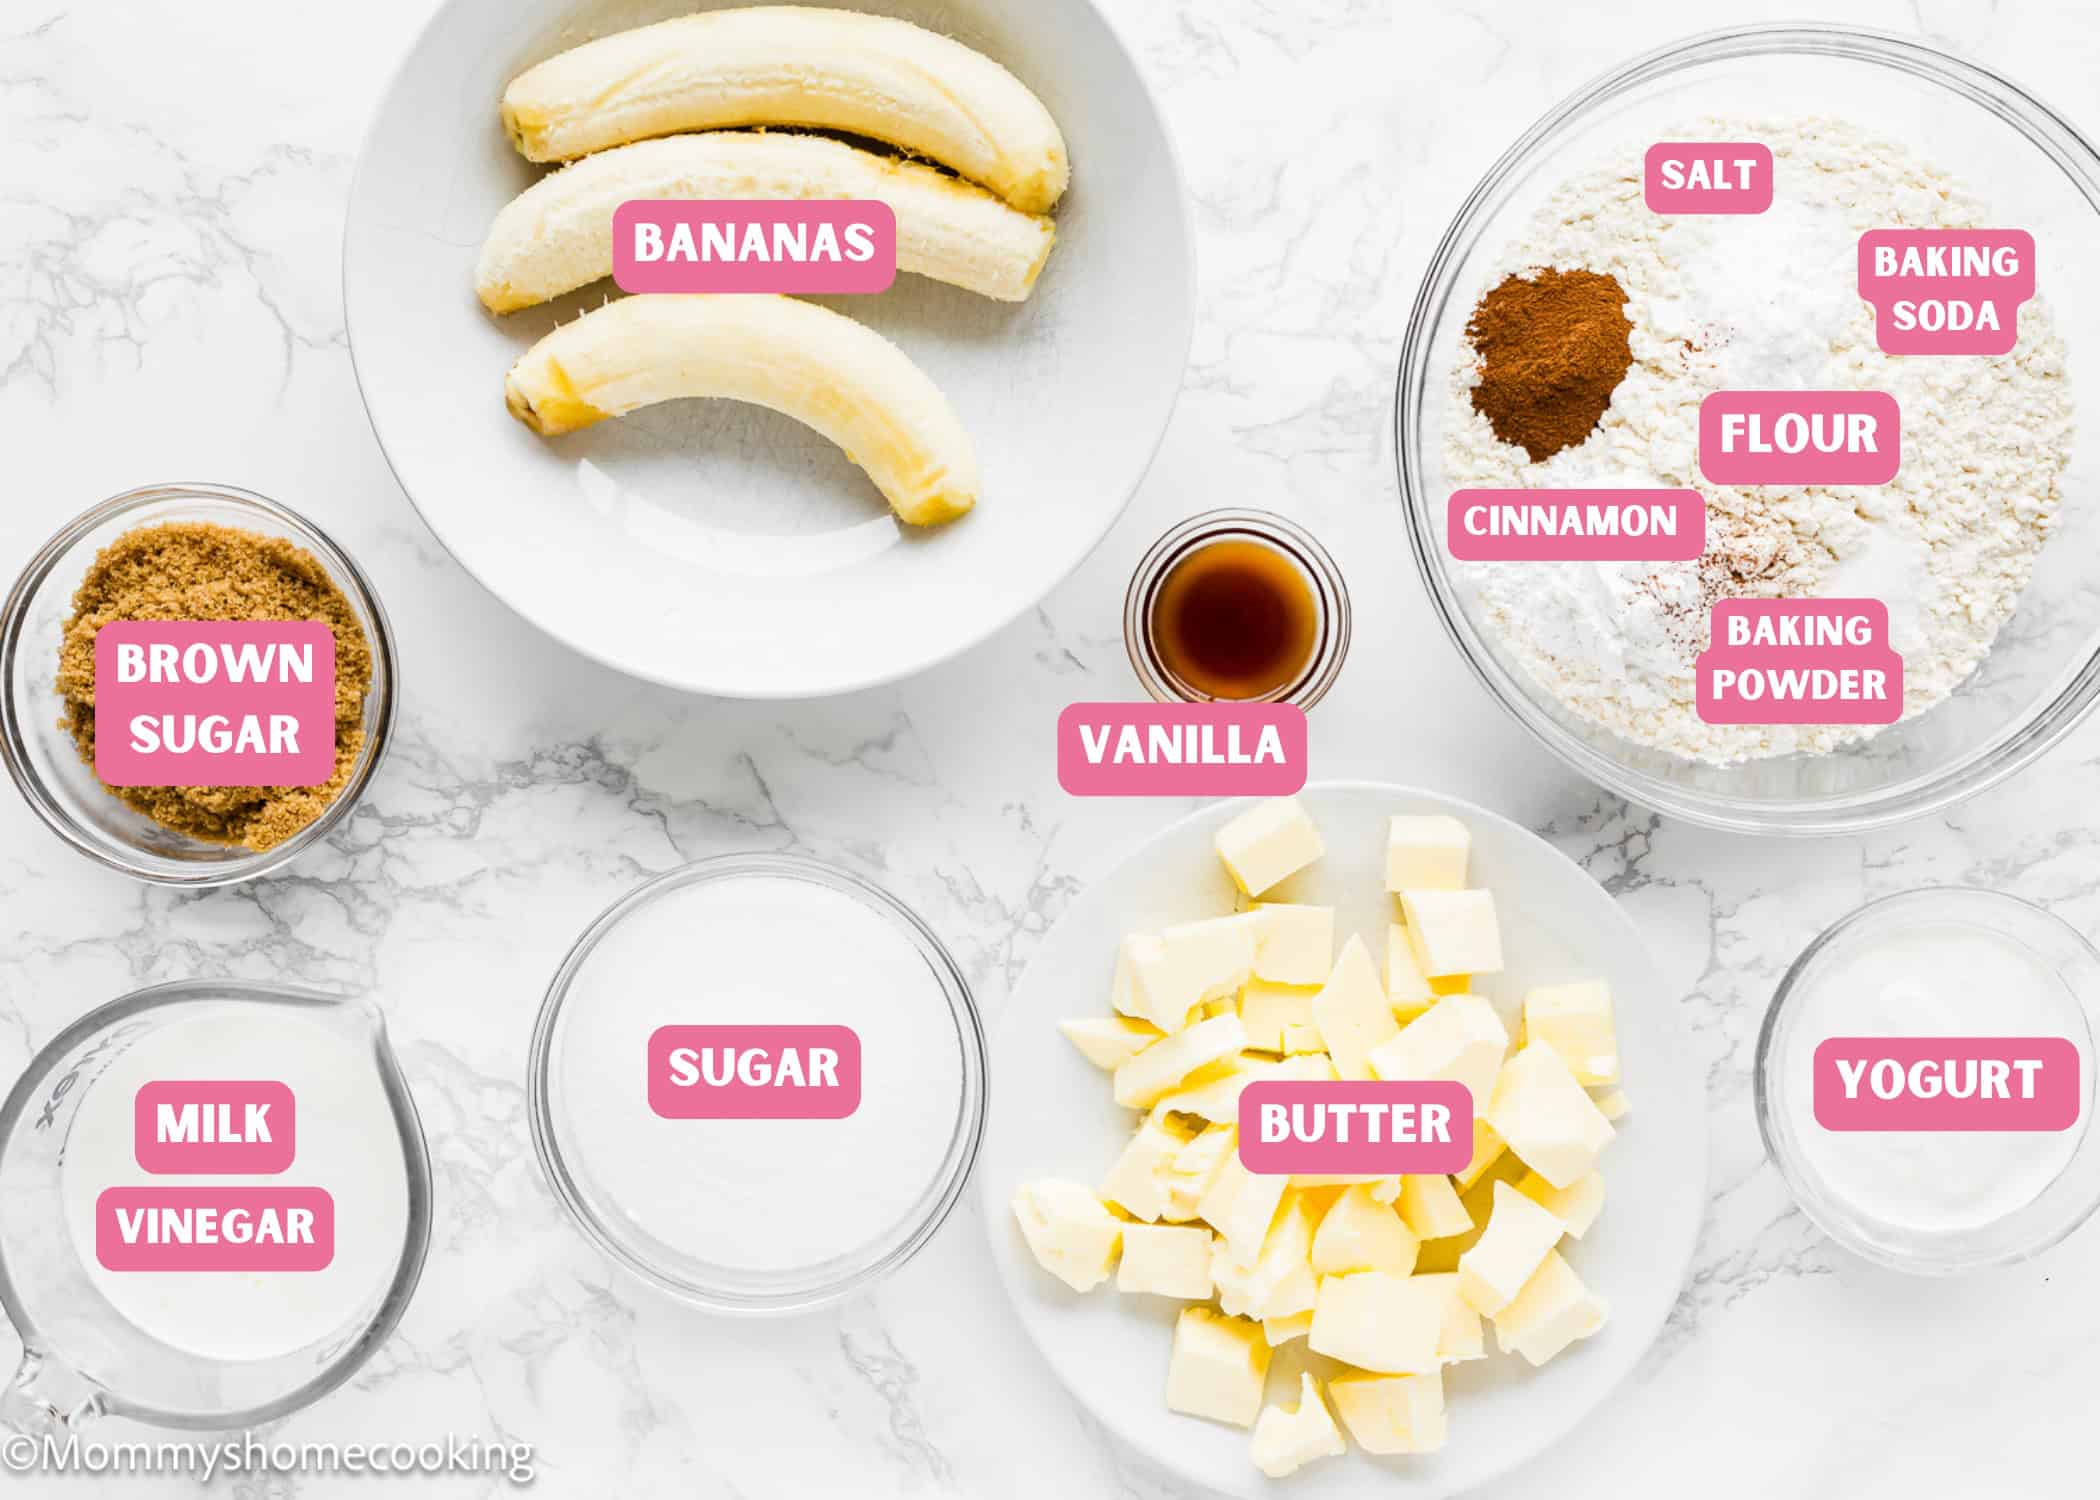
Butter: We brown it for that nutty, caramelized goodness. It’s the flavor star here! Note: Dairy or non-dairy butter will work fine. Read below for the details about how to make brown butter with plant-based butter. All-Purpose Flour: The base of our cake, giving it structure. Baking Powder & Baking Soda: These help the cake rise and stay light and fluffy. Note: Make sure they’re not expired or too old. To avoid a chemical aftertaste, use baking powder that is labeled aluminum-free. I usually use the Clabber Girl brand, and though the ingredients state aluminum, I’ve never noticed an aluminum aftertaste. Salt & Ground Cinnamon: A pinch of salt enhances all the flavors, while cinnamon adds warmth. Milk & Vinegar: These combine to create a buttermilk-like effect, adding moisture and a slight tang. Note: Dairy or non-dairy milk will work fine. Read the food allergy swaps section below for more details. Granulated & Brown Sugar: Granulated sugar sweetens, while brown sugar adds moisture and a subtle caramel flavor. Bananas: Ripe bananas are key for sweetness and moistness. Yogurt: Adds moisture and helps with the tender crumb. Note: Dairy or non-dairy yogurt will work fine. Read the food allergy swaps section below for more details. Pure Vanilla Extract: Because everything tastes better with a splash of vanilla!
For The Cream Cheese Icing:
Cream Cheese & Butter: The rich base for our icing. Note: Use the cream cheese that comes in blocks (no spreadble). Confectioners’ Sugar: Sweetens the icing to perfection. Vanilla & Salt: Enhances the flavor of the icing. Heavy Cream or Milk: Helps achieve the perfect drizzling consistency.
Process Overview: Step-by-Step Photos
Please check the recipe card at the bottom of the post for exact quantities and detailed instructions (scroll down).
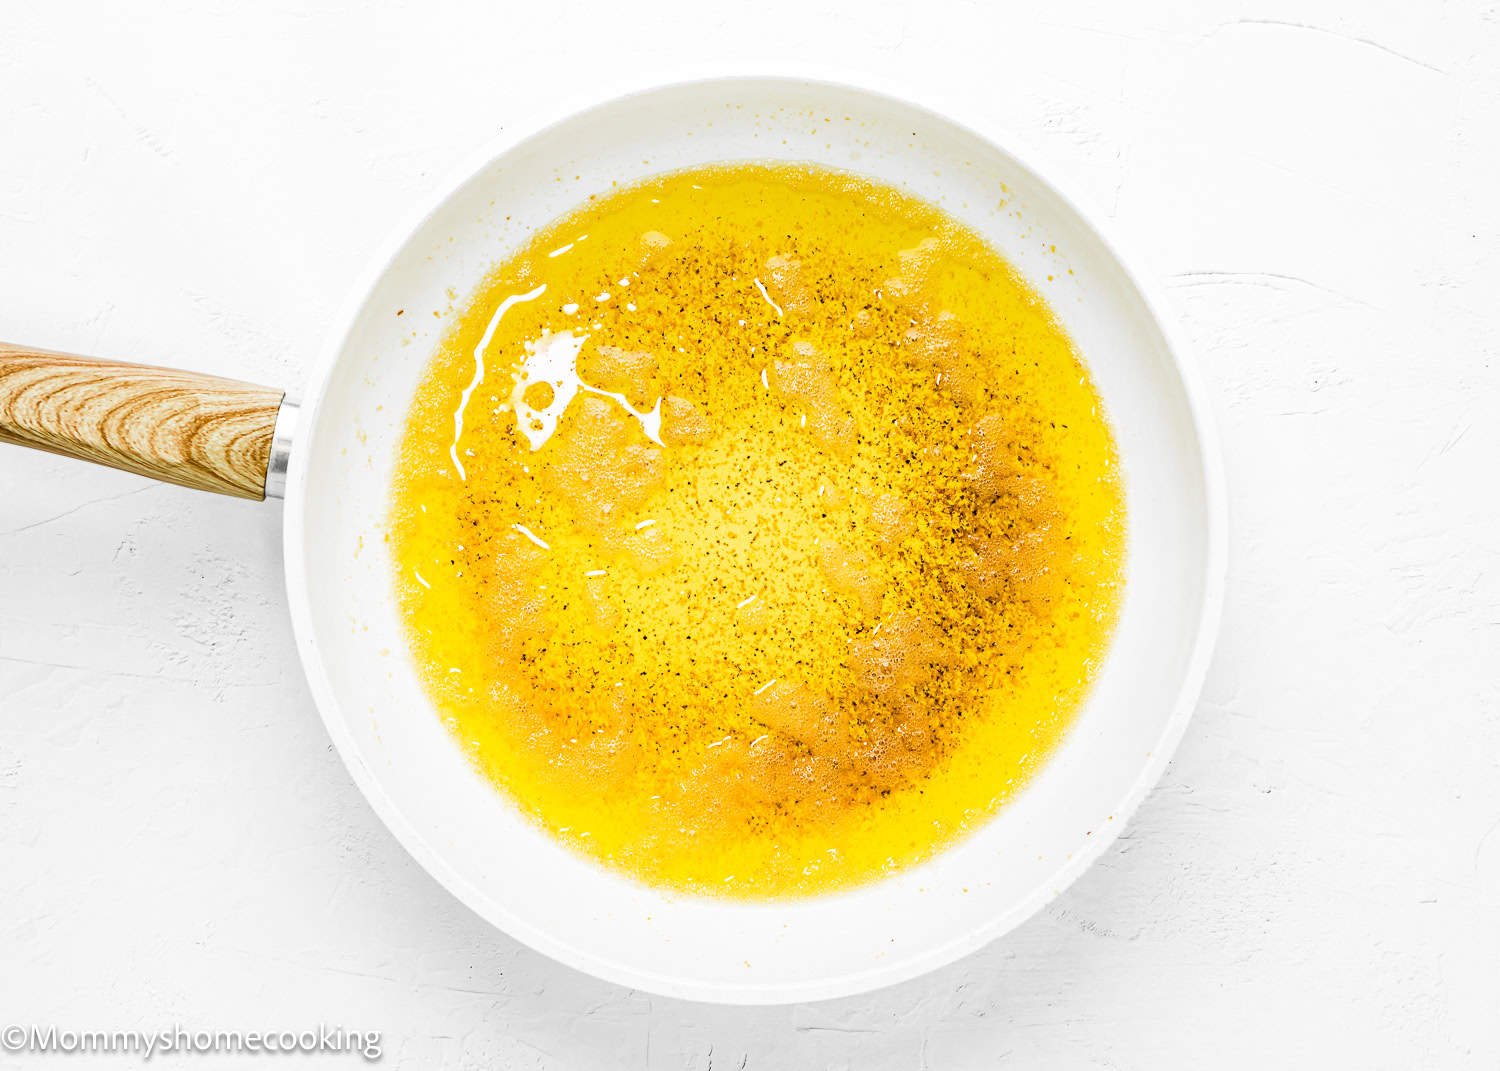
Step 1 – Brown The Butter
In a small saucepan, melt the butter over medium-low heat and continue to cook, swirling occasionally, until it turns golden brown and has a nutty aroma. Pour the butter into a small bowl and set aside to cool to room temperature.
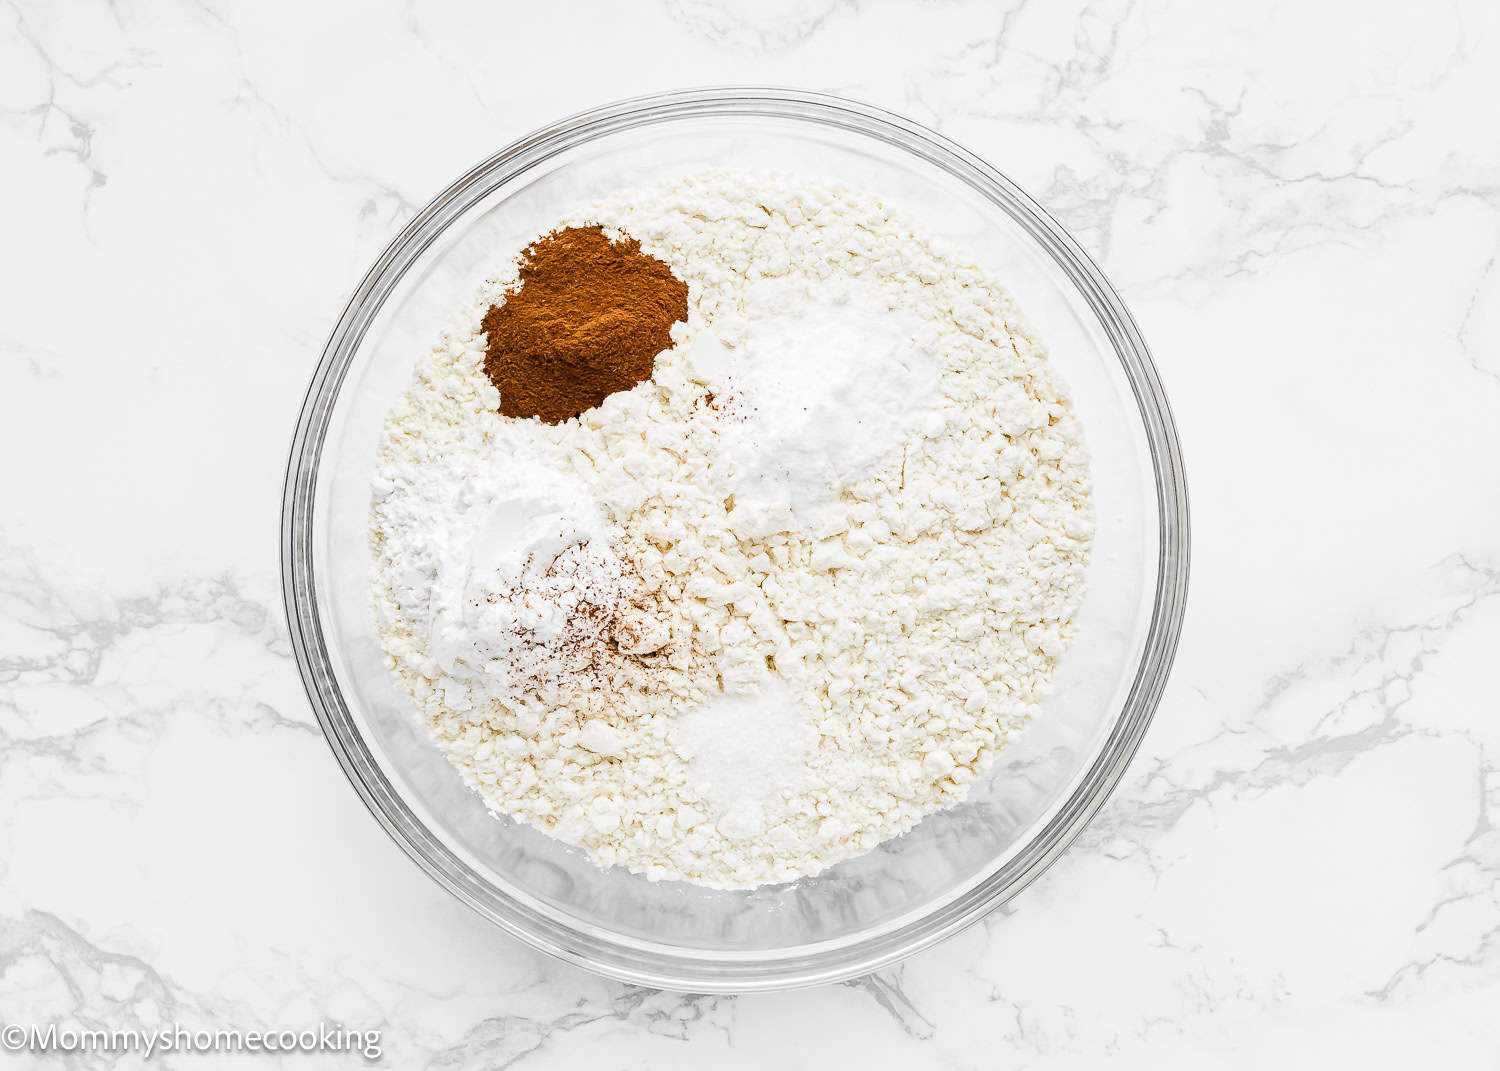
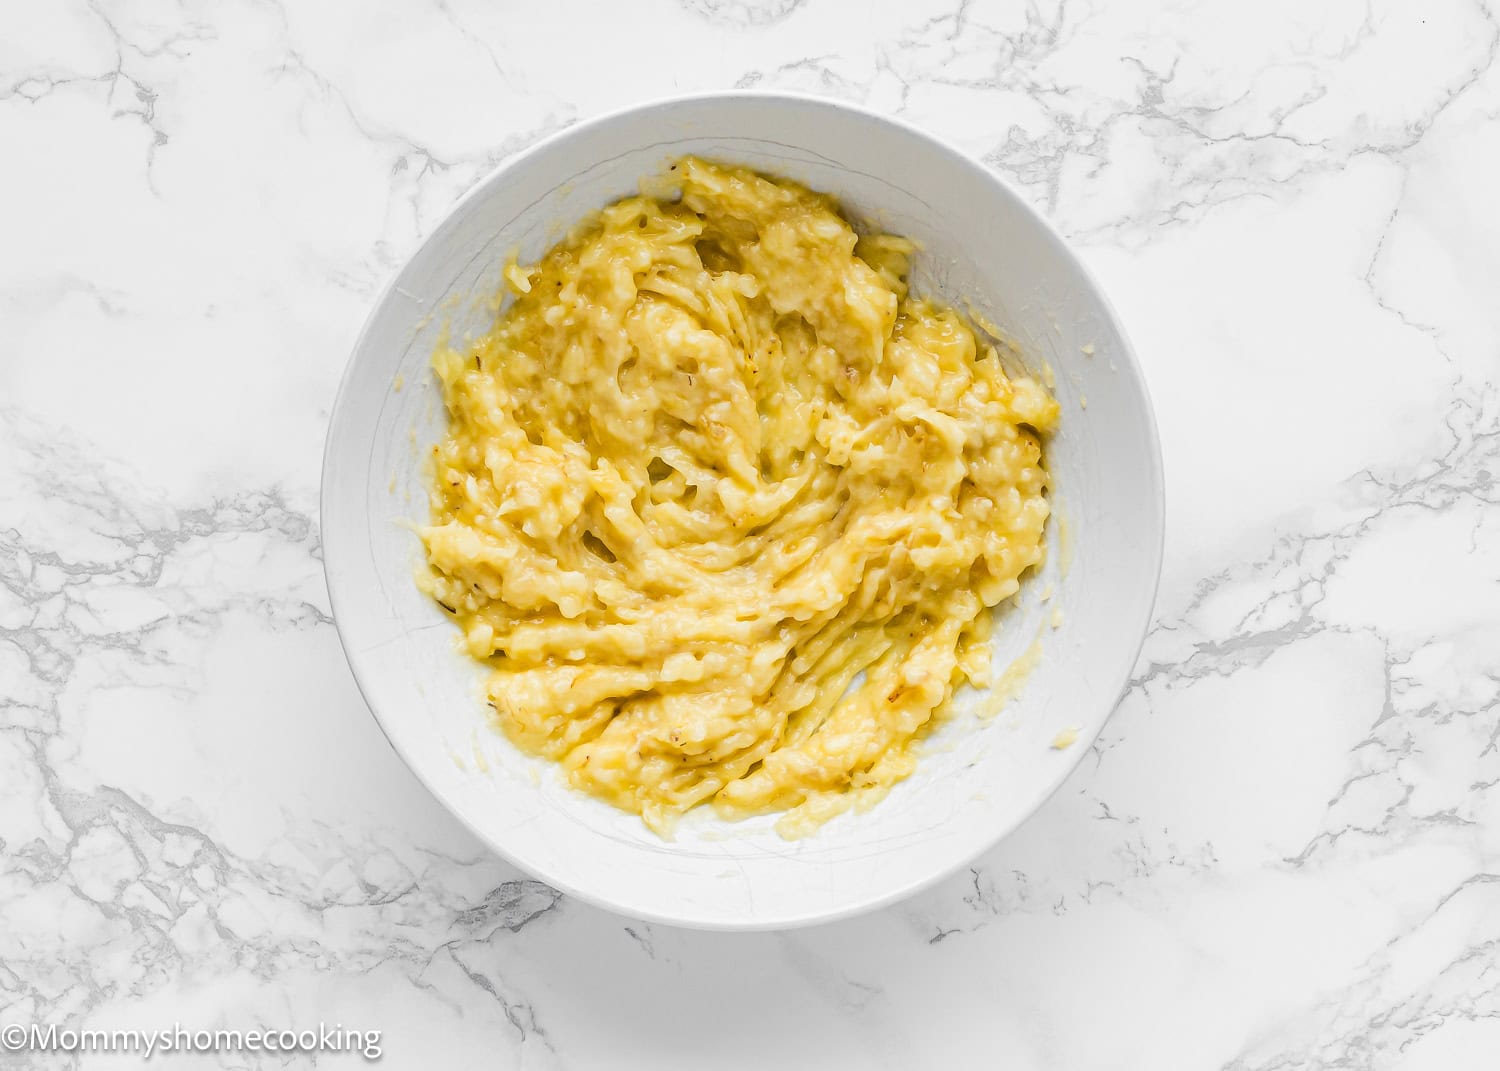
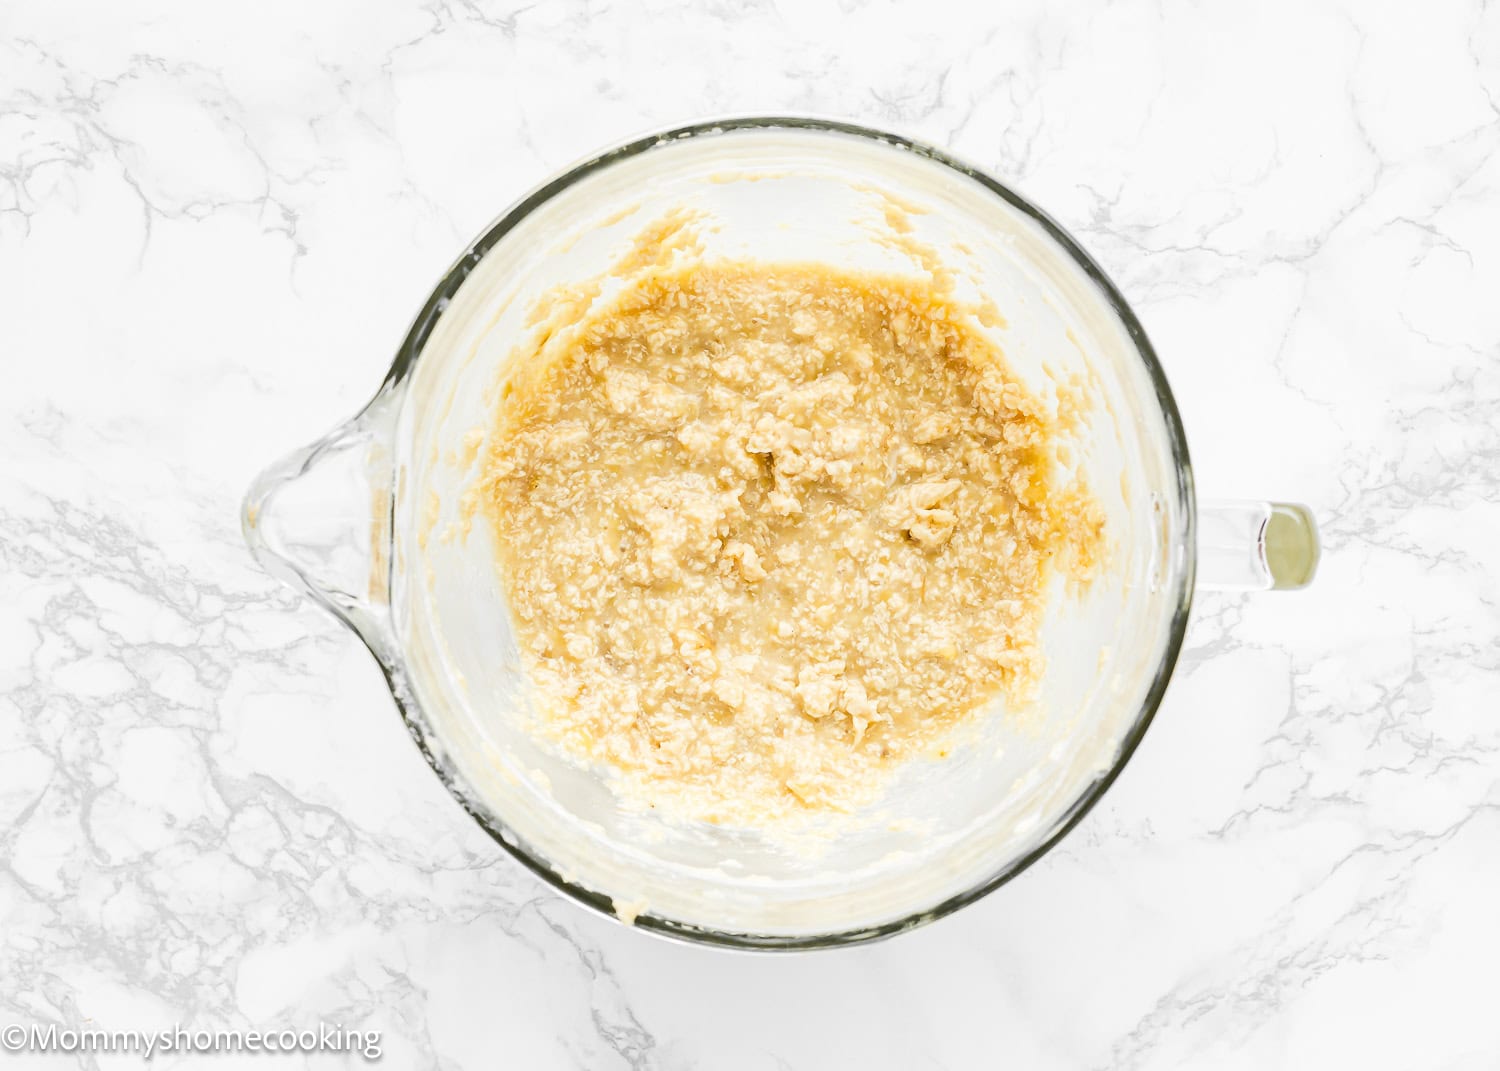
Step 2 – Make The Cake Batter
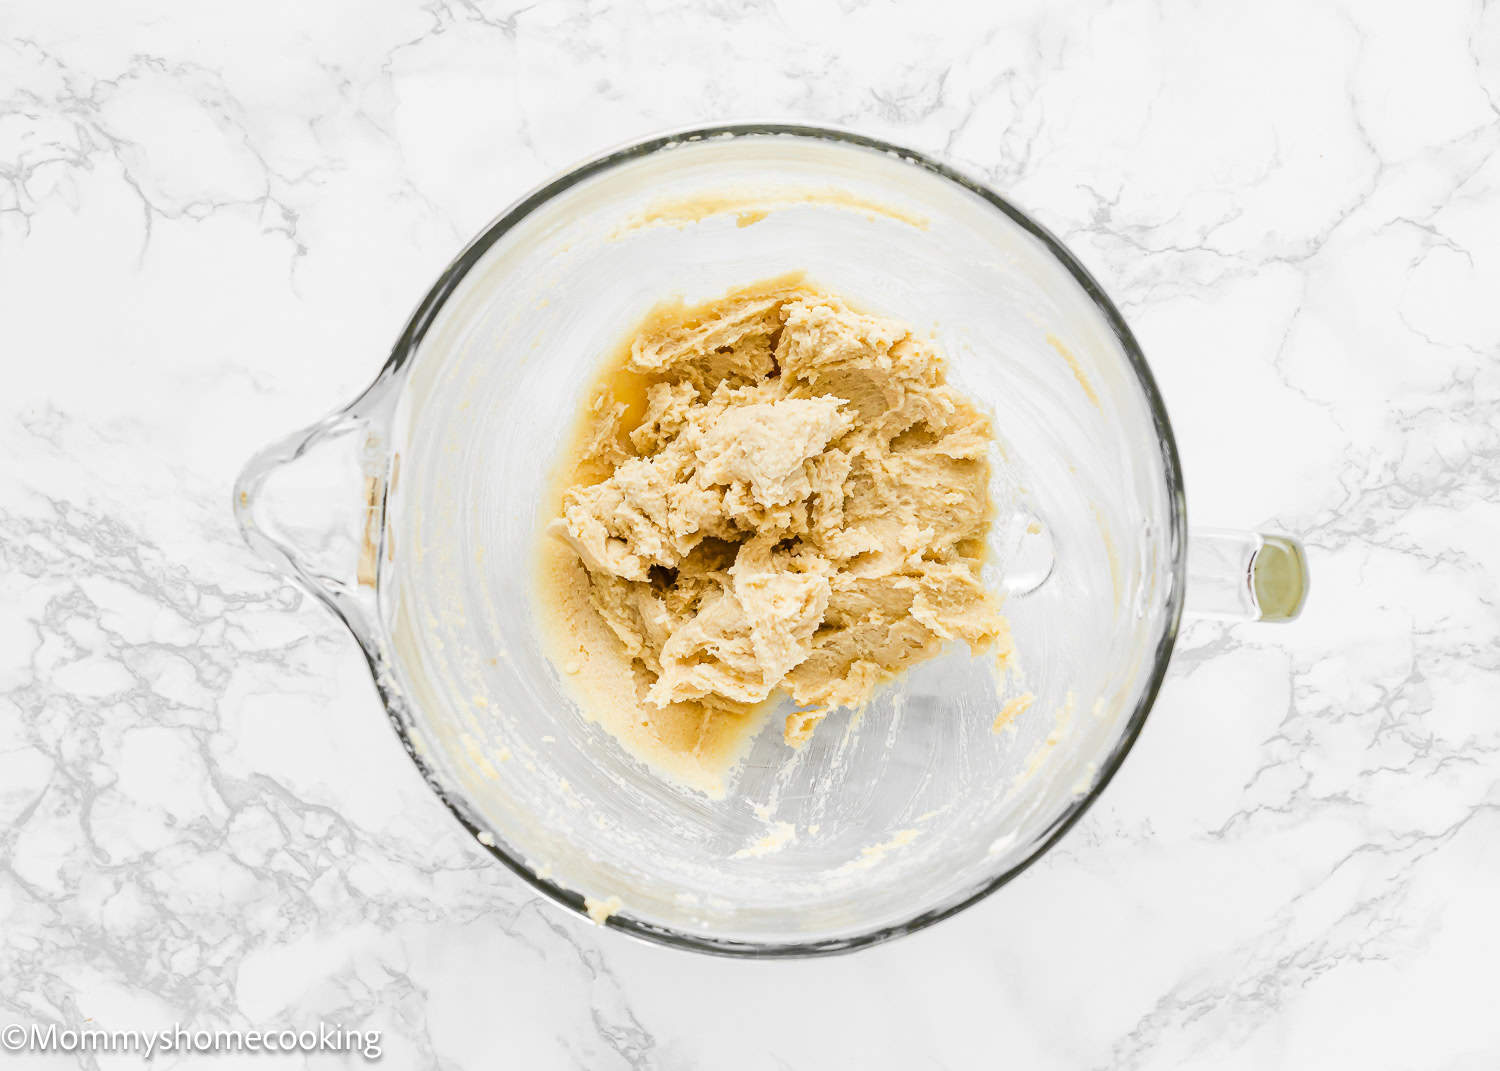
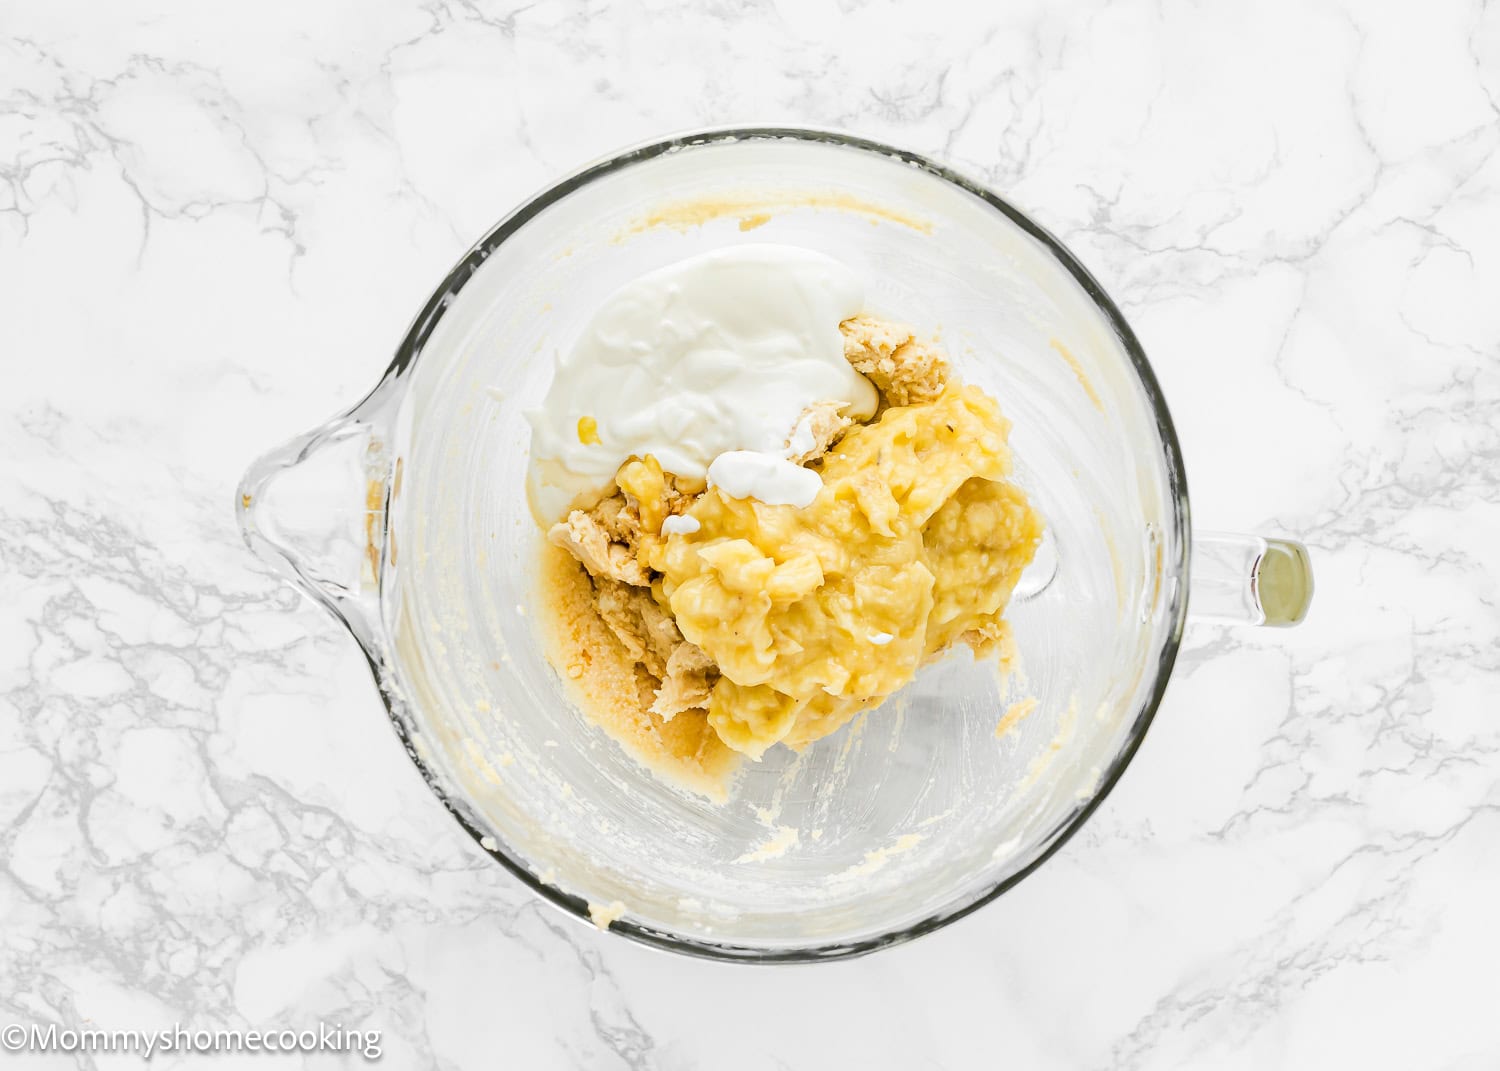
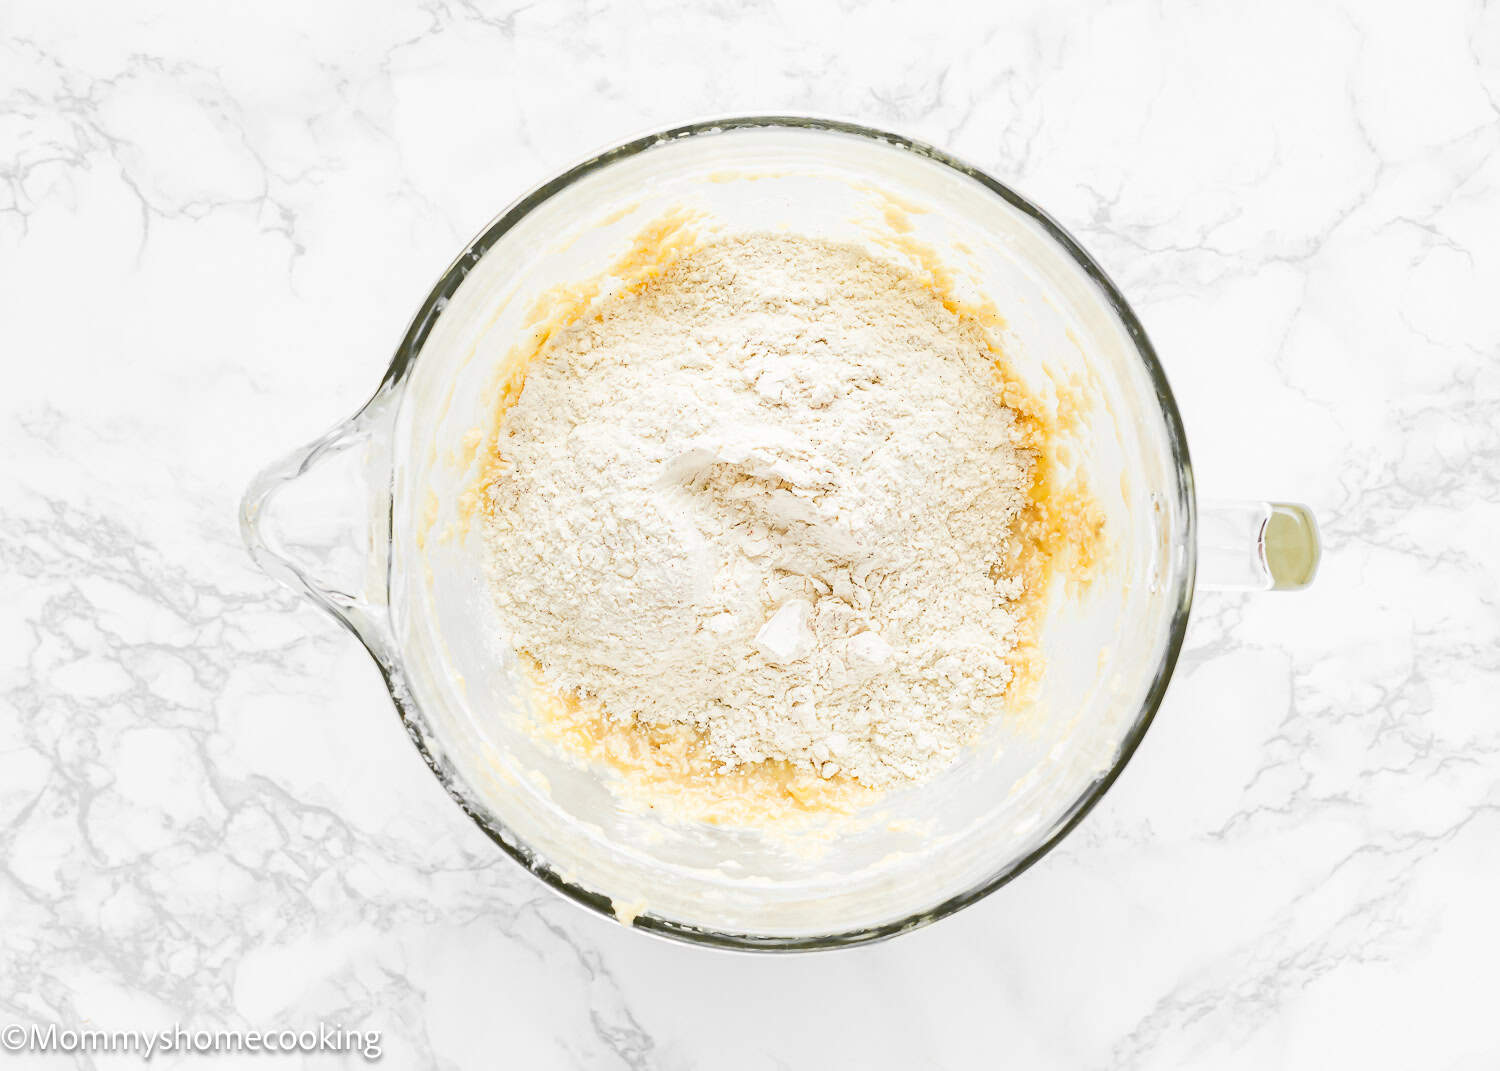
In a large bowl, whisk together flour, baking powder, baking soda, salt, and cinnamon. Set aside. Mash the bananas with a fork. In another mixing bowl, combine milk and vinegar. Let the mixture stand at room temperature for 5 minutes. When it is ready, the milk will be slightly thickened, and you will see small curdled bits. Reserve. In a large bowl, beat at medium-high speed butter and sugars until creamy and fluffy, about 3 minutes. Scrape down the sides and up the bottom of the bowl with a rubber spatula as needed. Add mashed bananas, yogurt, and vanilla; continue beating to combine. Reduce speed to low and add half of the flour mixture. Scrape down the mixing bowl with a spatula and turn the batter over several times to ensure all of the ingredients are well incorporated. Add milk mixture; continue beating to incorporate. Add the remaining flour; beat just until combined. Do not overmix this batter. The batter will be slightly thick, and a few lumps are okay.
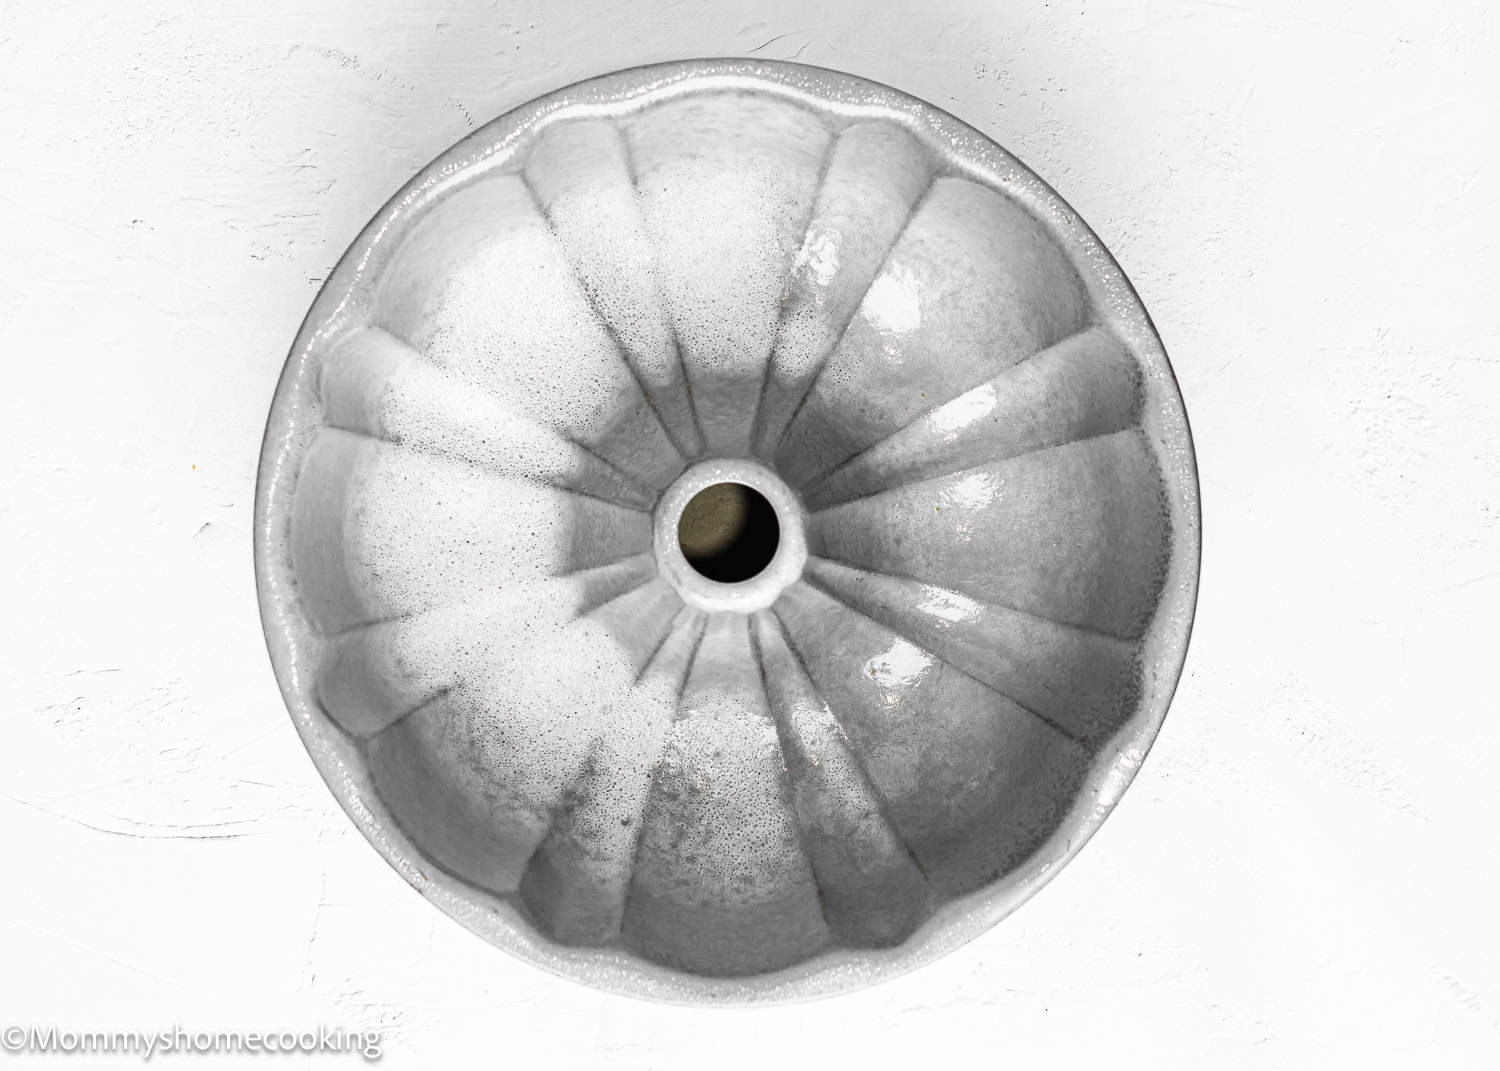
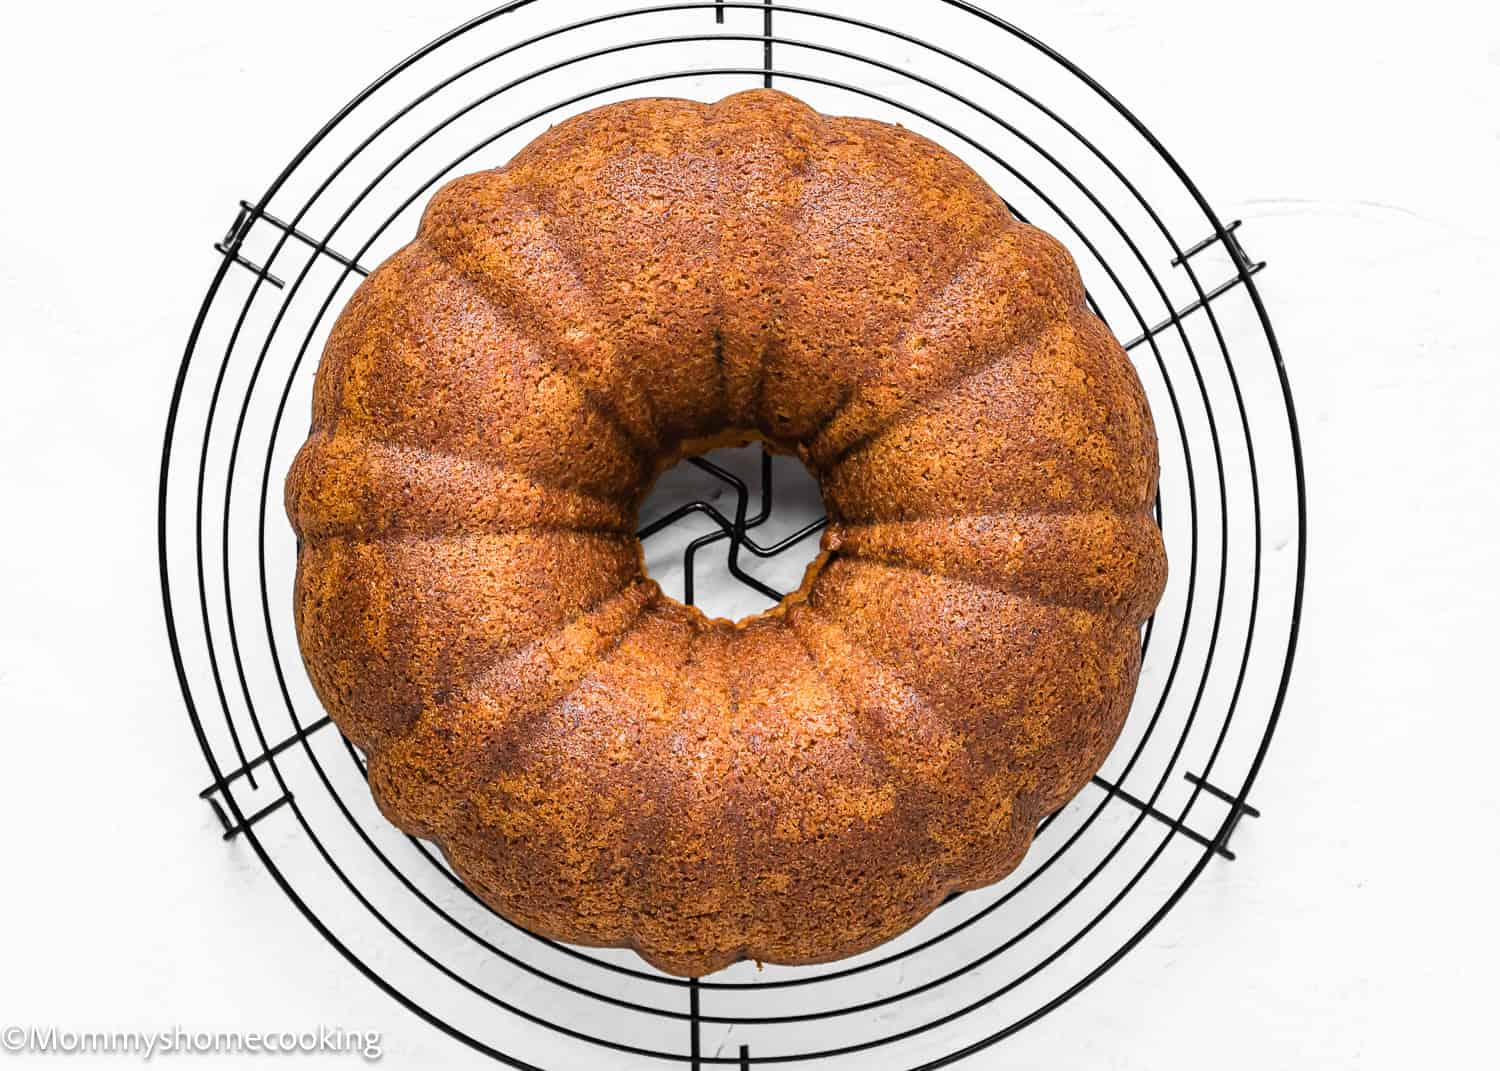
Step 3 – Bake
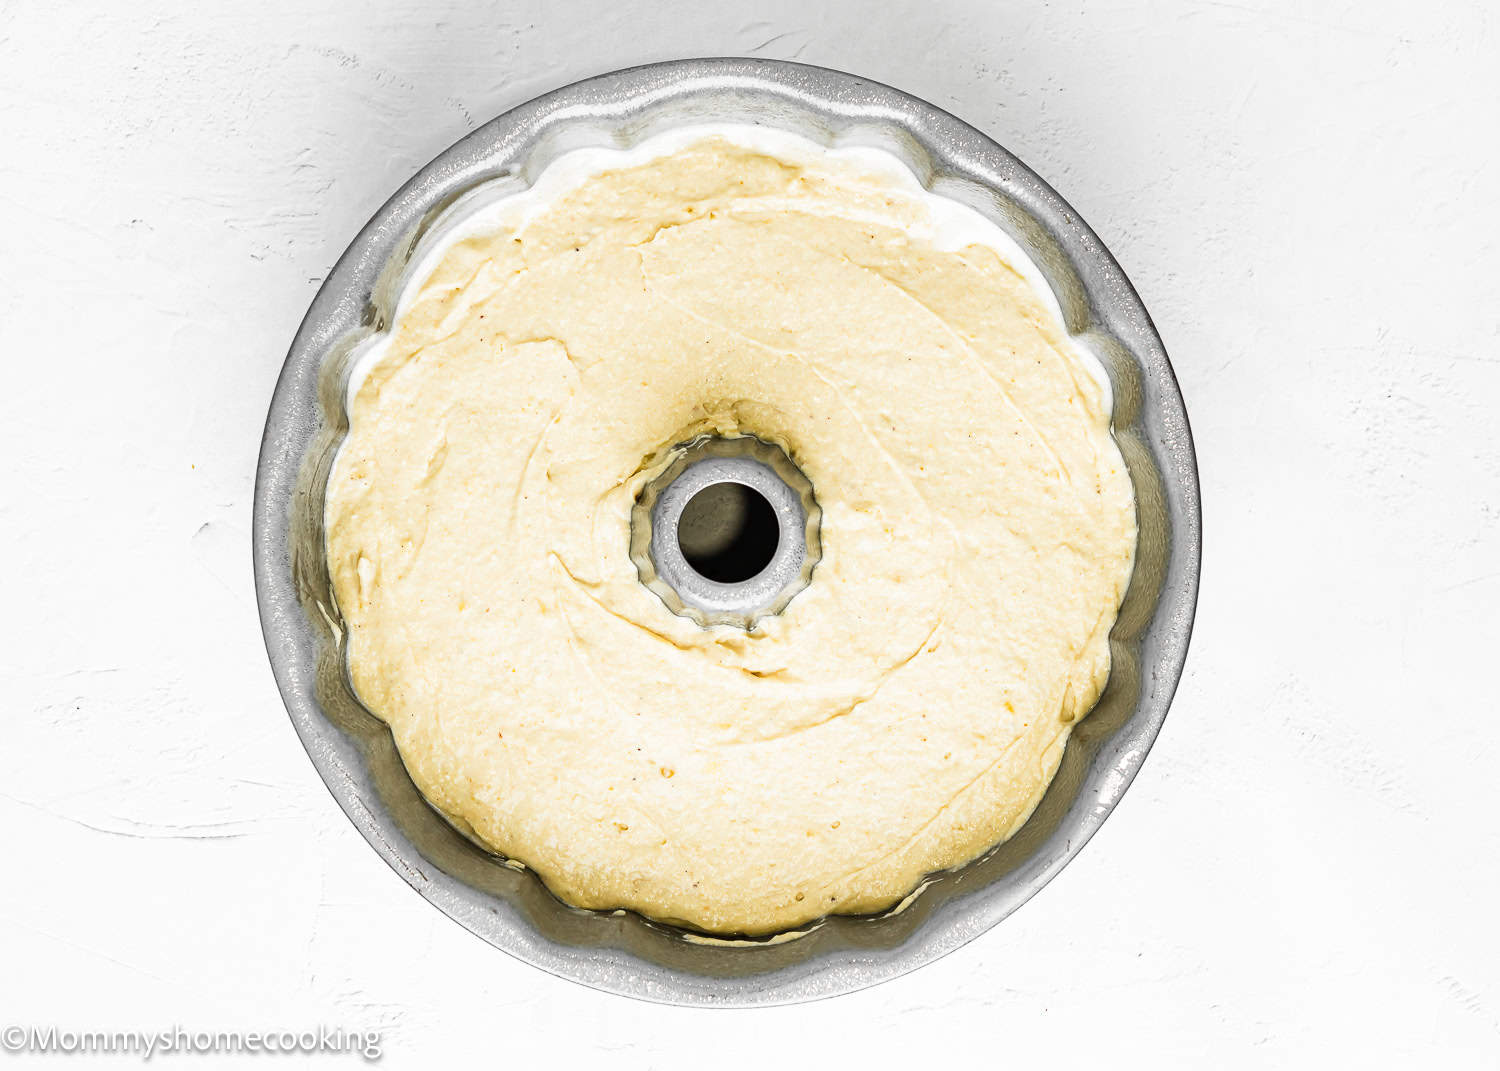
Generously grease a 12-cup Bundt pan with cooking spray. Make sure every part of the pan is greased really well. Scrape the batter evenly into the prepared pan and smooth the top with a spatula. Pour the cake mixture into the prepared bunt pan. Bake for 55 to 70 minutes, or until a long wooden skewer or thin knife inserted deep into the center of the cake comes out mostly clean. It’s ok if there are a few crumbs, but you don’t want the skewer to be wet. If the cake starts to brown too quickly on top, you can loosely tent it with foil. Check around 30 minutes to be safe, every oven is different. Remove the cake from the oven and let it cool on a cooling rack for 30 minutes. Carefully invert the cake onto a cake platter or cake stand.
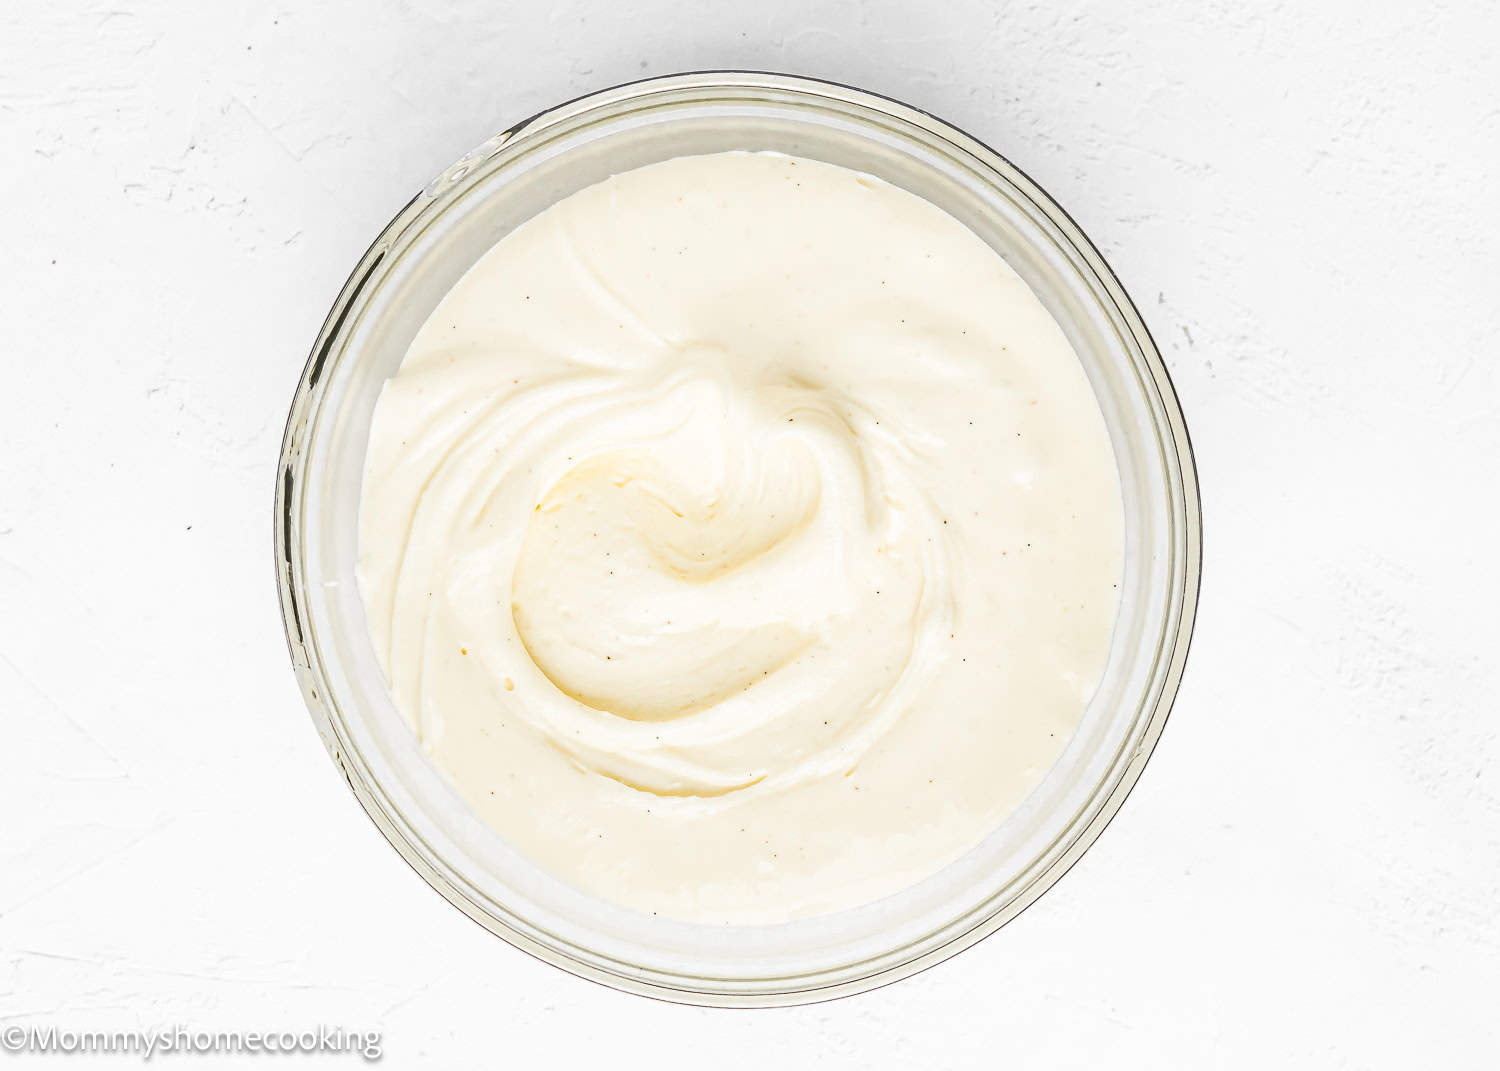
Step 4 – Make The Frosting
While the cake is cooling, prepare the cream cheese icing. Using a stand mixer or a hand mixer, mix the cream cheese and butter together until there is a smooth consistency. Incorporate the confectioners’ sugar, vanilla, cream or milk, and a pinch of salt. Beat the mixture at medium speed until it becomes creamy and smooth, about 2 minutes.
Step 5 – Frost The Cake and Serve
Food Allergy Swaps
Dairy-Free: To make this recipe dairy-free, you can easily swap out the dairy ingredients for non-dairy alternatives. Instead of milk, use non-dairy milk like soy or oat milk and use vegan butter and plain unsweetened yogurt. There are many brands available in stores. I usually use Earth Balance Vegan Buttery Sticks or Miyoko’s Creamery Organic Vegan Butter. For the cream cheese, I like Violife Just Like Cream Cheese Original. Here you can find the brands I mostly like and use. Gluten-Free: Use a gluten-free, all-purpose flour blend. Look for a gluten-free flour blend specifically formulated for baking, as it will have the right combination of flours and starches to mimic the texture of wheat flour. My favorite is Better Batter Original Blend. I also like Doves Farm Freee Gluten-Free All-Purpose Flour, but this blend does not contain xanthan gum, so you need to add 1/4 teaspoon of xanthan gum per cup (140 g) of gluten-free flour blend.
How To Make Bronw Butter With Vegan, Dairy-Free or Plant-Based Butter
Making brown butter with plant-based butter is similar to the process with regular butter, but there are a few important differences to keep in mind, mainly due to the different composition of plant-based butter, which typically includes oils, emulsifiers, and other ingredients instead of the milk solids found in dairy butter. Keep in mind the following:
Measure Carefully: Especially with baking, precise measurements ensure the best results. I highly recommend using a kitchen scale. Preheat the oven for at least 15 minutes before you start, giving it plenty of time to reach the ideal recipe temperature. Room-Temperature Ingredients: Ensure that all wet ingredients are at room temperature before mixing. This helps them combine more easily and evenly. Don’t Overmix: Once you add the dry ingredients to the wet, mix just until combined to keep the cake tender. Don’t open the oven door until the cake(s) has set. Leave the oven closed until the minimum time is stated in the recipe. Know your oven! Every oven is different, so baking times must always be taken with a grain of salt. Oven thermostats can be wildly off, affecting baking time, so keep an eye on yours. The cake(s) are done when a toothpick inserted in the center comes out clean. Cool Completely Before Icing: This prevents the icing from melting and sliding off the cake.
1—Best Plant-Based Butter: For best results, choose one with a higher fat content that comes in sticks or blocks (no spreadable version). Some plant-based butters are more suitable for browning than others. Look for one with a higher fat content, as this will more closely mimic the browning process of dairy butter. Brands marketed as “baking sticks” tend to work better than spreads. 2 – Emulsifiers and Water Content: Plant-based butters often have more water and emulsifiers than dairy butter. This can lead to more steam and sputtering, so be cautious. 3 – No Milk Solids: Since plant-based butter doesn’t have milk solids, the browning process is slightly different. The color comes from the caramelization of the plant-based fats and oils rather than the Maillard reaction of milk proteins. 4 – Add the Nutty Flavor: Once the butter has melted, immediately add 1 teaspoon of natural cashew butter or almond butter. Use sunflower or pumpkin seed butter for a nut-free alternative. Continue cooking until the color of the butter gradually changes from pale yellow to golden brown. Keep a close eye on it, as plant-based butter can brown more quickly than dairy butter. Once the butter has reached a golden-brown color, immediately remove the pan from the heat. The butter can go from browned to burned very quickly.
Variations & Additions
Add Nuts: Walnuts or pecans add a nice crunch. Chocolate Chips: For an extra indulgent twist, fold in some chocolate chips. Spices: Try adding nutmeg or ginger for a different flavor profile.
Storing and Freezing Instructions
Store leftover cake in an airtight container at room temperature for 3 – 4 days. Freeze: Let the cake cool completely. Wrap it in several layers of plastic wrap to ensure it is tightly sealed. If you like, you can also add an extra layer of aluminum foil for extra protection against freezer burn. Defrost at room temperature before serving. Take into consideration that the cake will lose some of its fluffiness if refrigerated or frozen.
More Egg-Free Bundt Cake Recipes You’ll Love!
Simple Orange Bundt Cake (Egg-Free) Eggless Chocolate Bundt Cake Homemade Eggless Strawberry Bundt Cake Eggless Carrot Bundt Cake Eggless Red Velvet Bundt Cake Easy Eggless Vanilla Pound Cake Browse more recipes…
Recipe Card 📖