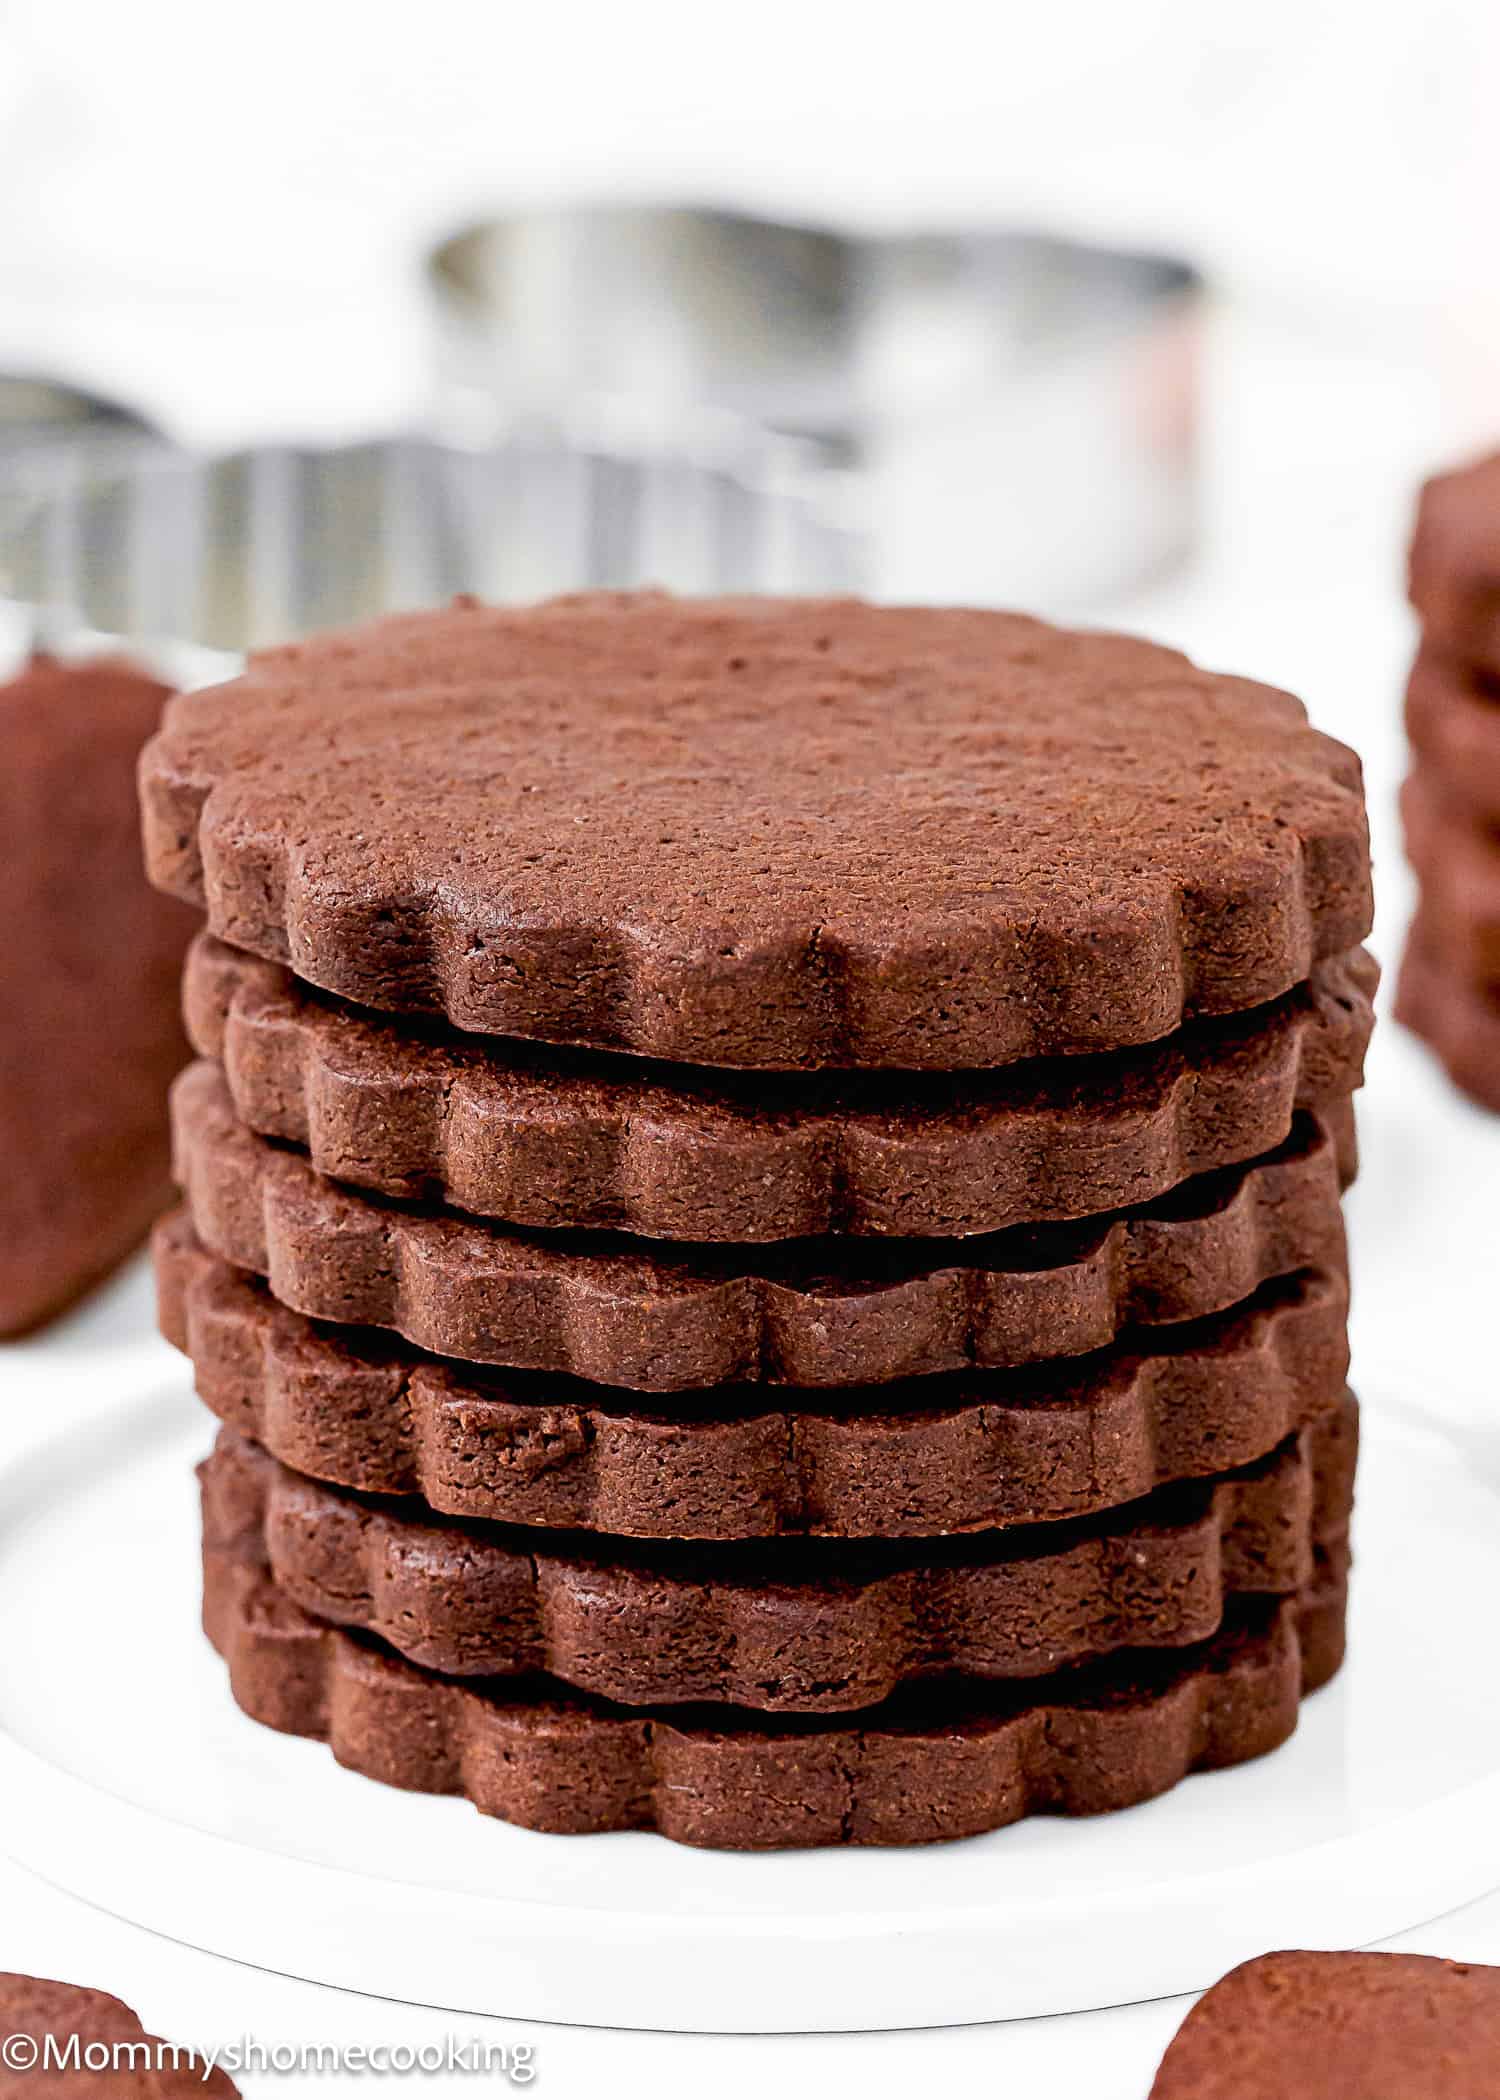
Oriana’s Thoughts On The Recipe
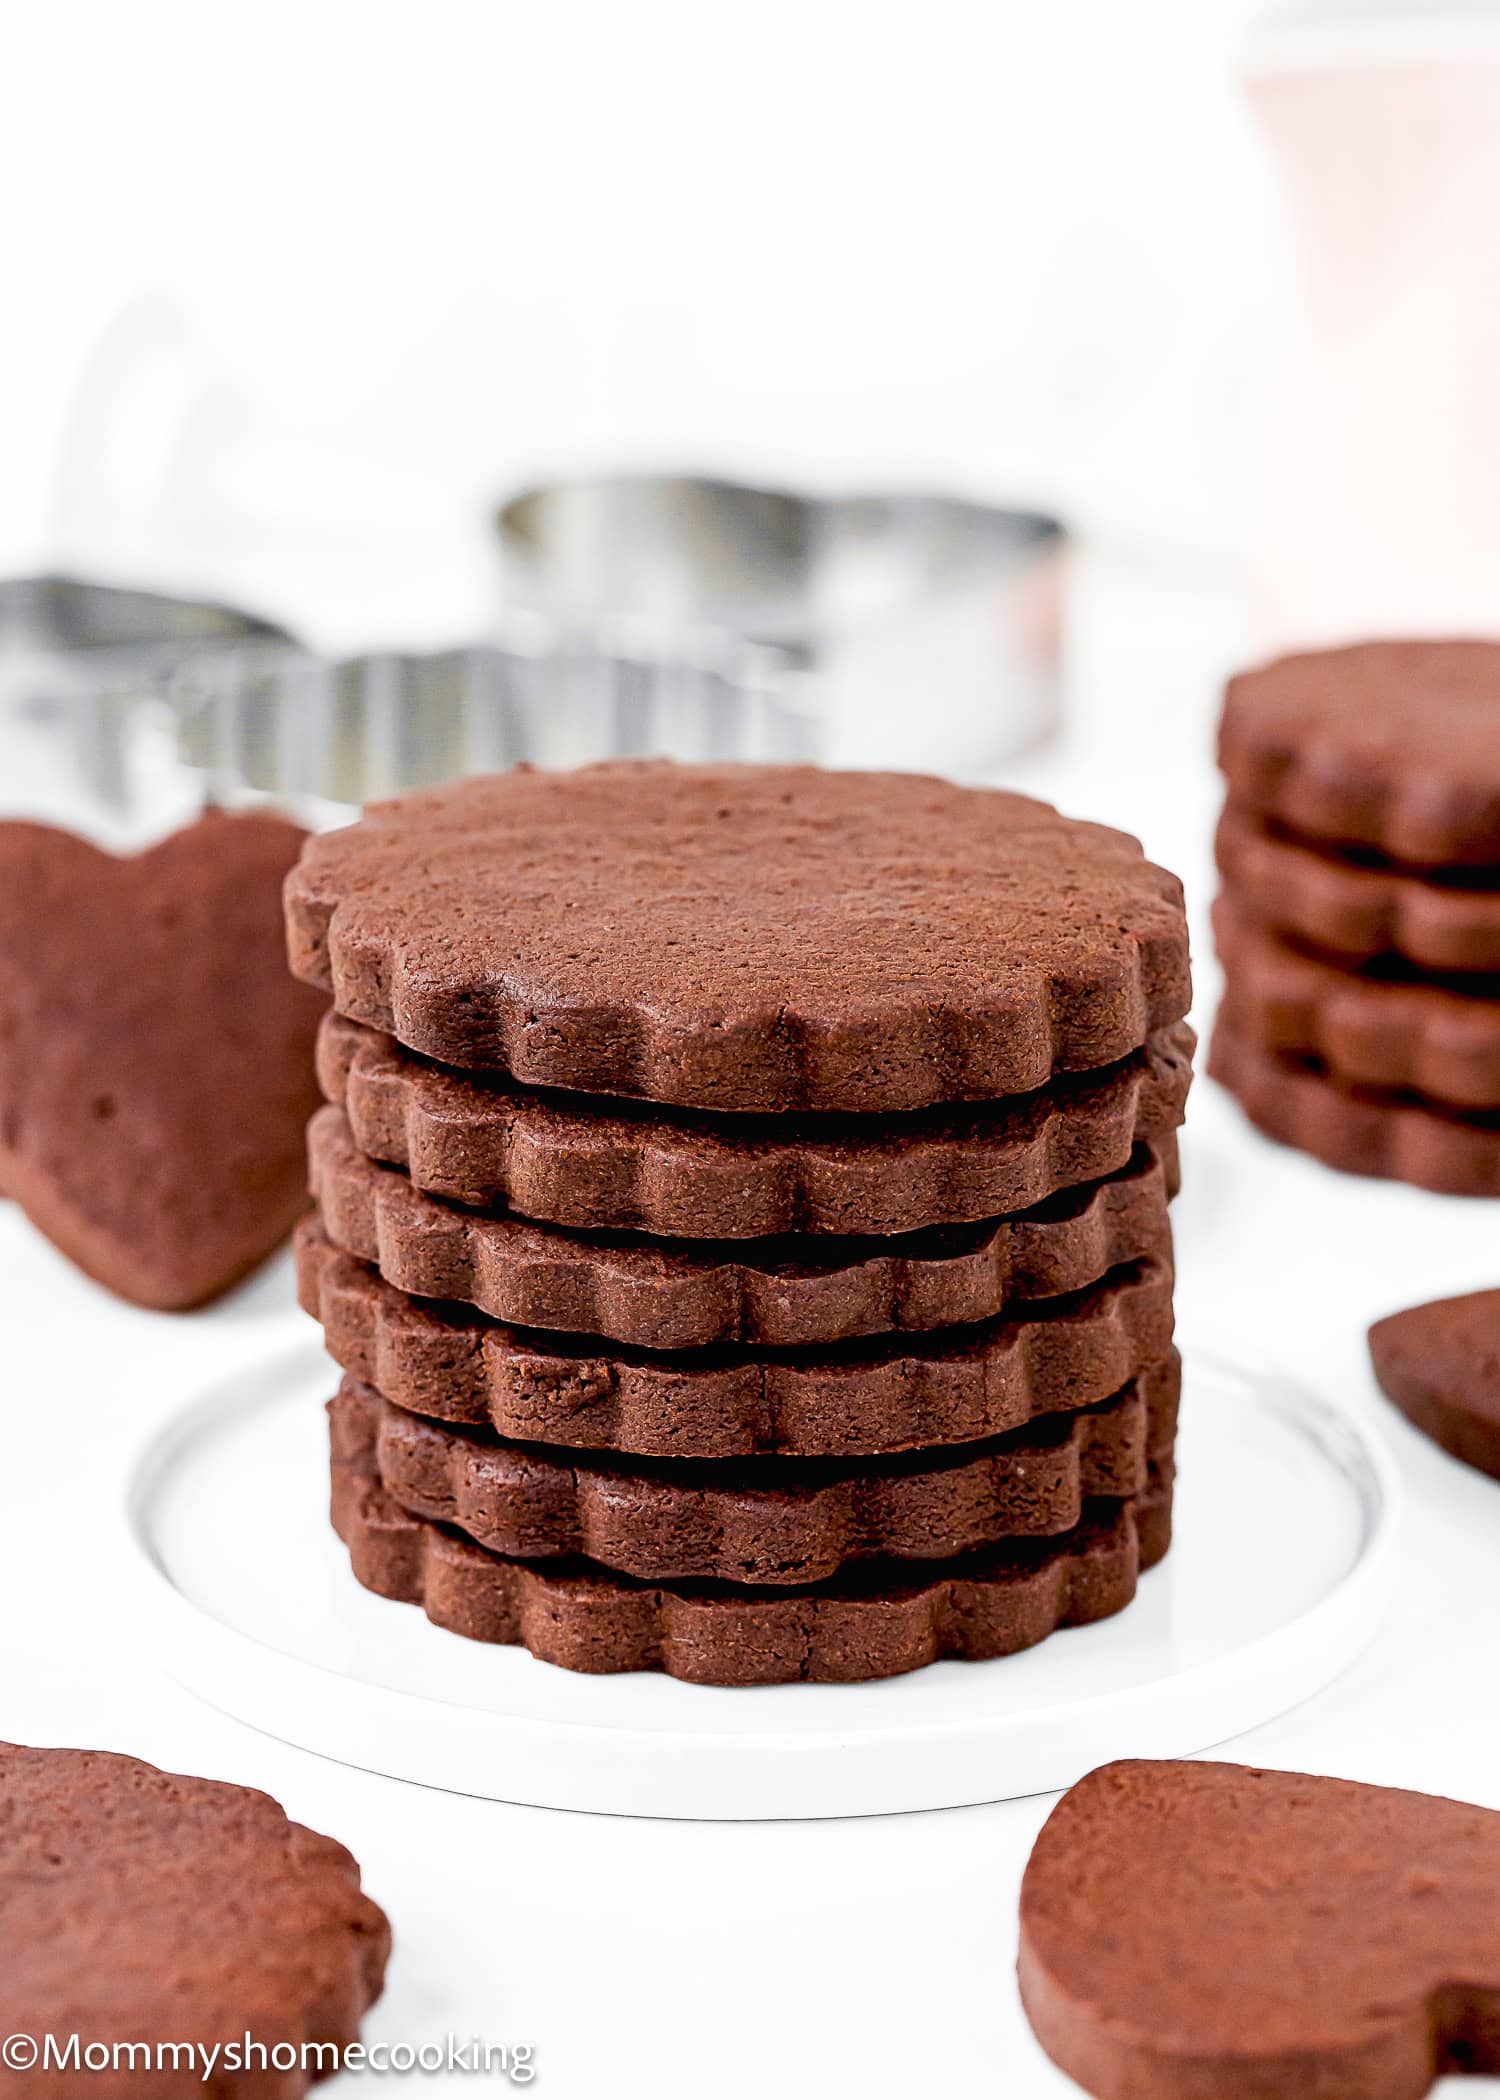
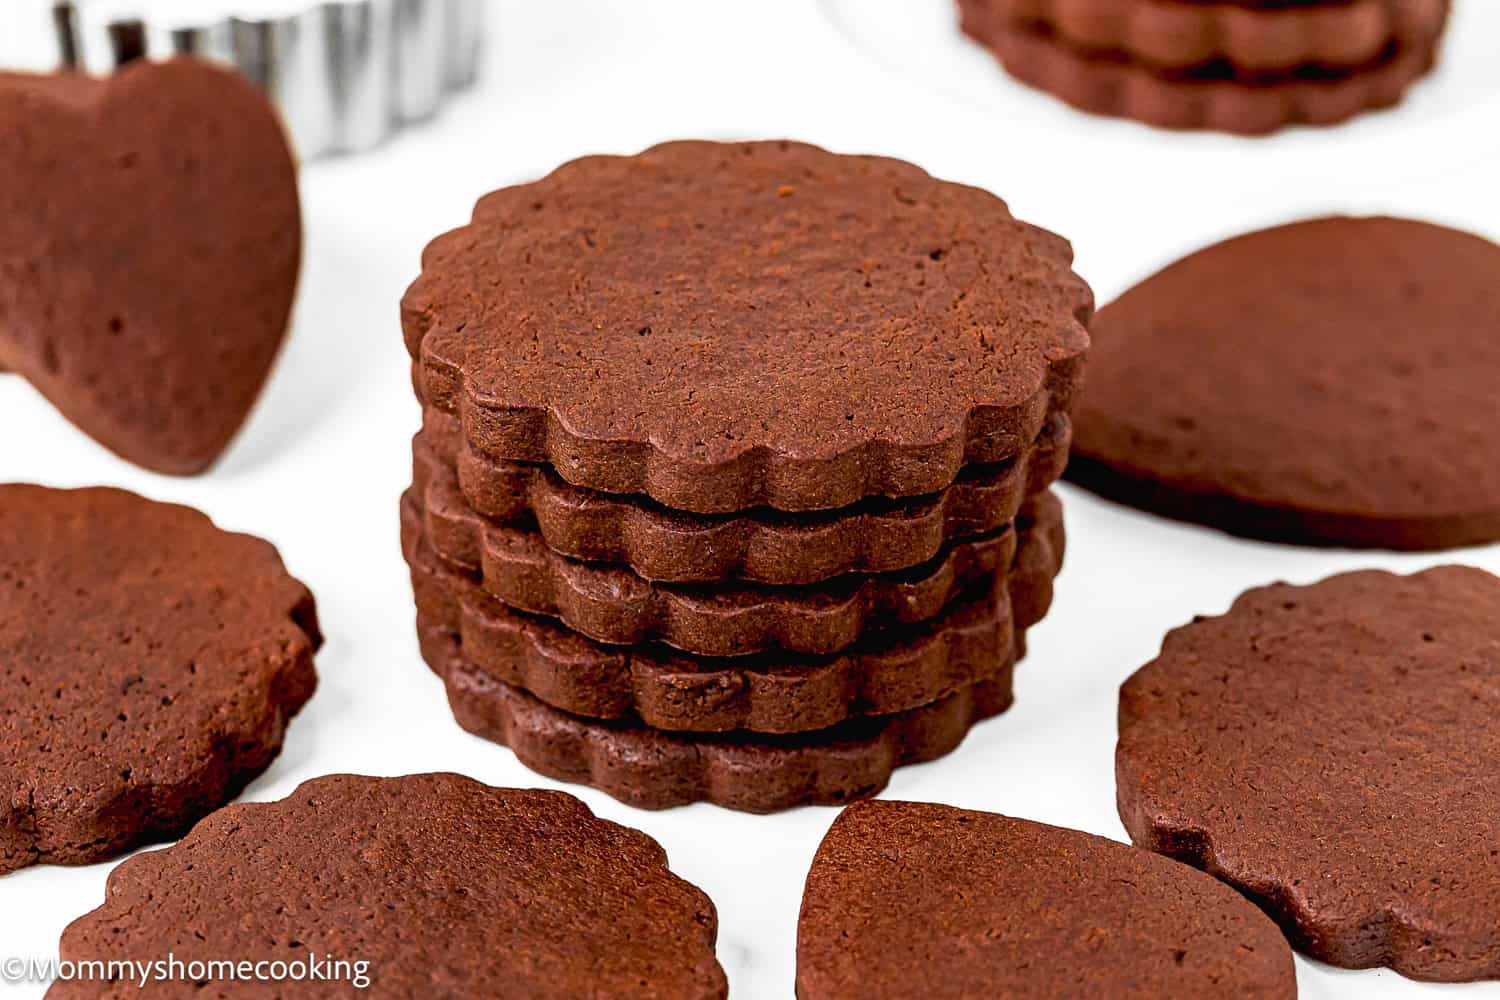
You know how much I love baking, and these eggless chocolate sugar cookies are an absolute favorite in my house! They’re the perfect blend of chocolatey goodness and buttery richness, with a soft, thick center and crisp edges that give them that melt-in-your-mouth texture. And the best part? They hold their shape beautifully after baking, which makes them ideal for decorating. What I really enjoy about this recipe is how easy it is to whip up with just a few simple ingredients. You likely already have everything in your pantry. Plus, these cookies are egg-free, which means everyone can enjoy them without worry. They’re great for making with kids, too—the dough is so fun to roll out, cut, and decorate together! If you love getting creative, these cookies are perfect for that! The smooth tops are like little blank canvases waiting for frosting, sprinkles, or whatever decorations your heart desires. Whether for a special occasion or just because, these cookies will brighten anyone’s day. If you love cut-out egg-free sugar cookies as much as I do, you must try my Eggless Sugar Cookies (vanilla) and my Eggless Royal Icing recipes.
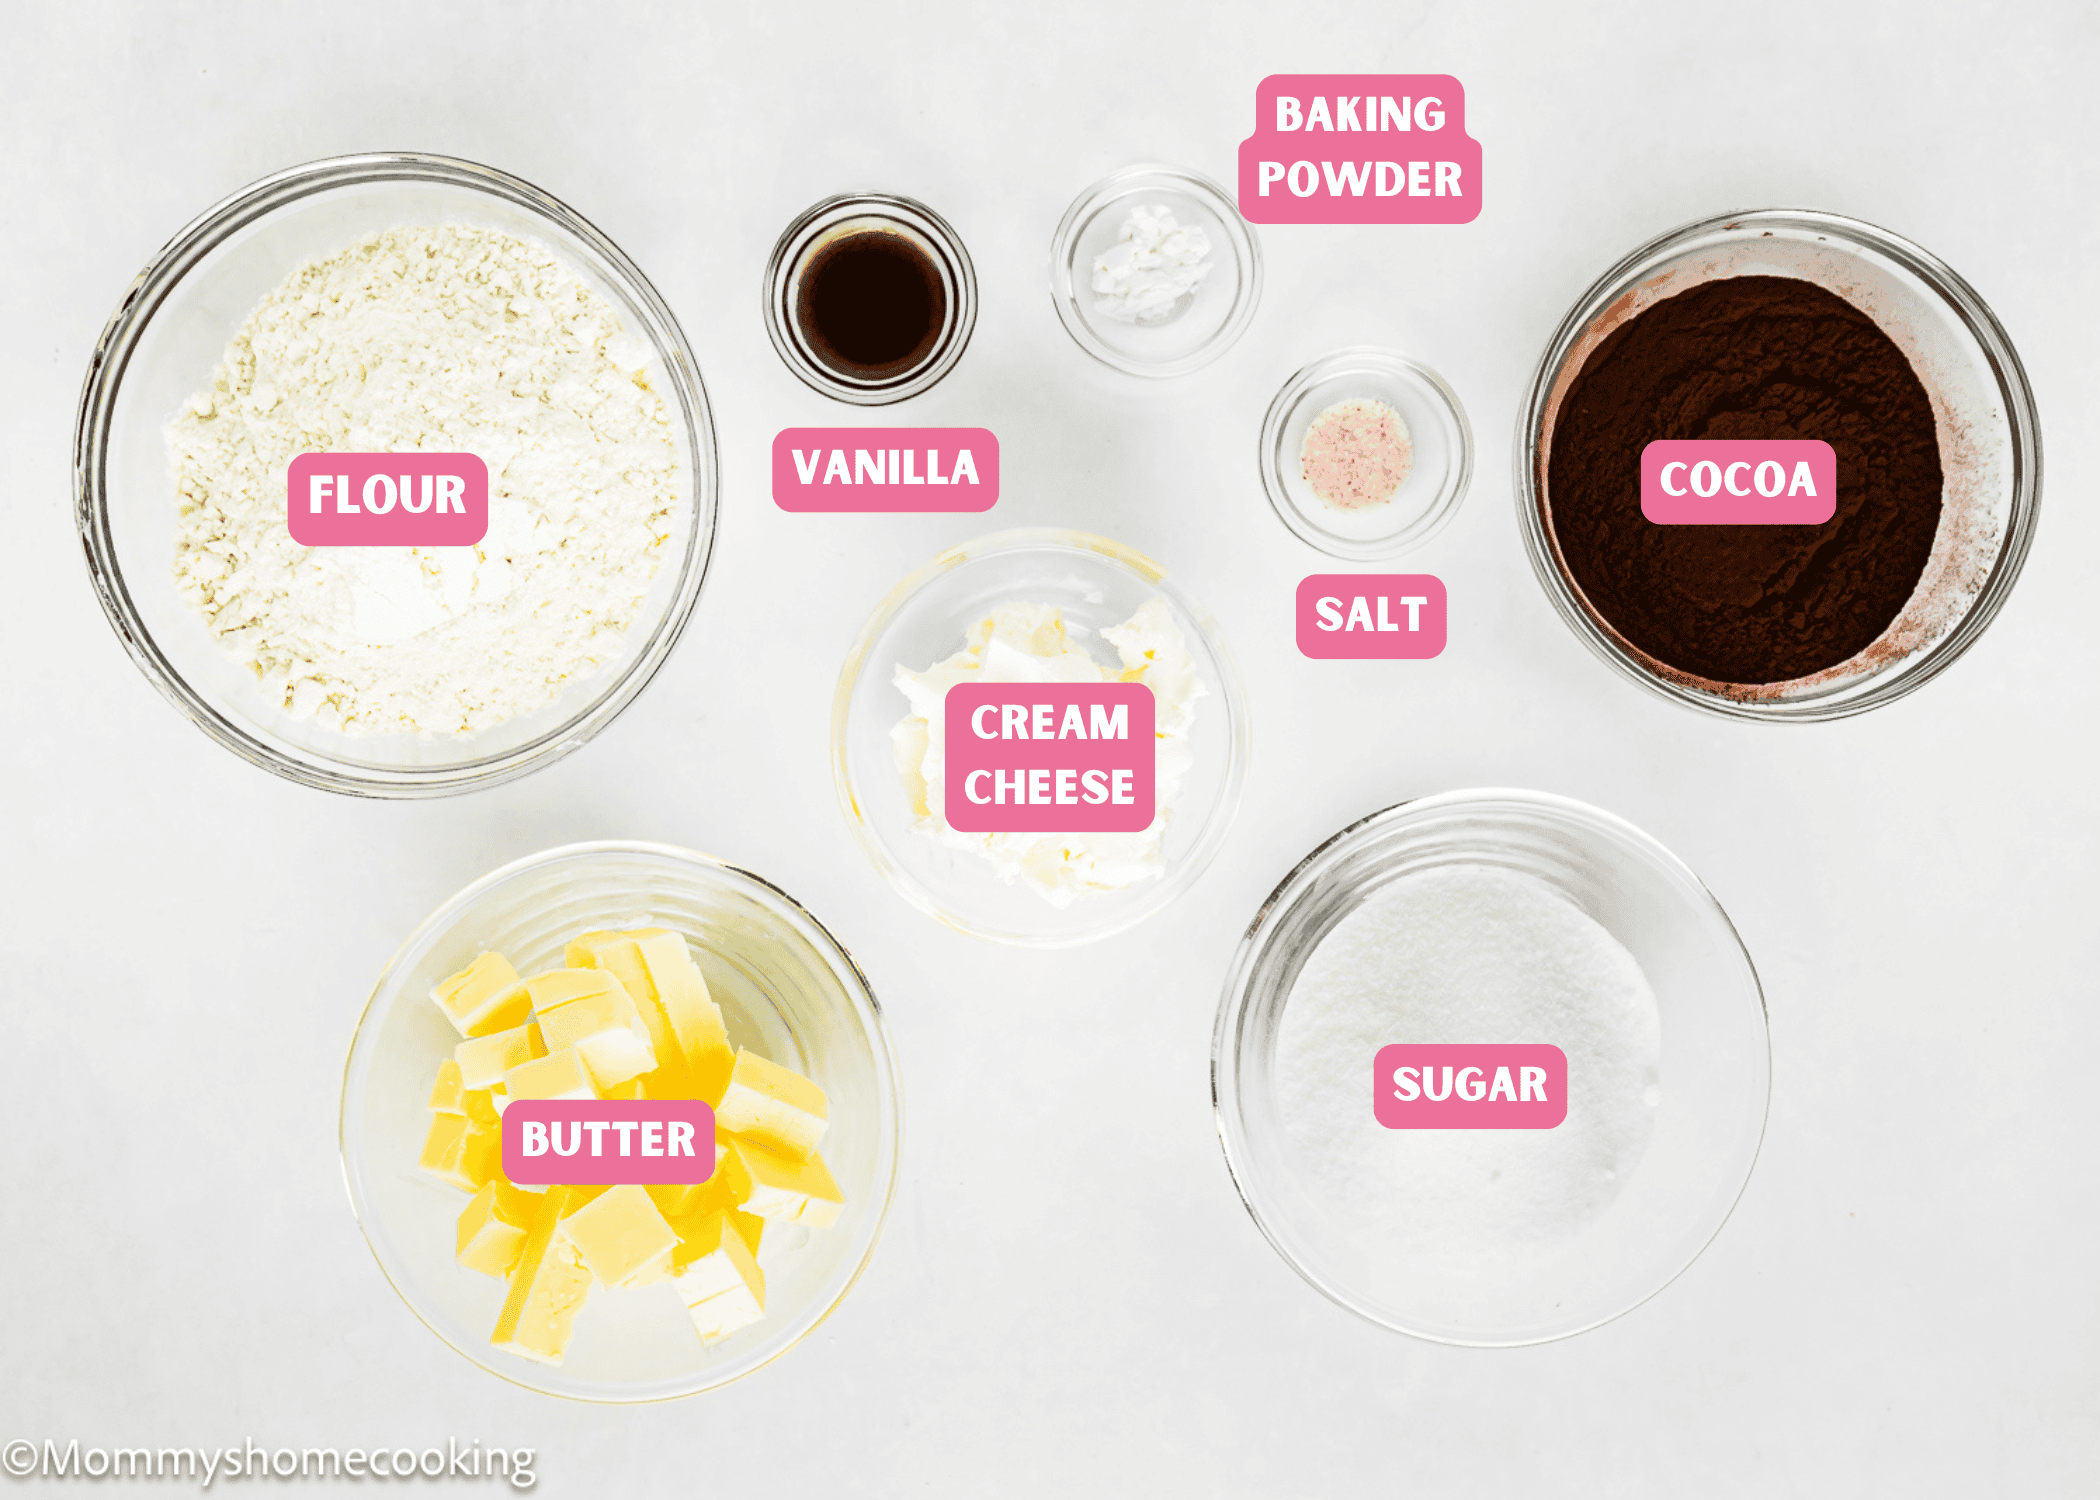
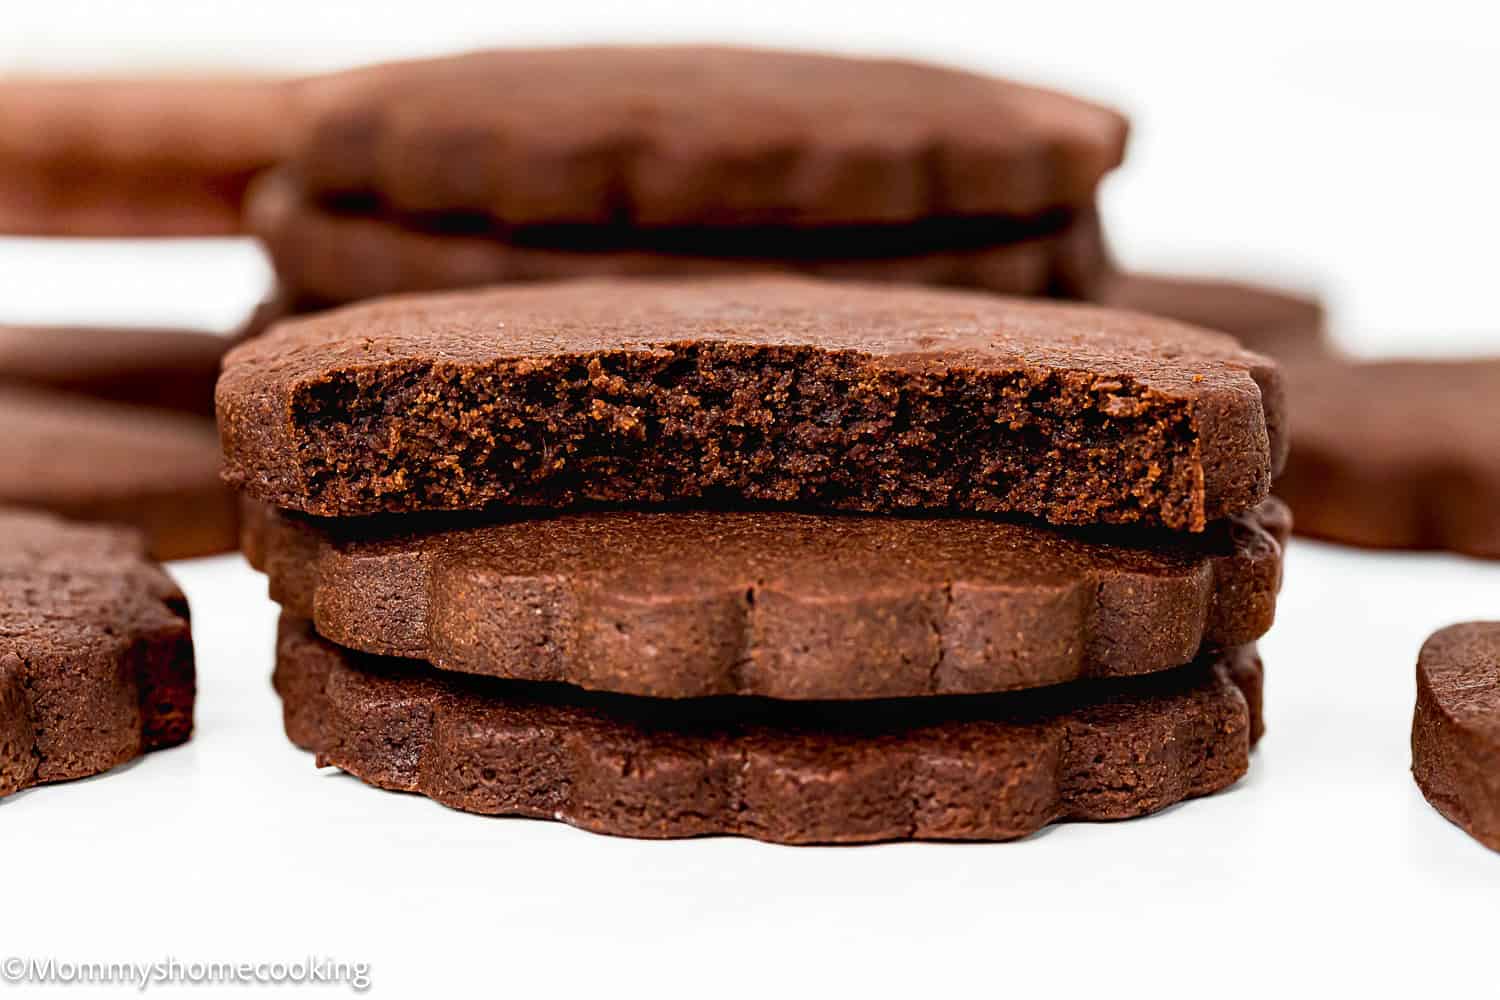
Ingredients You’ll Need, Substitutions & Notes
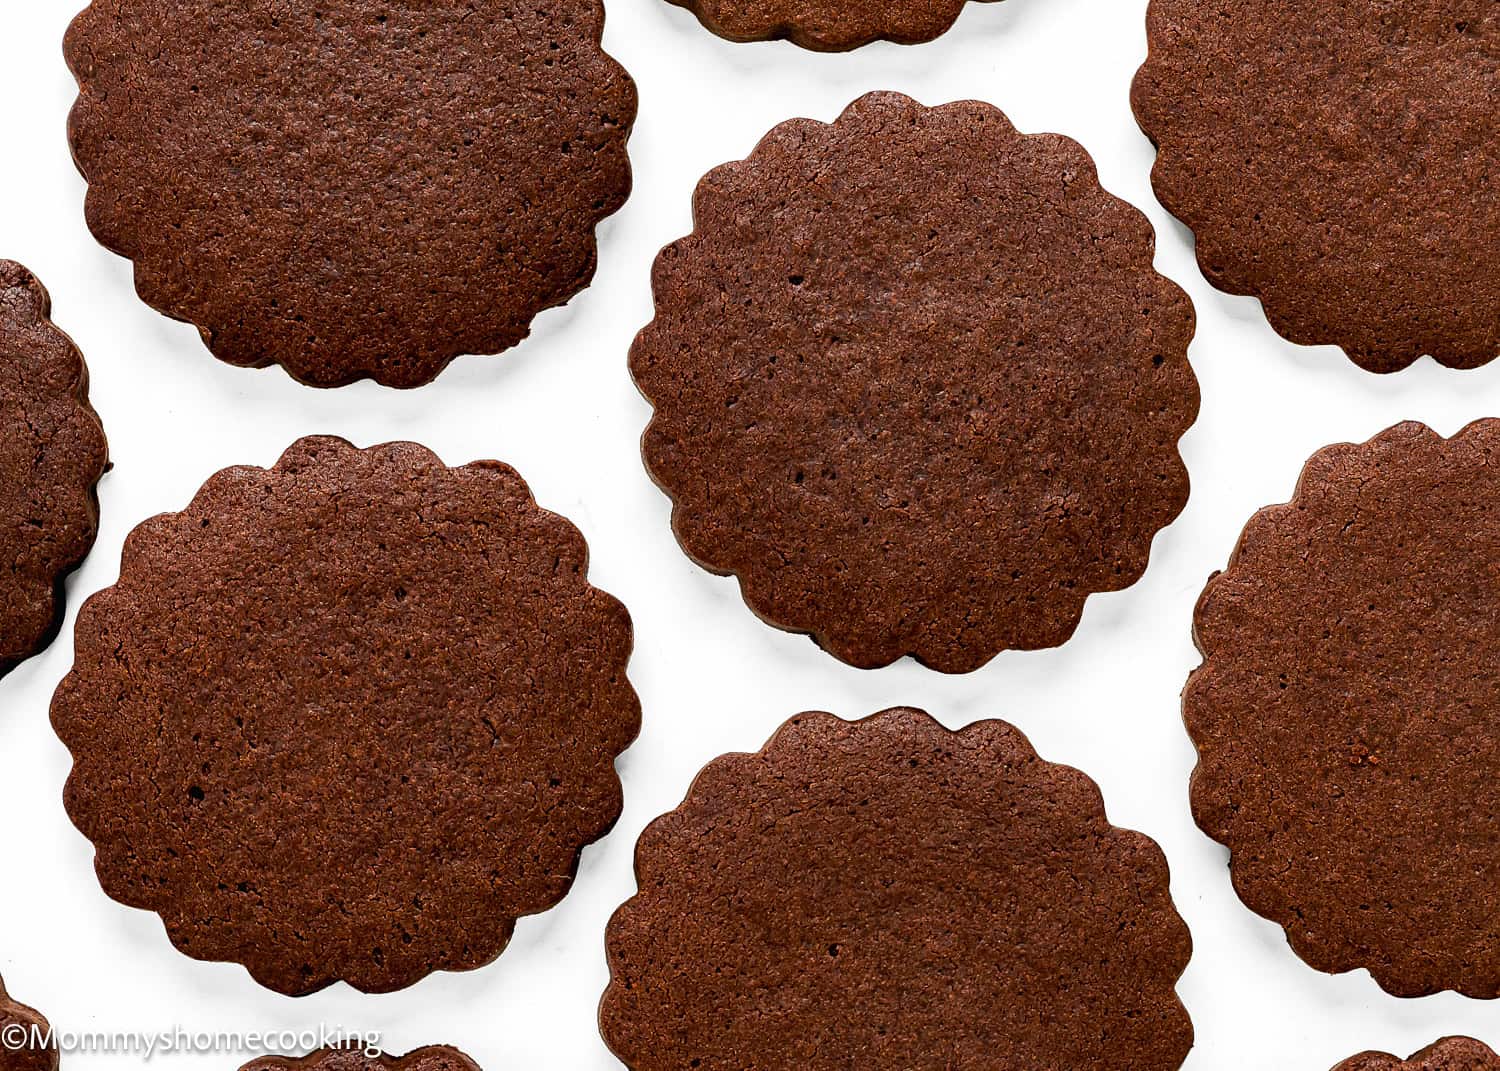
Please check the recipe card at the bottom of the post for exact quantities and detailed instructions (scroll down). Easy to Make with Simple Ingredients: With basic pantry staples like flour, cocoa powder, butter, and sugar, this recipe comes together quickly and easily. No need for complicated steps—just mix, chill, roll, and bake! Hold Their Shape After Baking: One of the best things about these cookies is that they hold their shape perfectly. Whether you’re using cookie cutters for fun shapes or just making rounds, you won’t have to worry about them spreading too much. Chocolate and Buttery Goodness!: These cookies are packed with a deep, rich chocolate flavor and that irresistible buttery taste that makes every bite so satisfying. It’s like a cross between a chocolate cookie and a sugar cookie—what’s not to love? Soft and Thick with Crisp Edges: The texture of these cookies is perfection. They’re thick and soft in the middle, with just enough crispness on the edges. And the best part? They keep their smooth tops, making them ideal for decorating! They’re So Fun to Decorate!: Decorating these cookies is where the real fun begins. Whether you’re making them for a holiday, a party, or just because, the smooth tops are perfect for icing, sprinkles, or any decorations you love. Get creative!
All-Purpose Flour: This provides structure to the cookies. Note: You can substitute with a gluten-free flour blend if needed. Cocoa Powder: Adds that rich chocolate flavor. Note: Be sure to use unsweetened cocoa powder for the best taste. Baking Powder: Helps the cookies rise slightly and keeps them light and tender. Salt: Enhances all the other flavors, balancing the sweetness. Butter: Provides richness and flavor. Note: Use dairy-free butter if needed for a dairy-free option. Sugar: Sweetens the dough and helps with that smooth, crisp top. Cream Cheese: This adds moisture and helps create a soft, tender texture without needing eggs. Note: Use the full-fat version that comes in blocks. Vanilla: Adds warmth and enhances the chocolate flavor.
Process Overview: Step-by-Step Photos
Please check the recipe card at the bottom of the post for exact quantities and detailed instructions (scroll down).
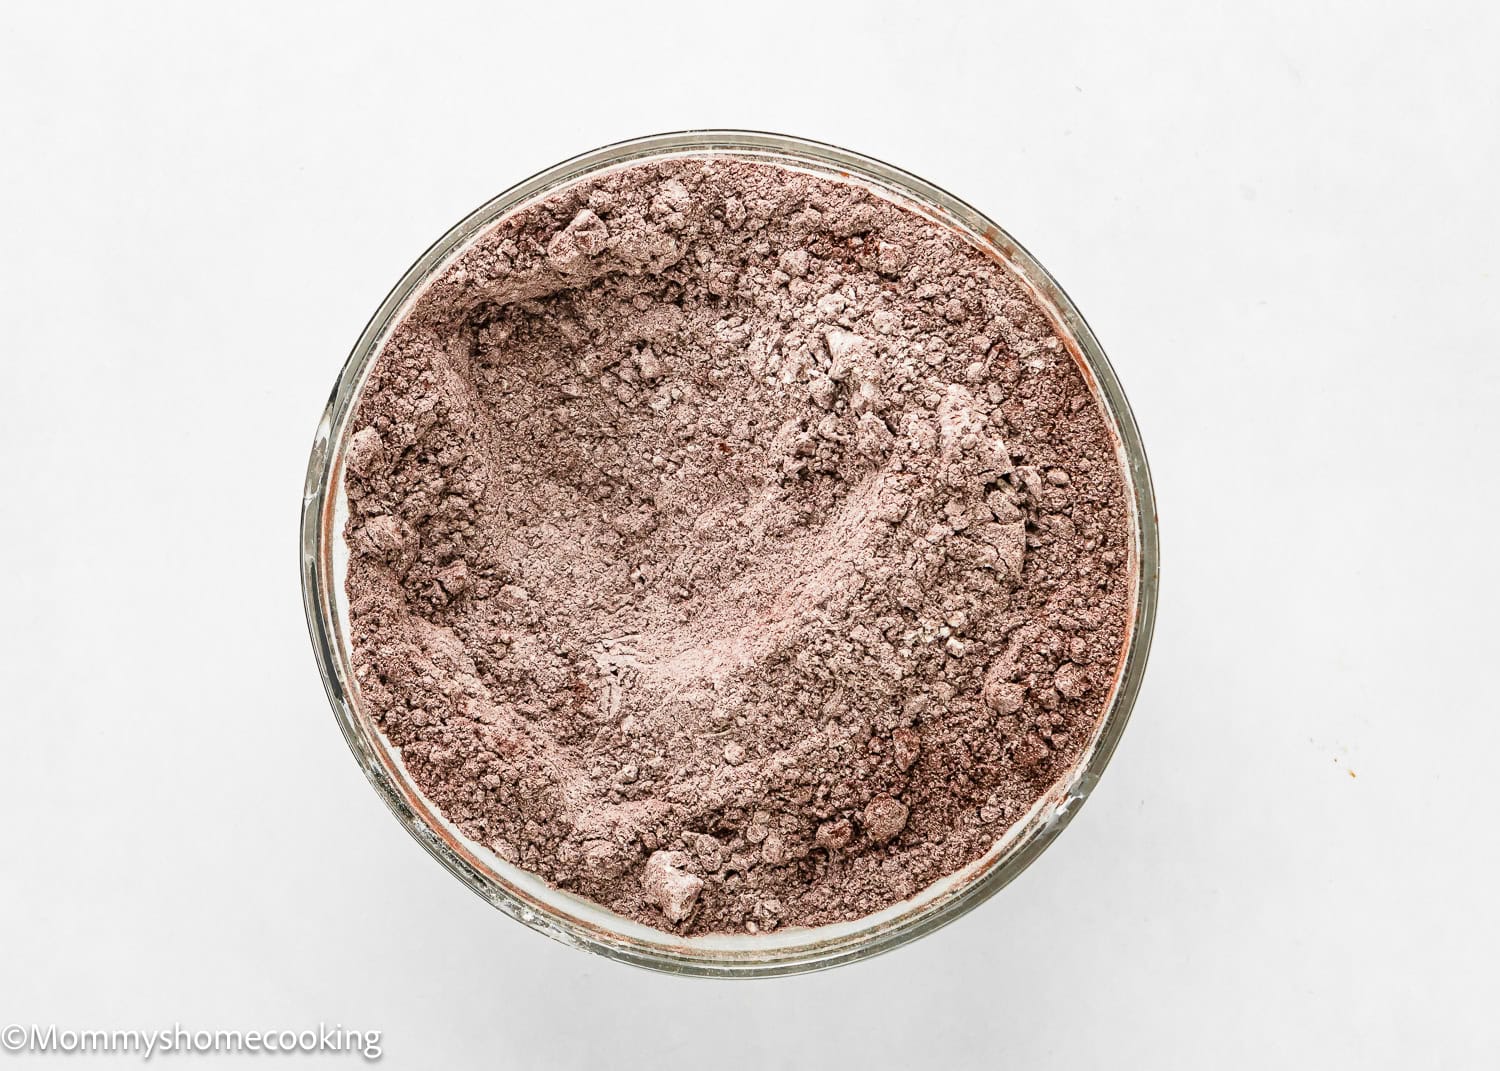
Step 1 – Mix Dry Ingredients
Sift the flour, cocoa, and baking powder into a bowl. Add the salt and set aside.
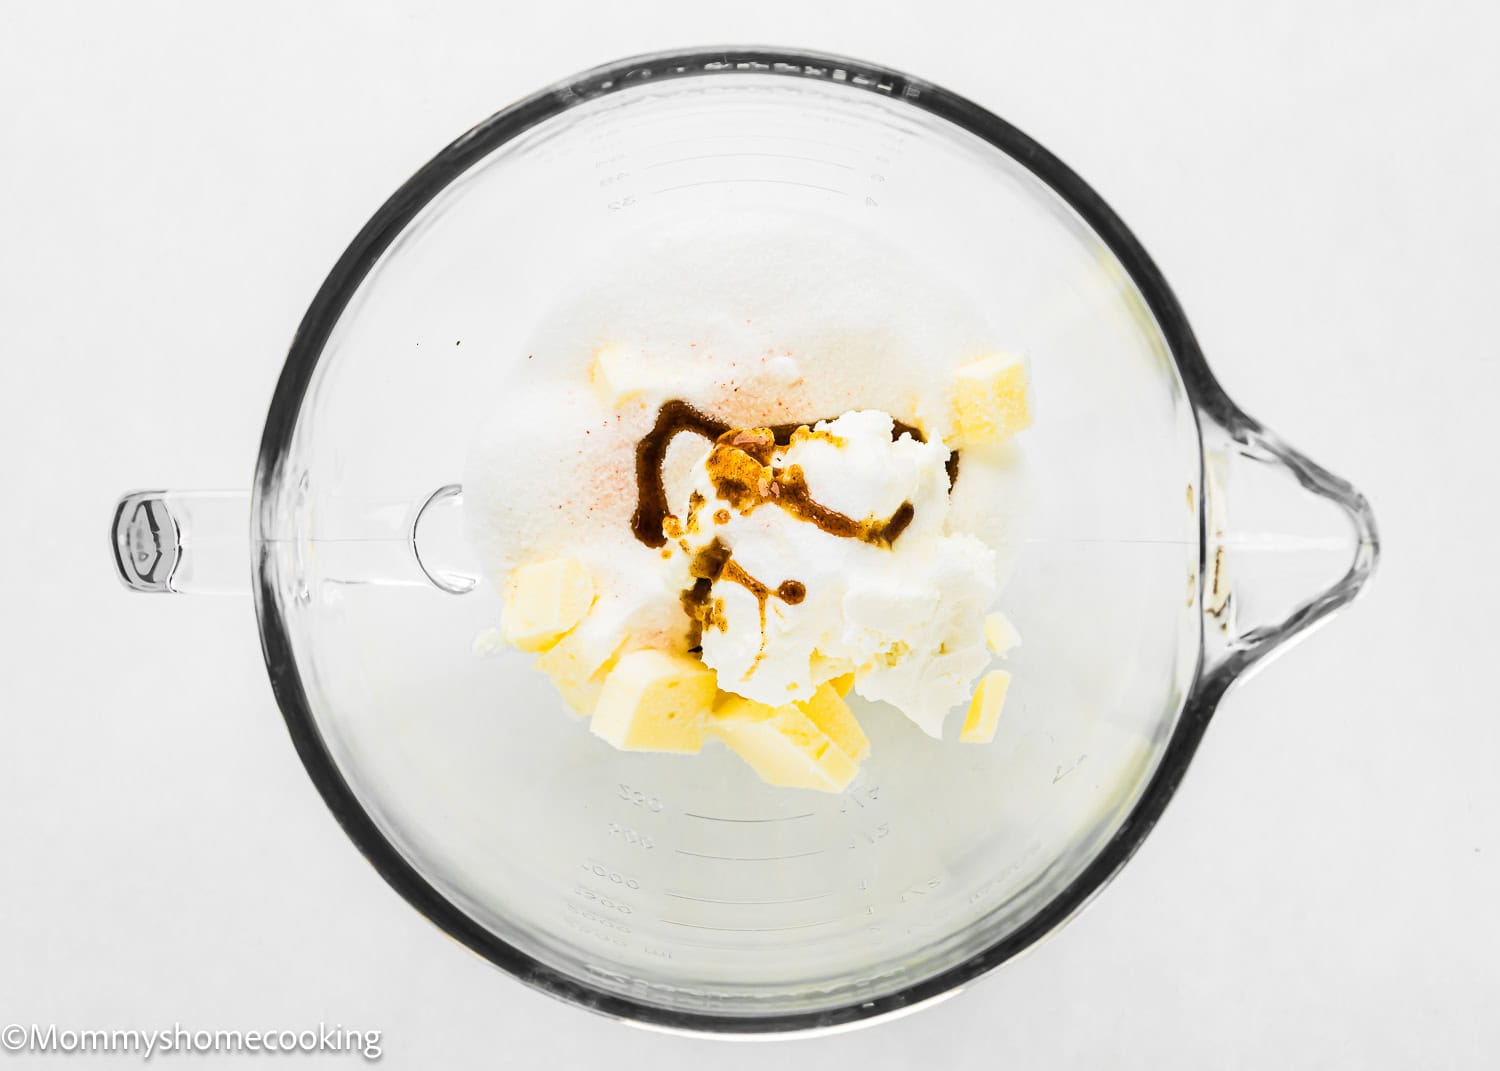
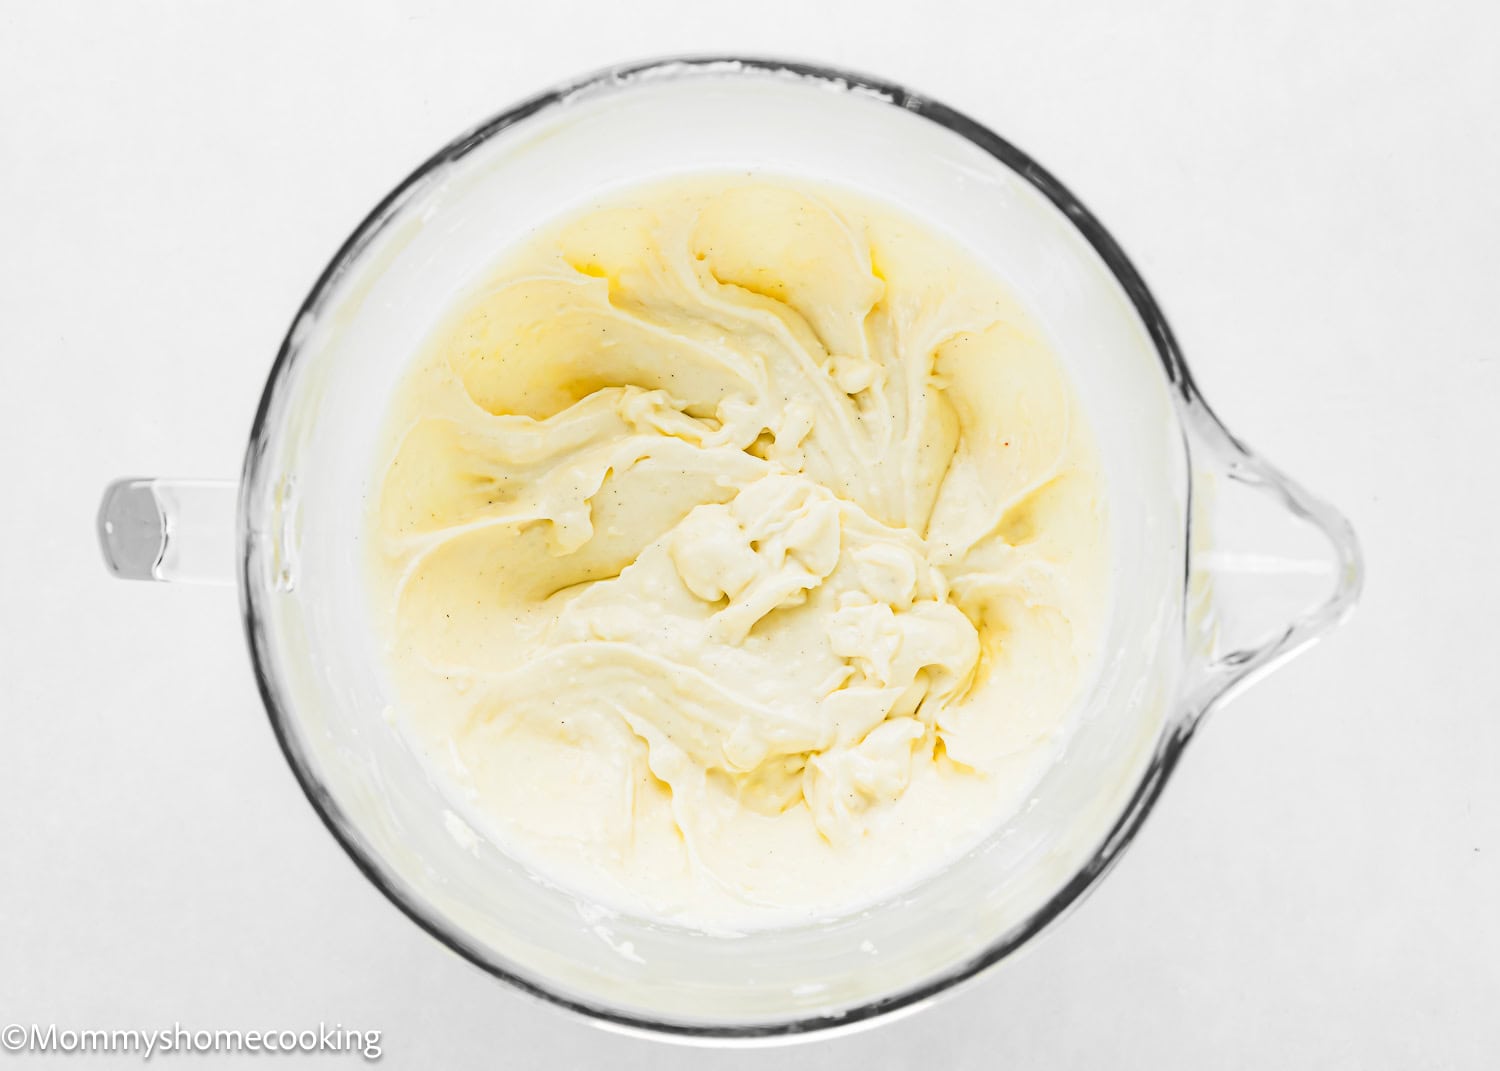
Step 2 – Cream Butter And Sugar
Using an electric hand mixer or a stand mixer, beat the butter, sugar, cream cheese, vanilla, and salt at medium speed until smooth and creamy, for 3 to 4 minutes. Scrape down the sides and bottom of the bowl as needed.
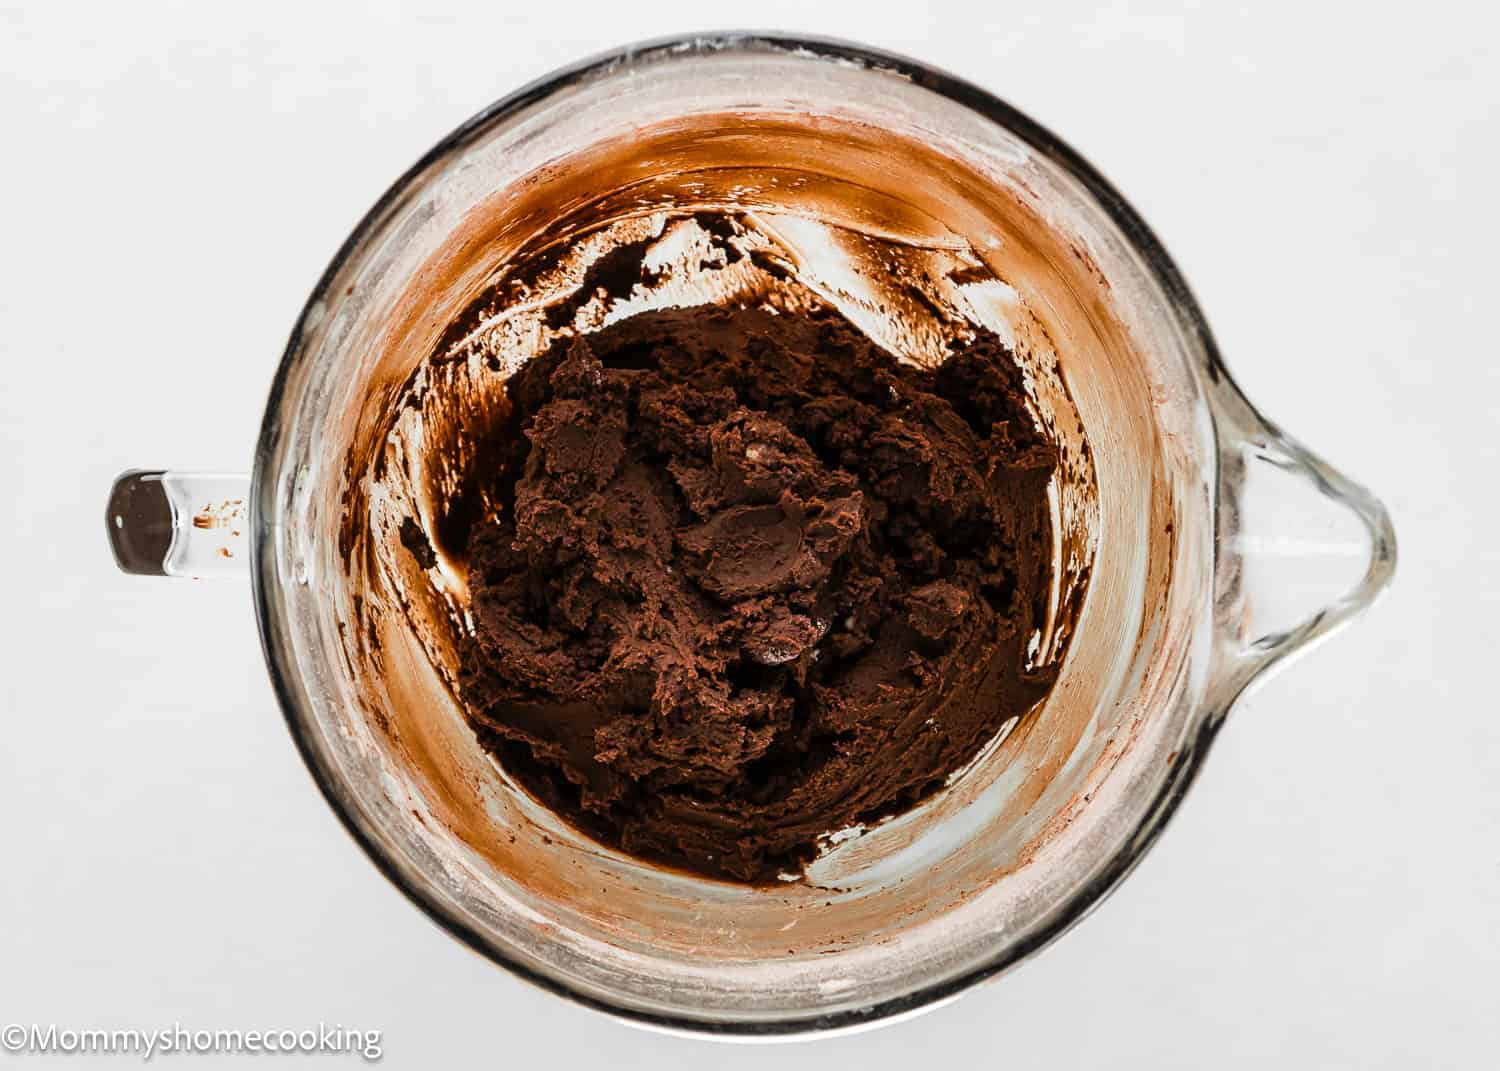
Step 3 – Add Dry Ingredients
Reduce the speed to low, add the flour mixture, and beat until incorporated and the dough starts to come together.
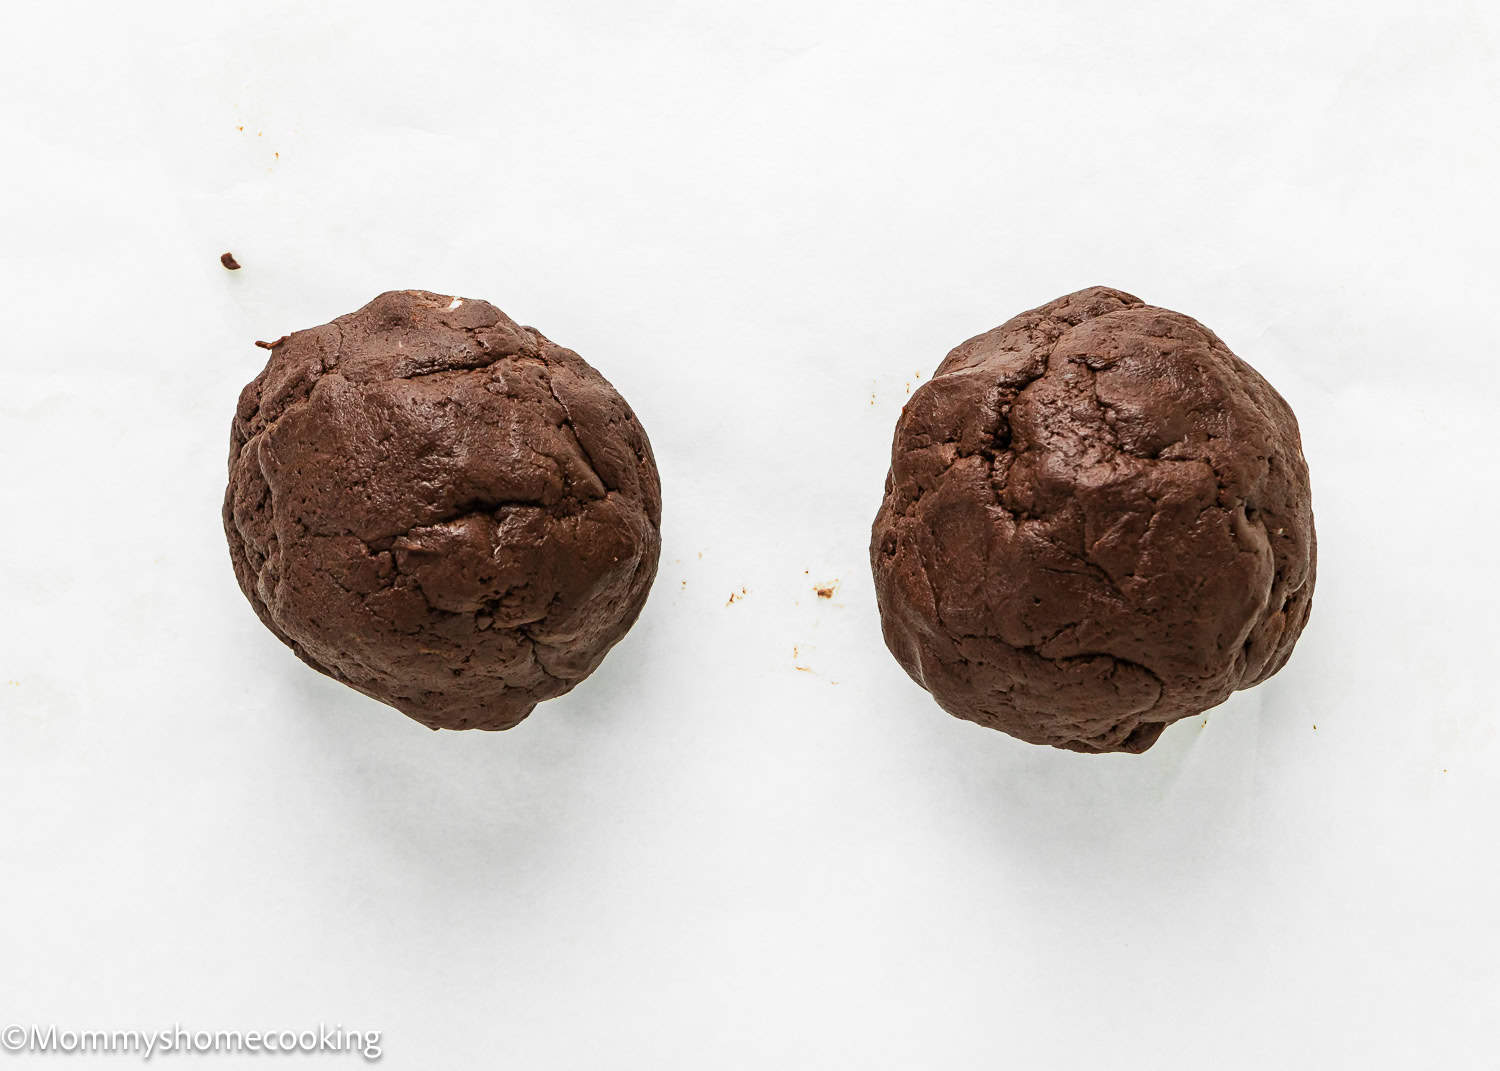
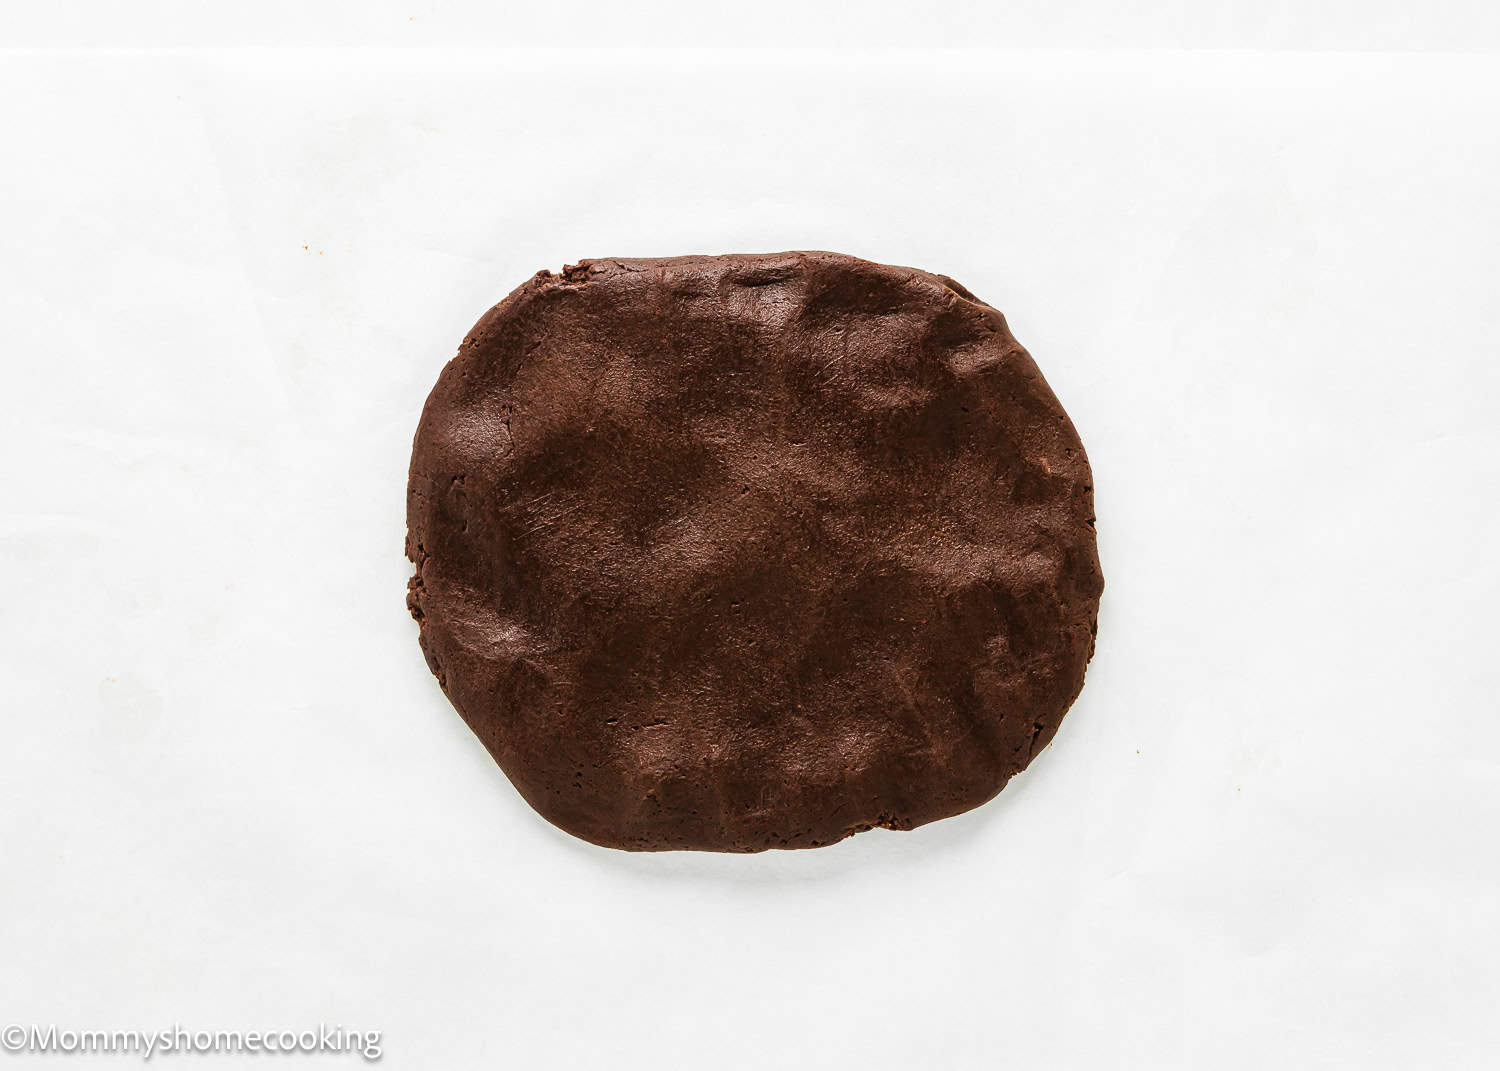
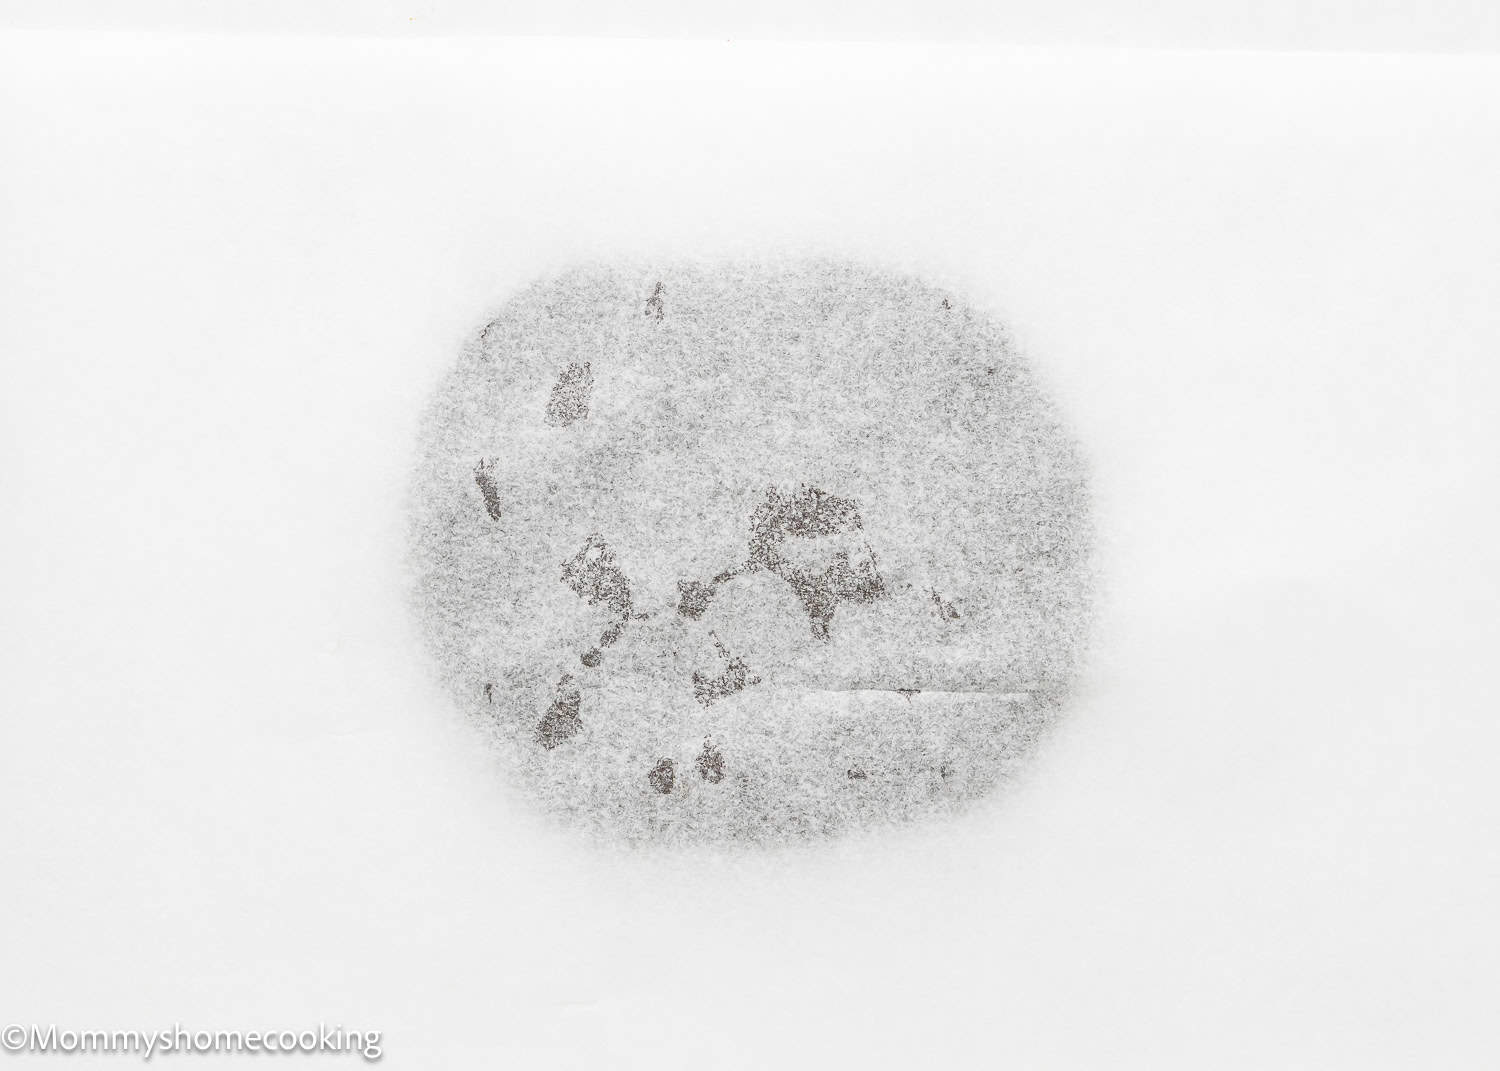
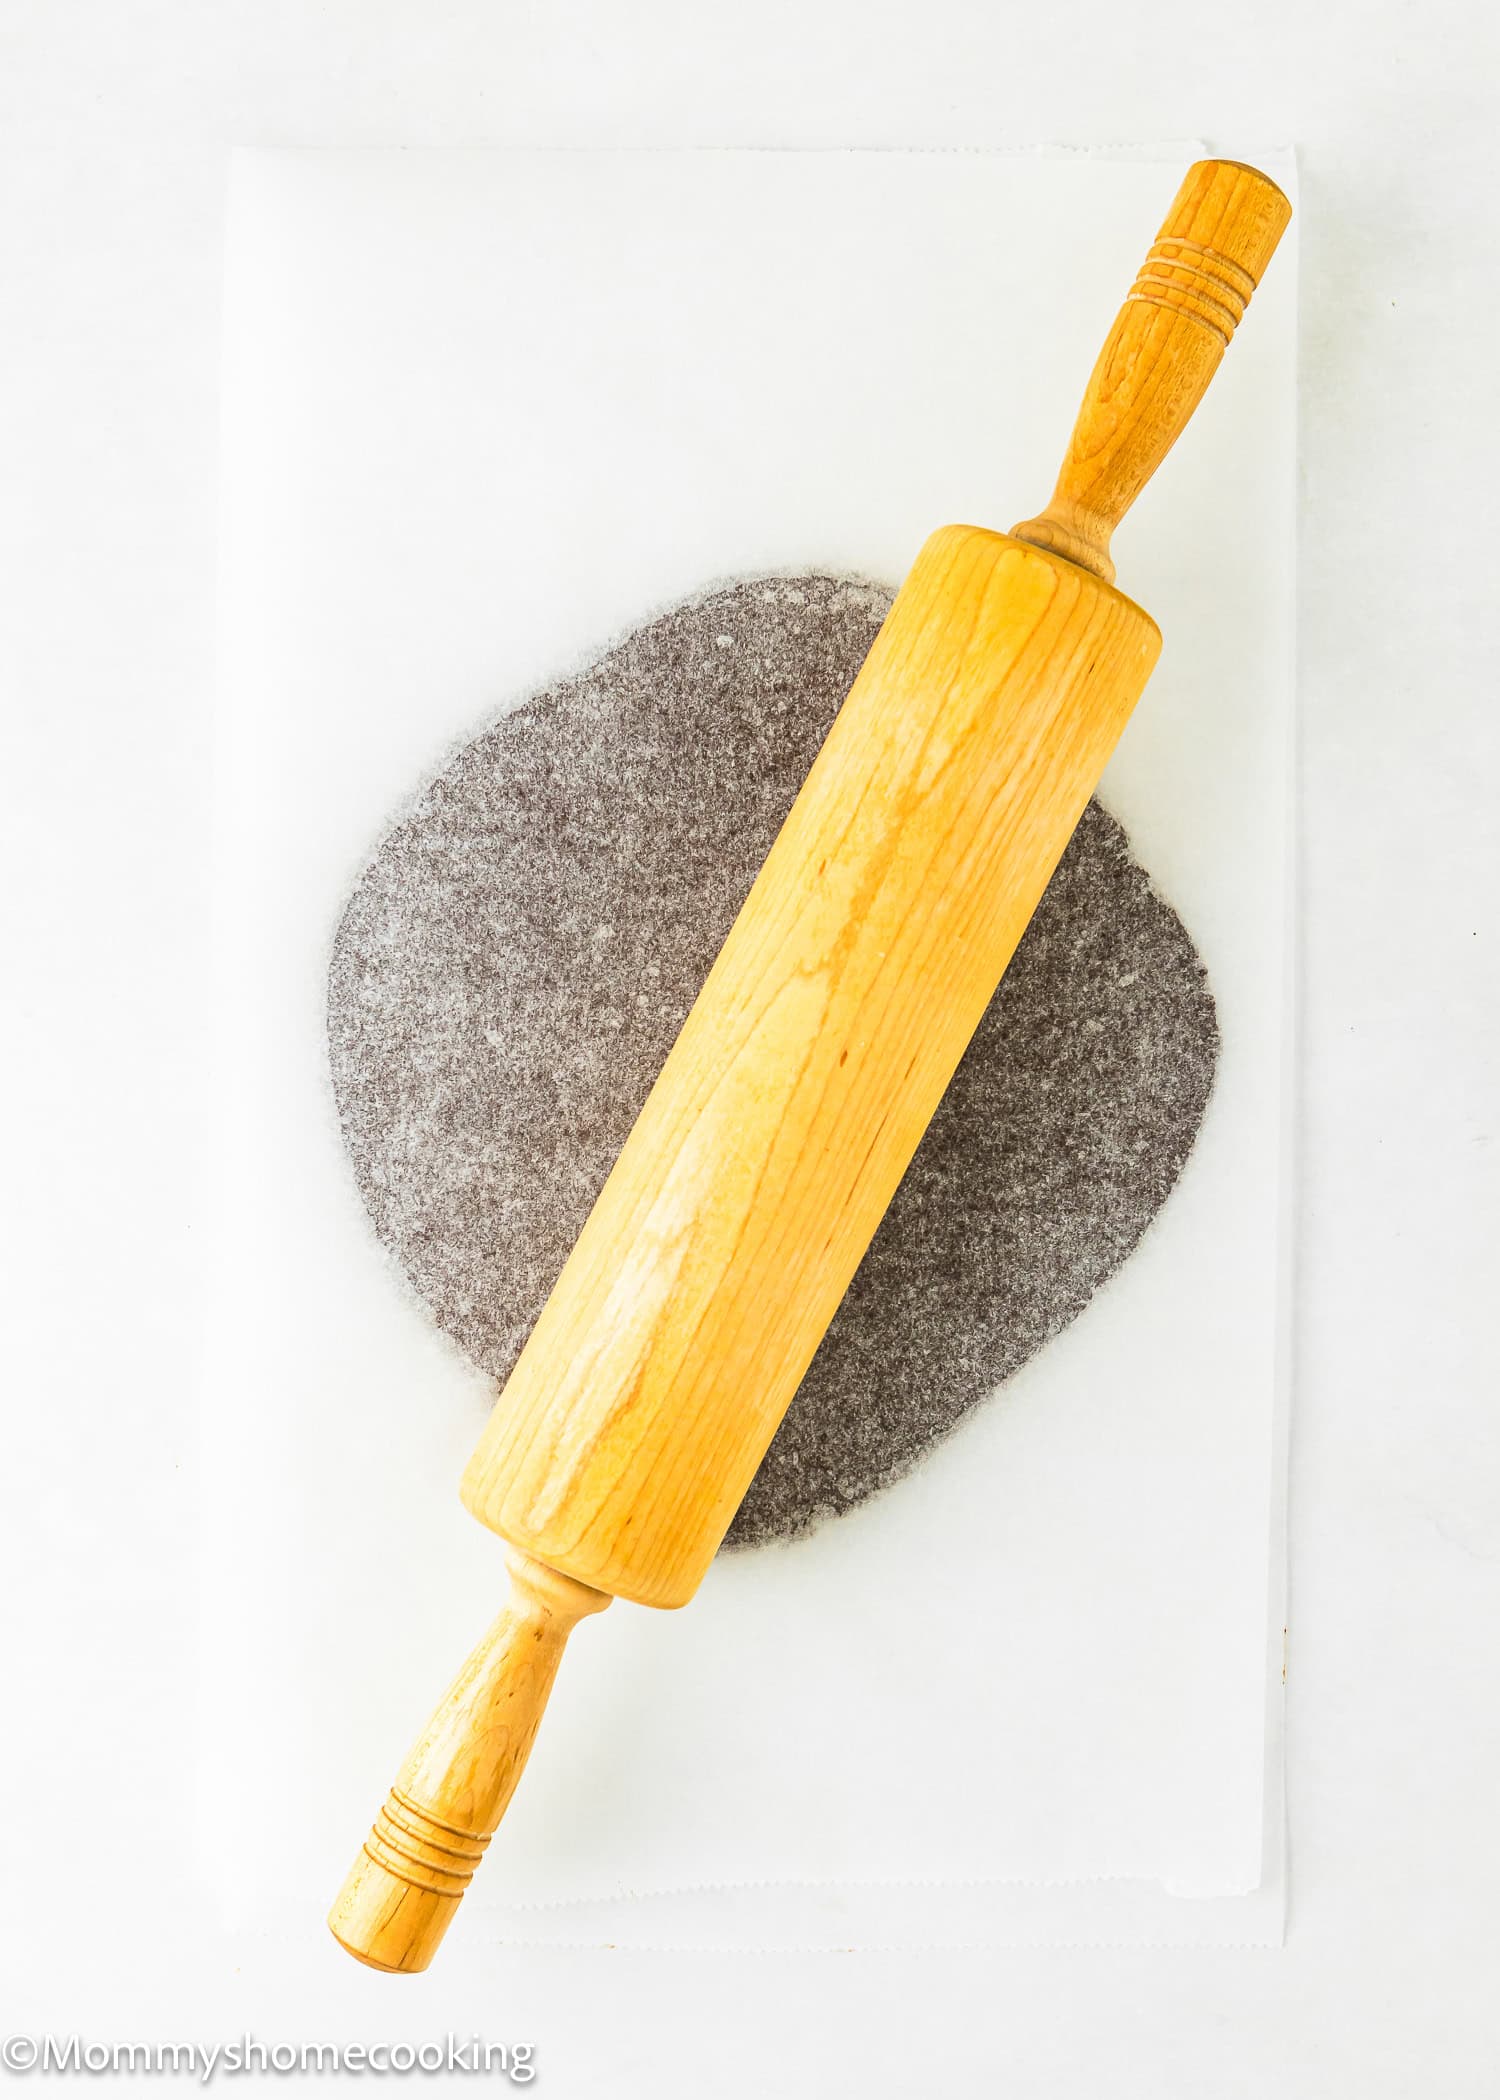
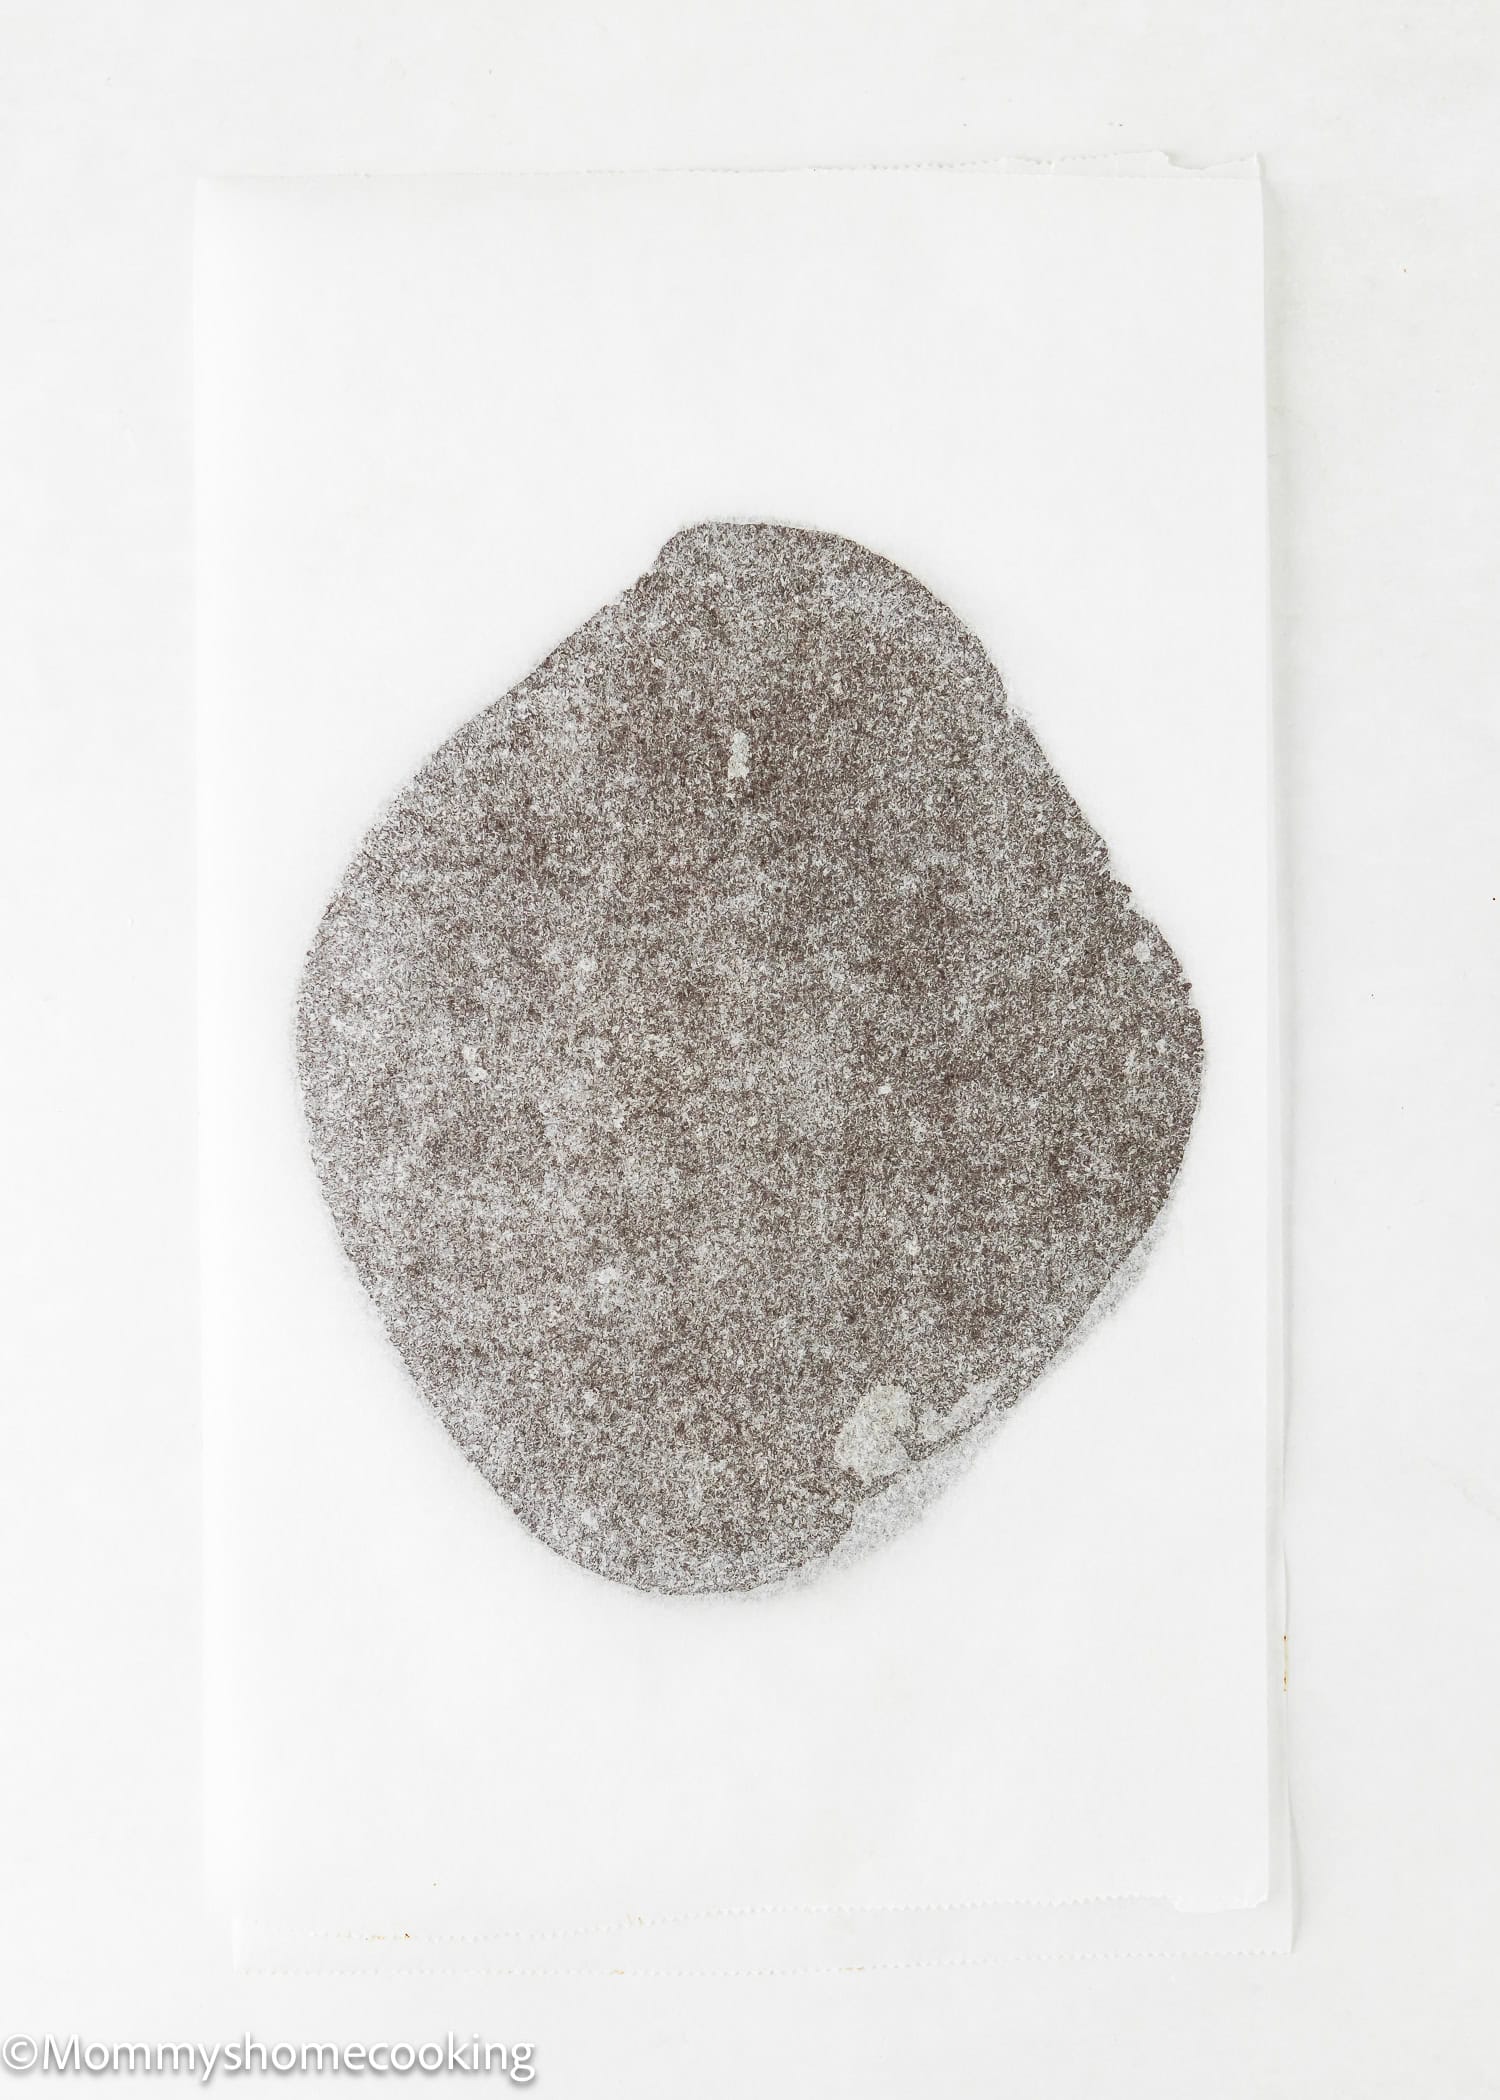
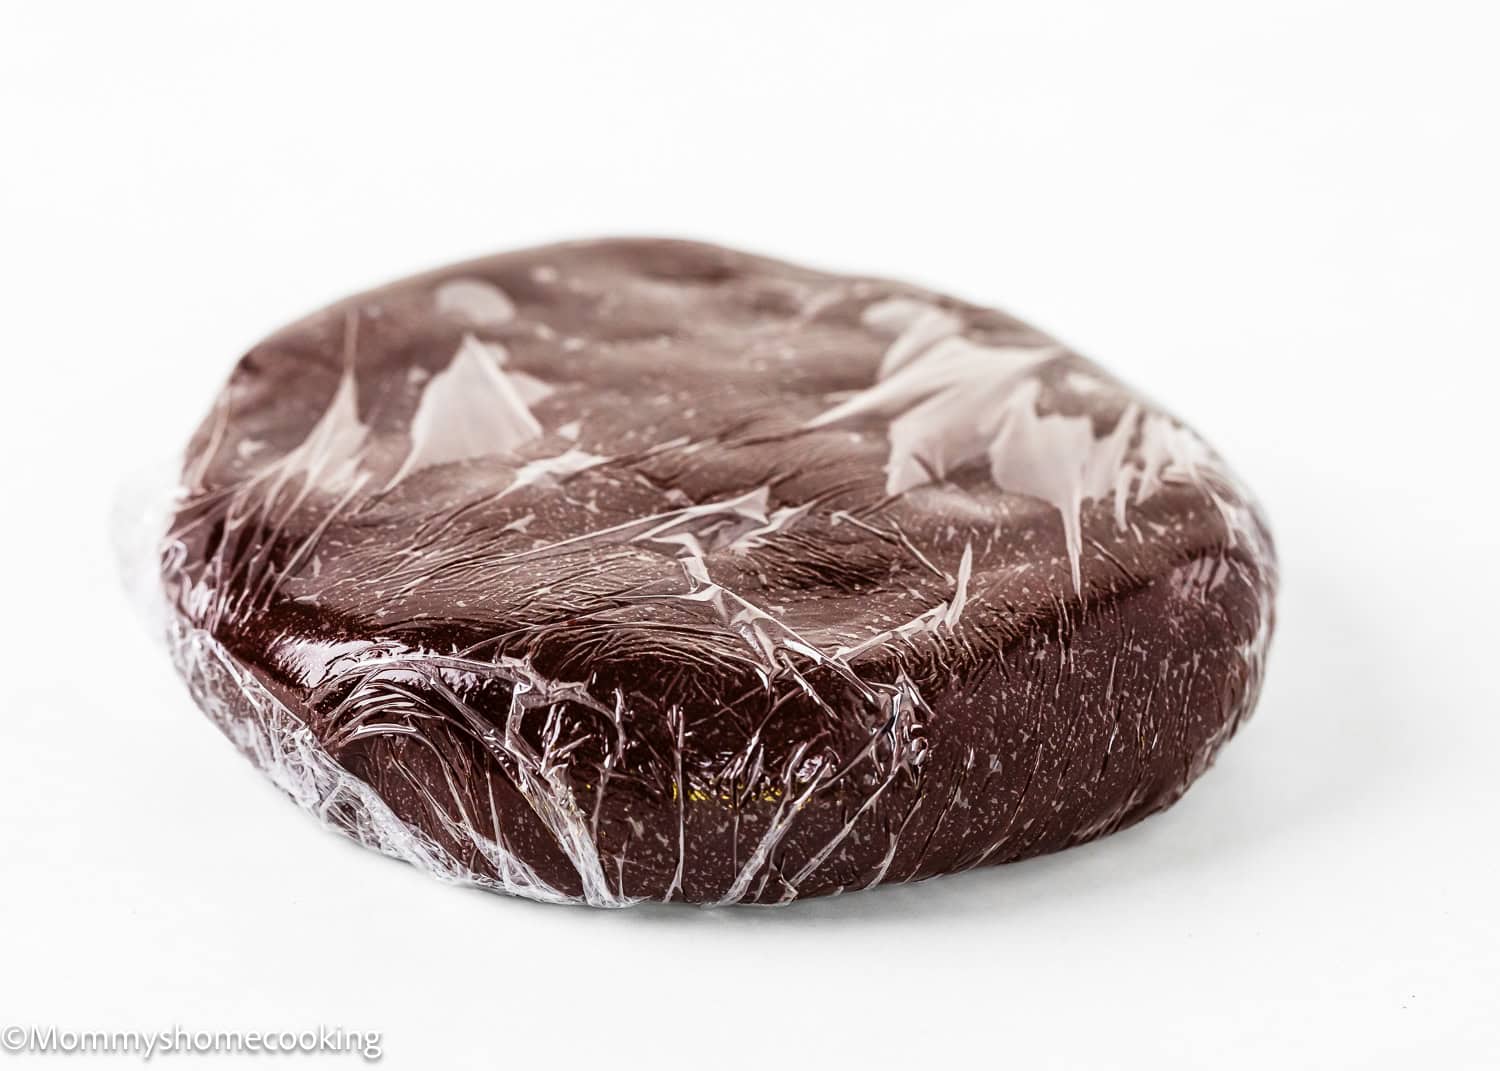
Step 4 – Roll Out And Chill
Divide the dough into two equal pieces. Place one piece of dough on a big piece of parchment paper (or a silicone mat). Place another piece of parchment on top to prevent sticking. With a rolling pin, roll the dough out to about 1/4-inch thickness (6 mm) thick. Repeat with the second piece of dough. Place both rolled-out doughs, one on top of the other, on a baking tray and refrigerate for at least 2 hours and up to 2 days. Cover the tray with plastic wrap if you plan to refrigerate for over 2 hours.
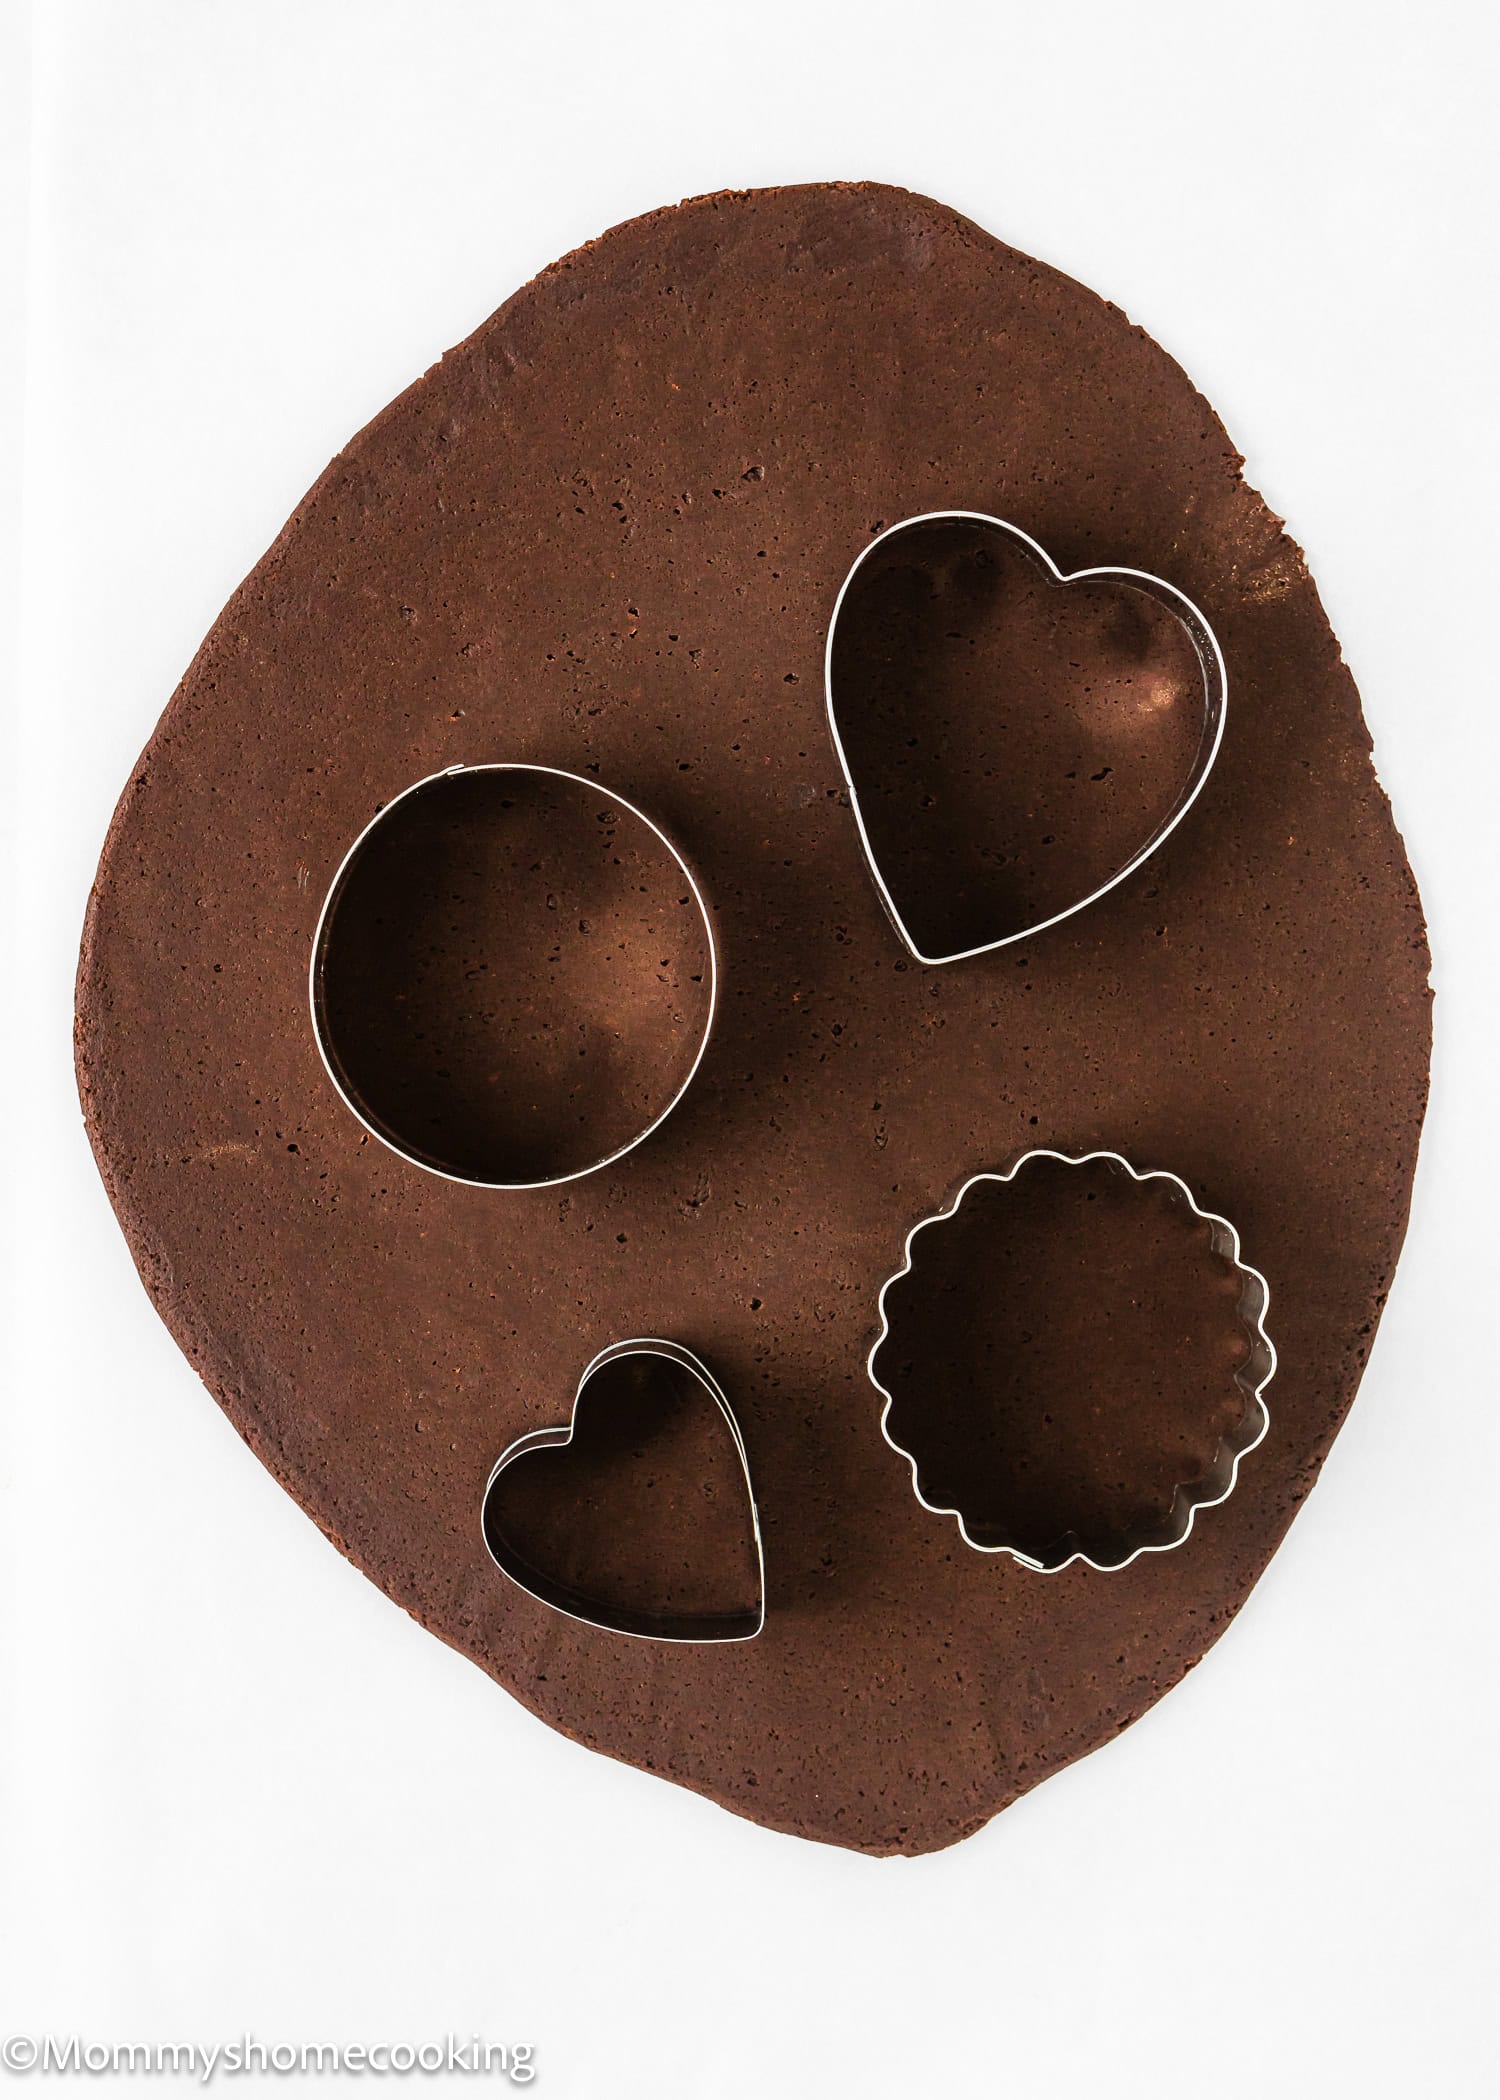
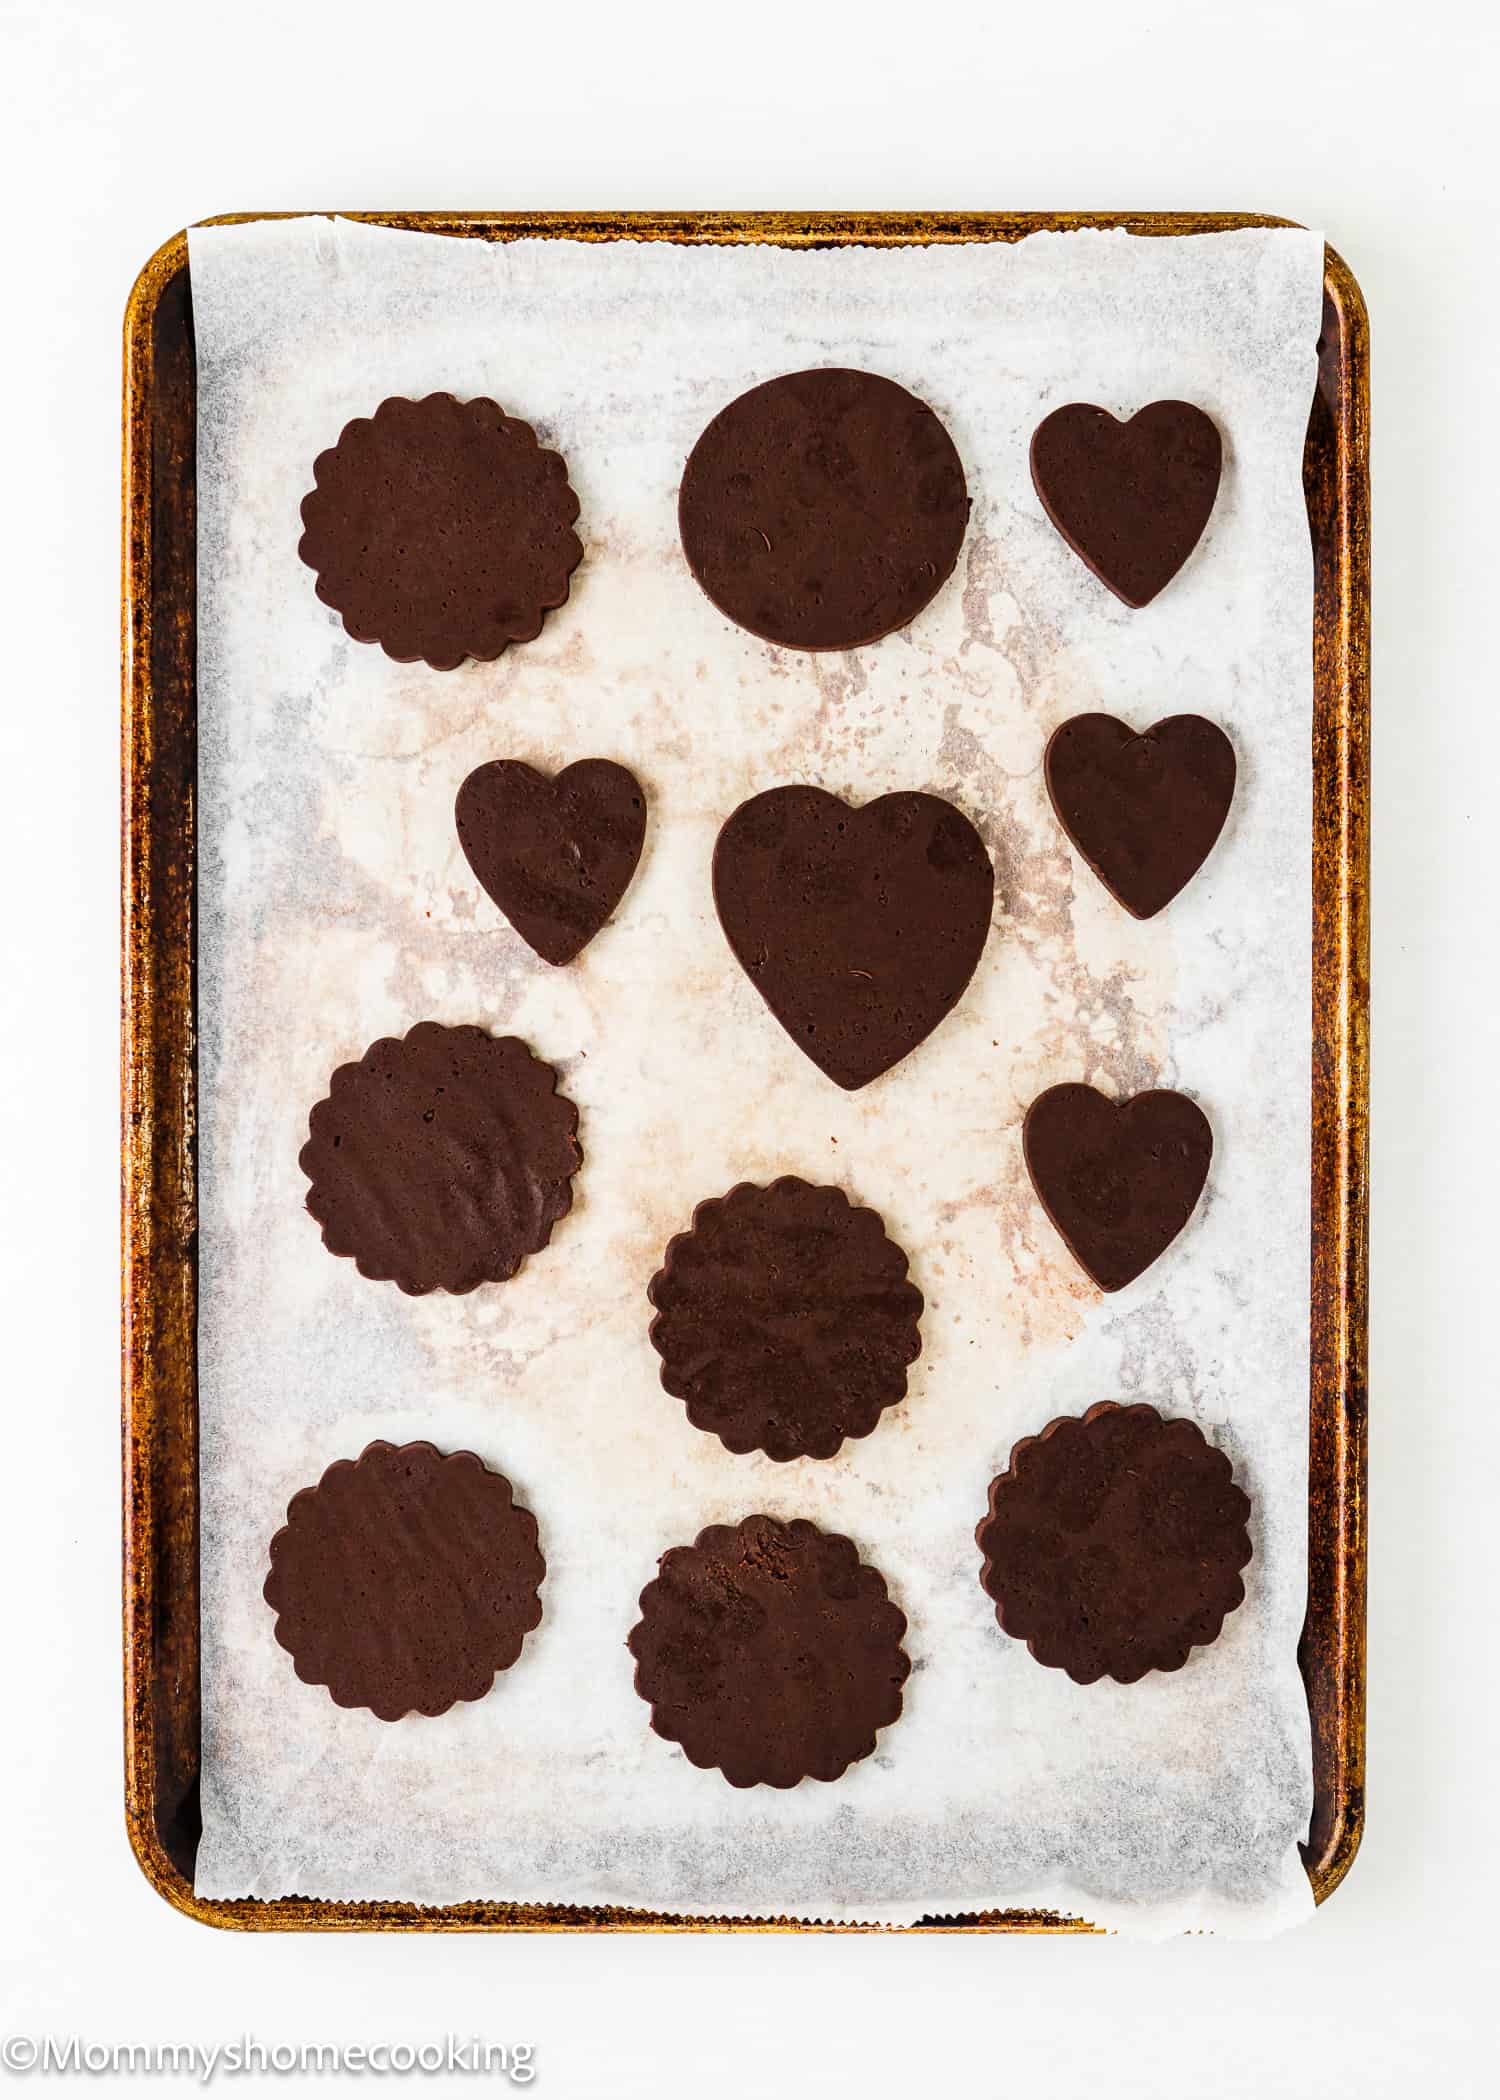
Step 5 – Cut
Preheat the oven to 350º F (180º C). Line two baking sheets with parchment paper or silicone baking mats. Working with one dough sheet at a time, use a cookie cutter to cut the dough into shapes. Transfer the shapes to the prepared baking sheets, spacing them about 1/2 inch apart. Gather up the dough scraps and form them into a disk, then roll out and refrigerate for 15 to 20 minutes.
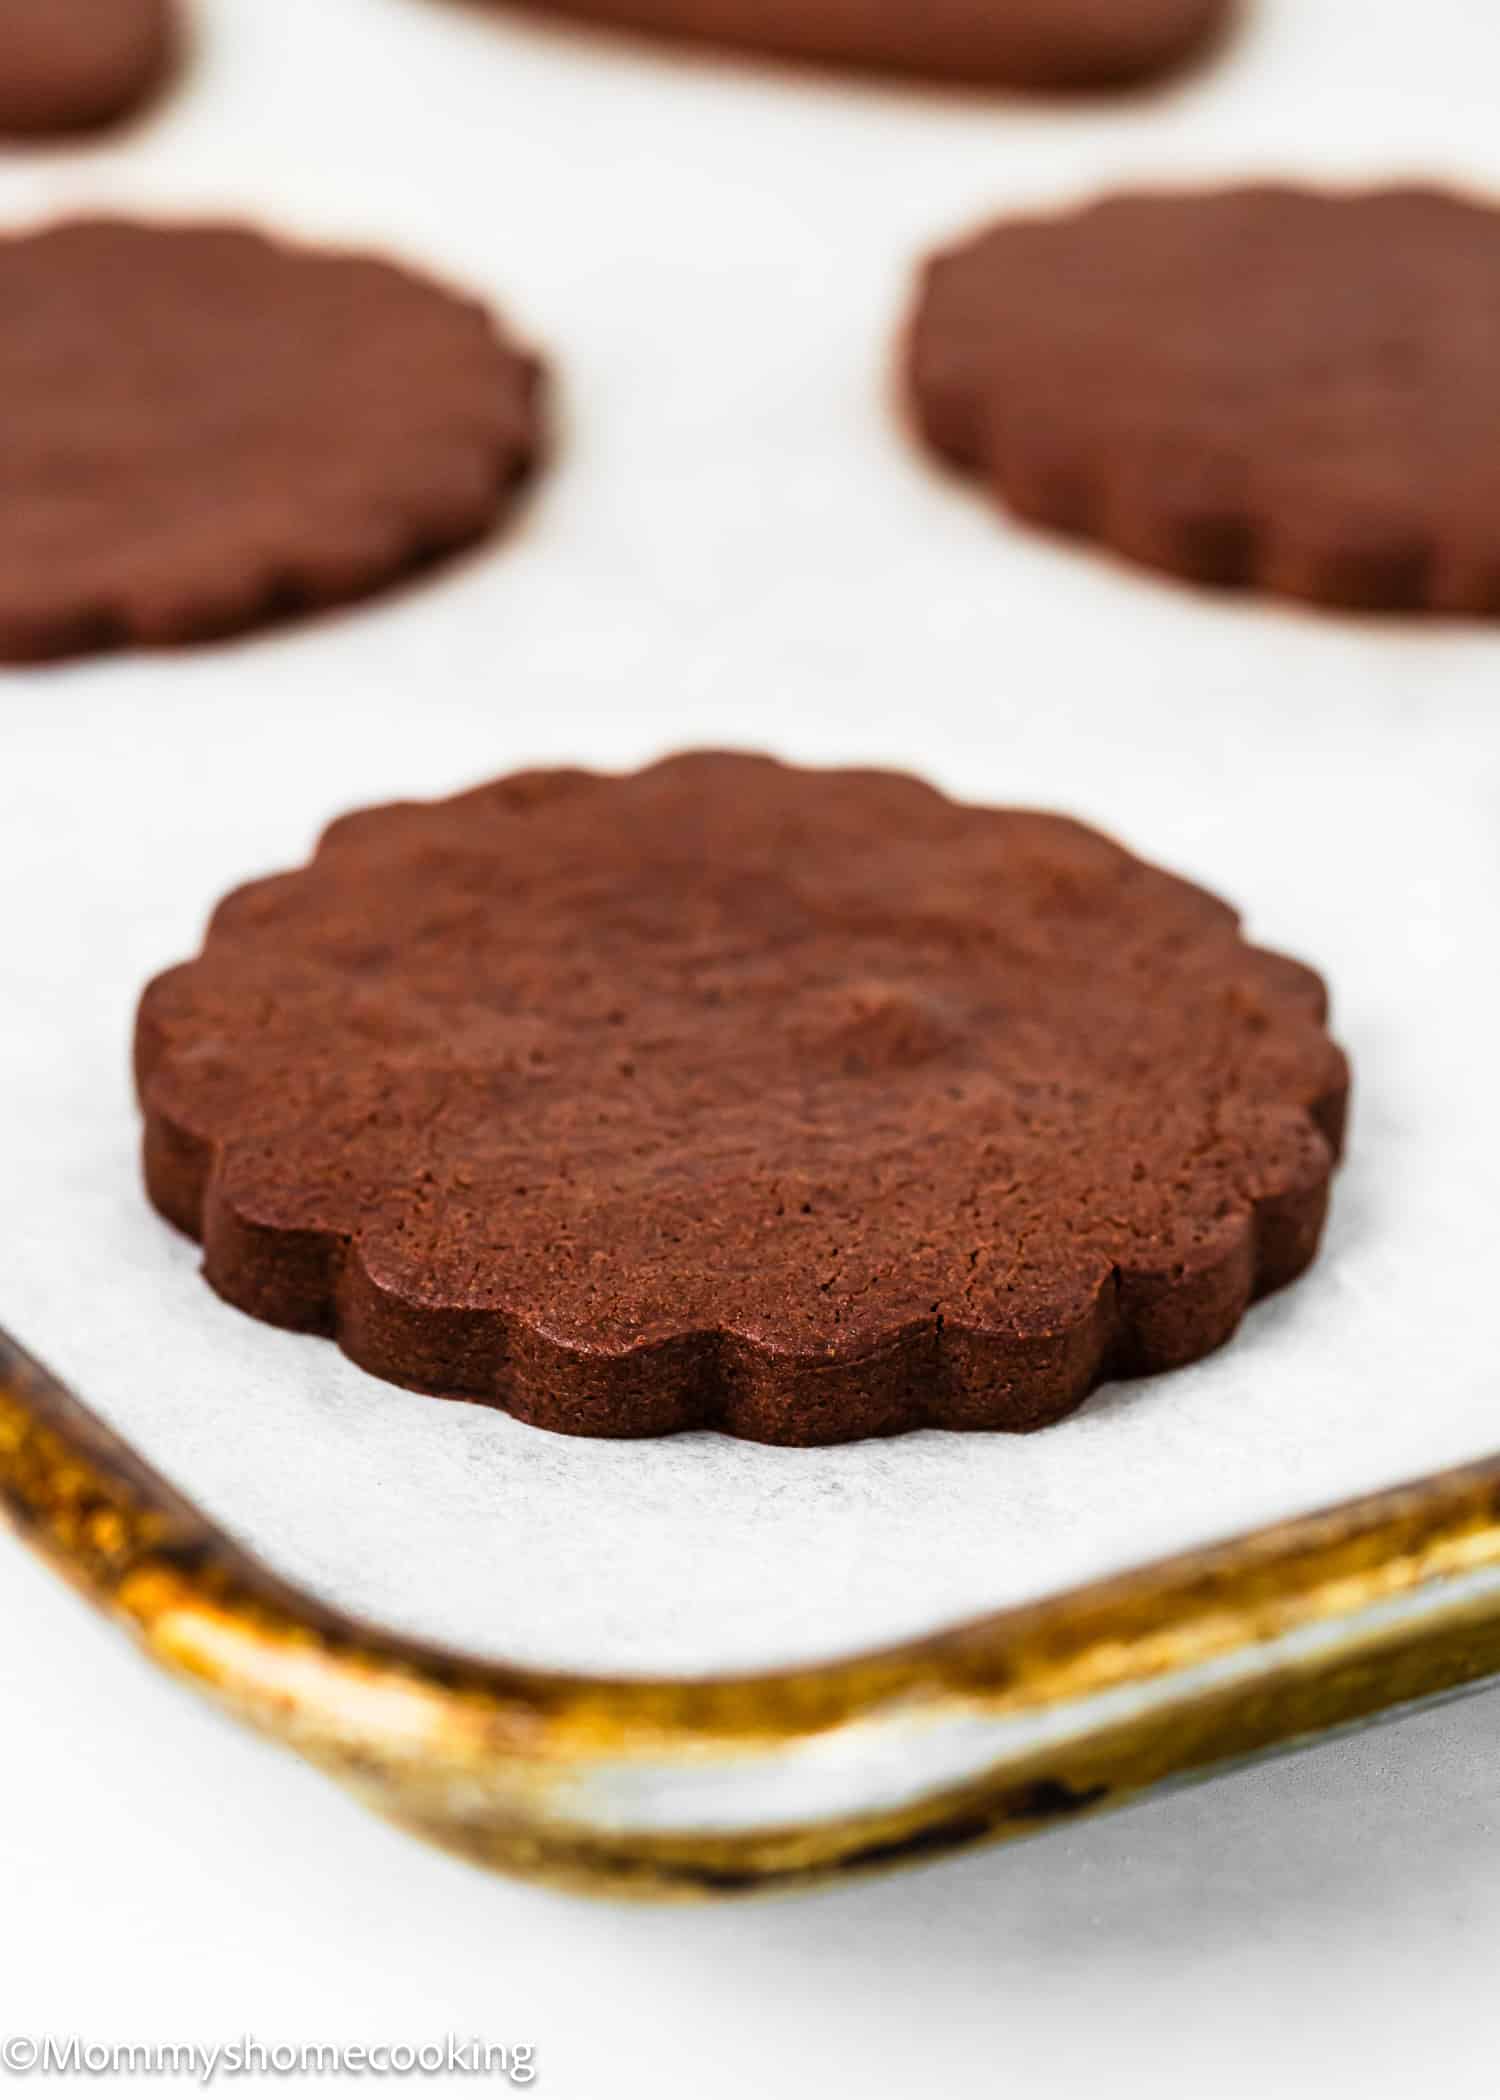
Step 6 – Bake
Bake for 10 – 12 minutes or until the edges are set. Remove the cookies from the oven and let them sit on the baking sheets for 5 minutes. Then, use a wide metal spatula to transfer the cookies to a wire rack and let them cool completely. Repeat the process to cut and bake the remaining dough.
Step 7 – Decorate As Your Heart Desires
Decorate the cooled sugar cookies as desired. If using eggless royal icing, let the icing dry completely, about 1 1/2 hours, before serving. Once the cookies have completely dried, they can be stored either in an airtight container with waxed paper in between each layer or in an airtight bag in a single layer. You can store them at room temperature for up to 5 days.
Food Allergy Swaps
Gluten-Free: Use a gluten-free, all-purpose flour blend. Look for a gluten-free flour blend specifically formulated for baking, as it will have the right combination of flours and starches to mimic the texture of wheat flour. My favorite is Better Batter Original Blend. I also like Doves Farm Freee Gluten-Free All-Purpose Flour, but this blend does not contain xanthan gum, so you need to add 1/4 teaspoon of xanthan gum per cup (140 g) of gluten free flour blend. Dairy-Free: To make this recipe dairy-free, you can easily swap out the dairy ingredients for non-dairy alternatives. Use vegan butter instead of dairy butter. There are many brands available in stores. I usually use Miyoko’s Creamery Organic Vegan Butter. For the cream cheese, I use Violife Just Like Cream Cheese Original.
6 Decoration Ideas
Here are some fun and easy decoration ideas for your eggless chocolate sugar cookies:
Don’t skip chilling the dough: This step is key to making the dough easier to handle and ensuring the cookies keep their shape. Use parchment paper: Rolling out the dough between sheets of parchment paper can prevent sticking without adding extra flour. Let the cookies cool before decorating: Make sure the cookies are completely cooled before you start decorating so the frosting or icing sets perfectly.
1. Chocolate Drizzle
Melt some chocolate (dark, milk, or white) and drizzle it over the cookies using a spoon or piping bag. You can make crisscross patterns or random streaks for a stylish, minimal look.
2. Royal Icing Designs
Use eggless royal icing to create colorful designs on top of the cookies. You can pipe on simple shapes like hearts, stars, or swirls, or even get creative with personalized messages or fun doodles.
3. Powdered Sugar Dusting
After the cookies have cooled, lightly dust them with powdered sugar using a sifter or a small sieve. For a more festive touch, use cookie stencils to create specific shapes or patterns with the powdered sugar.
4. Dip and Dunk
Dip the tops of the cookies in melted chocolate or colored candy melts, and then immediately dip them in crushed nuts, sprinkles, or coconut flakes. This creates a two-tone look with a tasty, textured topping.
5. Cookie Stamps
Before baking, use cookie stamps or a fork to create fun imprints on the dough. The baked patterns can be highlighted with edible glitter or shimmer powder.
6. Buttercream Frosting Fun
Spread or pipe buttercream onto the cookies for a rich and creamy decoration. You can color the buttercream with natural food dyes and add sprinkles or edible glitter on top for extra flair. Buttercream is a great way to add a soft, melt-in-your-mouth texture to contrast the crunchy cookies.
Variations & Additions
Flavor Boost: Add a little espresso powder to intensify the chocolate flavor. Peppermint: Try adding 1/2 teaspoon of peppermint extract for chocolate mint cookies. Holiday Themes: Change up the cookie cutter shapes and decorating themes for different holidays, such as Christmas, Halloween, or Valentine’s Day!
Serving Suggestions
These cookies are delicious as-is, but they really shine when you decorate them with colorful icing and sprinkles. Serve them at parties, pack them in lunchboxes, or just enjoy them with a cup of tea or hot cocoa for an extra sweet treat!
Storing and Freezing Instructions
Store Baked Cookies: Plain or decorated cookies keep well in an airtight container at room temperature for up to 5 days. Freeze Baked Cookies: Plain or decorated sugar cookies freeze well for up to 3 months. Wait for the icing to set completely before layering between sheets of parchment paper in a freezer-friendly container. To thaw, thaw in the refrigerator or at room temperature. Freeze Cookie Dough: You can also freeze the cookie dough for up to 3 months before rolling it out. Prepare the dough, divide it into two portions, flatten both halves into a disk, wrap each in plastic wrap, and then freeze. To thaw, thaw the disks in the refrigerator, then bring them to room temperature for about 1 hour. Roll out the dough as directed between two pieces of parchment paper, then chill in the refrigerator for 1 hour before cutting into shapes and baking.
More Egg-Free Cookie Recipes You’ll Love!
Eggless Sugar Cookies (vanilla) Easy Eggless Soft Sugar Cookies Easy Mini Chocolate Chip Cookies (Egg-Free) 30+ Easy & Delicious Eggless Christmas Cookies Eggless Royal Icing Browse more recipes…
Recipe Card 📖