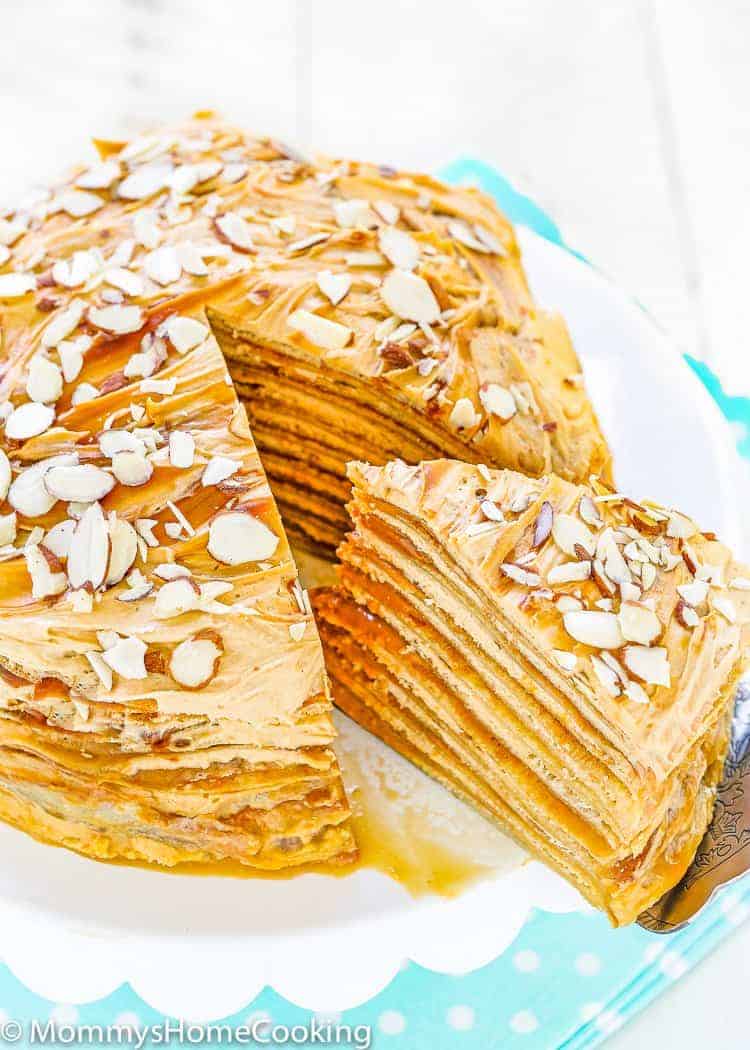
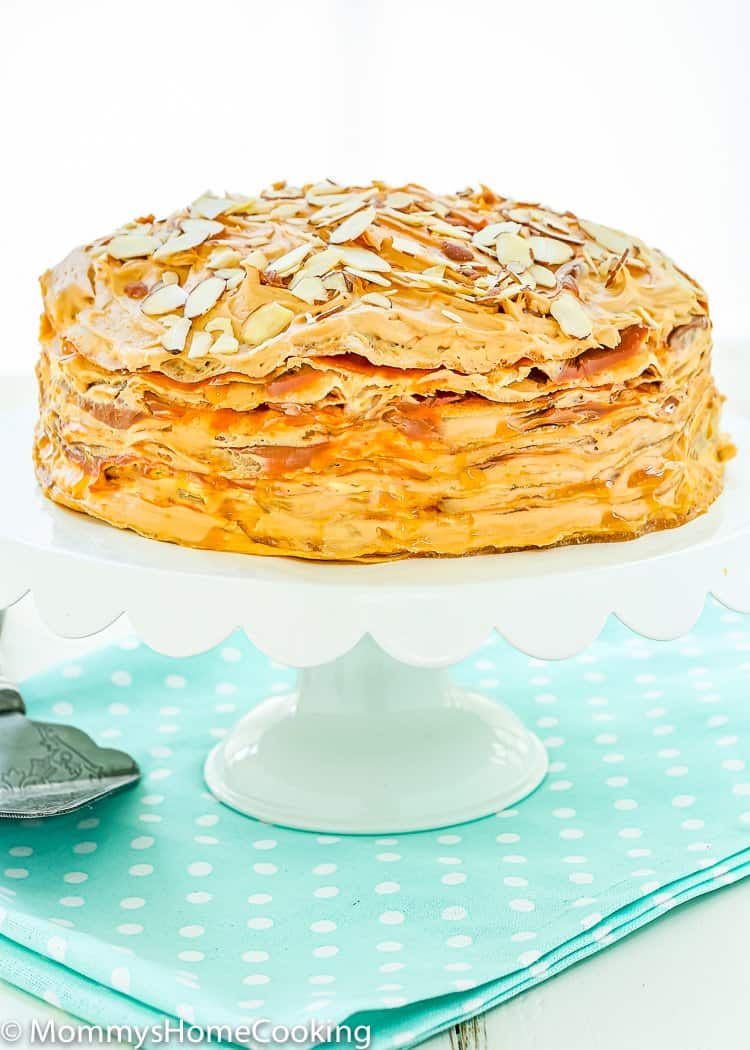
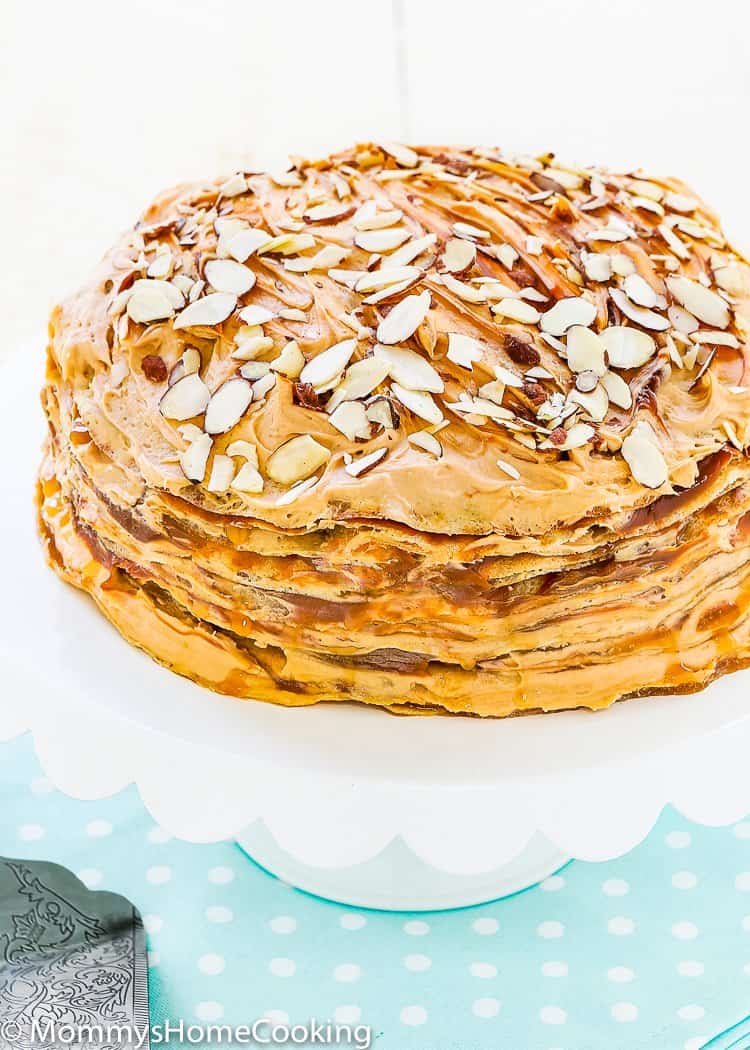
Crepes are so versatile! You can fill them up with, veggies, meats, eggs, etc. to make them savory. On the other hand, you can also use sweet fillings like lemon curd, chocolate-hazelnut spread, fruit, or jams. Given how much I love making crepes, both savory and sweet, I wanted to give this cake a try, and what better idea than to fill it with my beloved Dulce de Leche. This Eggless Dulce de Leche Crepe Cake is dense, creamy, moist, and flavorful… each bite is a real delight!!! The perfect dessert when you want something unique and decadent.
EGGLESS DULCE DE LECHE CREPE CAKE INGREDIENTS:
You’ll need: For the Eggless crepes:
Milk Water Unsalted butter, melted All-purpose flour Salt Sugar
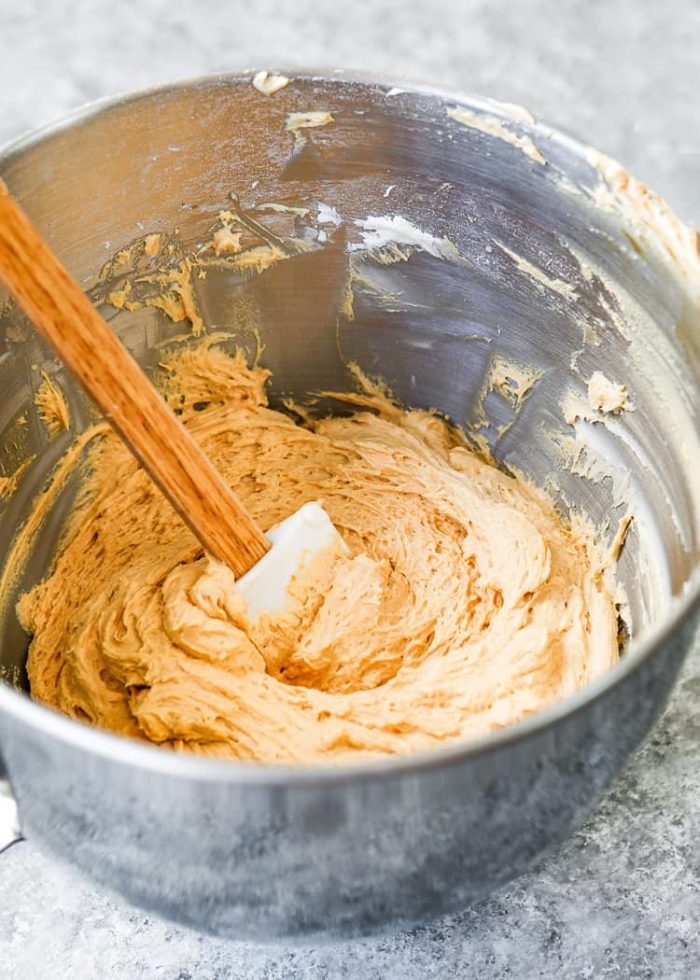
For the Dulce de Leche Buttercream:
Unsalted butter Salt Confectioners’ sugar Dulce de leche Pure vanilla extract Heavy whipping cream
To Assemble (optional):
More Dulce de Leche Nuts (optional)
Please check the recipe card at the bottom of the post for exact quantities and detailed instructions (scroll down).
HOW TO MAKE EGGLESS DULCE DE LECHE CREPE CAKE:
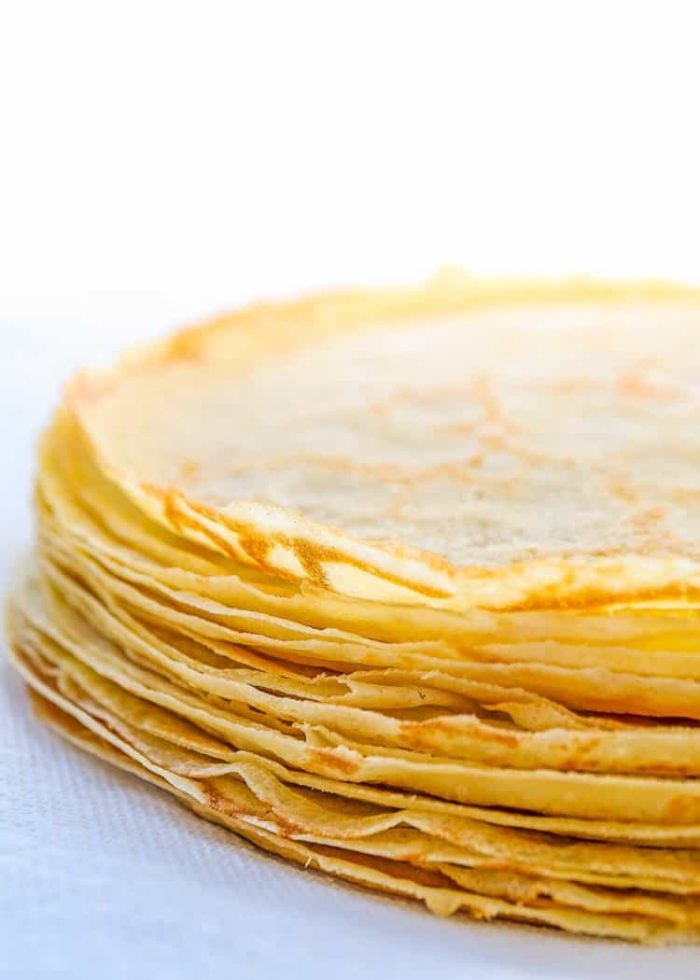
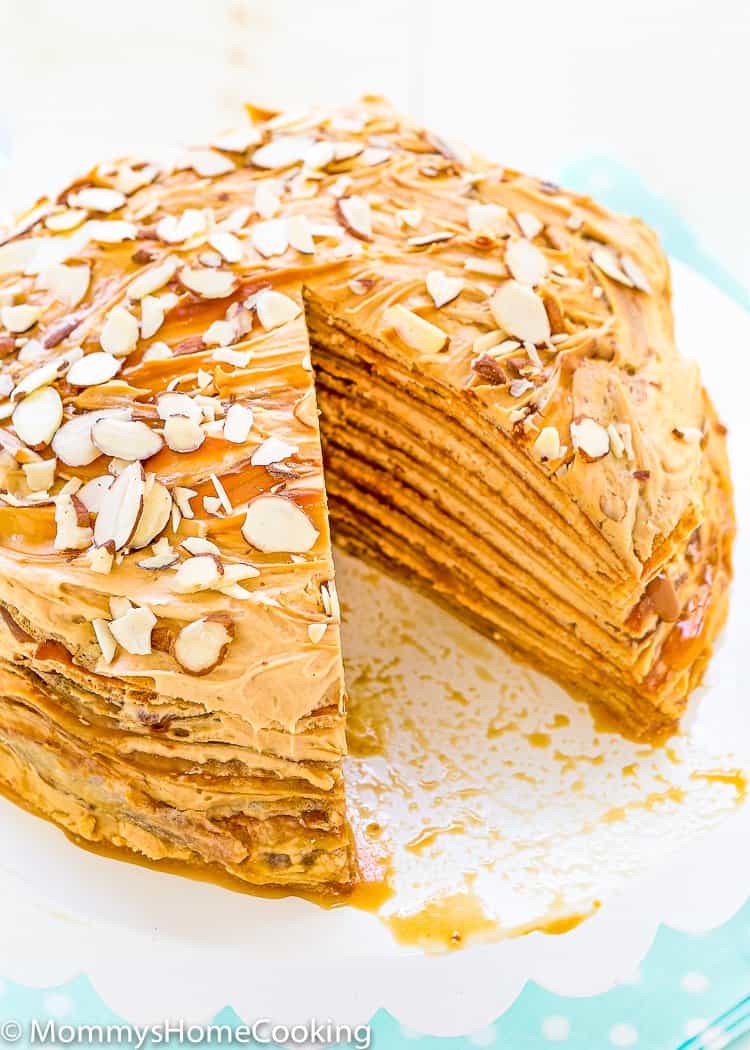
1 – MAKE THE CREPES: It takes only five minutes to make the crepe batter in a blender. However, the batter should sit for at least 30 – 60 minute. You can also prepare the batter and store it in an airtight container in the refrigerator for up to 1 day. 2 – MAKE THE FILLING: This time, I filled my eggless crepe cake with Dulce de Leche Buttercream but fill free to get creative with your flavors. See filling ideas below. 3 – ASSEMBLE THE CAKE: Spread evenly a thin layer of filling in between each layer of crepe, leaving outer 1/2 inch. Continue this process until the last crepe is placed on top. Then spread more filling on top if desire. Pro Tip: Try to lay crepes away from you, so they’ll stay flat, however, you should keep an eye on the edges to keep the circumference of the cake as evenly as possible.
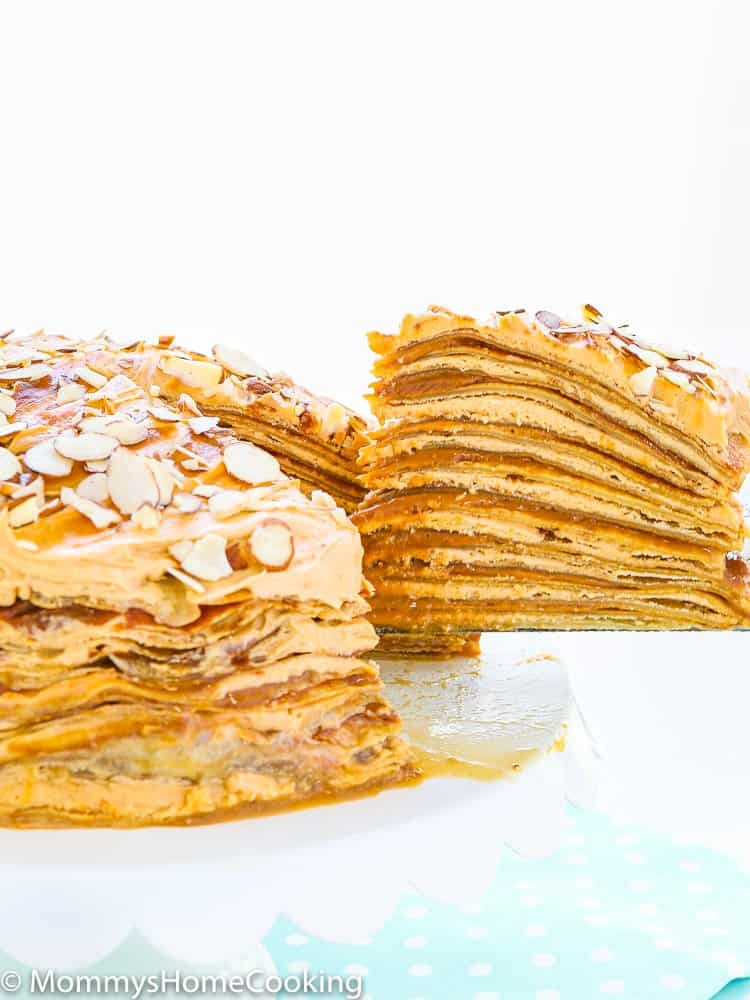
HOW MANY LAYERS DOES A CREPE CAKE HAVE?
In my opinion, something between 20 and 25 layers is perfect. Of course, you can make it as dramatic and tall as your heart desires.
TIPS TO MAKE EGGLESS DULCE DE LECHE CREPE CAKE
When making the crepes measure out the batter in a small measuring cup (I used ¼ cup), this will help ensure every crepe is the same size and thickness. Do not overcook the crepes or you will have a tough crepes cake. Cook the crepes just until they are light golden brown without much color, so they are very tender. Crepes can be made a day in advance and store in the refrigerator well covered. Do not add too much filling between layers or your cake will collapse. In my testing, I found out that 1/4 cup of filling was the perfect amount in my opinion. Use an offset spatula to spread the custard as evenly as possible to just shy of the edge. Once assembled, make sure to let the crepe cake chill until the filling is firm and set, at least 2 hours before serving but if you have the time refrigerate overnight up to 3 days. Use a sharp knife to cut into it.
STORING
Store leftover cake in an airtight container in the refrigerator for up to 3 days.
FREEZING
You can make the crepe layers well in advance. Crepes can be stored and frozen for up to 2 months. To freeze, just stack them between layers of wax or parchment paper and wrap them tightly with plastics. When you are ready to assemble the cake, just thaw the crepes and built the cake with your favorite filling.
FILLING IDEAS FOR EGGLESS CREPE CAKE
A simple vanilla whipped cream could be a hit, or using jam swirled in, or strawberry sauce. Lemon Curd Pastry Cream with fresh berries Chocolate Ganache Cream cheese buttercream
Holy crepe…all sound delicious, aren’t they?
LOOKING FOR MORE EGGLESS DESSERT RECIPES?
Best Eggless Cheesecake Easy Eggless Lemon Bars Easy Eggless Key Lime Pie Easy Eggless Pecan Pie Easy Mango Panna Cotta more recipes…
Love what you see? Subscribe to Mommy’s Home Cooking so you’ll never miss a recipe! Follow along on Instagram, Pinterest, Twitter, and Facebook for more fun! When you make this recipe, be sure to snap a photo and hashtag it #MommysHomeCooking. I’d love to see what you cook!
- This post contains affiliate links, thank you for the support in keeping Mommy’s Home Cooking up and running! Disclosure: This recipe was sponsored by La Lechera. Originally posted May 2016, post content edited to add more helpful information, no change to the recipe, in August 2020.