Oriana’s Thoughts On The Recipe
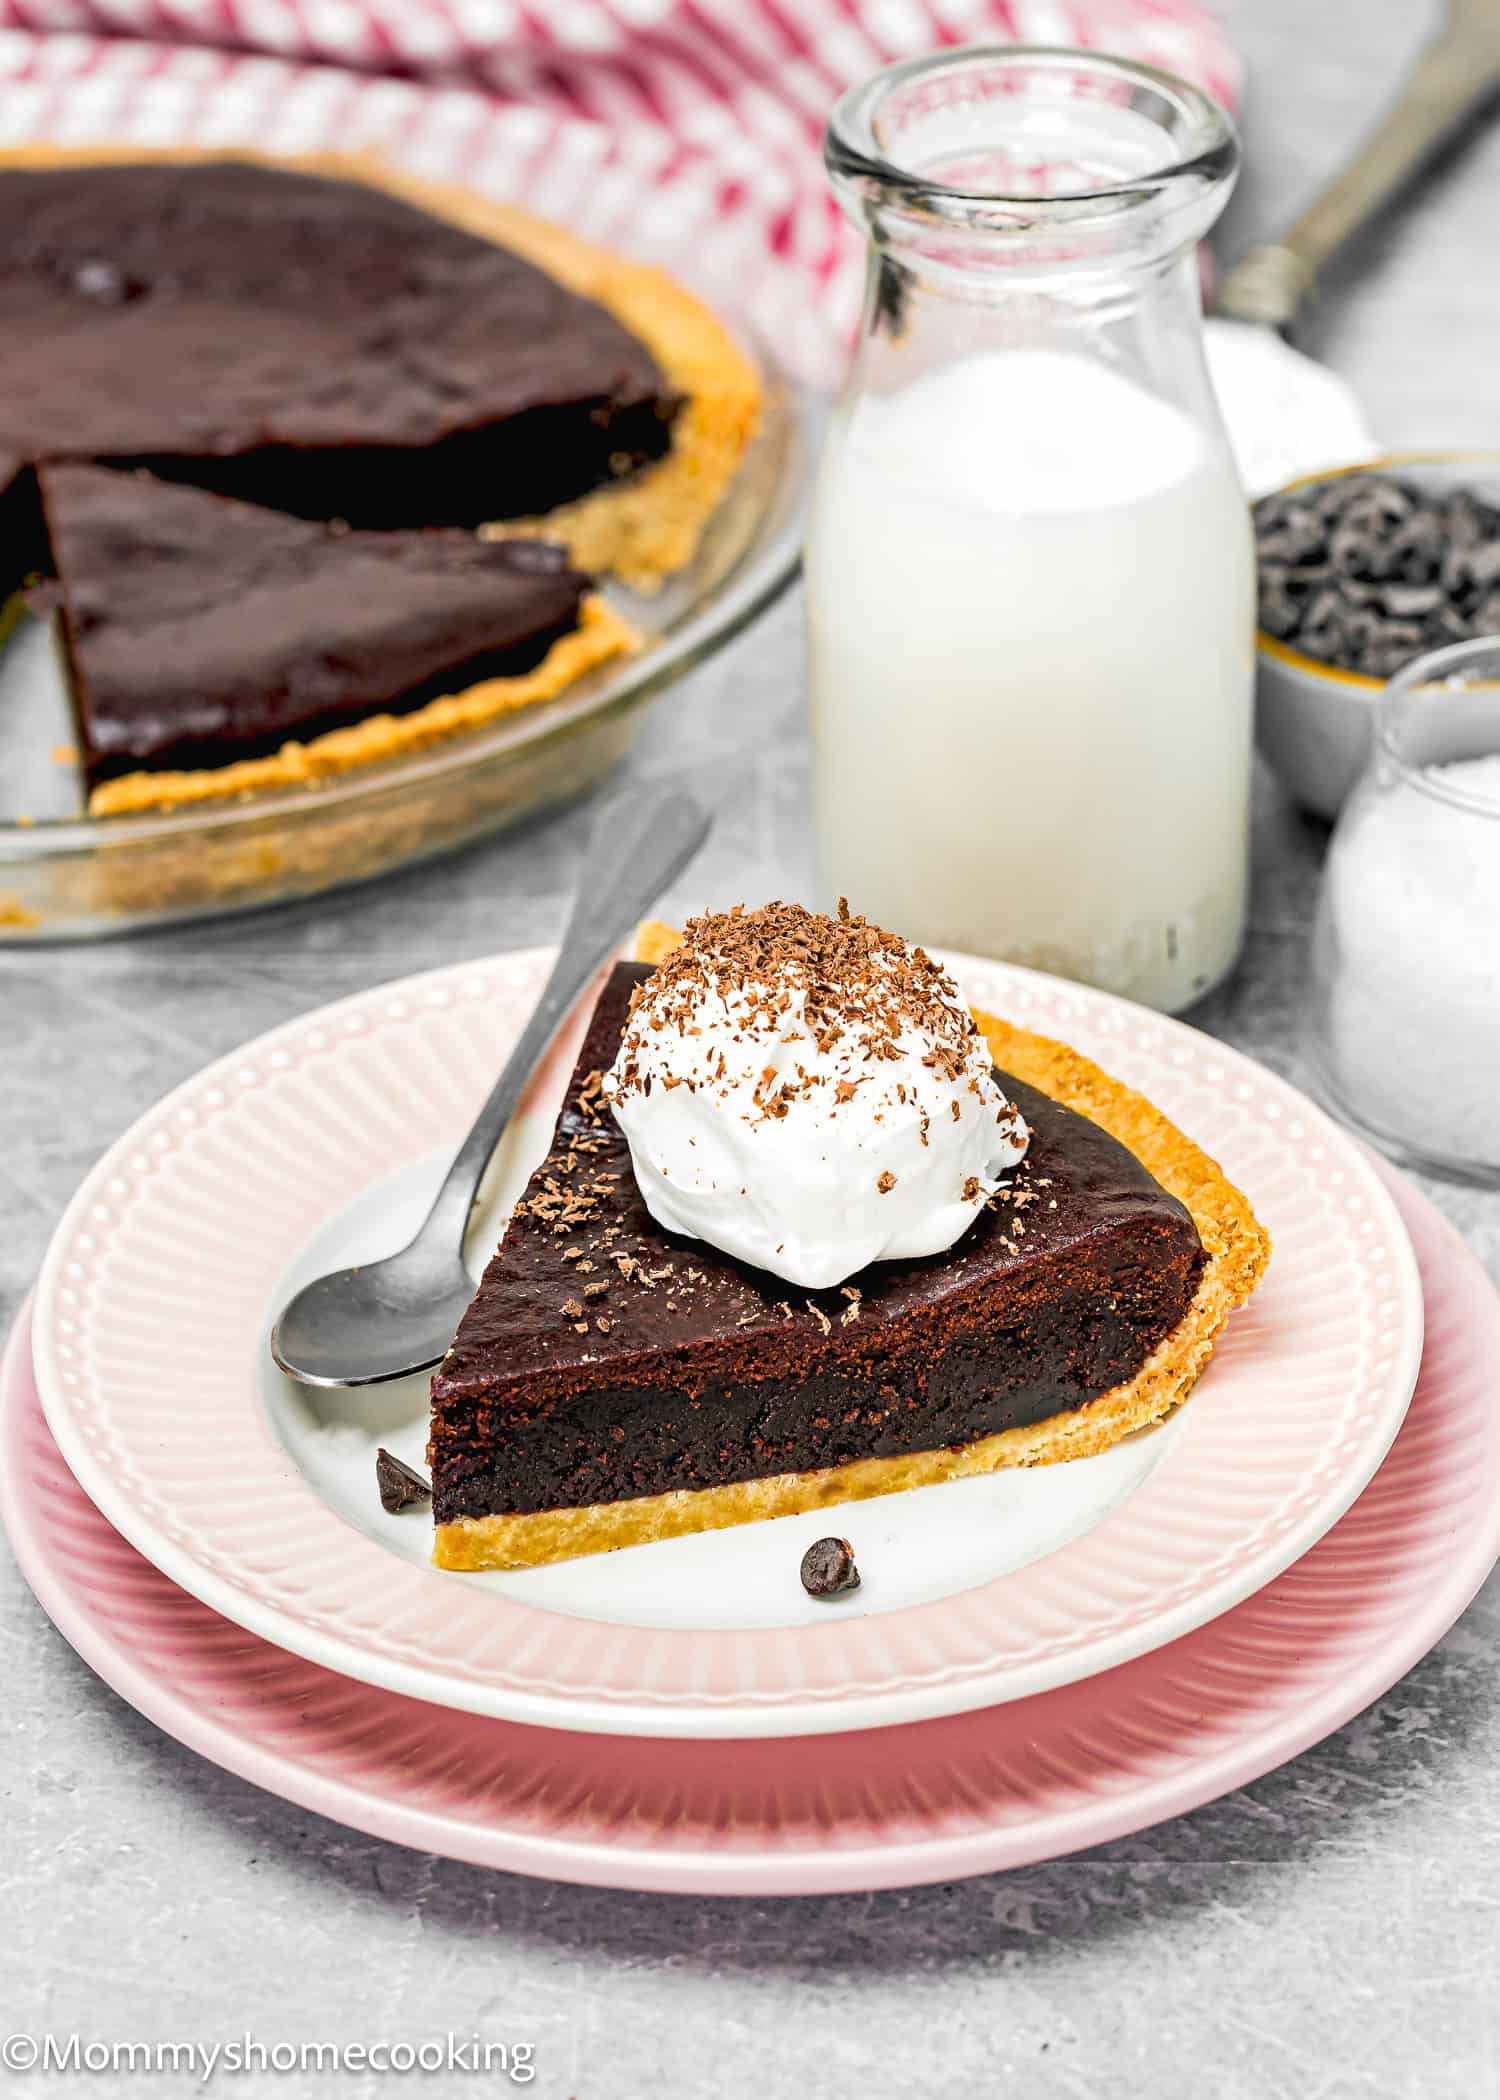
If there’s one dessert that makes everyone’s eyes light up, it’s brownies. Now, picture that chocolatey goodness nestled in a crisp press-in pie crust, and you’ve got this amazing Eggless Easy Brownie Pie! I’ve whipped up this recipe countless times, and it never fails to bring smiles to everyone around the table. It’s perfect for those who need to avoid eggs but still want a decadent, chocolate-filled treat. This brownie pie is everything you could want in a dessert: a fudgy, chewy center with a touch of crispness on the top and edges, all on a bed of a delightful press-in pie crust. With simple ingredients and straightforward steps, this pie comes together beautifully without any fuss. Whether it’s a casual weekday or a holiday gathering, this brownie pie is a crowd-pleaser. And don’t forget to serve it with a glass of cold milk or a scoop of vanilla ice cream for the ultimate indulgence. You’ll be tempted to go back for seconds (or thirds)!
Ingredients You’ll Need, Substitutions & Notes
Please check the recipe card at the bottom of the post for exact quantities and detailed instructions (scroll down).
Simple Ingredients, Simple Process: With just a few basic pantry staples, you can create a dessert that looks (and tastes!) like it came from a fancy bakery. No complicated techniques are required. Egg-Free for Everyone: Whether due to allergies or preferences, this egg-free recipe means more people can enjoy it without worry. And trust me, you won’t miss the eggs one bit! Perfect for Any Occasion: From cozy nights at home to special celebrations, this brownie pie is a versatile treat that fits any event. It’s one of those recipes that never goes out of style. Wonderfully Decadent: This brownie pie isn’t just any dessert; it’s the kind that makes you close your eyes with the first bite. Rich, chocolatey, and indulgent—perfect for satisfying any sweet tooth.
For the Press-In Crust:
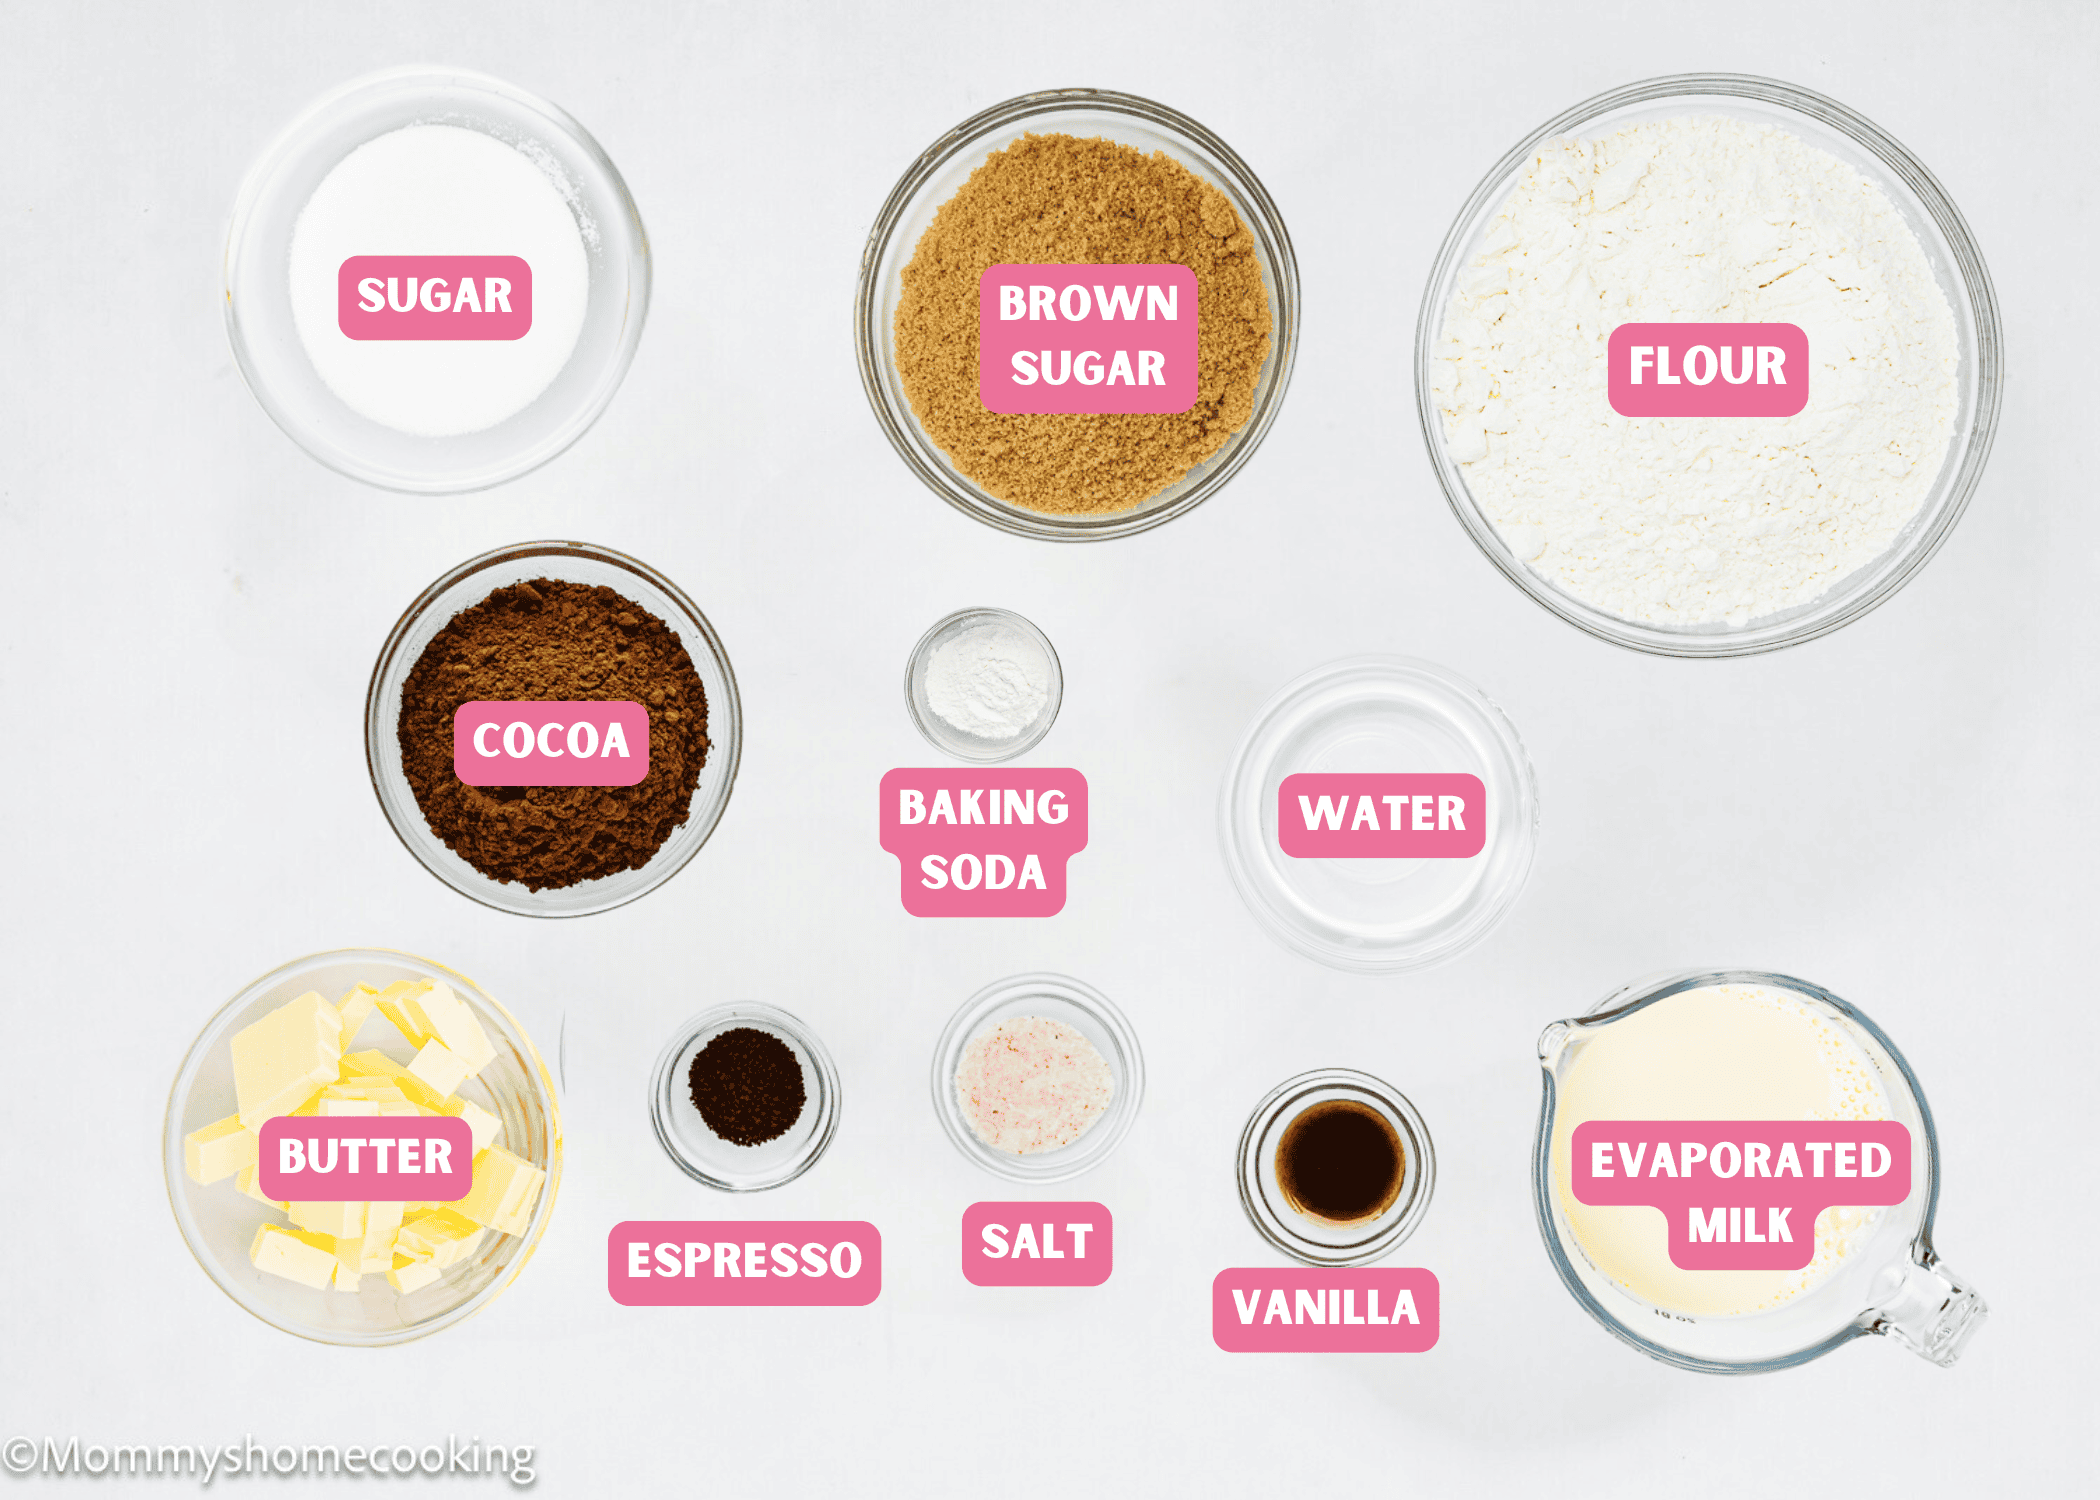
All-Purpose Flour: Forms the structure of the crust. Brown Sugar: Adds a subtle sweetness and a slight caramel flavor. Salt: Balances the sweetness. Baking Soda: Helps the crust maintain a light texture. Butter: Provides richness and crispness. Water: Binds the ingredients together for easy pressing.
For the Brownie:
Butter: Adds moisture and richness to the filling. Granulated Sugar: Sweetens and helps create that classic shiny brownie top. Evaporated Milk: Gives the brownies a creamy texture without the need for eggs. Cocoa Powder: The star of the show, bringing deep chocolate flavor. Vanilla Extract: Enhances the overall taste. Espresso Powder: Optional, but boosts the chocolate flavor. Salt: Balances the sweetness and highlights the chocolate. All-Purpose Flour: Adds structure without making the brownies cakey.
Process Overview: Step-by-Step Photos
Please check the recipe card at the bottom of the post for exact quantities and detailed instructions (scroll down).
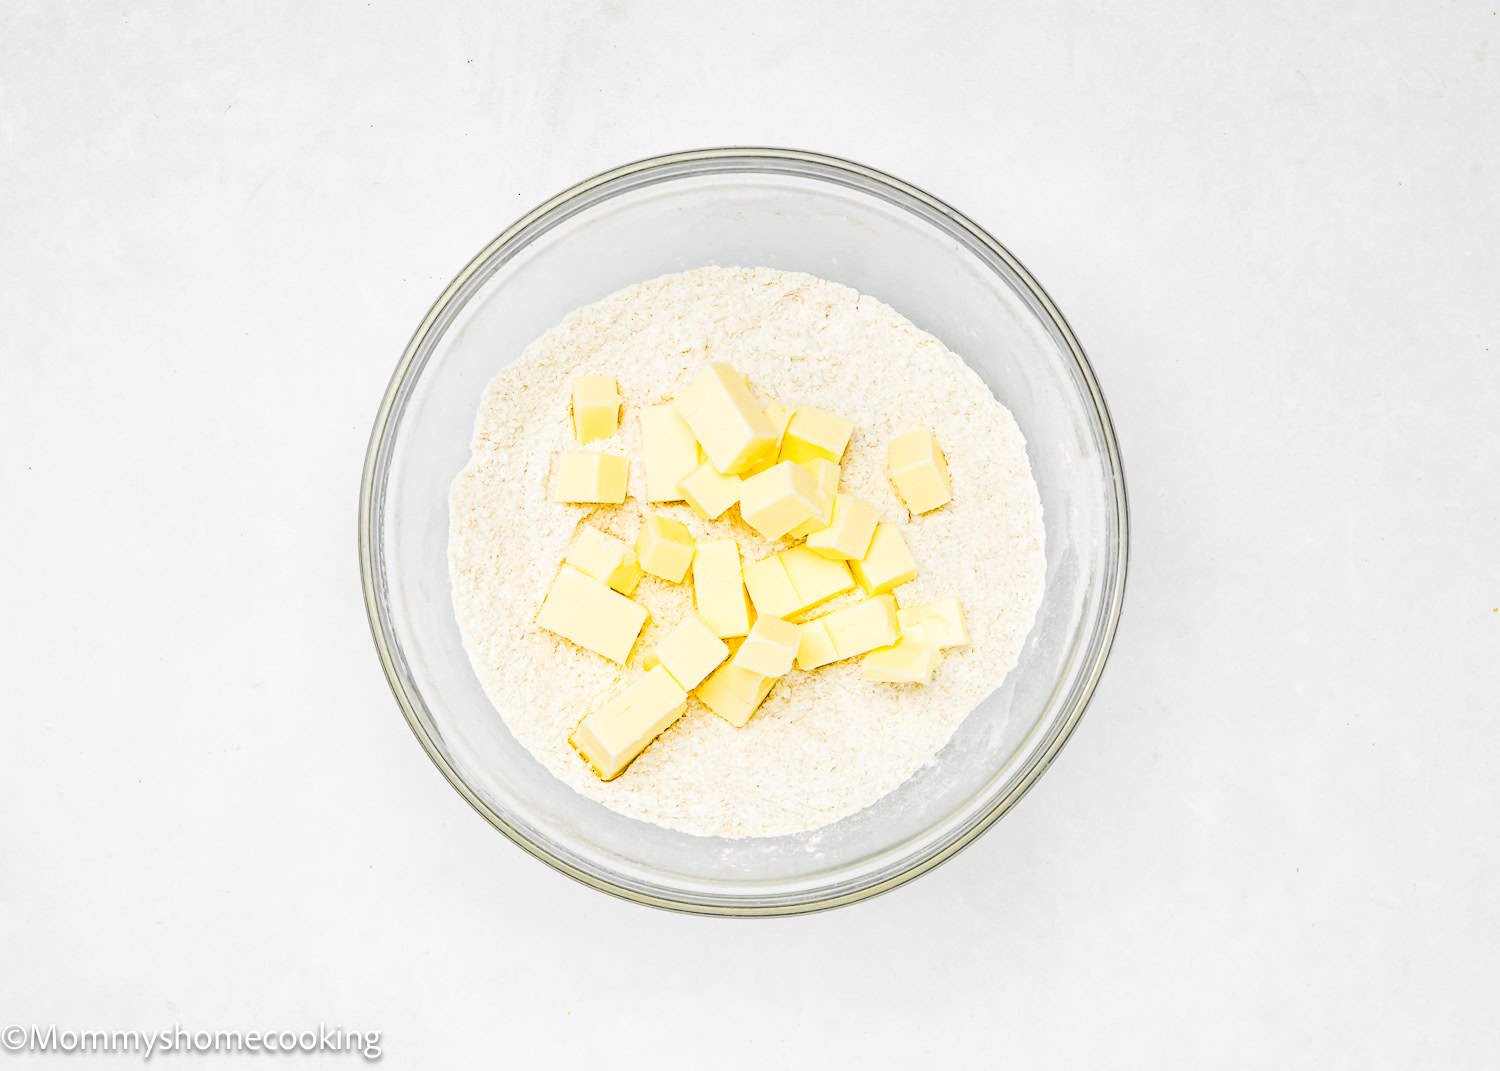
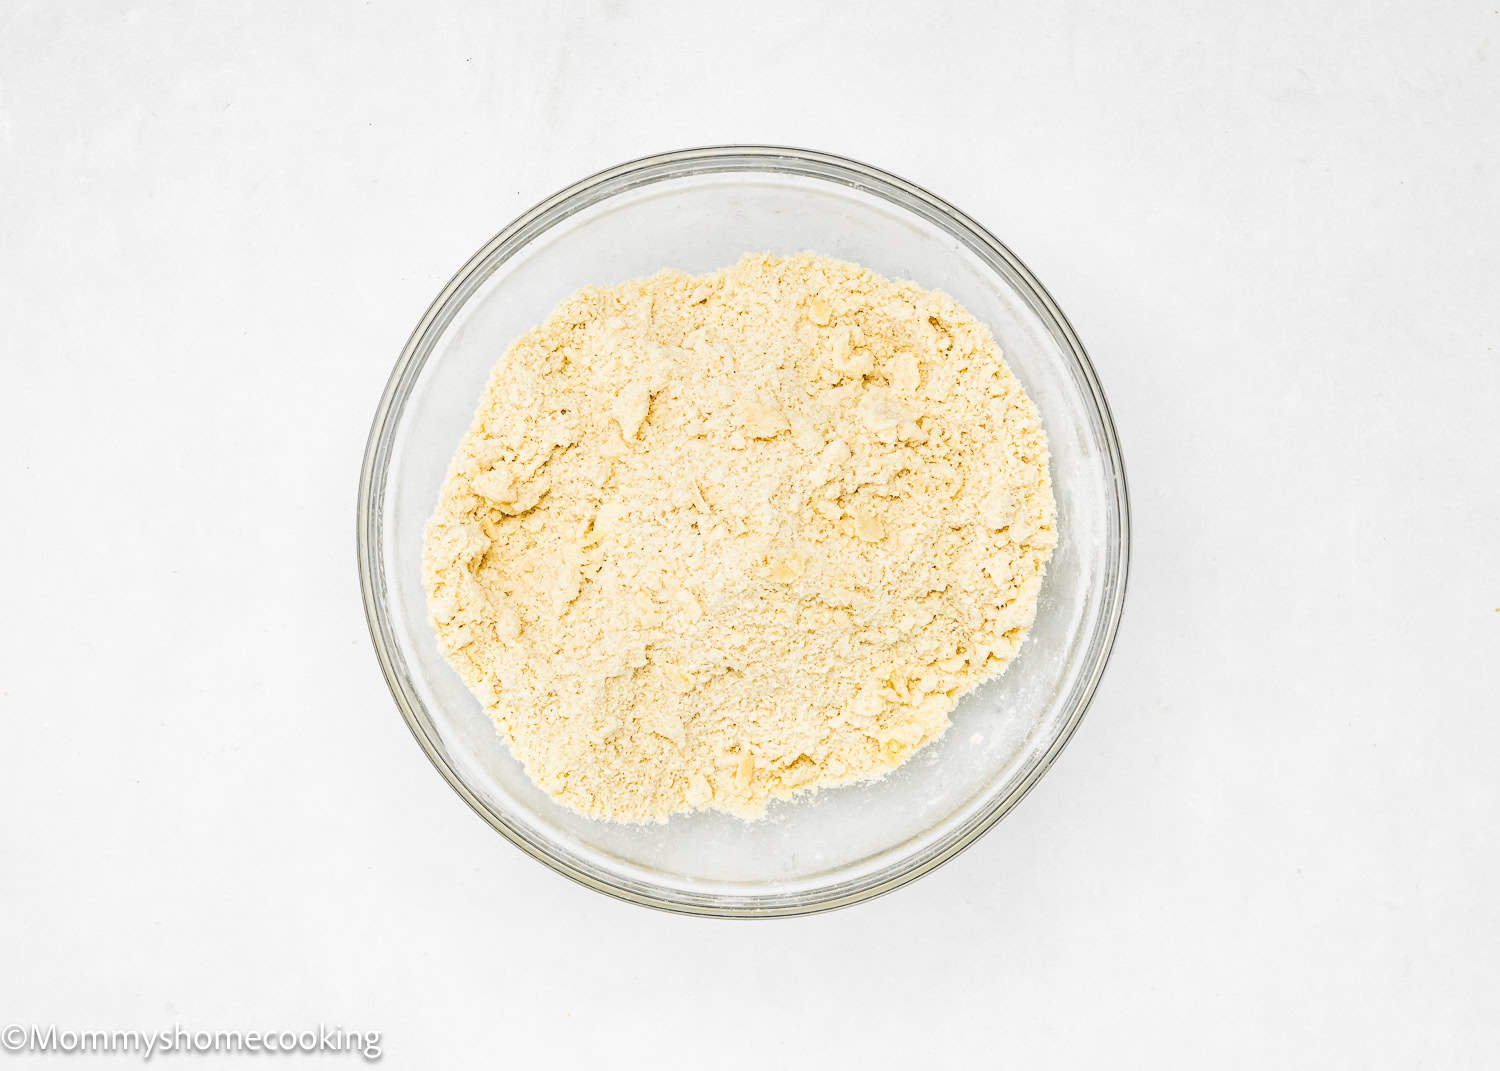
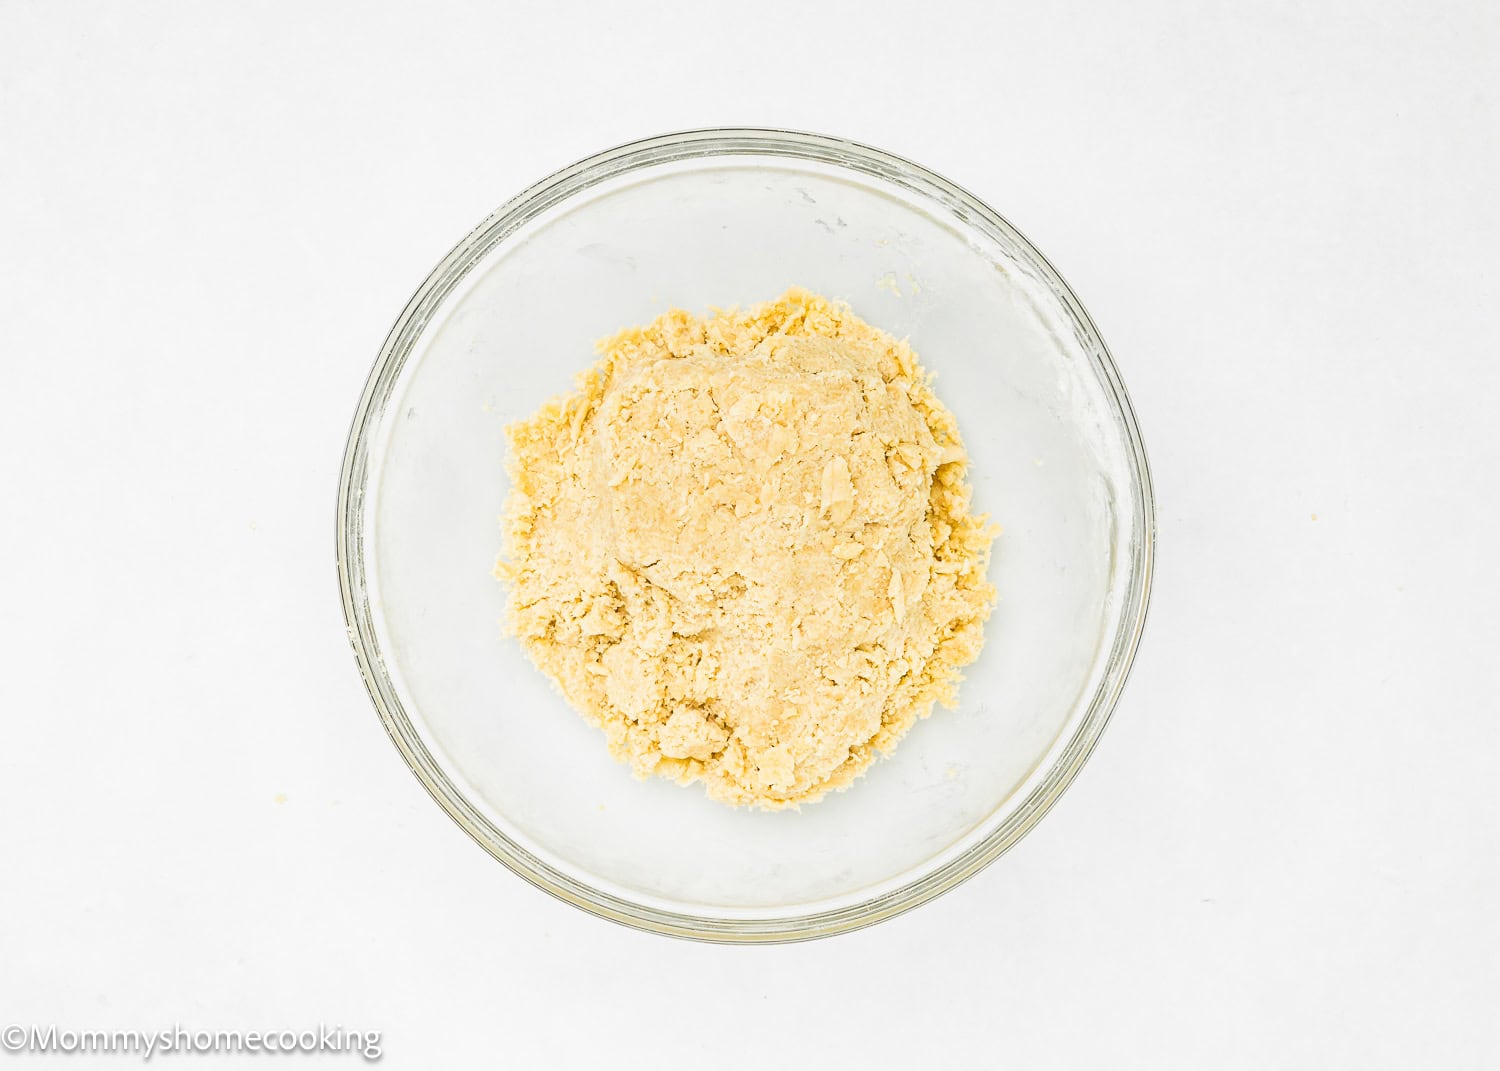
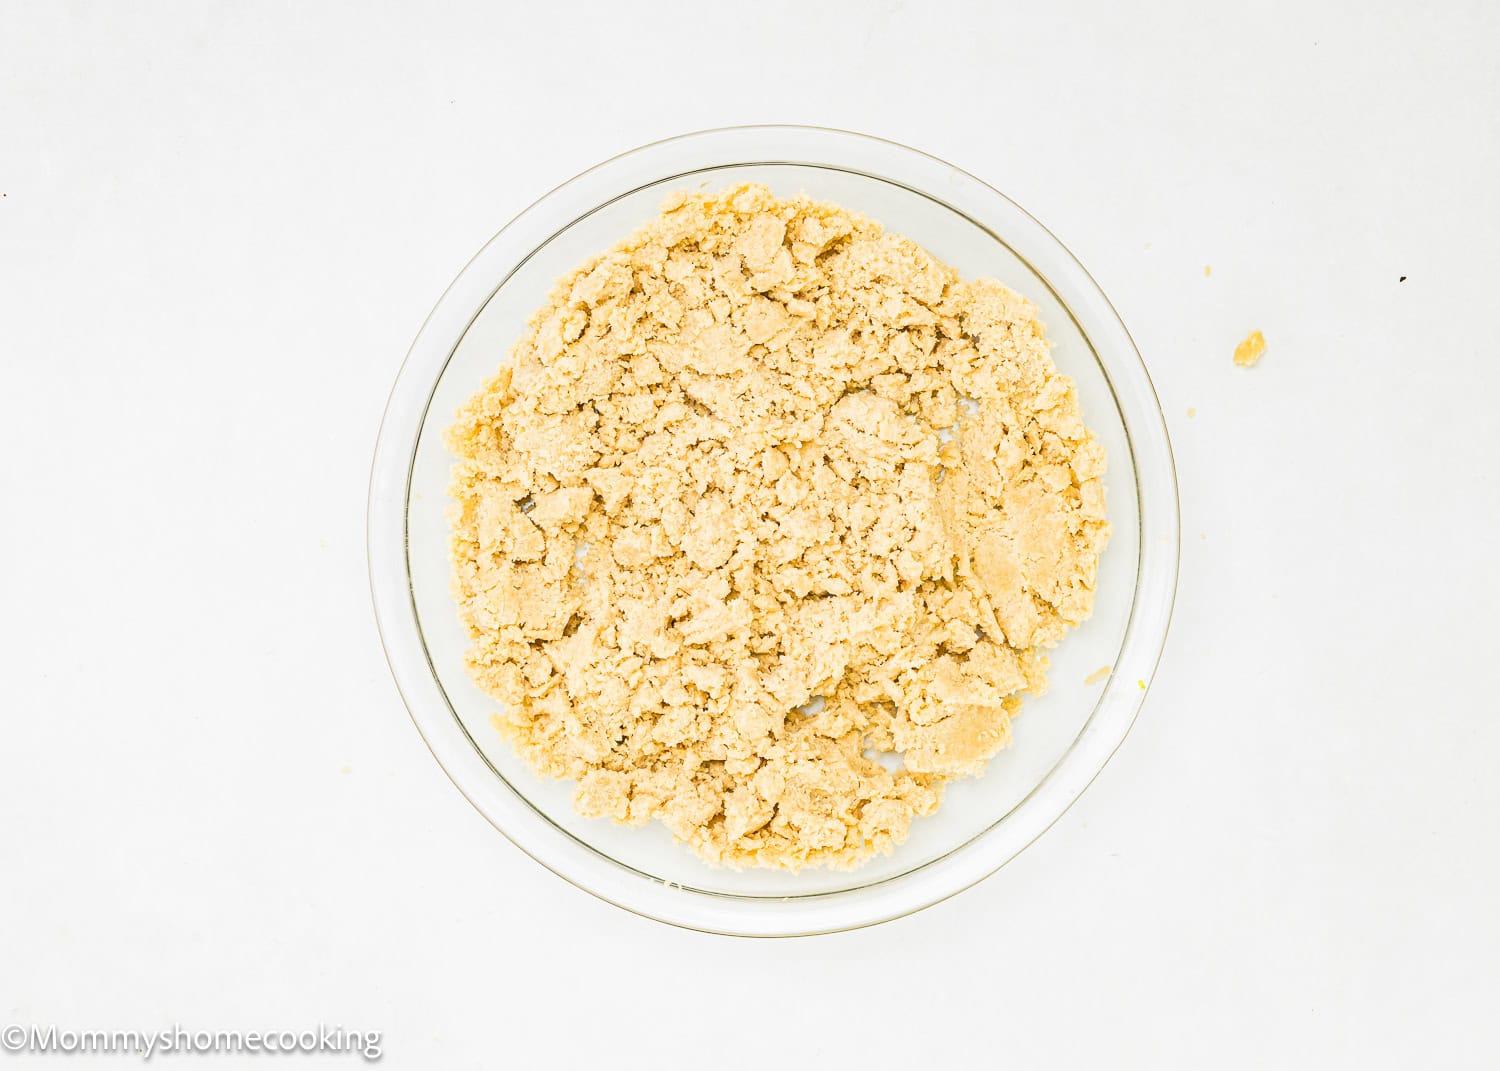
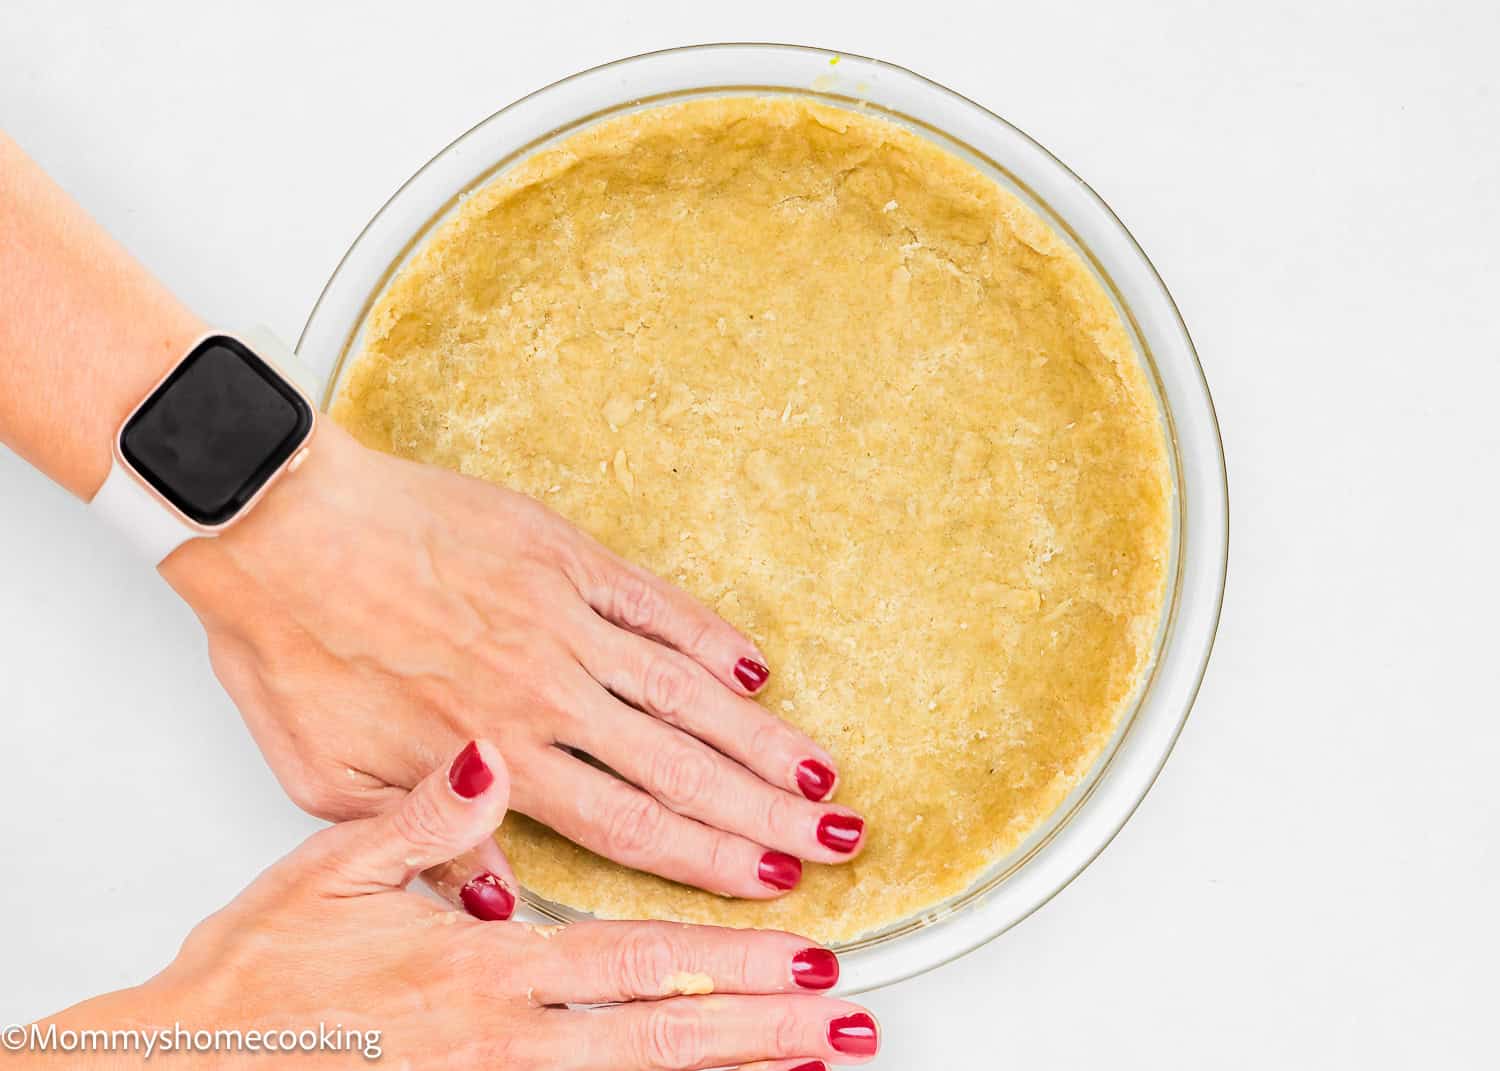
Step 1 – Make The Crust
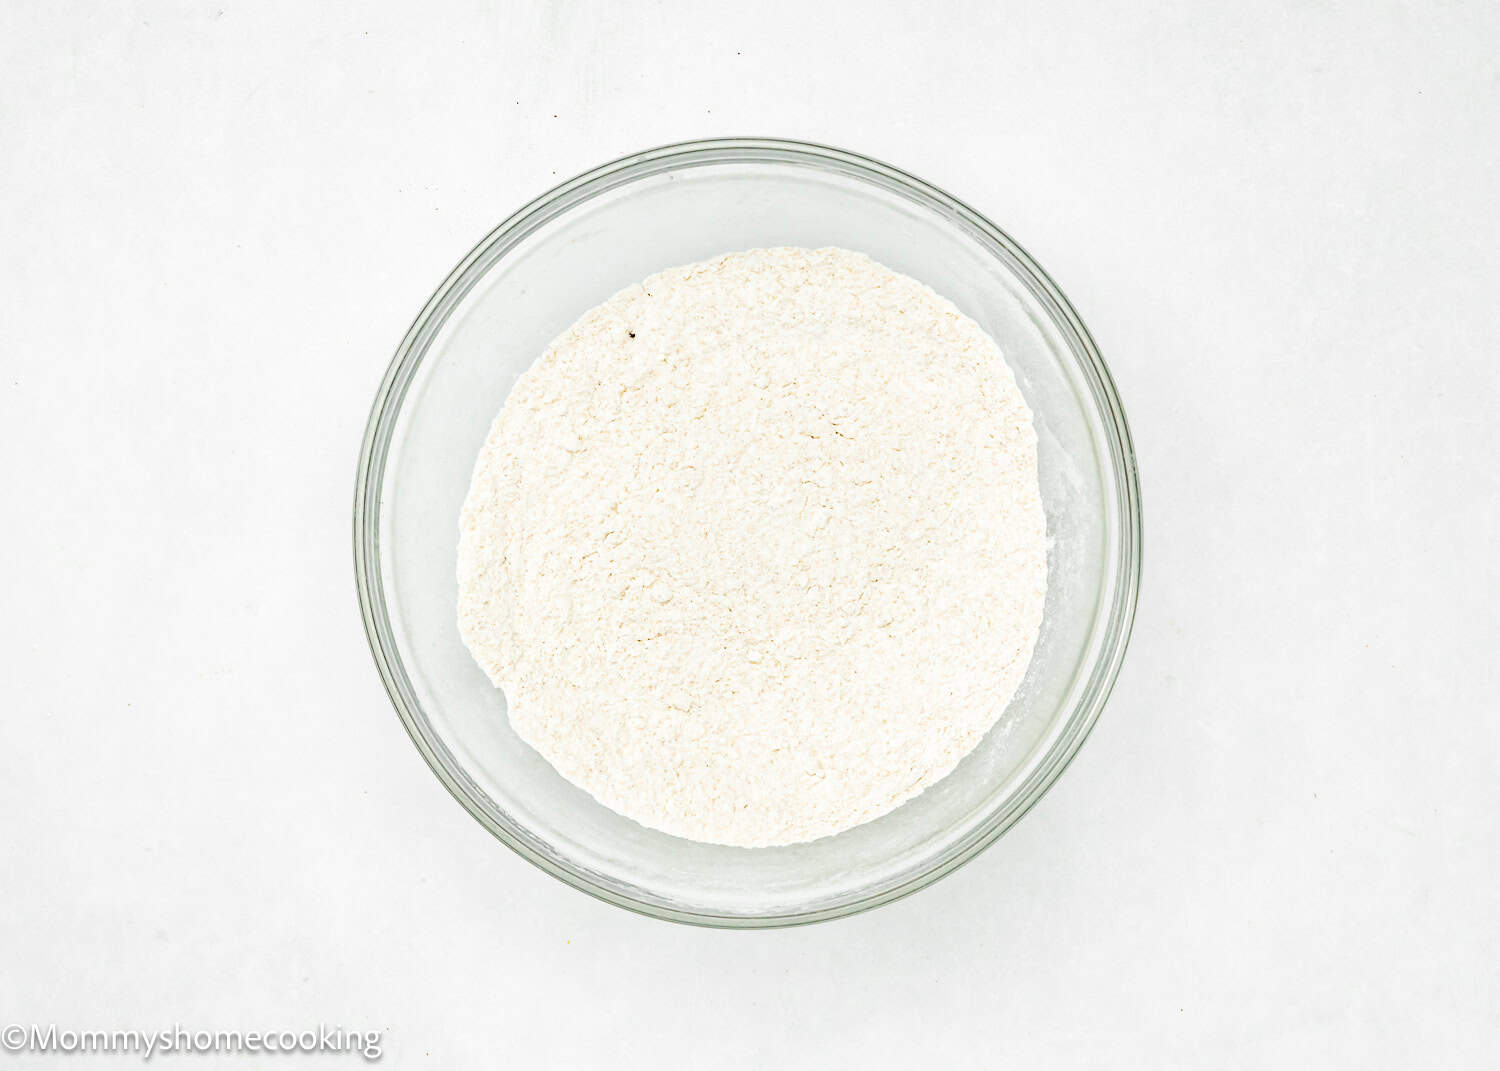
Press-In Crust: Place flour, brown sugar, salt, and baking soda in a medium bowl and whisk to blend. Press out any lumps of brown sugar (or pulse in a food processor). Add soft butter and rub it in with your fingertips (or pulse in short bursts) until it resembles coarse crumbs. Note: The butter needs to be evenly mixed in, and there shouldn’t be any dusty flour remaining in the bowl. Then, sprinkle in 2 teaspoons of water and mix it in with your fingers until it clumps together. If it needs a bit more moisture, add another teaspoon of water. You’re looking for a texture that resembles damp crumbs or clusters that hold together when you squeeze them. Add the crumbs into the baking dish and press them up the sides and evenly across the base.
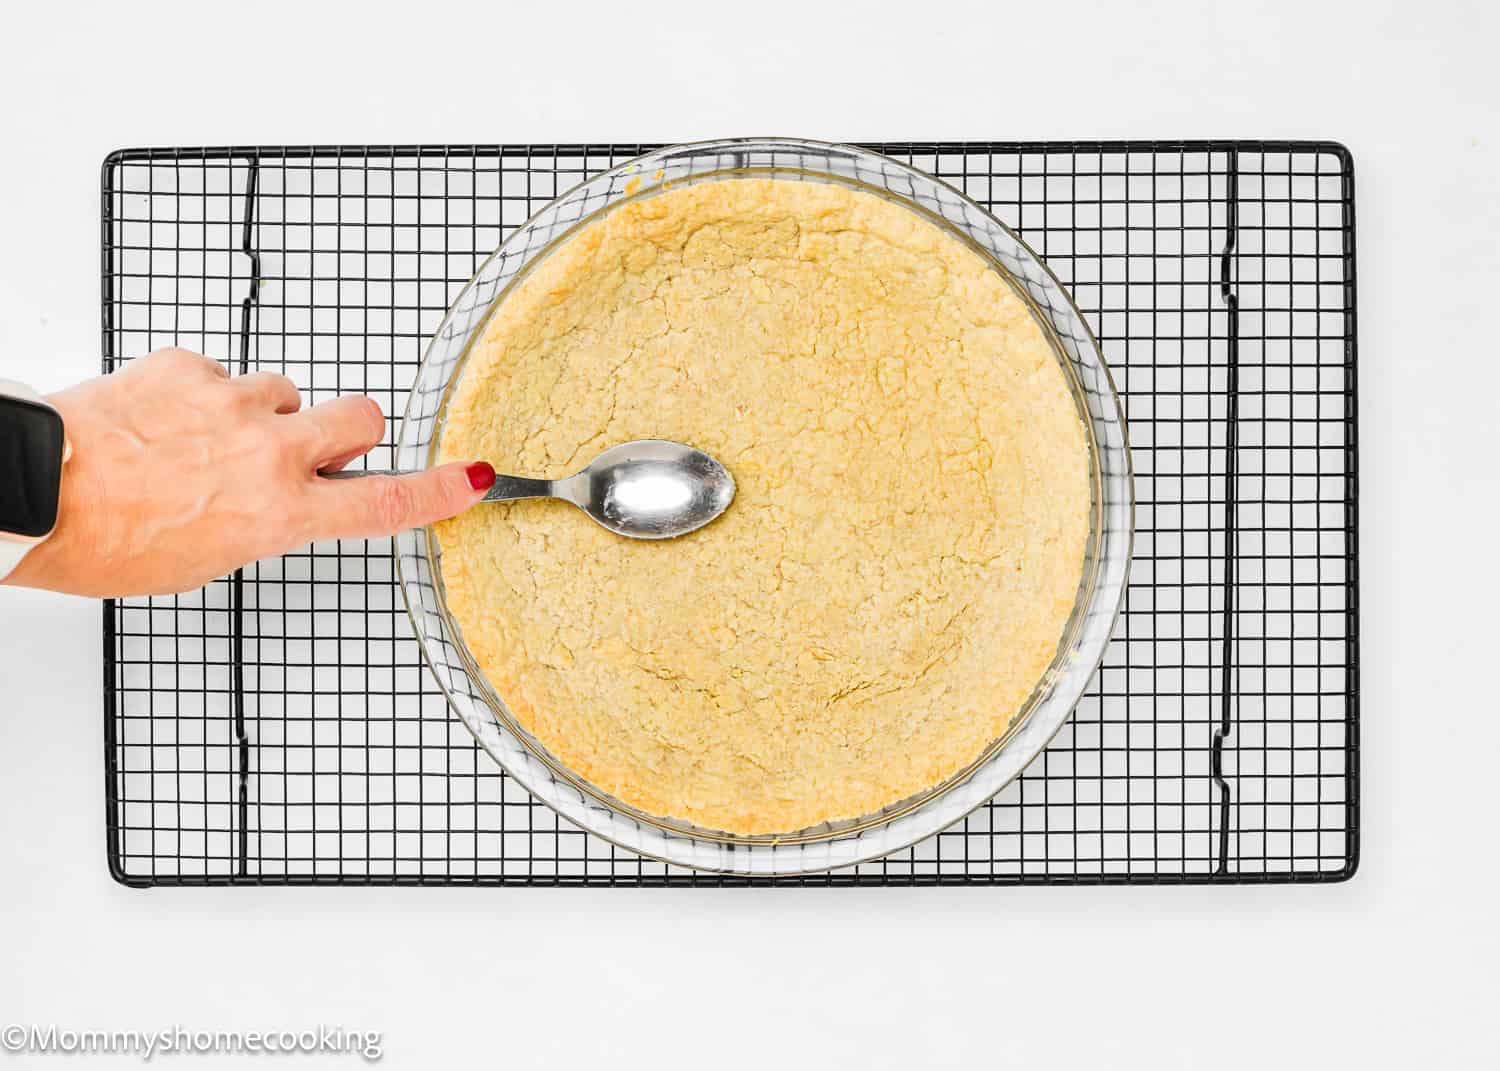
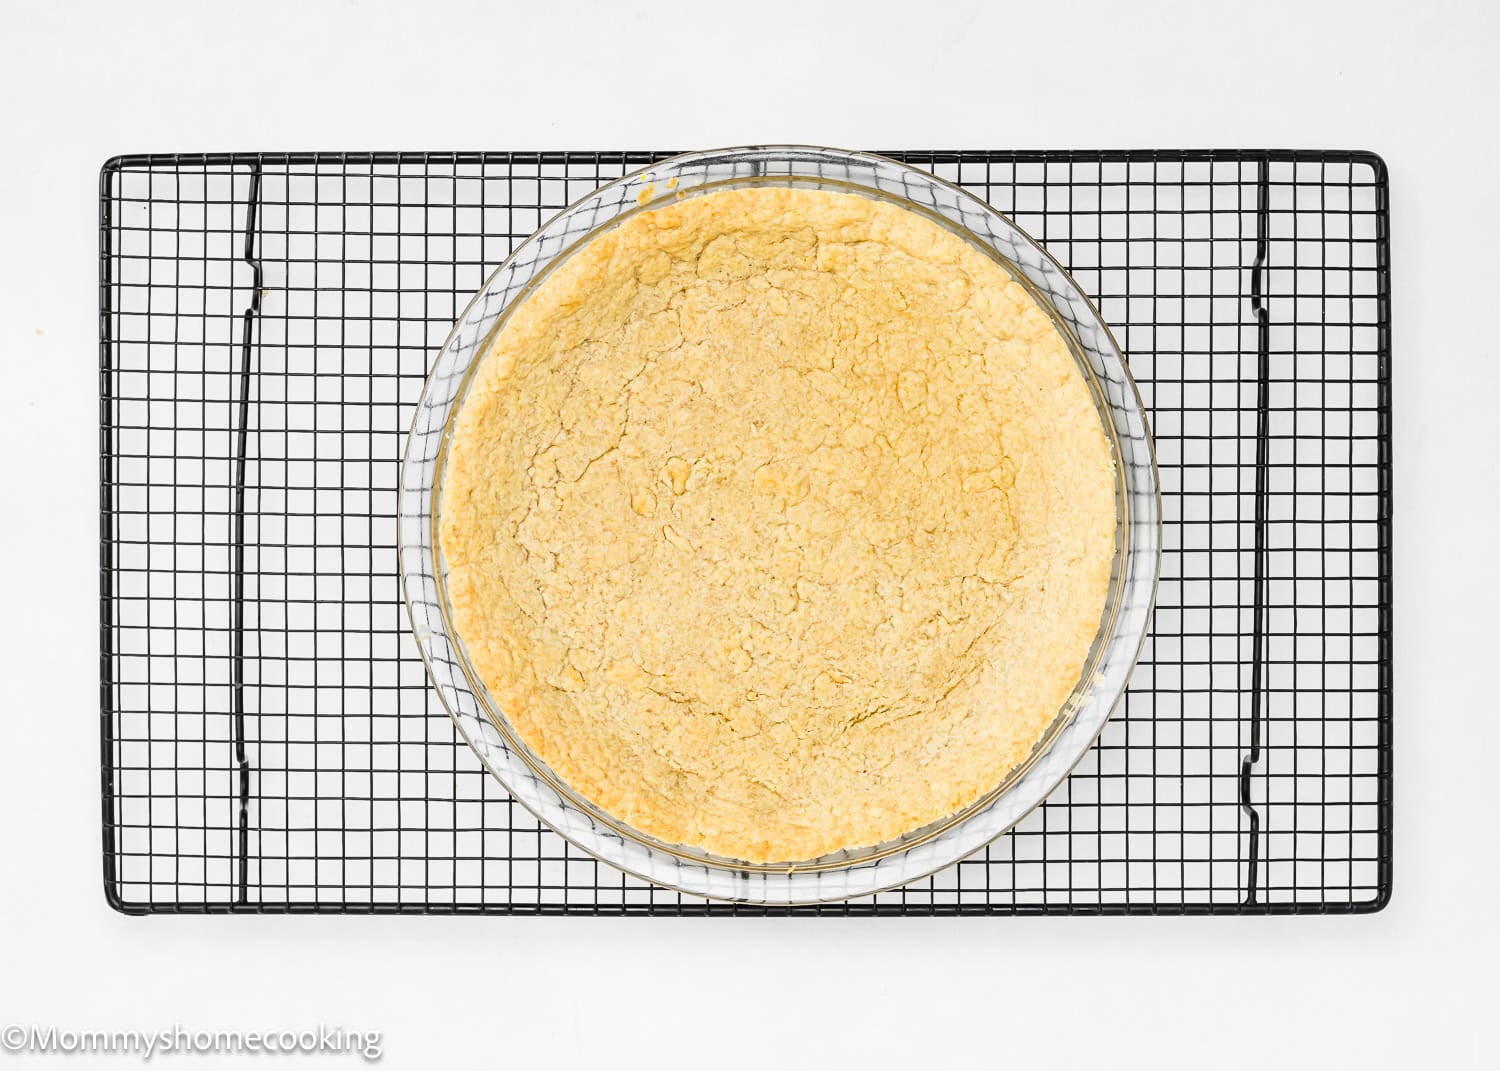
Step 2 -Par Bake The Crust
Bake for 10 minutes until golden and dry and firm. The crust will puff up a little after baking, so as soon as it comes out of the oven, use the back of a spoon to even out the surface of the crust, bottom, and sides. Set aside to cool.
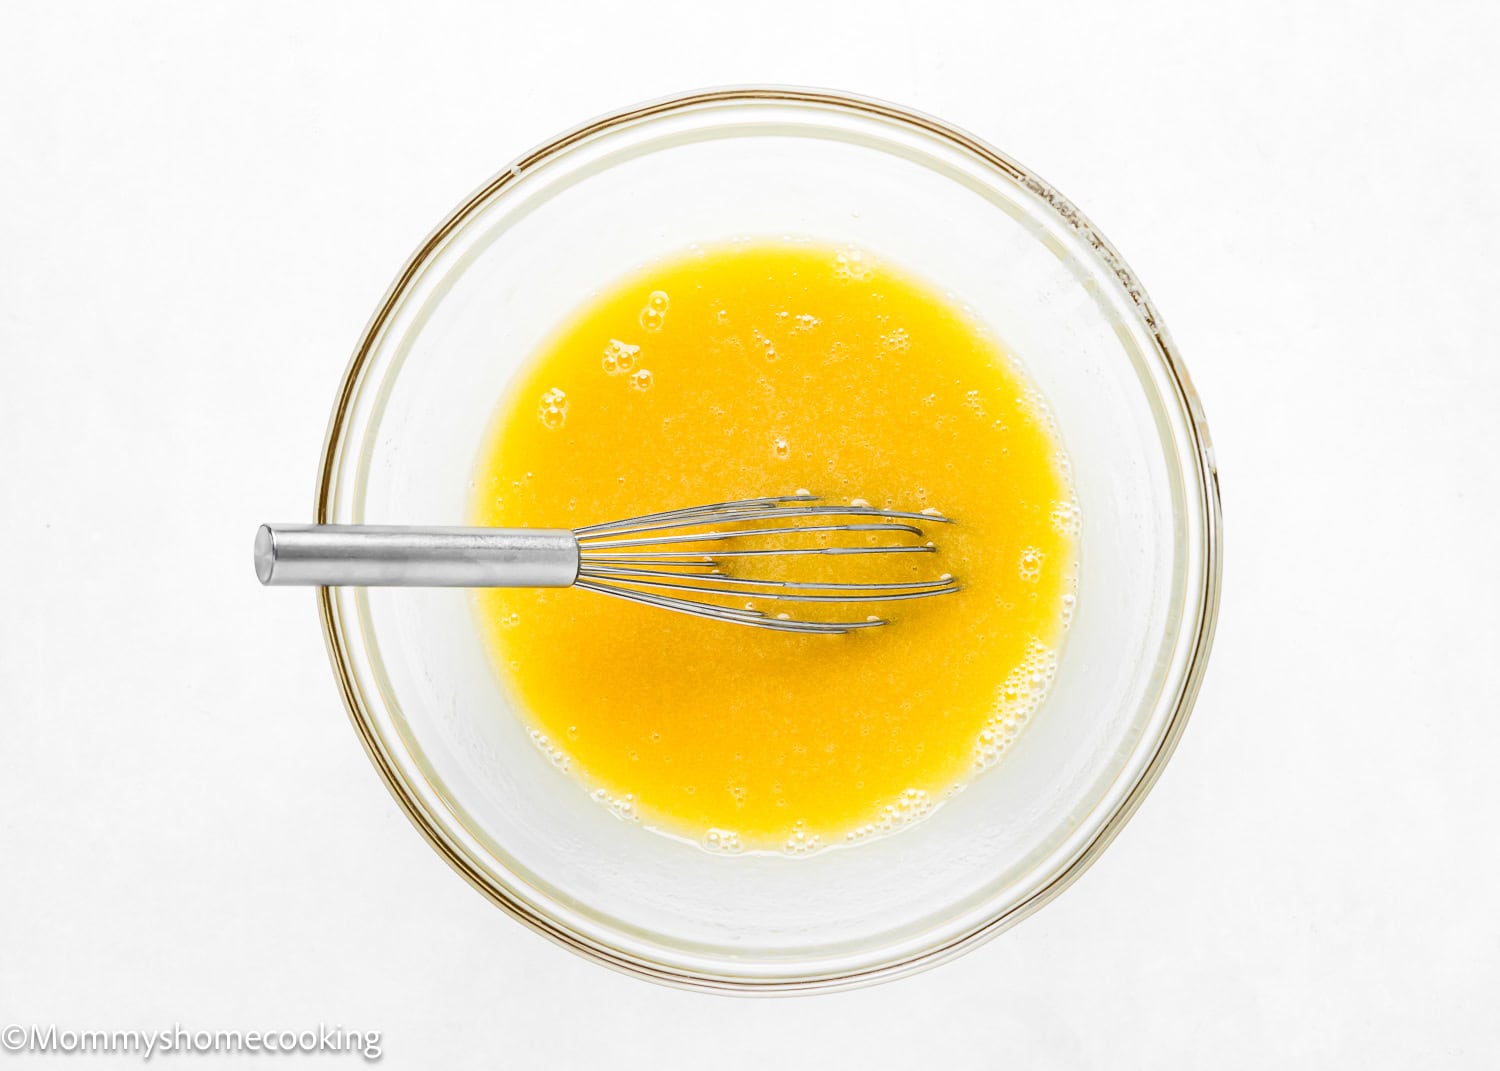
Step 3 – Make The Brownie Batter
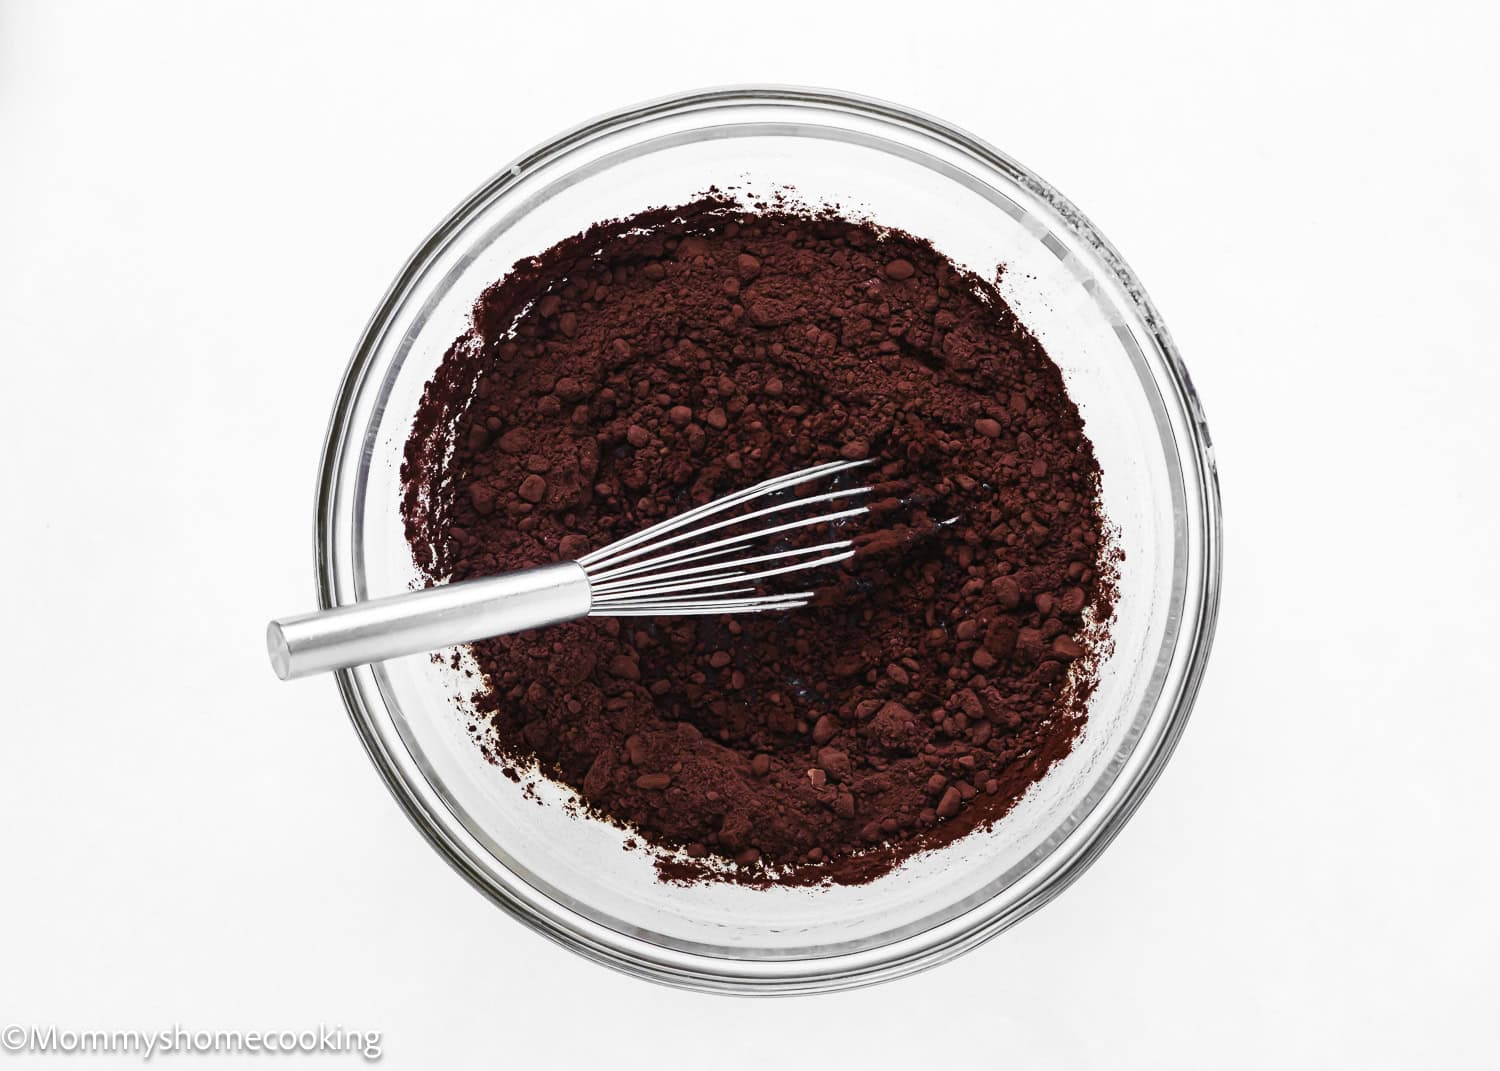
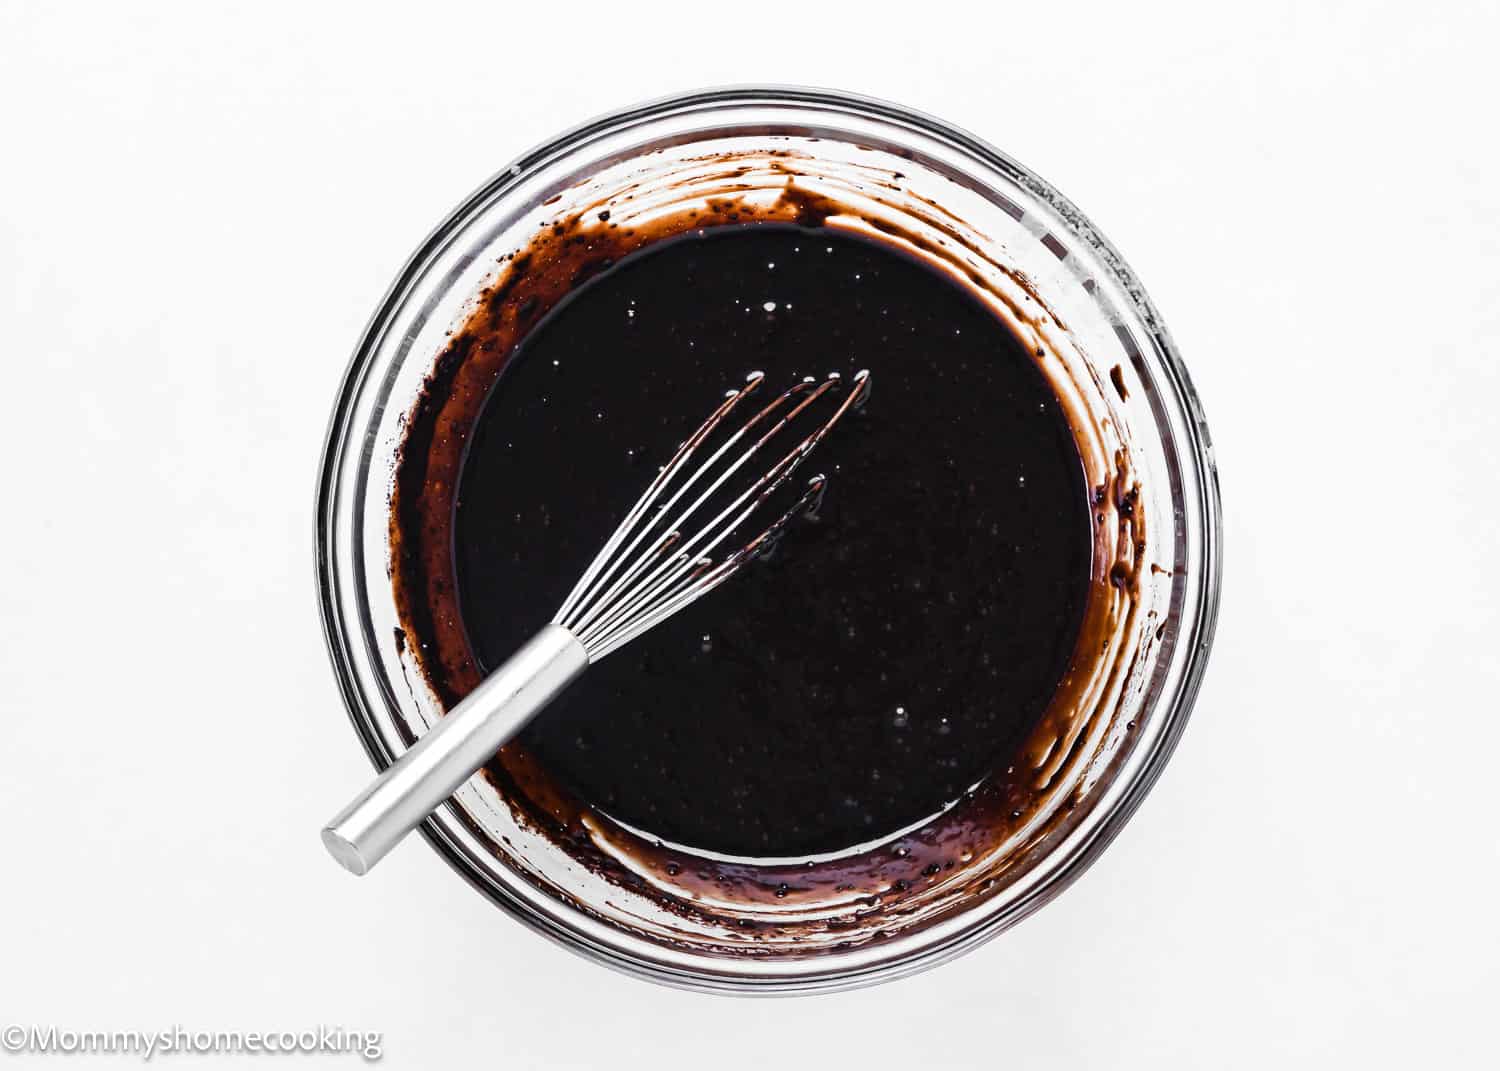
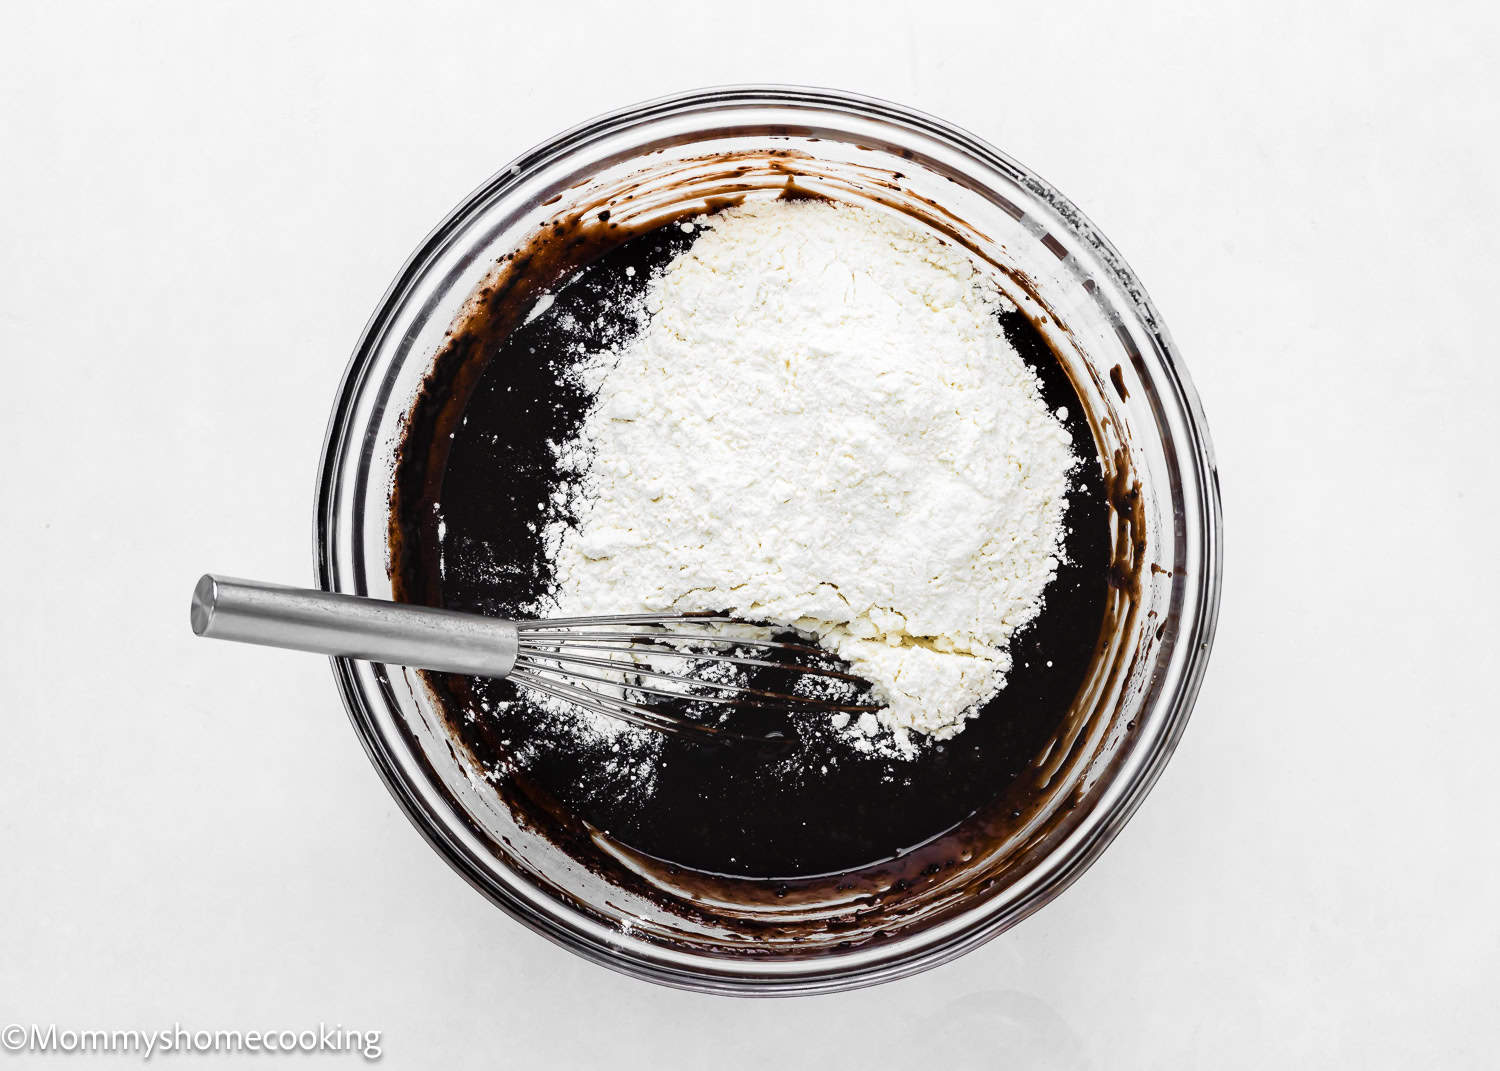
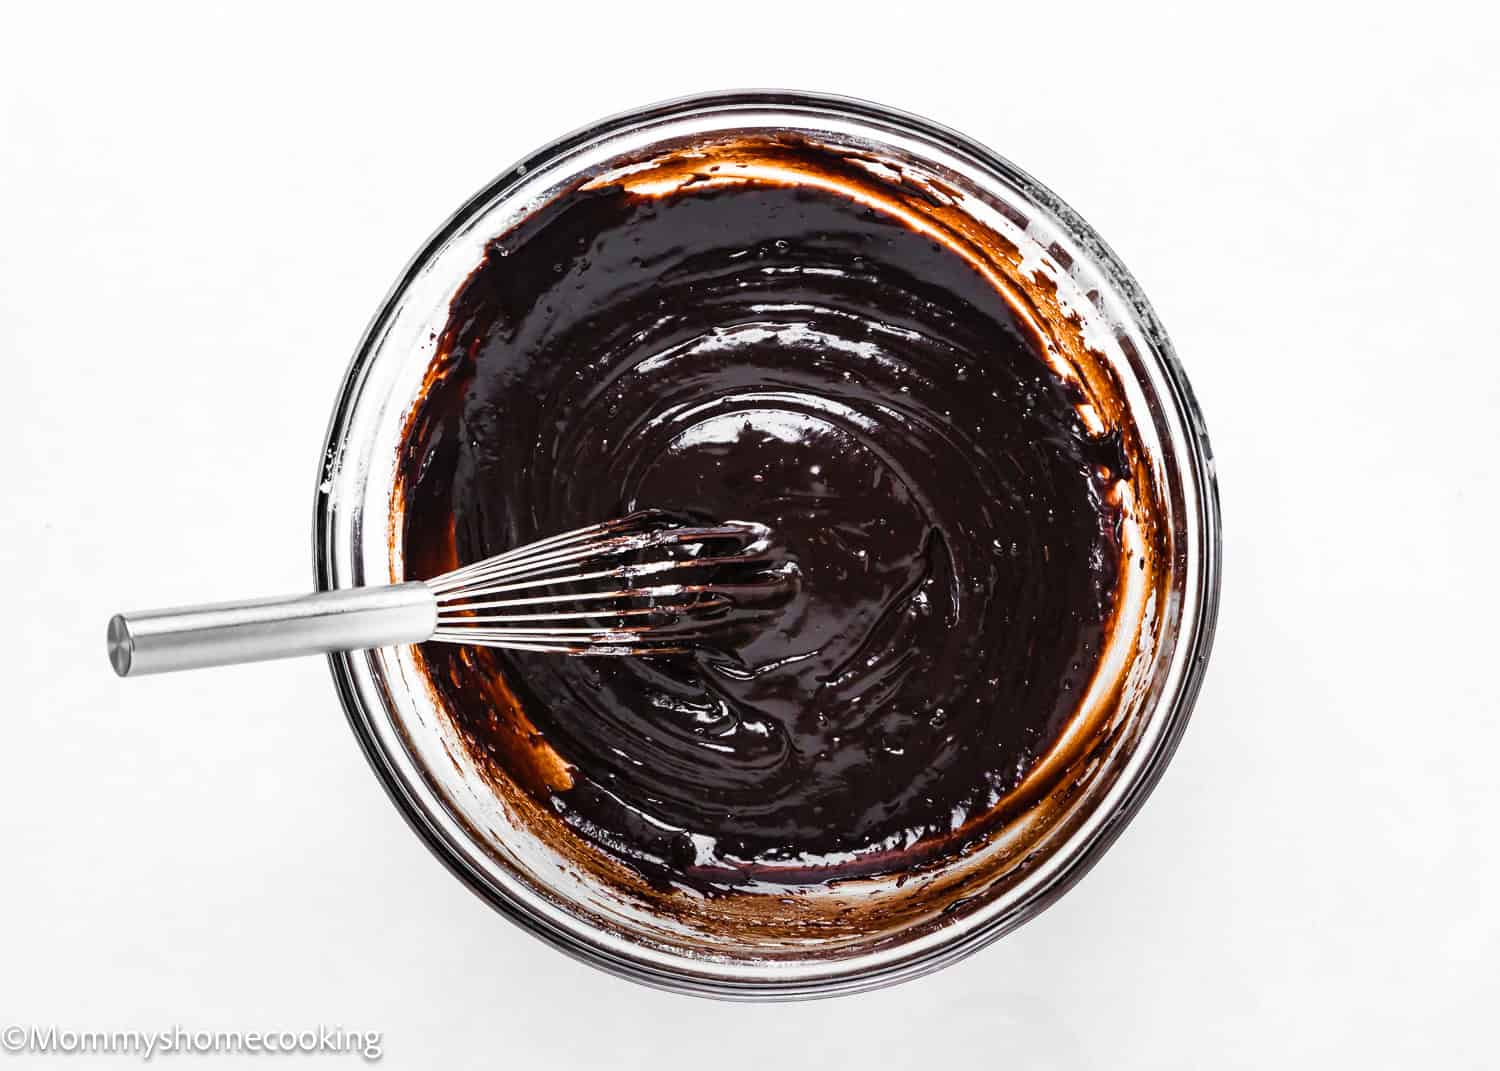
In a microwave-safe mixing bowl, melt butter. Then, add sugar and evaporated milk; mix well; microwave the mixture for 2 minutes. Carefully remove the bowl from the microwave and continue mixing with the whisk for 1 – 2 minutes until glossy and all the sugar is dissolved. Add cocoa powder, vanilla, espresso powder, and salt; mix to combine. Add the flour; stir until mostly combined. The batter will be thick.
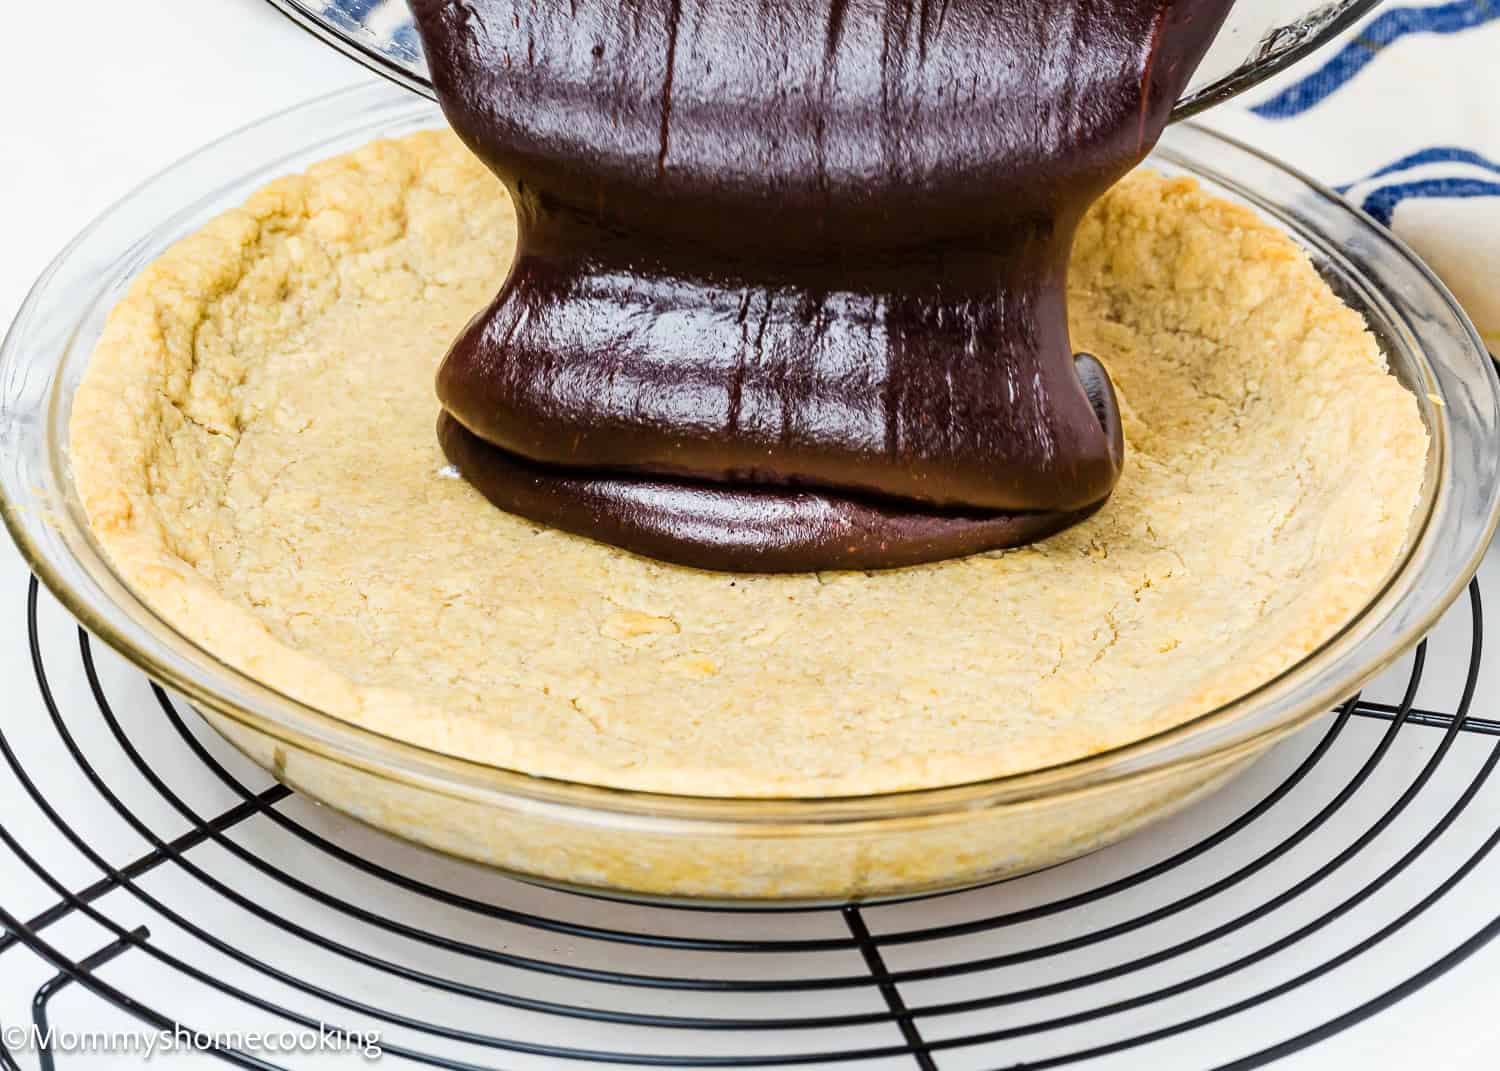
Step 4 – Assemble
The batter will continue to thicken the longer it sits, so immediately spoon and spread evenly into the crust.
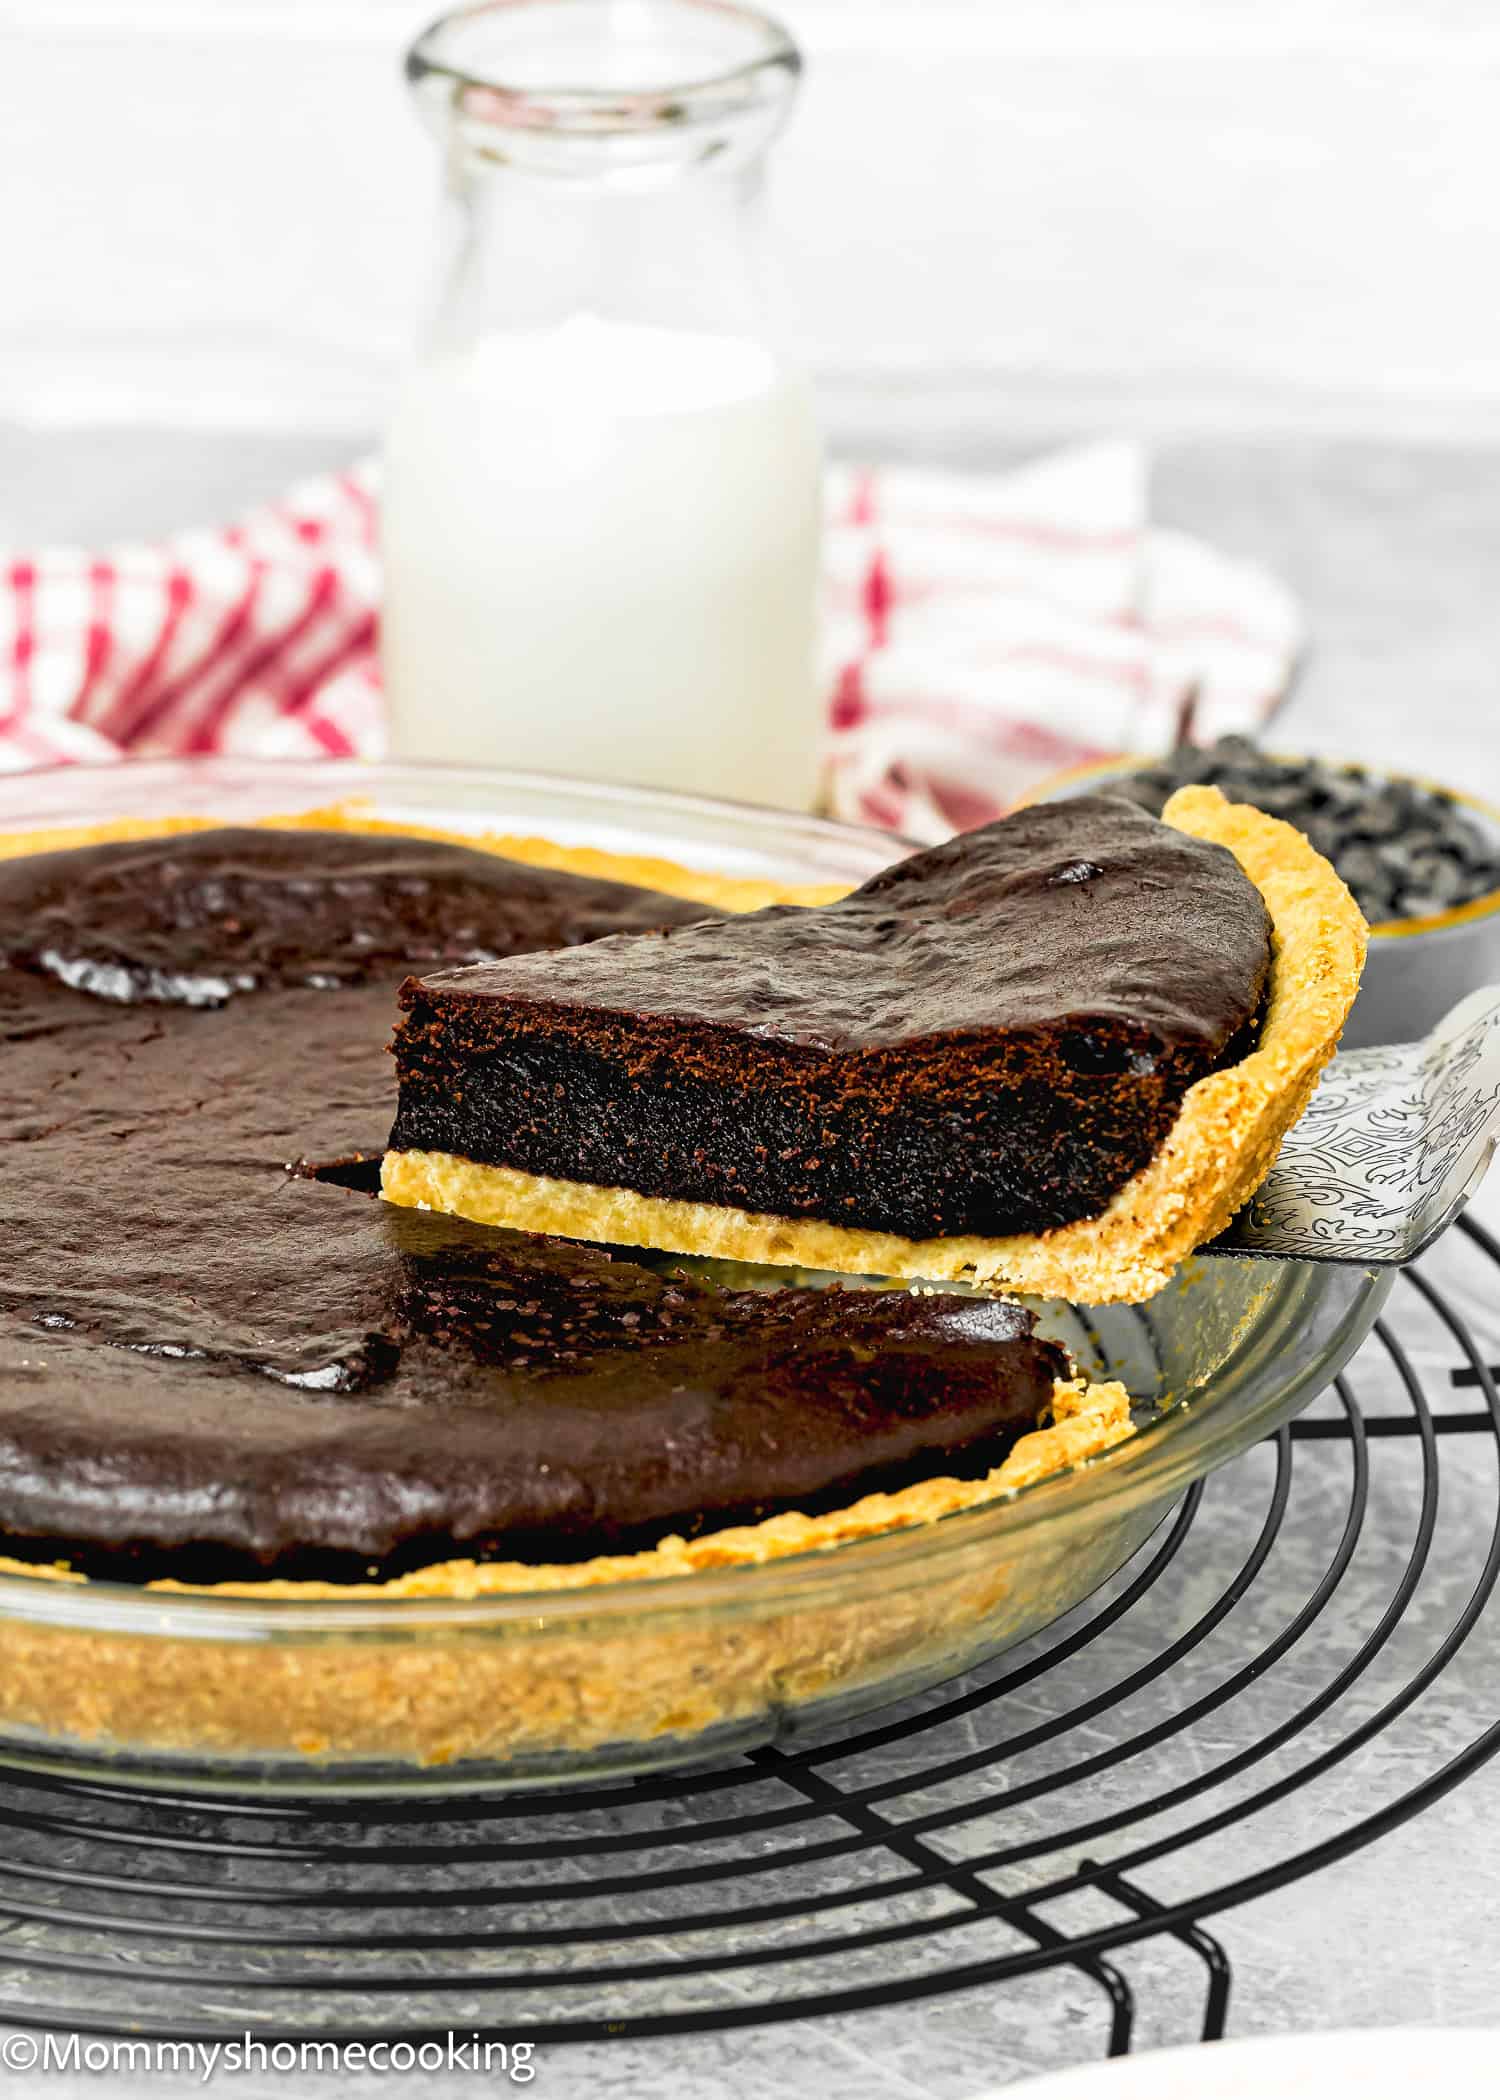
Step 5 – Bake
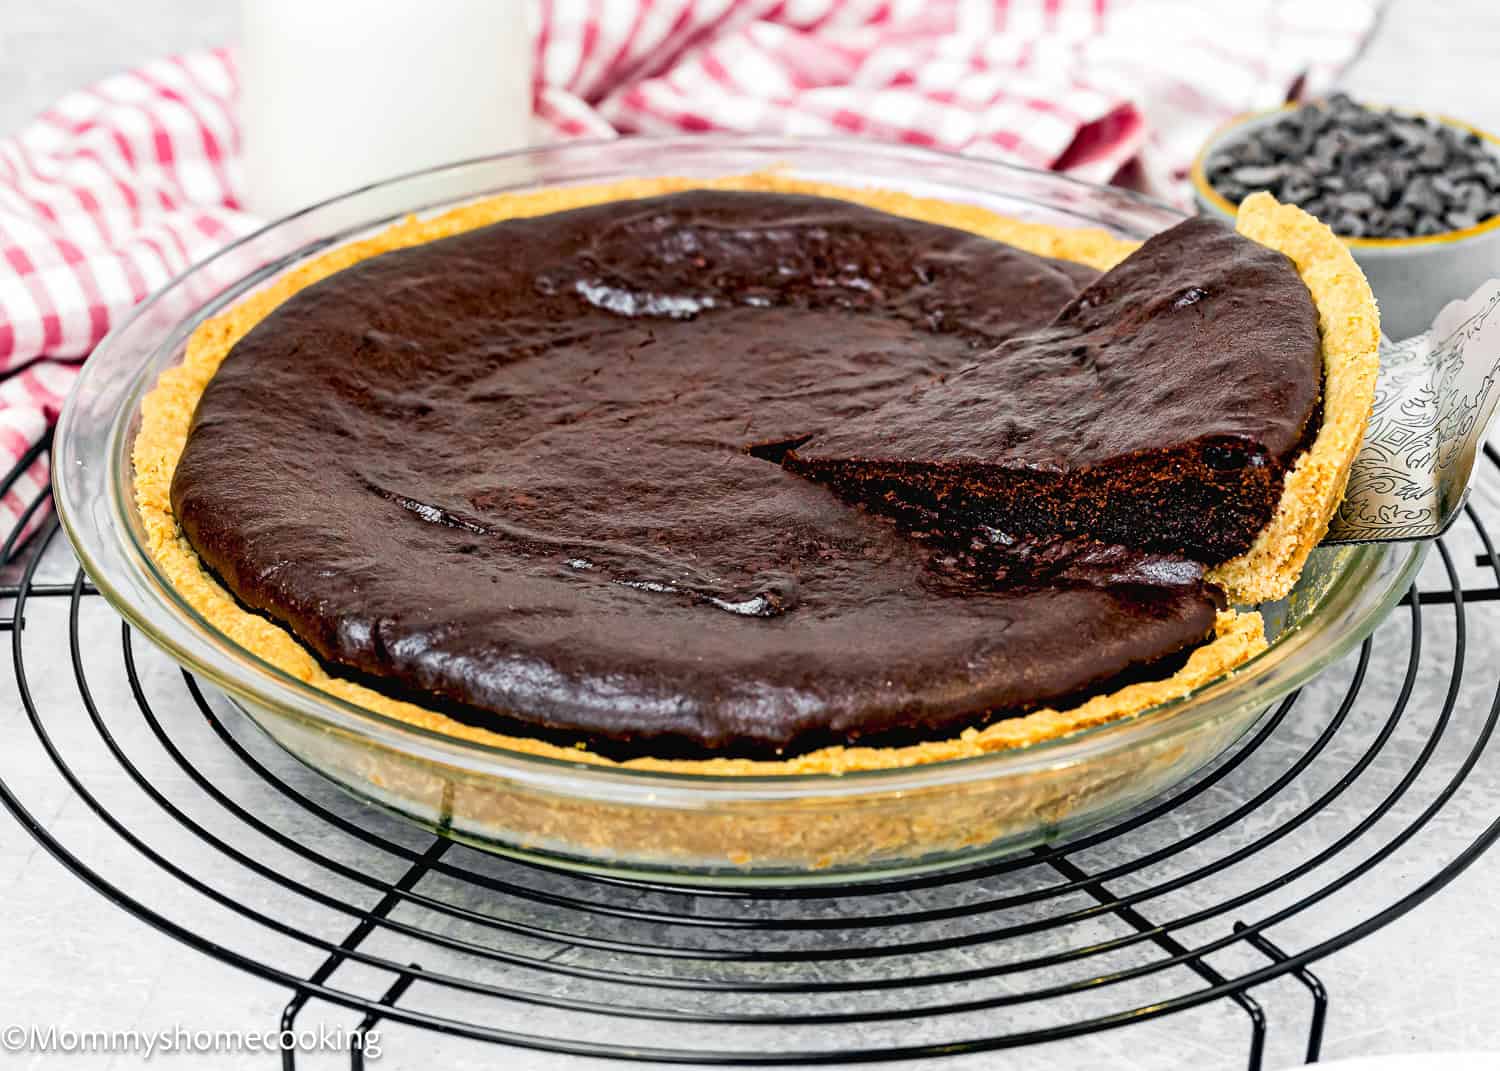
Bake for 28 – 32 minutes or until the brownie filling is set and the top is shiny. Let cool in the pan on a wire rack for 20 – 25 minutes before slicing and serving. Serve warm or at room temperature.
Variations & Additions
Nutty Twist: Add a handful of chopped walnuts or pecans to the brownie batter for a little crunch. Double Chocolate: Mix in chocolate chips for gooey pockets of chocolate. Fun Spin: Swirl in a few spoonfuls of caramel or peanut butter before baking for an extra flavor boost.
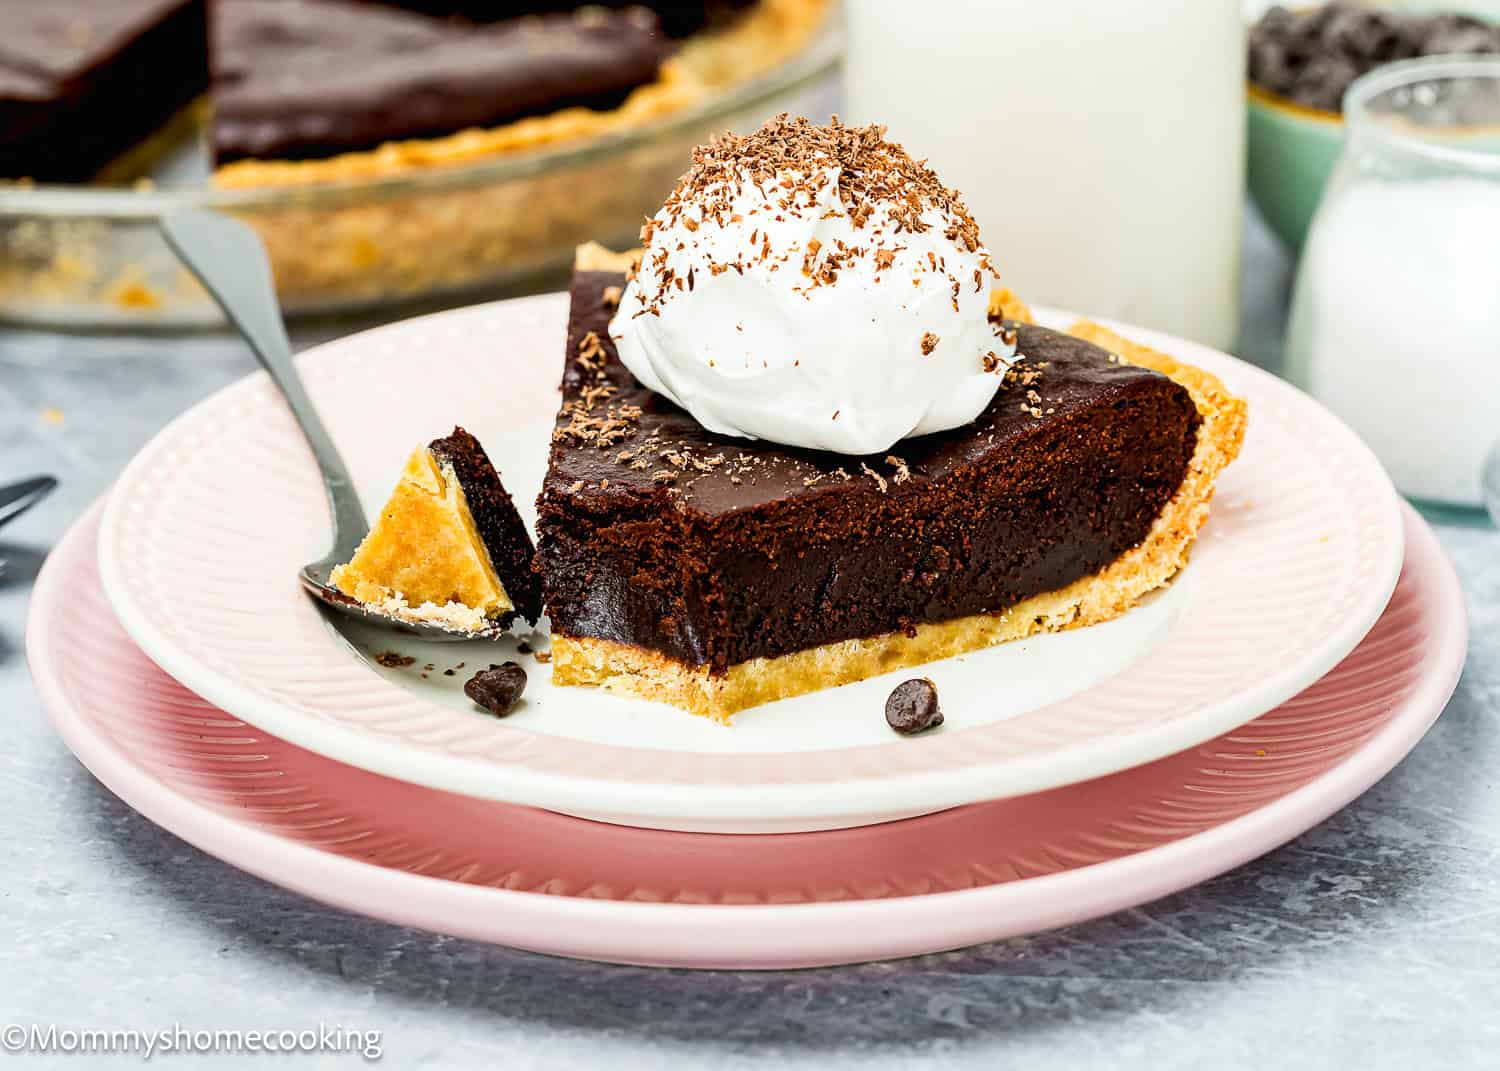
Serving Suggestions
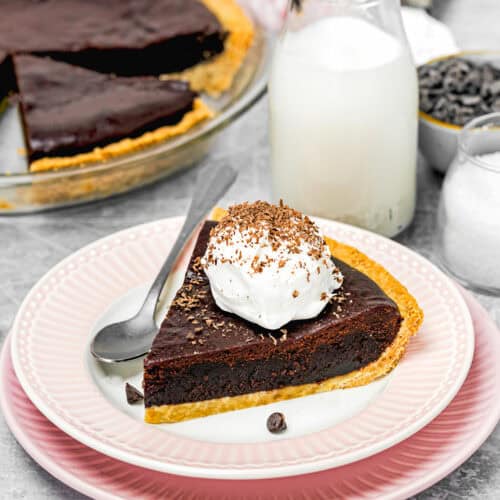
Serve this brownie pie warm with a scoop of vanilla ice cream or a dollop of whipped cream. The combination of warm, fudgy pie and cold ice cream is unbeatable!
Crust: For this pie, you have plenty of crust options! You can go with a homemade crust or keep things simple with store-bought. Whether it’s a classic pastry pie crust, an easy, no-fuss press-in crust, or even a graham cracker or Oreo crust, the choice is yours! Measure Carefully: Especially with baking, precise measurements ensure the best results. I highly recommend using a kitchen scale. Preheat the oven for at least 15 minutes before you start, giving it plenty of time to reach the ideal recipe temperature. Room-Temperature Ingredients: Ensure that all wet ingredients are at room temperature before mixing. This helps them combine more easily and evenly. Don’t Overmix: Once you add the dry ingredients to the wet, mix just until combined to keep the cake tender. Know your oven! Every oven is different, so baking times must always be taken with a grain of salt. Oven thermostats can be wildly off, affecting baking time, so keep an eye on yours. For extra fudginess, underbake the pie slightly and let it cool fully before slicing. Let the pie cool for at least 30 minutes before serving to help it set properly.
Storing and Freezing Instructions
To Store: Cover and keep at room temperature for up to 3 days, or refrigerate for up to a week. To Freeze: Wrap individual slices in plastic wrap and store them in a freezer-safe bag for up to 2 months. Thaw at room temperature or warm up in the microwave for that fresh-out-of-the-oven taste.
More Pie Recipes You’ll Love!
Pie Bliss Unleashed: 10 Delicious Eggless Pie Recipes! Eggless Easy Chocolate Pecan Pie Eggless Easy Banana Cream Pie Easy Eggless Key Lime Pie Easy Eggless Coconut Cream Pie (from scratch) Eggless Mini Pumpkin Pies Browse more recipes…
Recipe Card