Oriana’s Thoughts On The Recipe
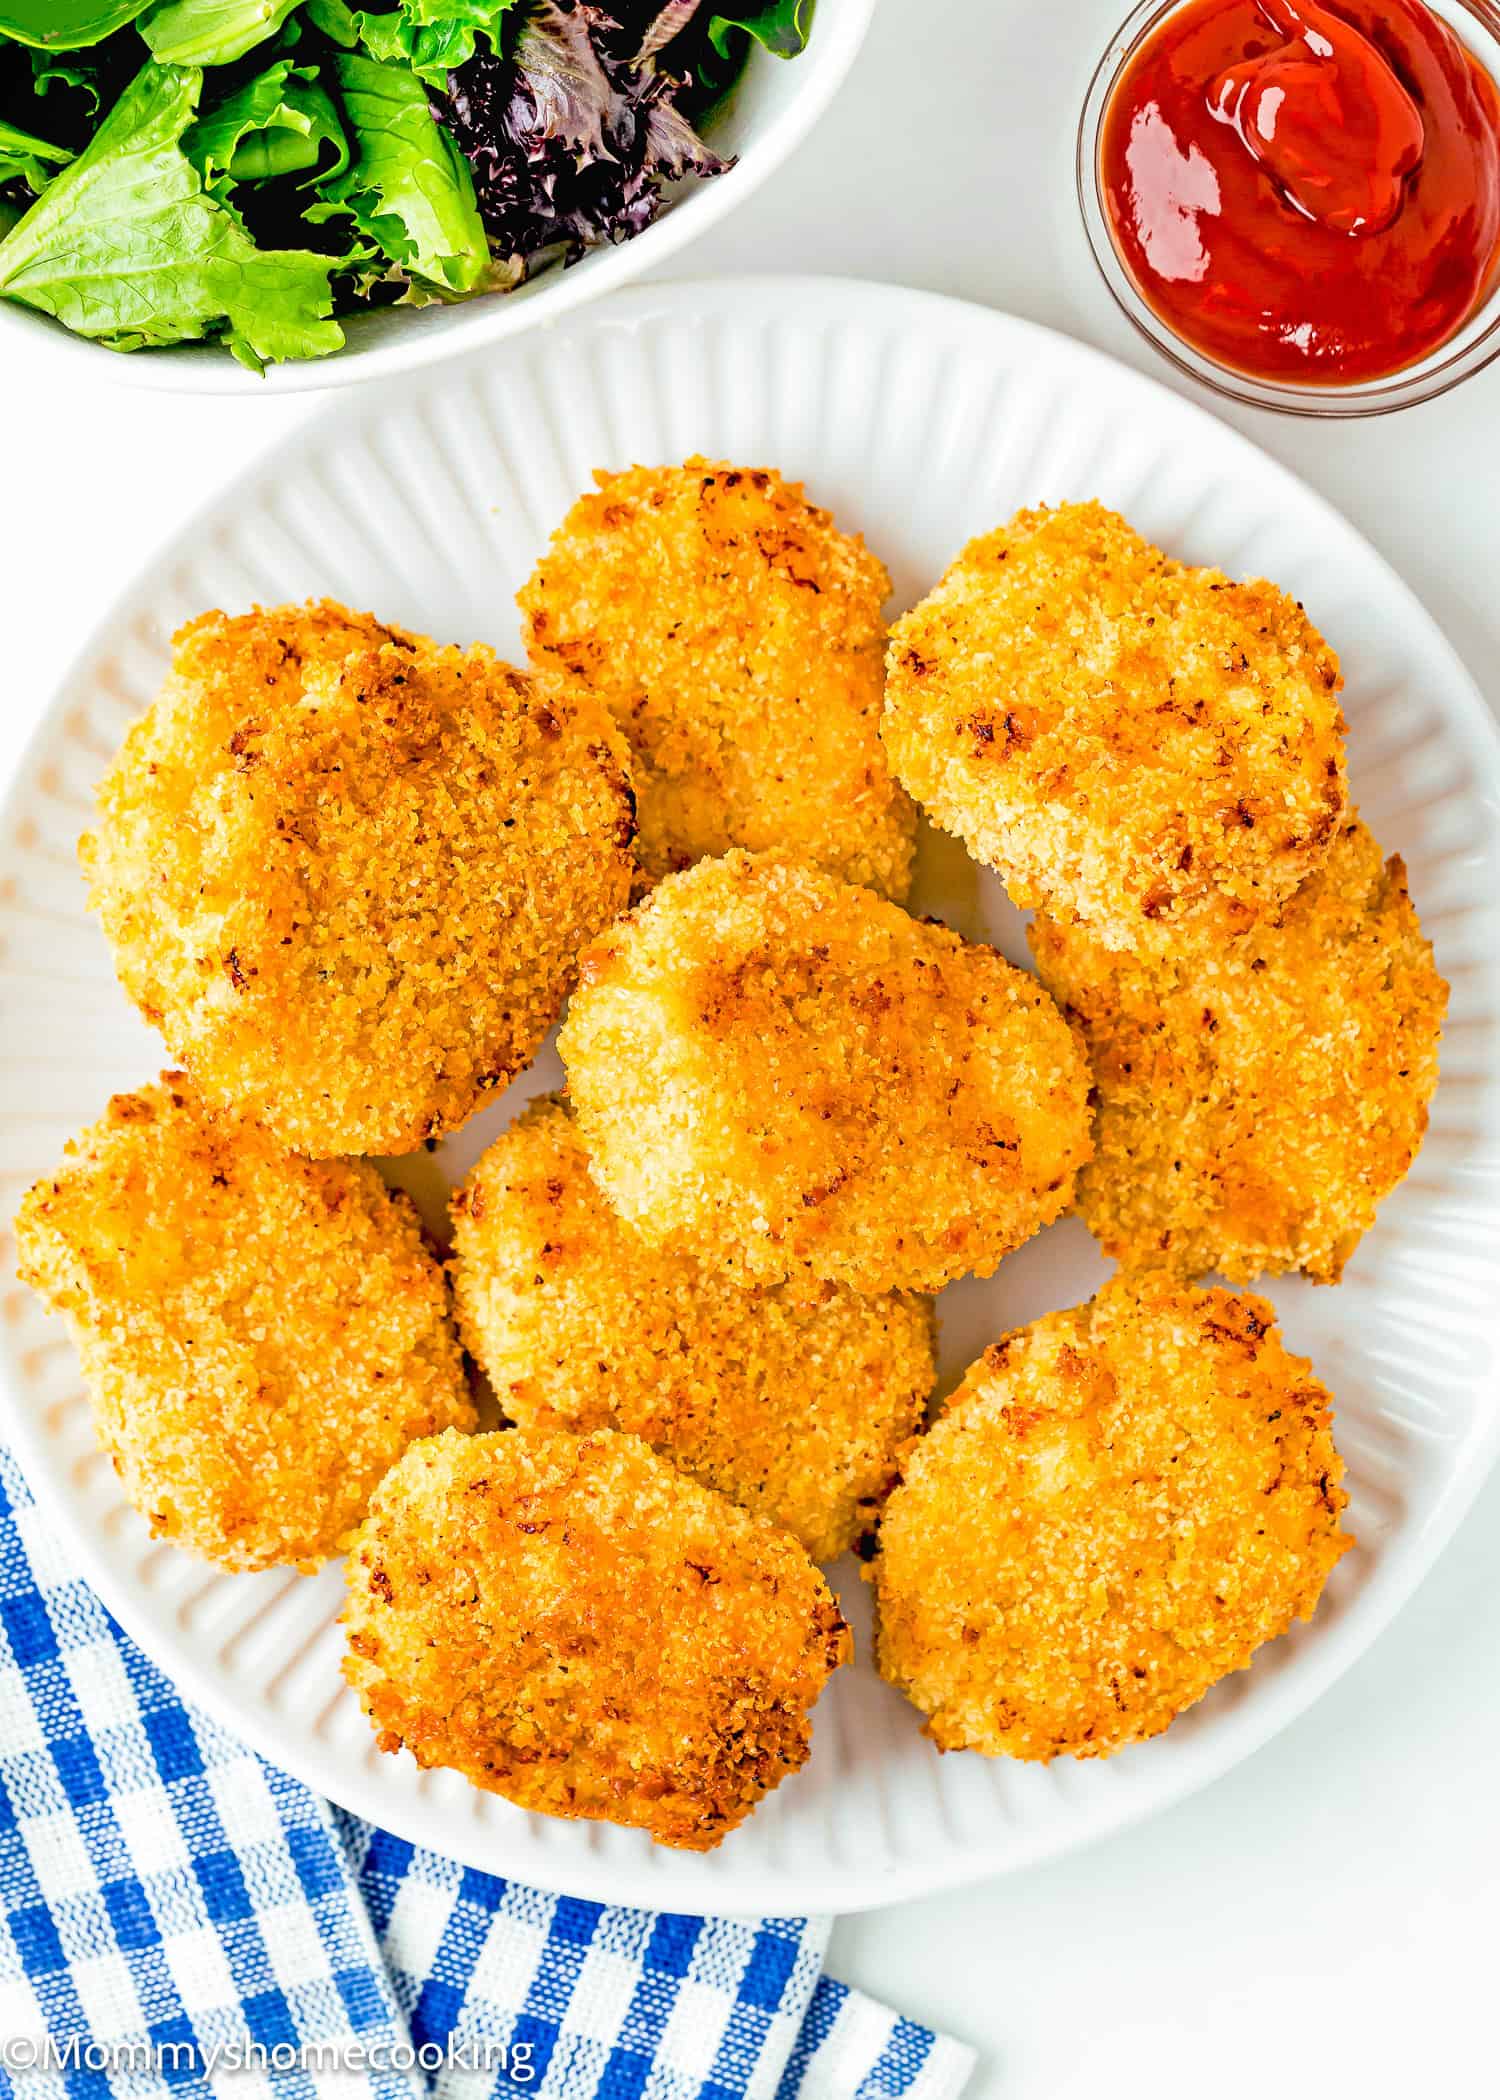
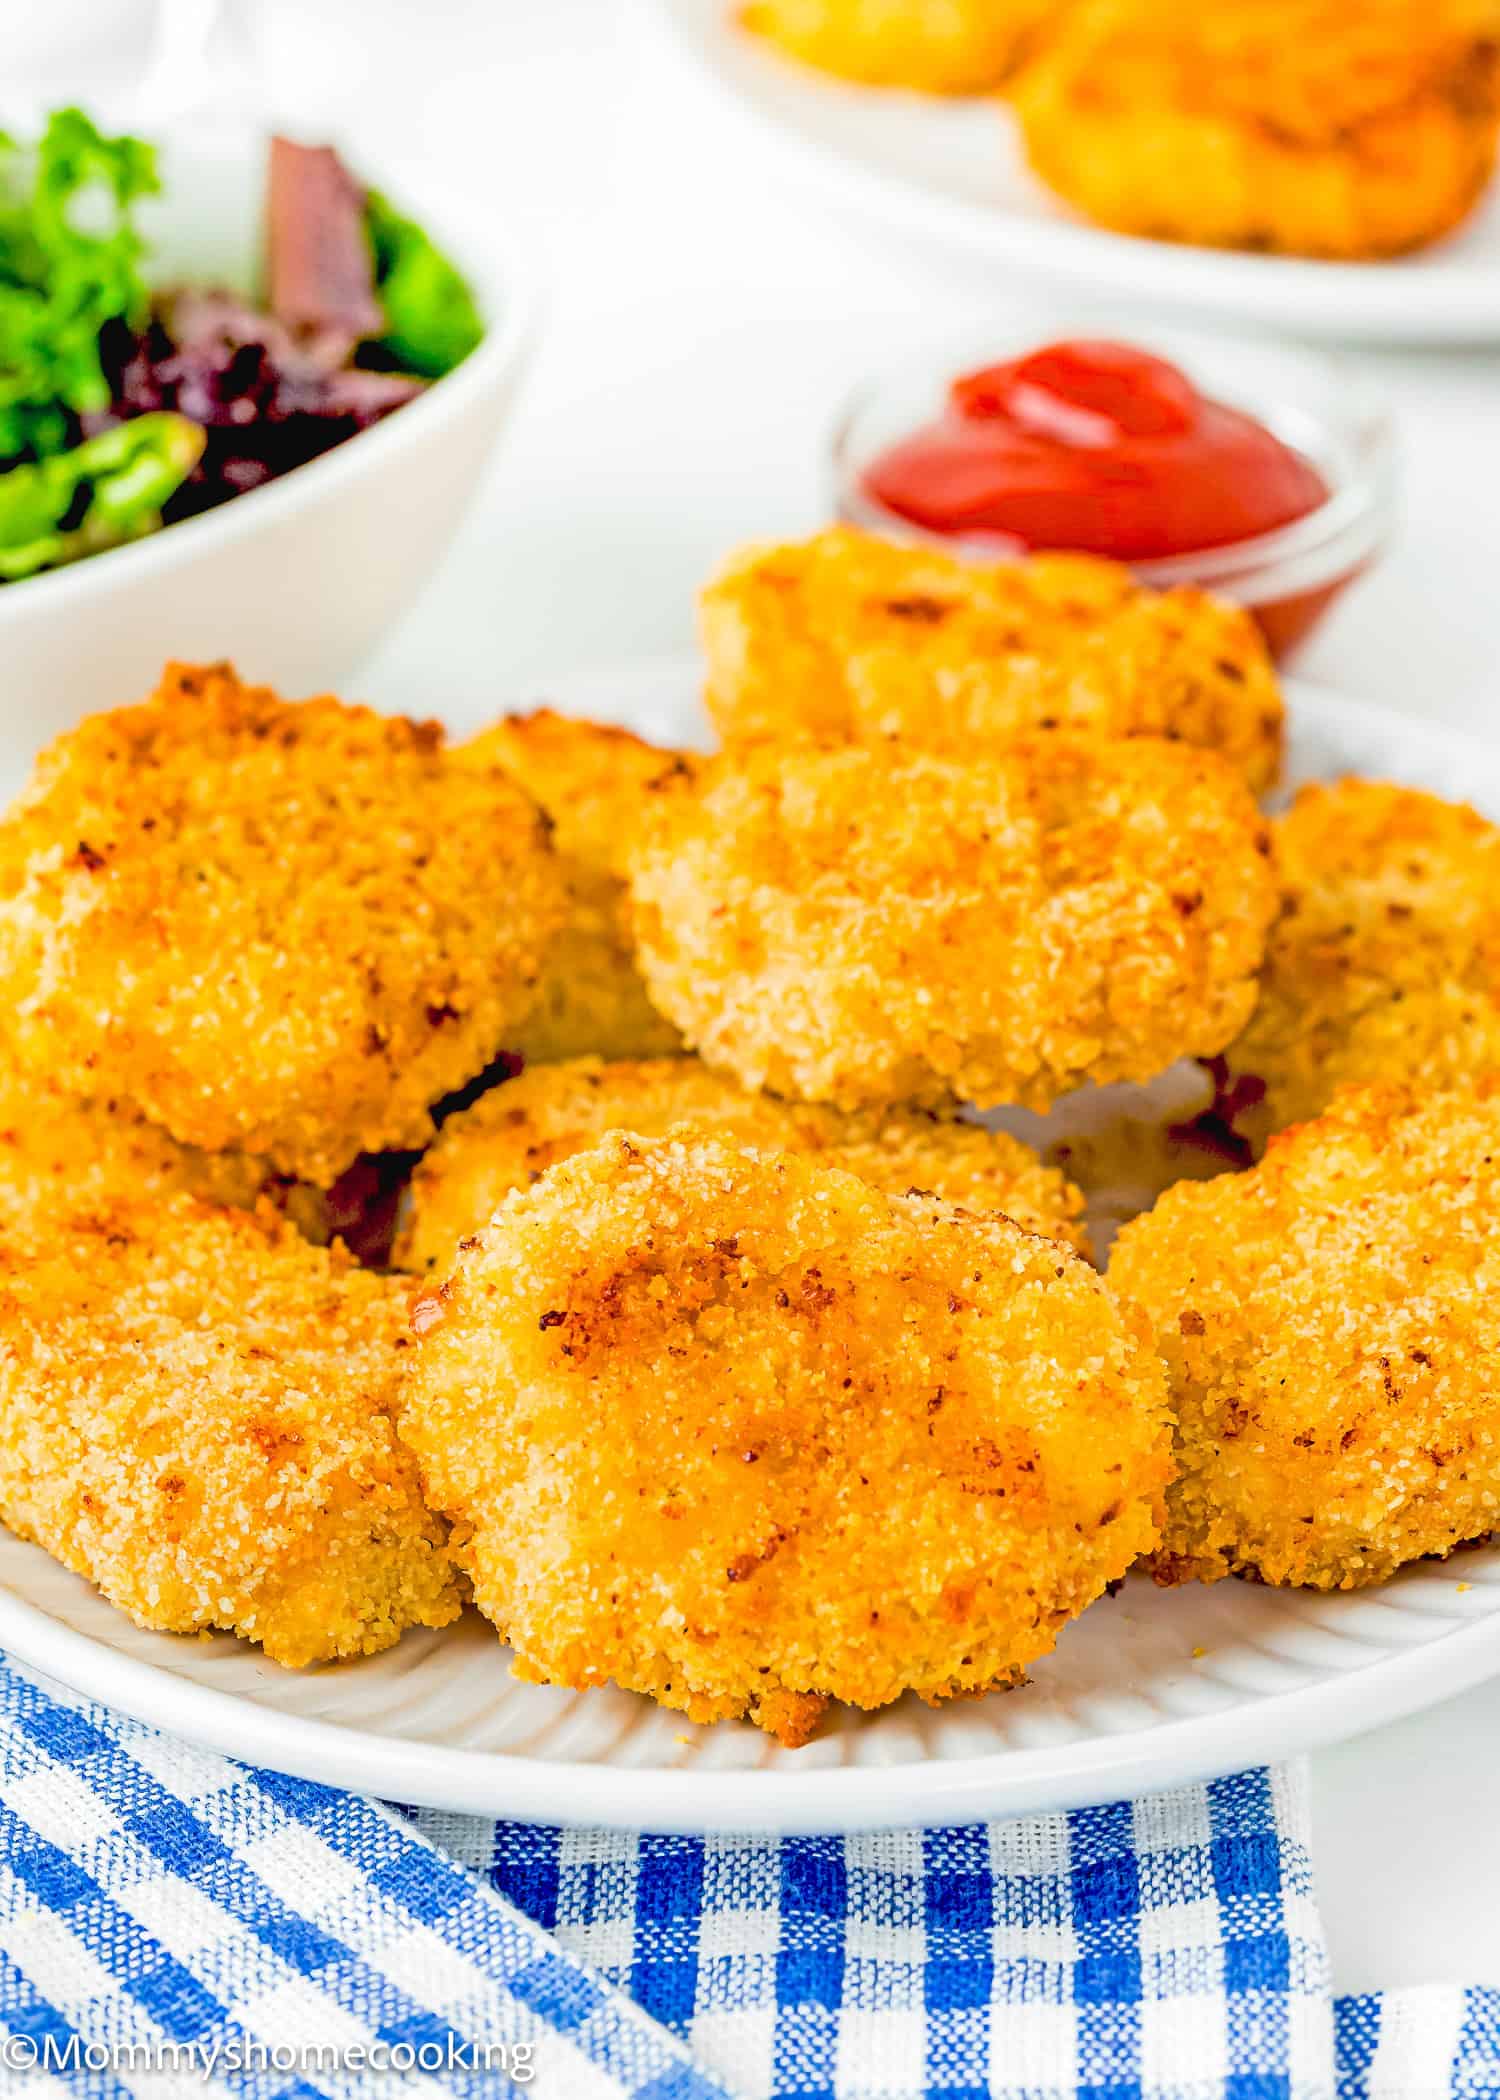
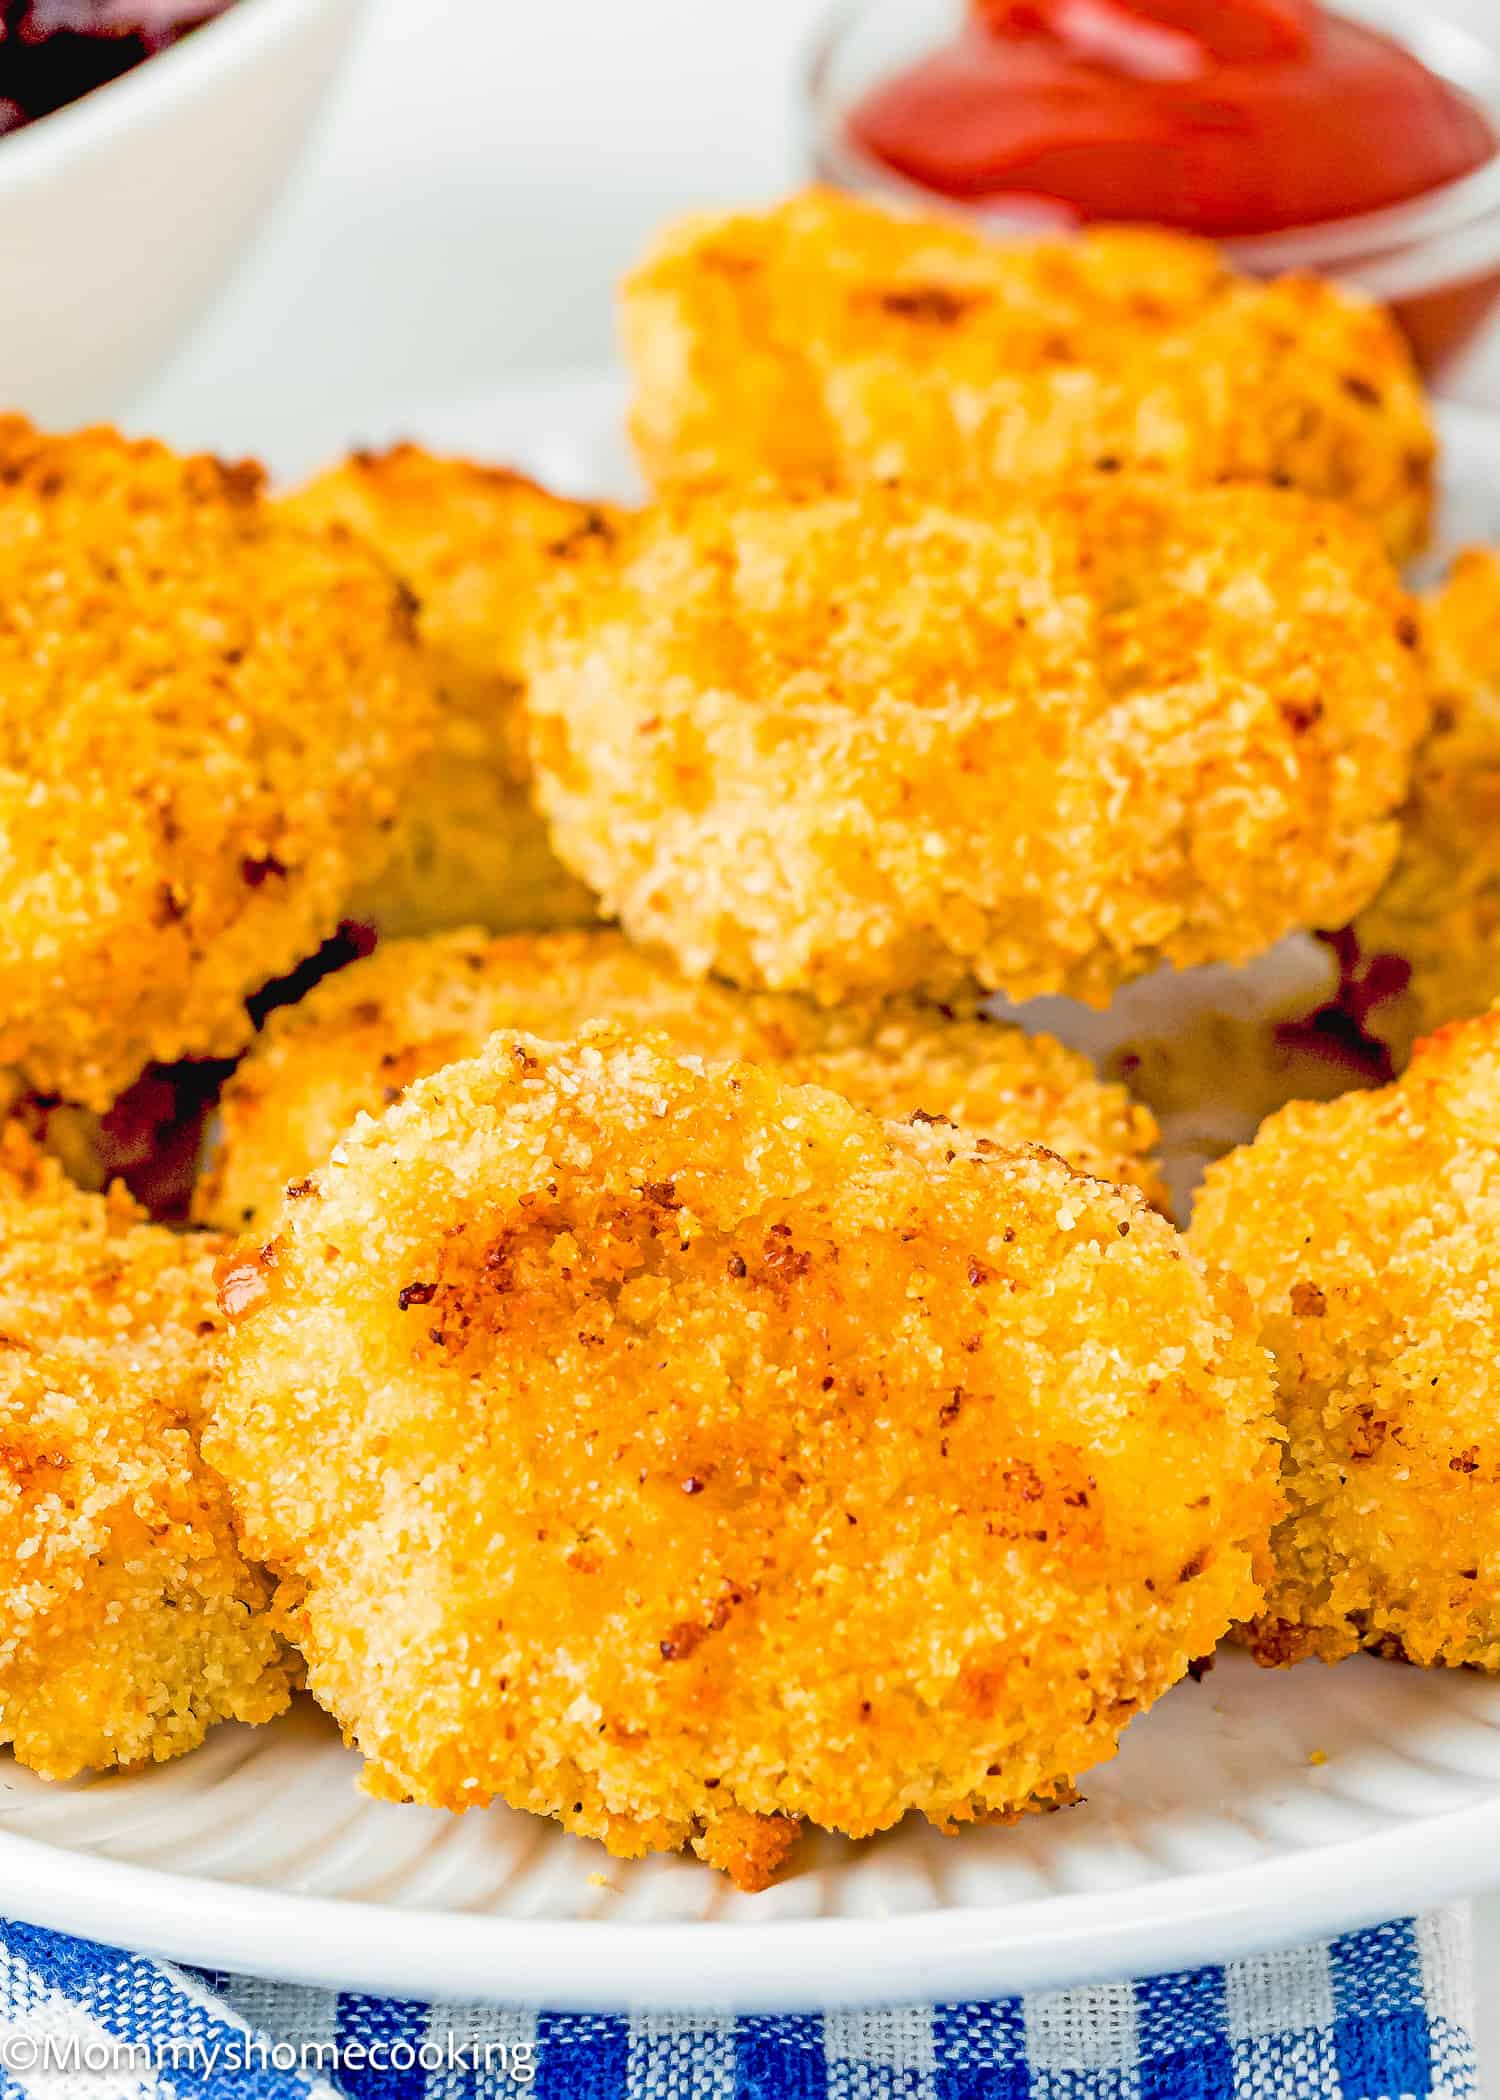
Okay, let’s be real for a second—who doesn’t love chicken nuggets? In my house, they’re basically a food group. But with all the store-bought options full of who-knows-what, I wanted to come up with a version that’s not only healthier but also something I feel good about feeding my kids. These eggless homemade chicken nuggets are the answer! If you’ve got little ones dealing with food allergies like mine, you know how important it is to keep things simple and safe. No eggs here, but trust me—the breading stays perfectly crispy and intact. That’s a win! Plus, these nuggets are super picky-kid-approved, so I know they’ll disappear fast, no matter how fussy the eater. I love how easy it is to make a big batch and freeze some for later. They come out crispy on the outside, juicy on the inside, and they’re SO much better than the store-bought stuff. And knowing they’re made with real chicken and no weird additives? Total mom win! If you like this recipe, you should try my Easy Homemade Eggless Fish Sticks (Baked) soon!
3 Top Reasons to Make Your Own Chicken Nuggets
Let’s face it—grabbing a bag of chicken nuggets from the store is convenient. But have you ever thought about making your own at home? Trust me, it’s easier than you think and comes with some pretty sweet perks!
- You Control the IngredientsWhen you make your own nuggets, you know exactly what’s going in them. No weird preservatives or mystery ingredients—just real chicken, your favorite seasonings, and a crispy coating you can be proud of.
- Healthier, Fresher, BetterStore-bought nuggets are often loaded with extra salt, fat, and artificial stuff you don’t need. By making them at home, you can use better-for-you ingredients. Whether you prefer gluten-free breadcrumbs or want to cut back on sodium, it’s completely in your hands. Plus, homemade nuggets just taste fresher!
- Safe for Food AllergiesIf you or someone in your family has a food allergy, cross-contamination can be a real concern with store-bought options. By making your own chicken nuggets, you eliminate that worry. You know your kitchen, your tools, and your ingredients are all safe and allergen-free, giving you total peace of mind.
Ingredients You’ll Need, Substitutions & Notes
Please check the recipe card at the bottom of the post for exact quantities and detailed instructions (scroll down). Feel-Good Family Food: Nothing feels better than knowing exactly what you’re feeding your family. These homemade chicken nuggets are made from simple, real ingredients—no preservatives or artificial additives. They’re healthier than what you’d find in the frozen food aisle, and I love that! Allergy-Friendly: If you’re navigating food allergies, these are a lifesaver. No eggs here, but the breading is still crisp and delicious! I know how tricky it can be to avoid allergens, so this recipe makes me feel secure, knowing what’s going into each bite. Better Than Store-Bought: These nuggets are miles better than the packaged ones. With juicy, real chicken inside and a crunchy, flavorful coating outside, it’s hard to beat. Plus, there’s no mystery meat here—just wholesome, easy-to-pronounce ingredients! Picky-Kid-Approved: If you’ve got a kiddo who turns their nose up at everything, give these a try. They’re crispy, juicy, and oh-so-tasty. I have yet to meet a child who doesn’t ask for seconds! Freezer Friendly: These nuggets freeze beautifully! Just pop a batch in the freezer, and you’ll have homemade chicken nuggets on hand whenever hunger strikes. They reheat like a dream, staying crispy and delicious.
Tips To Mitigate These Cons
Time-Saving: Since making these takes a bit more effort, freezing extra batches means you only do the work once, and you’ll have ready-to-cook nuggets for future meals. You can just grab them from the freezer and bake or air-fry when you need a quick, homemade snack or meal. Remember to spritz olive oil or avocado oil spray before baking, which helps everything crisp up perfectly! I promise you that they are worth the extra effort!
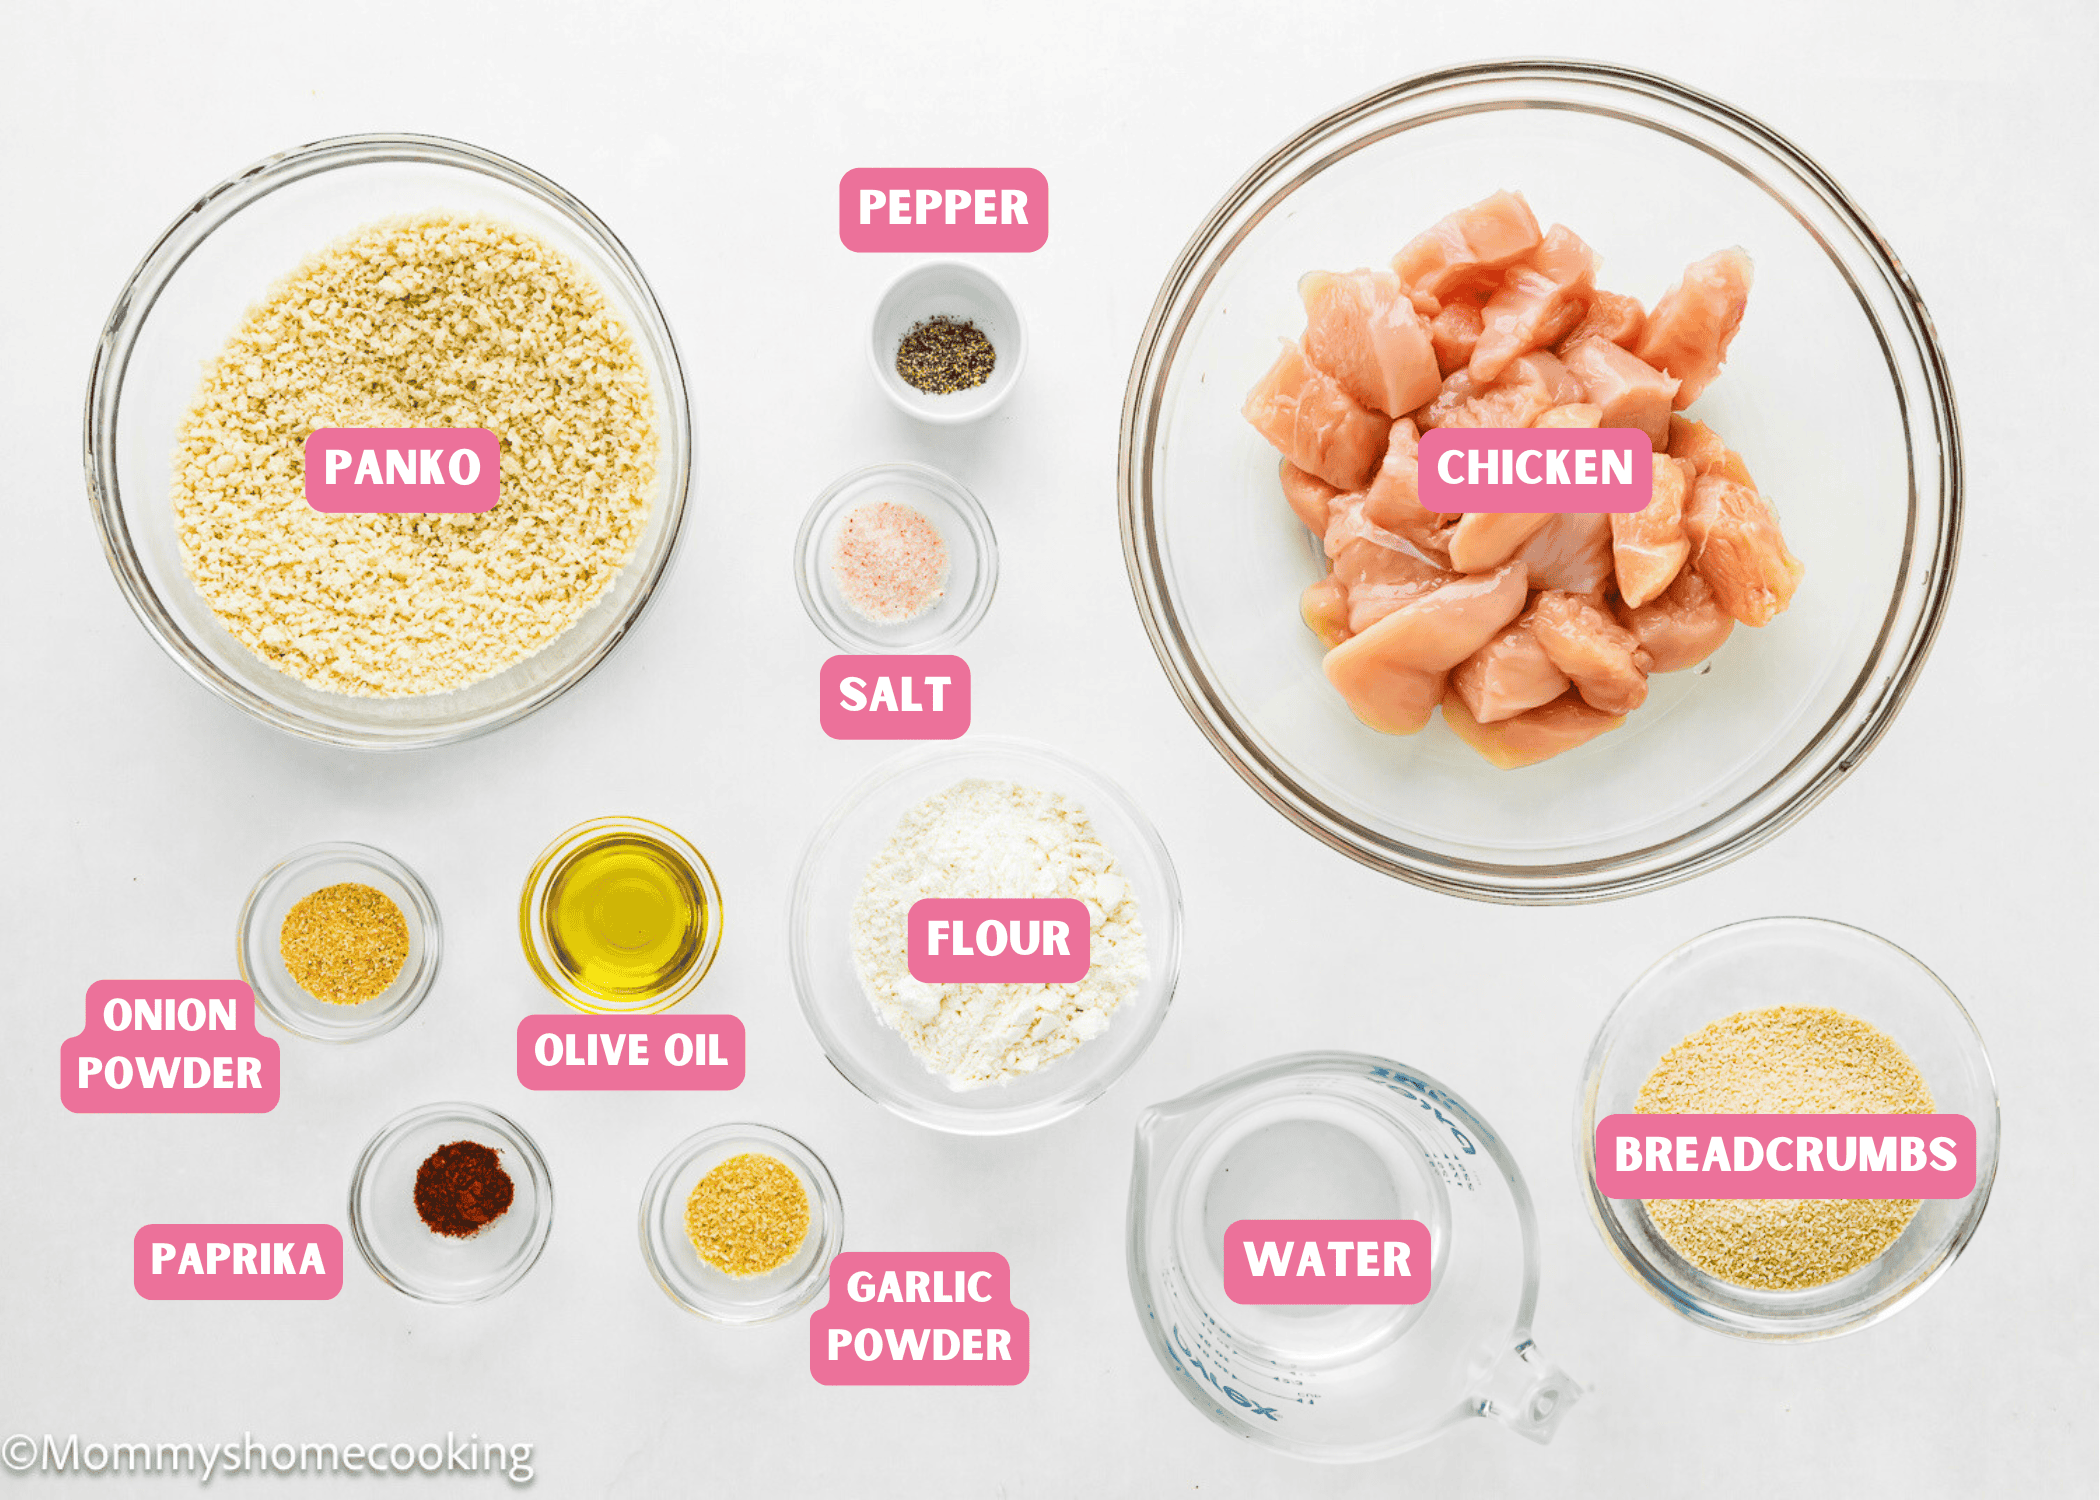
Boneless skinless chicken: The star of the show! Note: I like to use chicken breasts, but chicken thighs work well, too. You can also use 93% lean ground chicken. Salt, garlic powder, onion powder, paprika, and pepper: These seasonings are key for flavor. Note: You can adjust to taste, but don’t skip them—they make the nuggets so flavorful! Olive oil: This adds moisture to the nuggets. All-purpose flour & water: These two form the base of our egg-free coating. They work together to bind the breadcrumbs to the chicken. Breadcrumbs and Panko: A mix of both gives the perfect balance of crunch. Regular breadcrumbs coat the chicken, while panko adds extra crispiness. Note: You can also use crushed cornflakes instead of panko. Olive oil or avocado oil spray: A generous mist before baking gives the nuggets that crispy, golden finish! Note: You can also use melted butter if you prefer.
Process Overview: Step-by-Step Photos
Please check the recipe card at the bottom of the post for exact quantities and detailed instructions (scroll down).
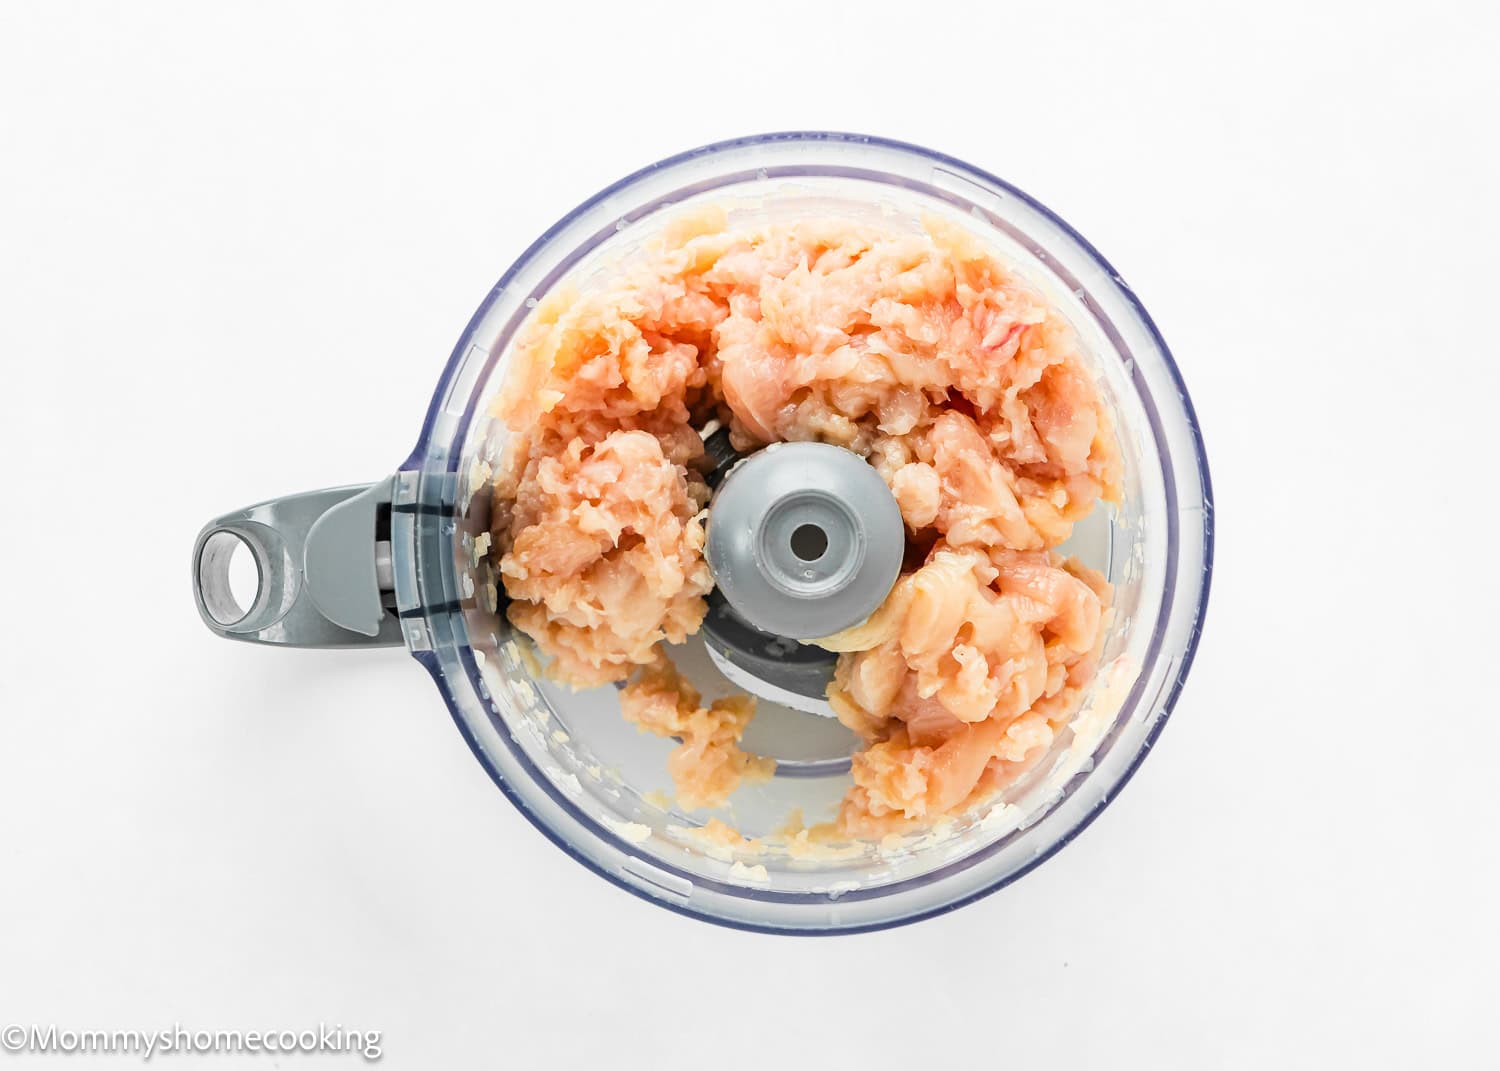
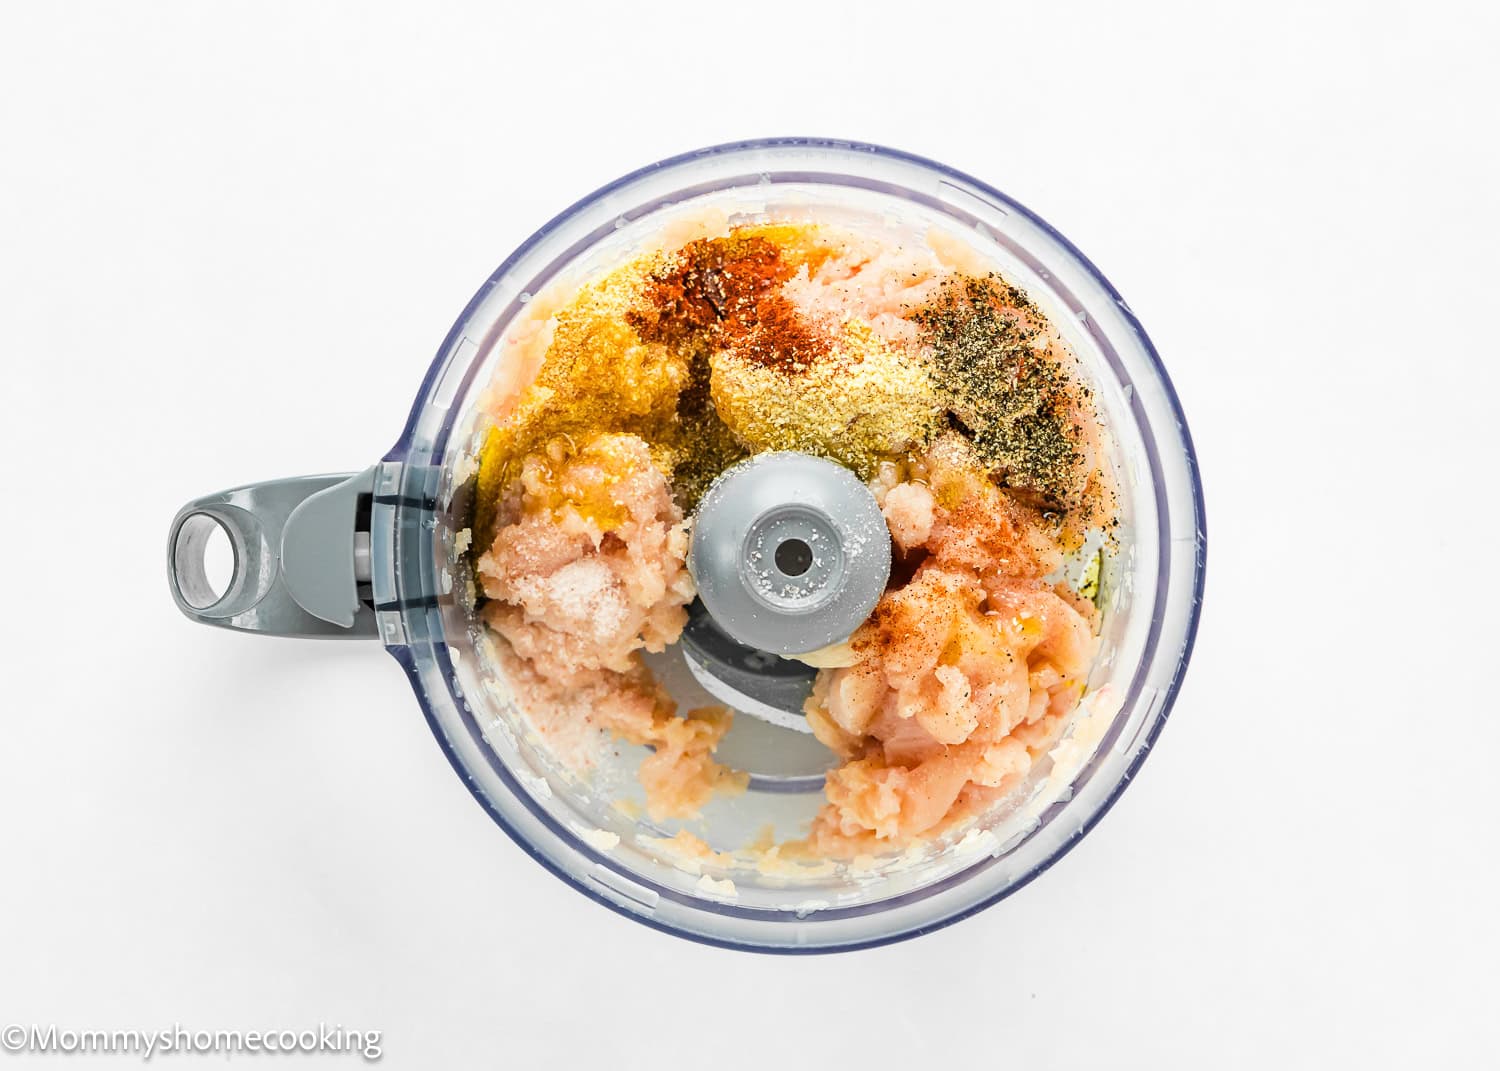
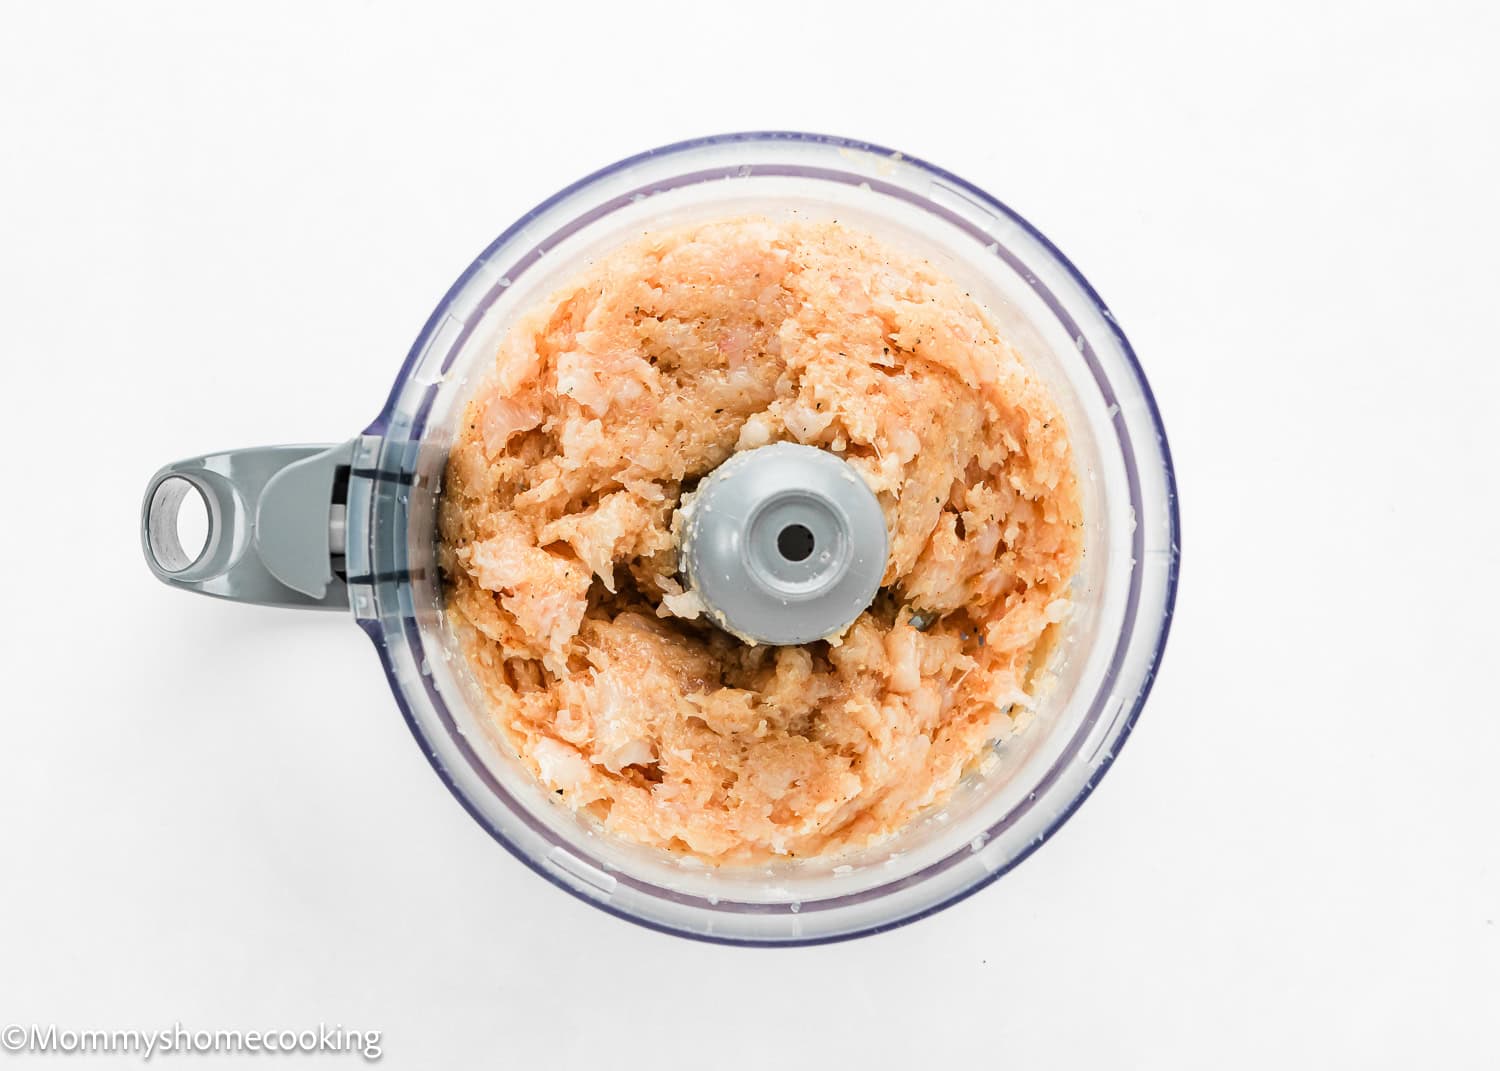
Step 1 – Make the Chicken Mixture
Place the chicken in the food processor and pulse until the chicken is minced. Next, add the 1 teaspoon salt, 1 teaspoon garlic powder, onion powder, paprika, ¼ teaspoon pepper, and olive oil. Process until combined.
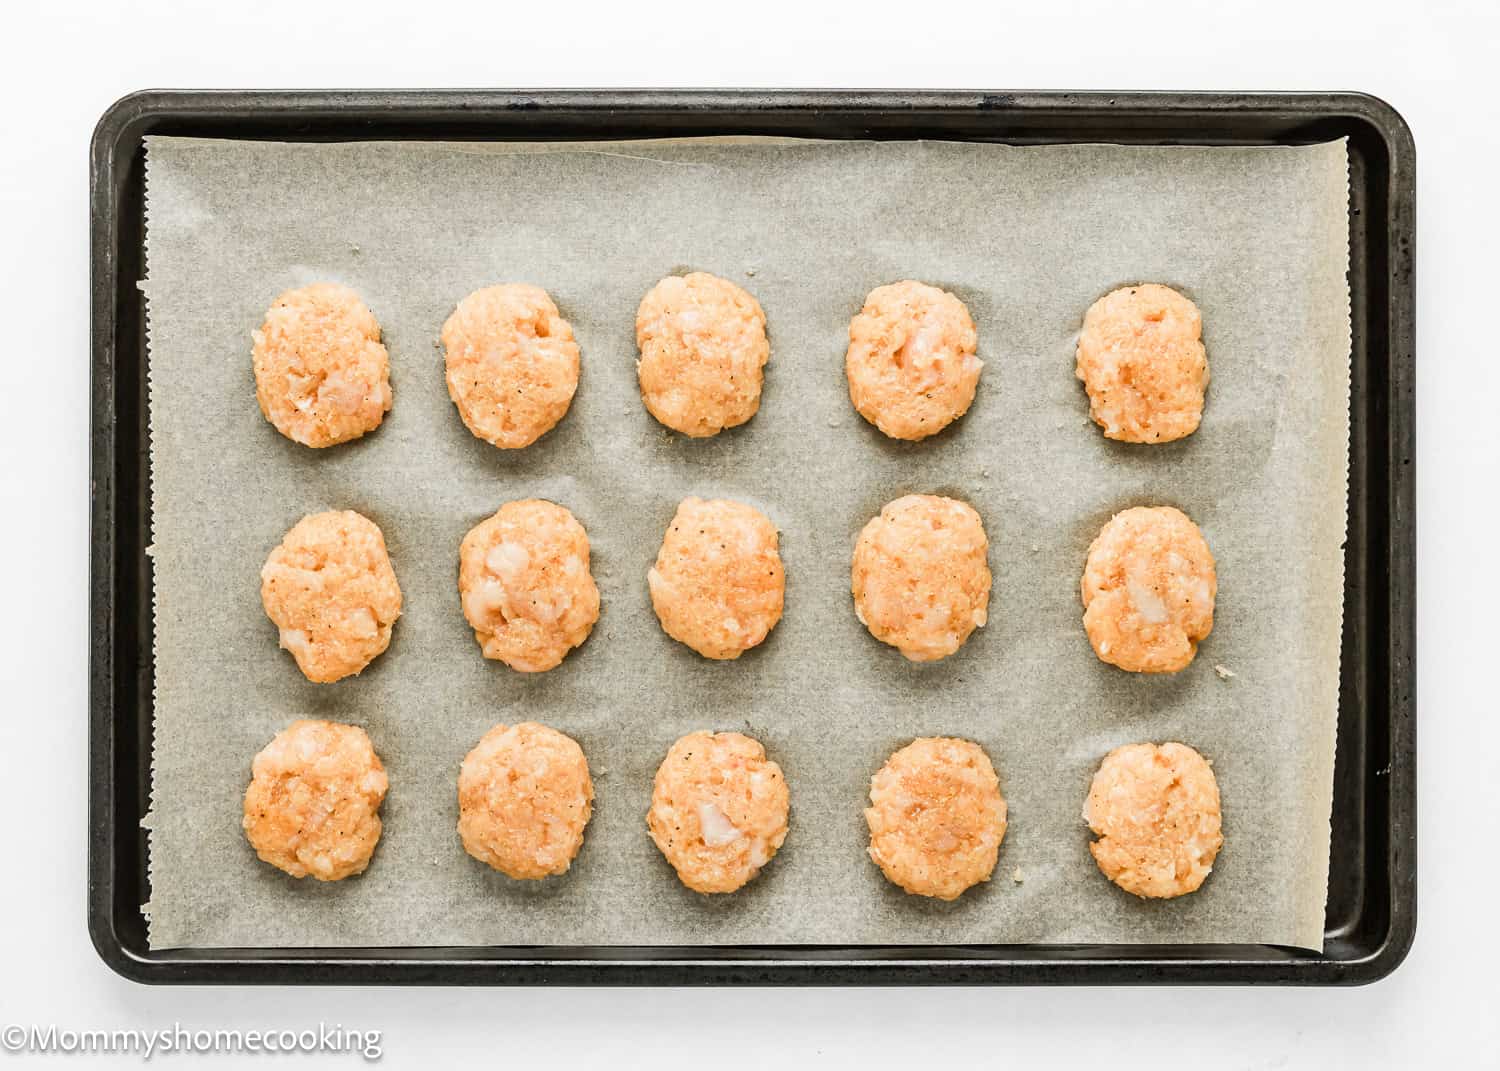
Step 2 – Form The Chicken Nuggets
Portion the chicken mixture out using a 1 tablespoon scoop, then shape it into nugget form (a rectangular-ish shape) with your hands. Place them on a baking tray or large plate lined with parchment paper. From a pound of chicken, you’ll get about 16 chicken nuggets, about 30 g each. Tip: If the mixture is too soft to shape into nuggets, place it in the refrigerator for a few minutes to firm up. Also, lightly wet your hands when forming the nuggets to make the process easier.
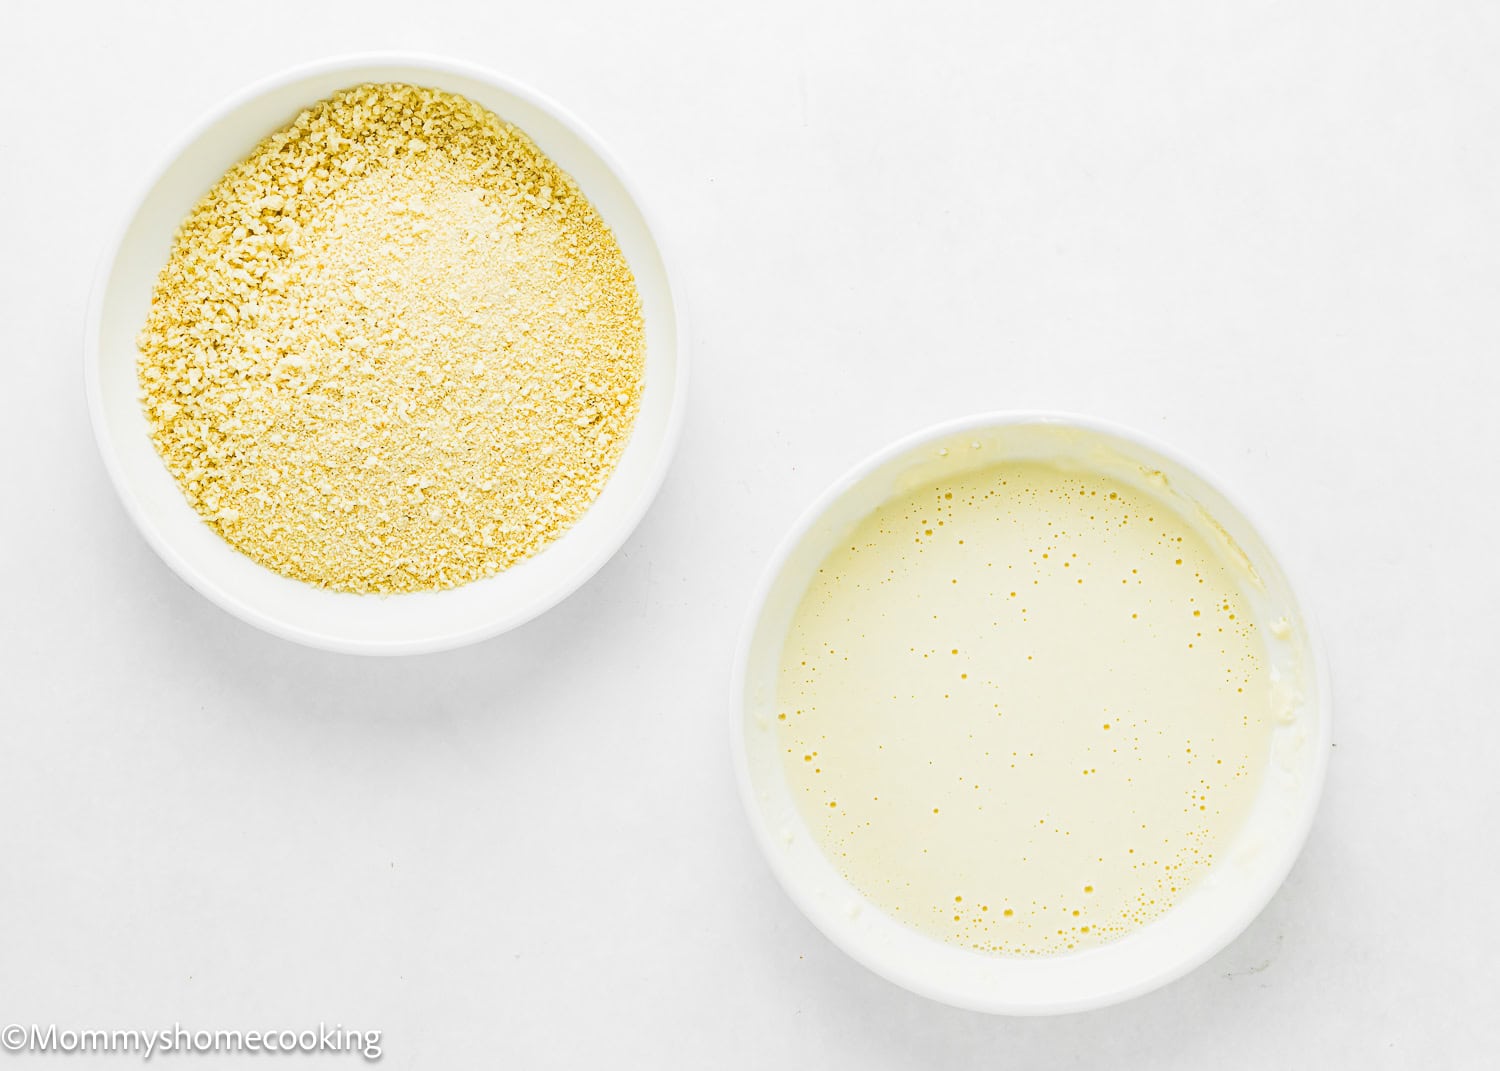
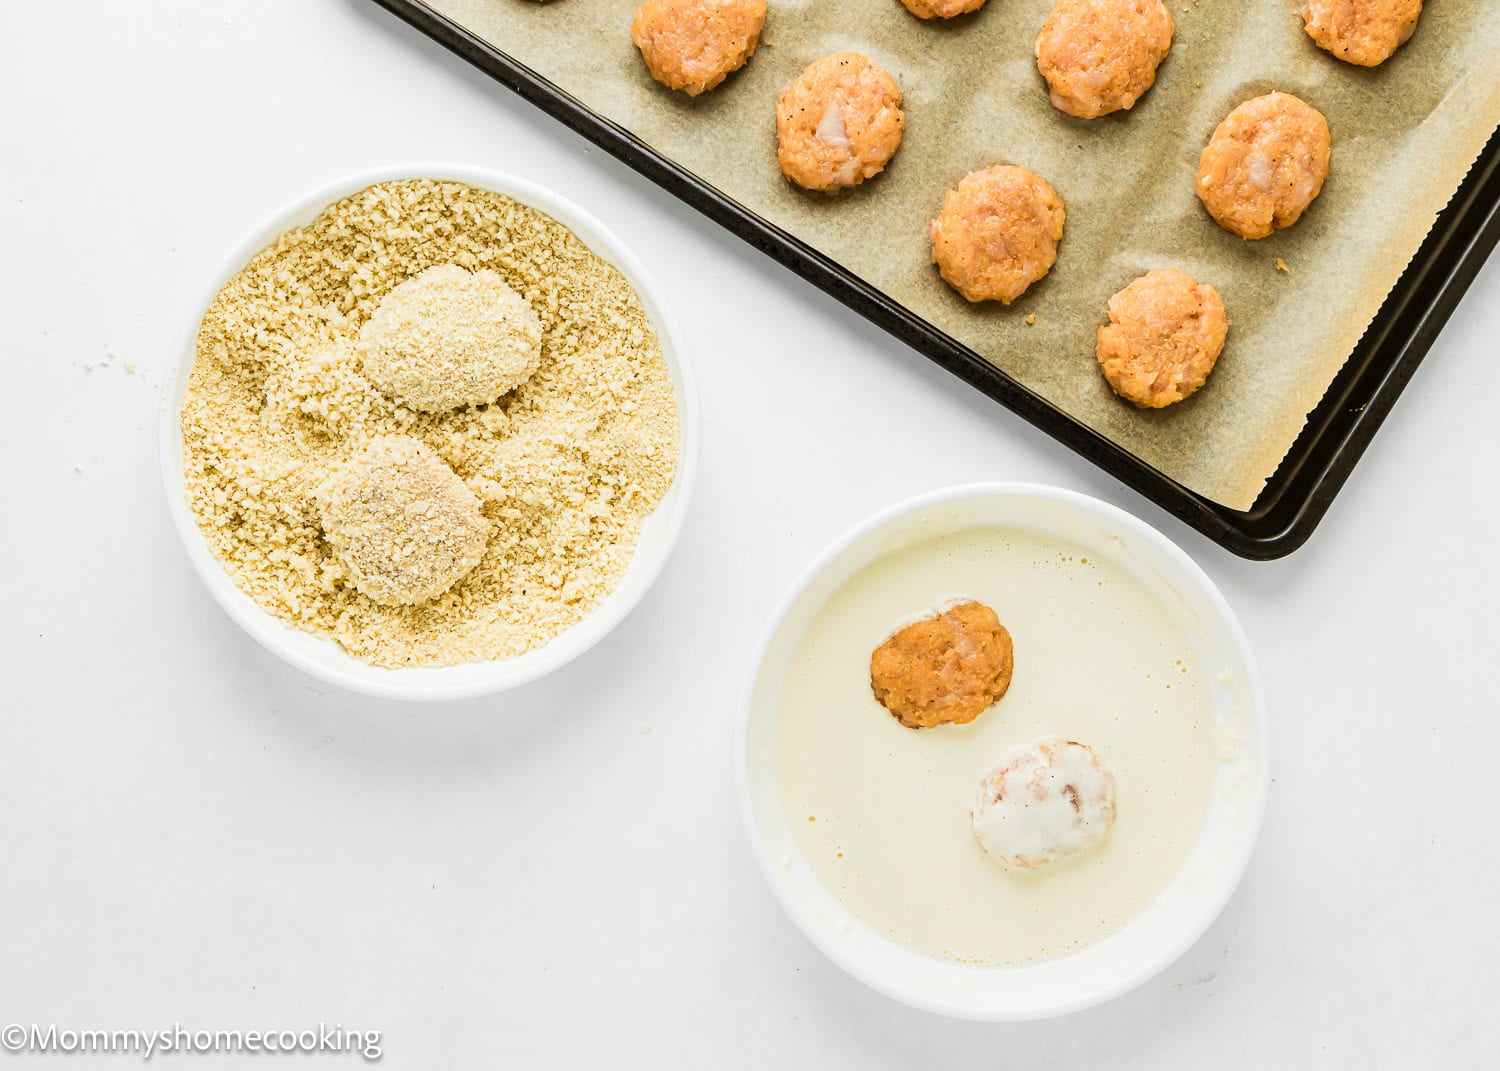
Step 3 – Prepare The Breading Station
In a shallow bowl, combine the flour and water. In a second shallow bowl, mix breadcrumbs, panko, 1 teaspoon salt, 1 teaspoon garlic powder, and ¼ teaspoon black pepper.
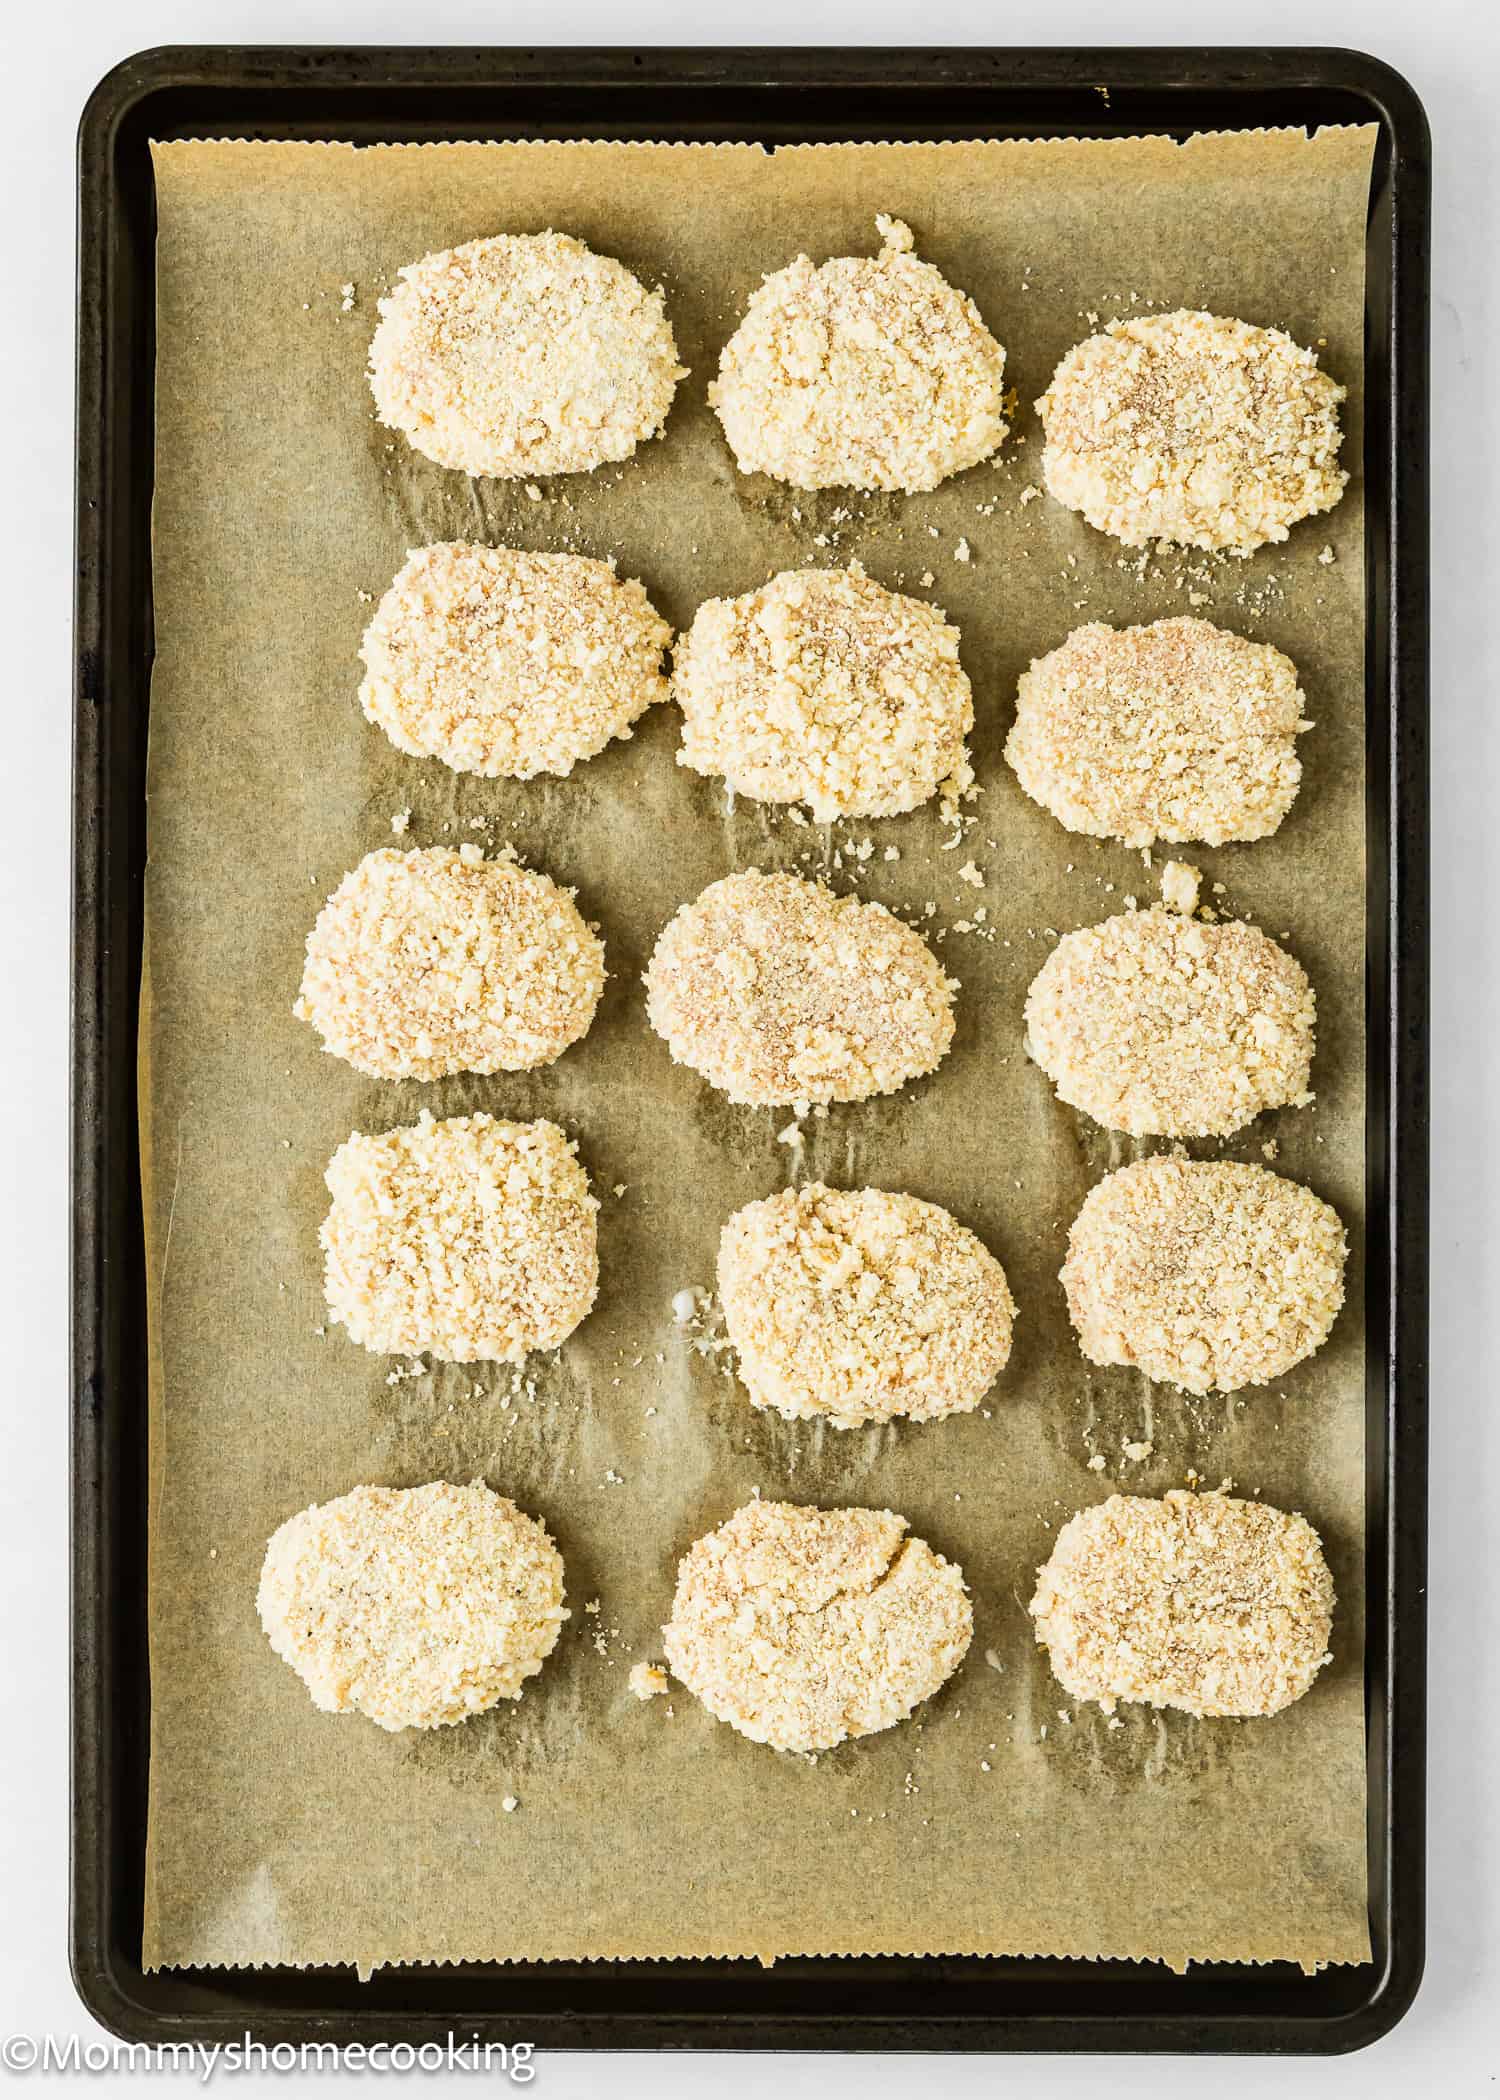
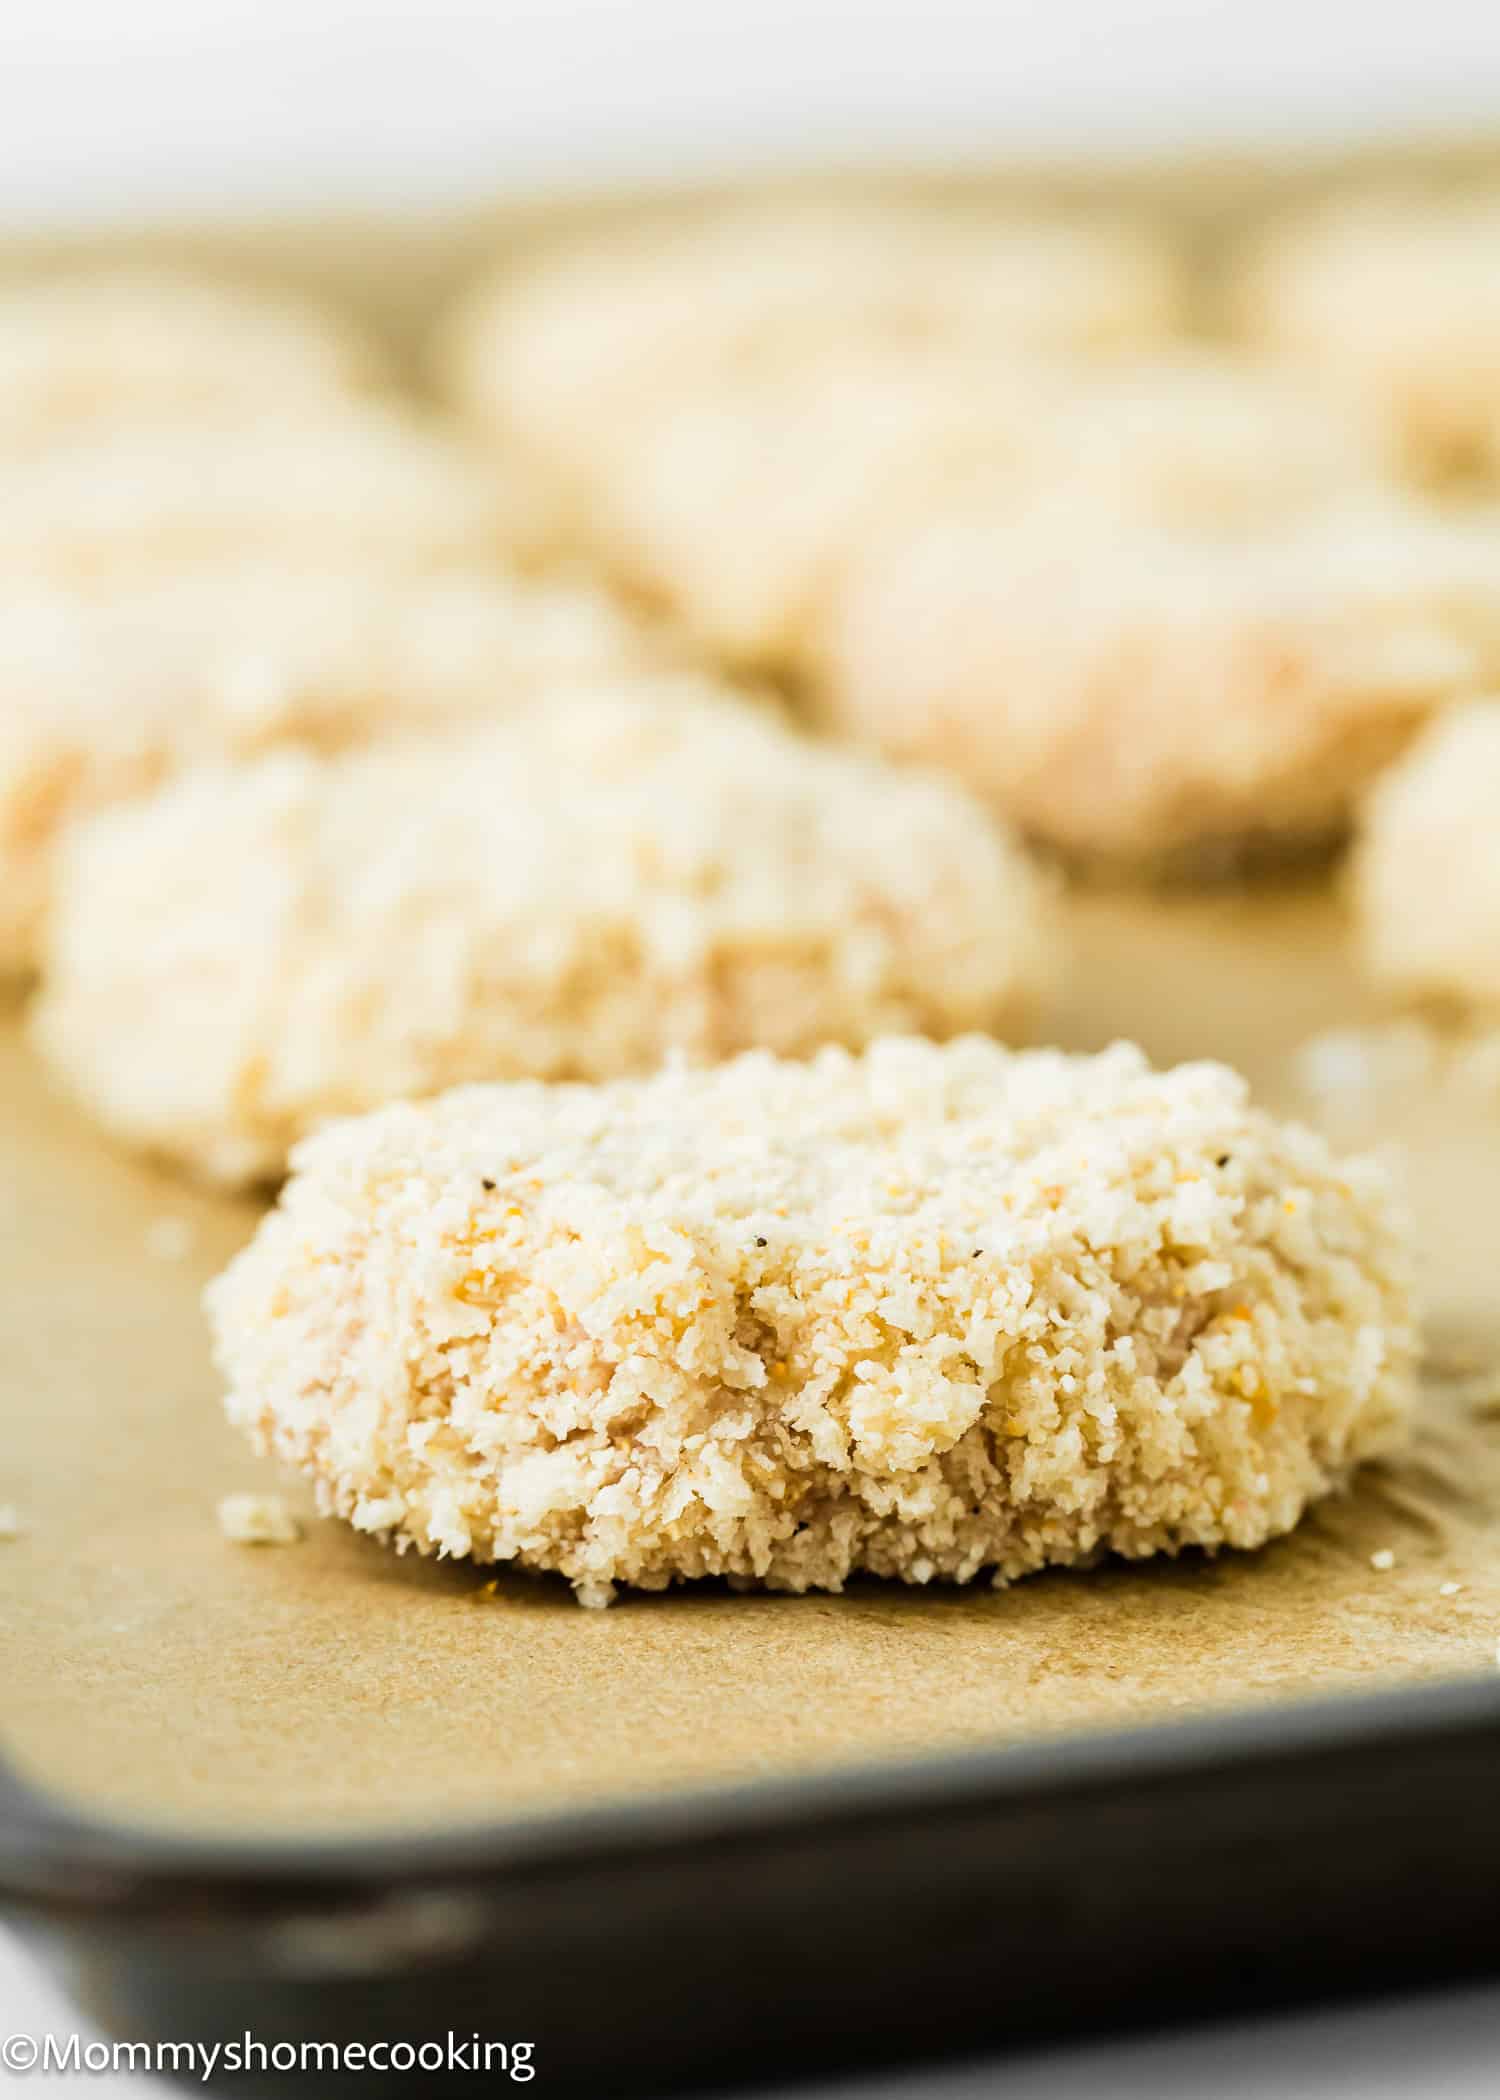
Step 4 – Dip And Coat
Dip the chicken nuggets in the flour mixture, shake off excess, and then into the breadcrumb mixture, making sure to coat each piece evenly and thoroughly on all sides. Press with your hand, shake off excess, and place on a large dish or cutting board. Let the chicken nuggets rest for 10 minutes. Tip: Once they are breaded, you can freeze them flat for 1 hour, then transfer them to Ziploc bags and store them for up to 3 months. When ready to bake them, bake frozen nuggets as directed next.
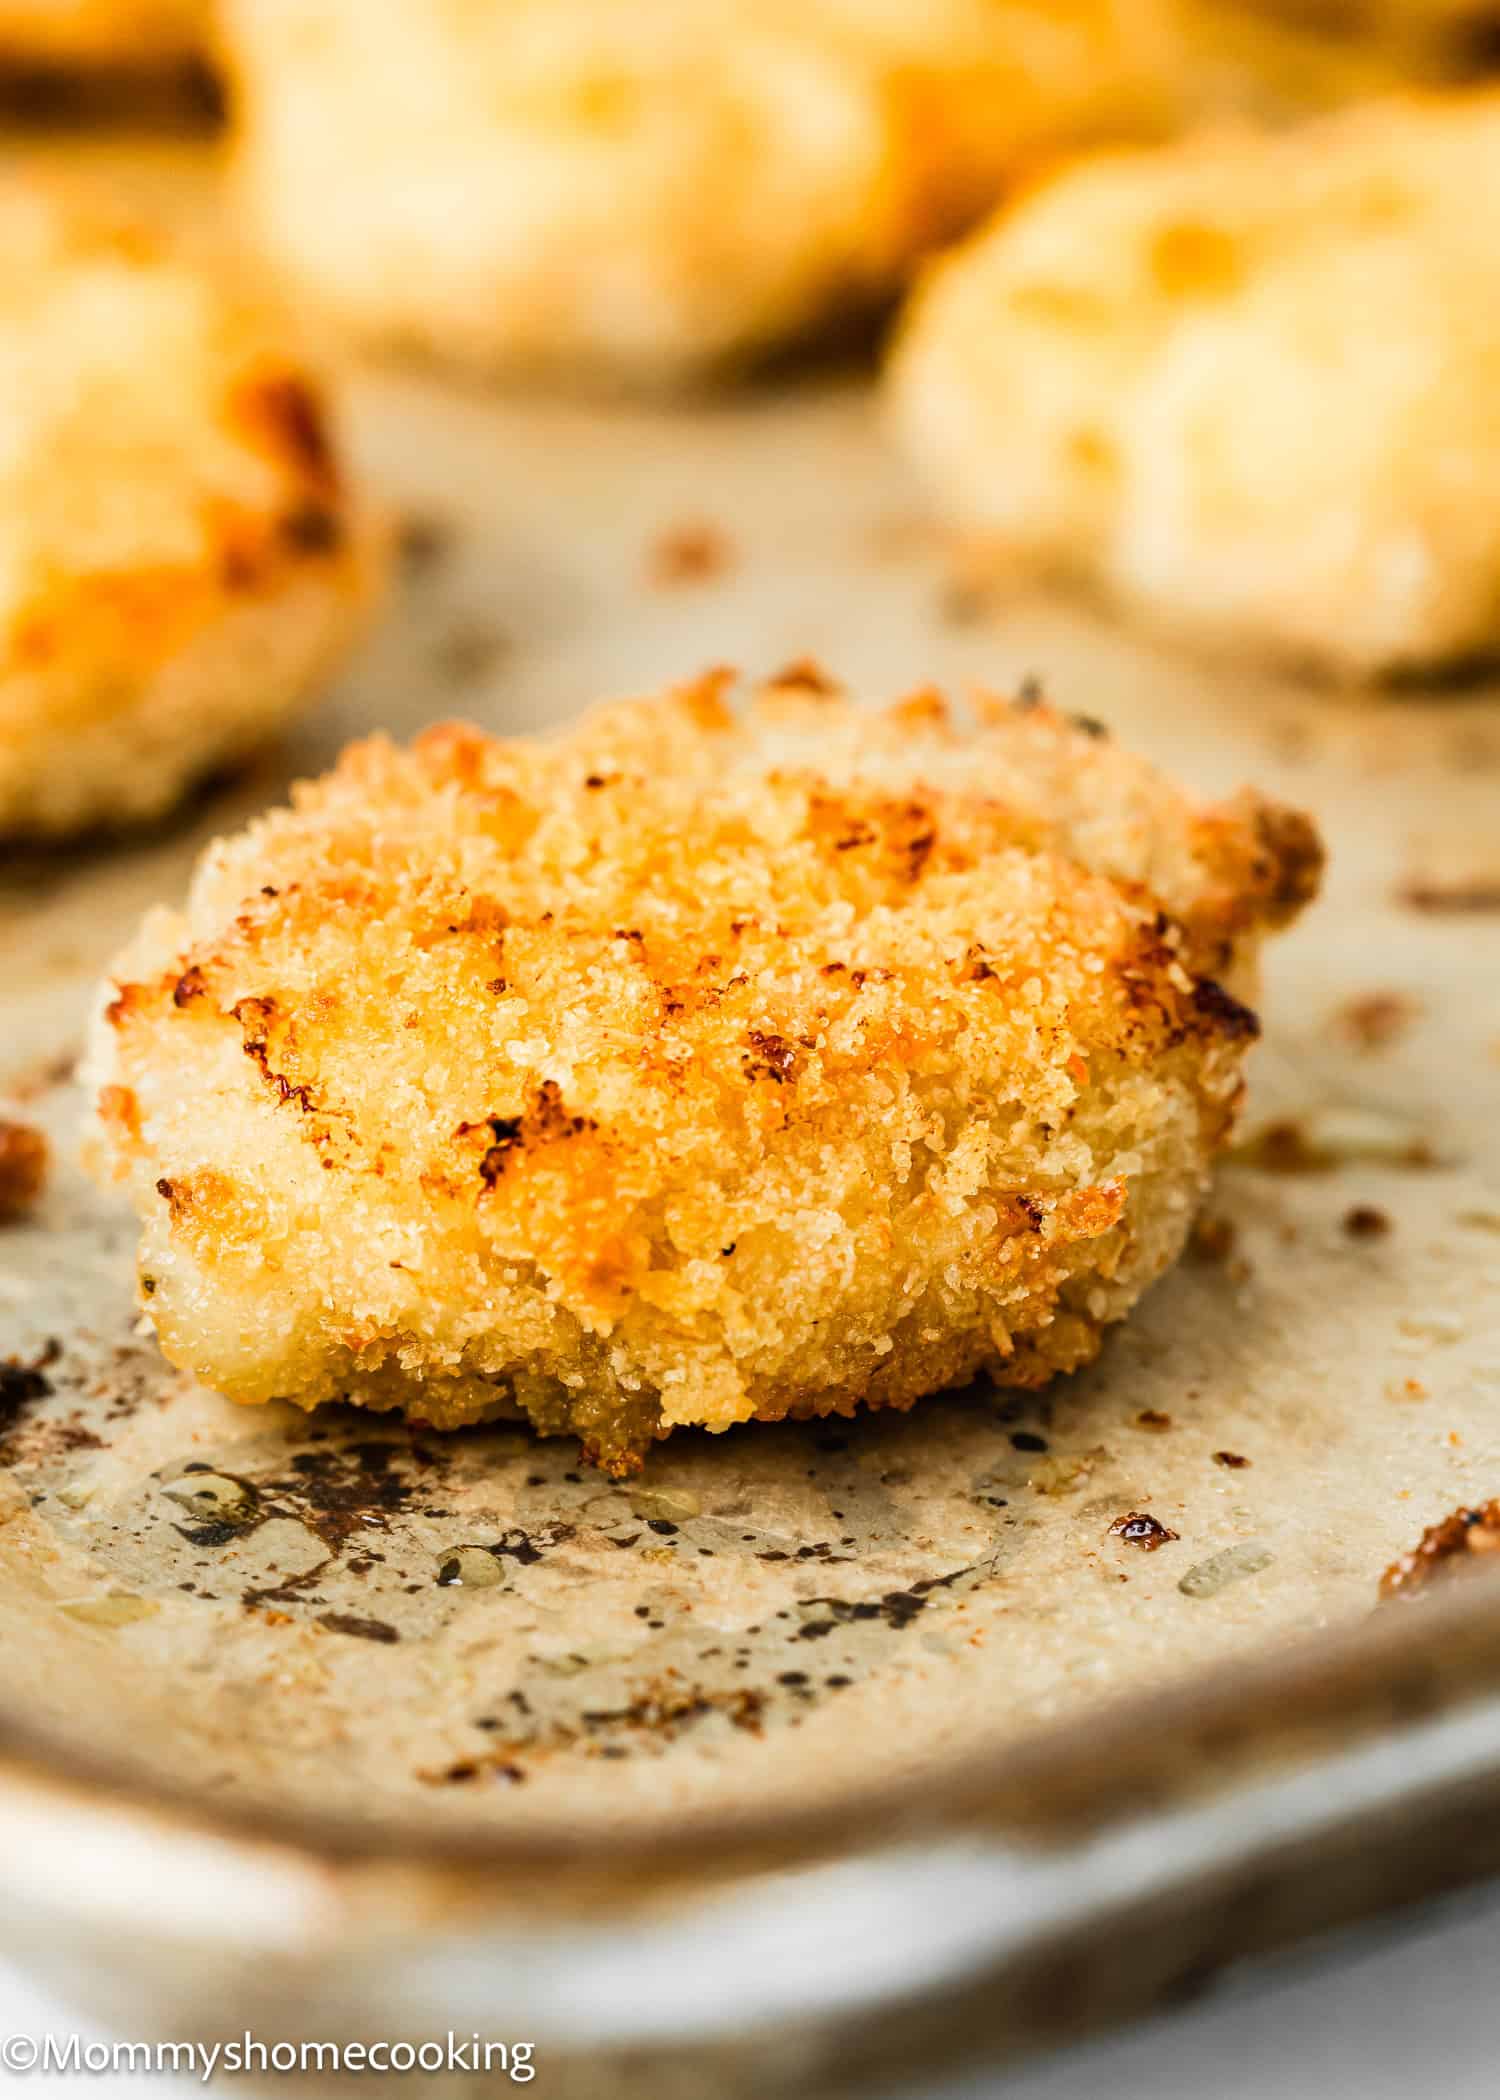
Step 5 – Bake
Transfer the nuggets to a lined baking sheet. Spray both sides of the chicken generously with oil. Bake for 10 minutes, then flip the nuggets and cook for another 8 – 10 minutes, or until the internal temperature of the chicken reaches 165º F.
Food Allergy Swaps
Gluten-Free: If you’re gluten-free, swap the all-purpose flour for a gluten-free flour blend, and use gluten-free breadcrumbs and panko. If you want to avoid dairy, just make sure your breadcrumbs don’t contain any sneaky dairy ingredients.
Make sure to form your chicken nuggets into evenly sized pieces so they cook at the same rate. Don’t rush the breading process! Press those breadcrumbs into the chicken for a coating that stays in place. A generous spray of oil before baking will give your nuggets that crispy finish without the need for deep frying.
Variations & Additions
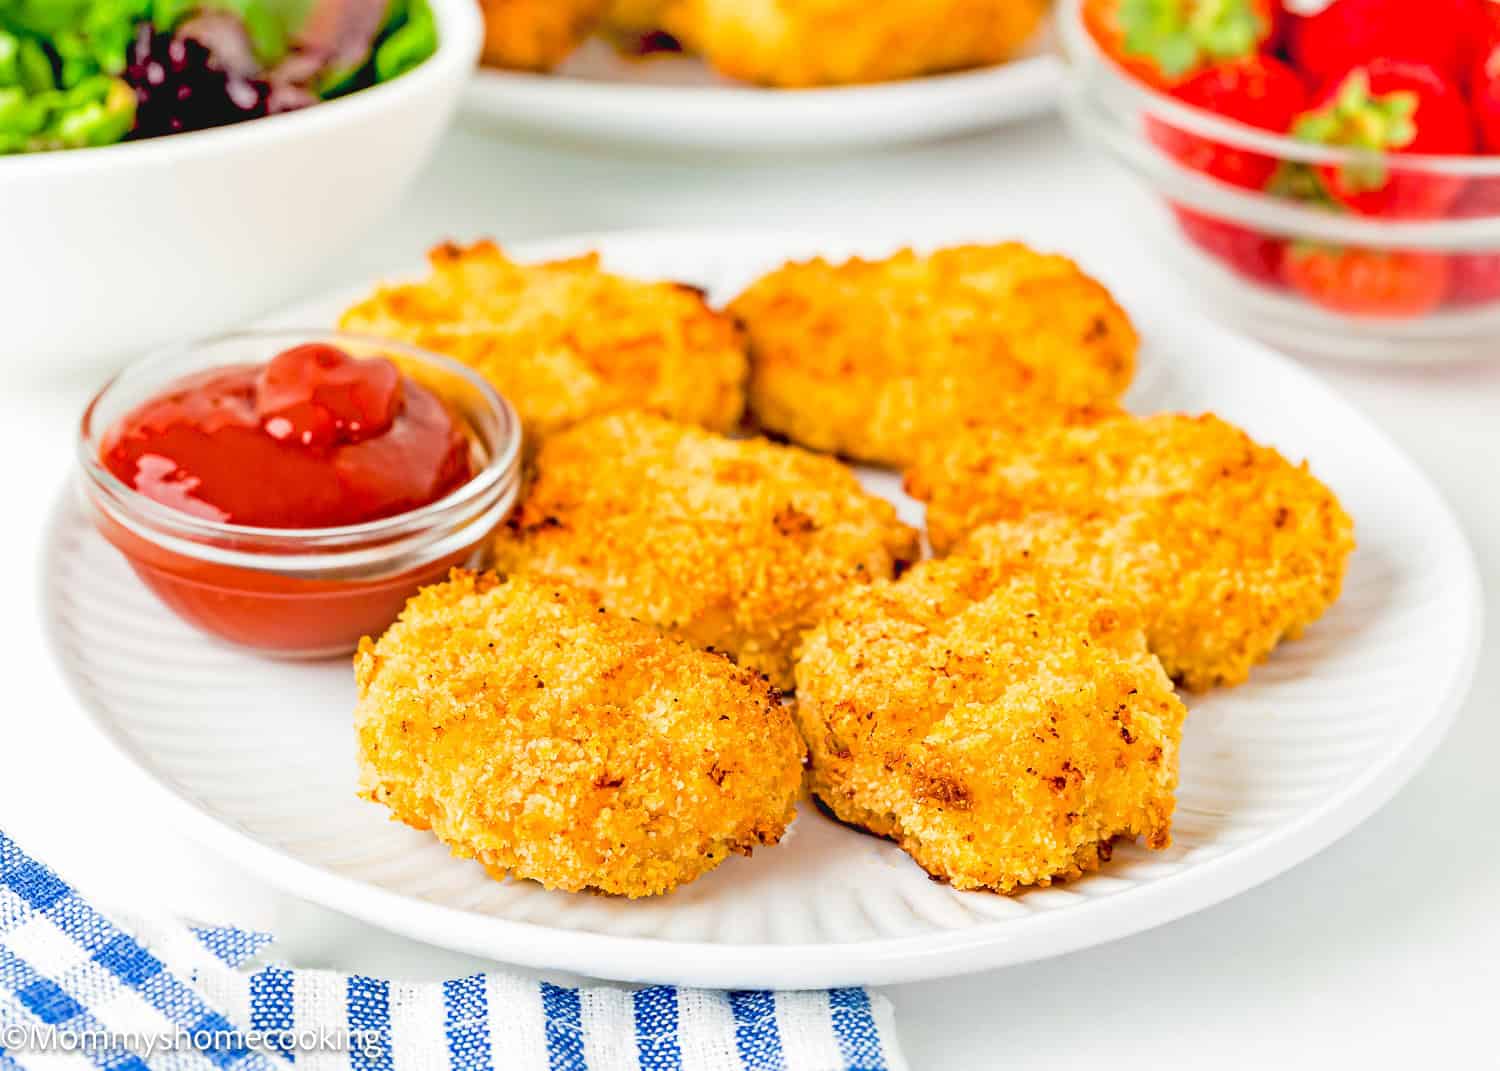
Spicy: Want to kick it up a notch? Try adding a little cayenne or chili powder for a spicy twist. Cheesy: You could also mix in some Parmesan cheese with the breadcrumbs for extra flavor. Dipping Sauce: For a different dipping experience, these nuggets are great with honey mustard, BBQ sauce, eggless ranch, or even a tangy yogurt dip!
Serving Suggestions
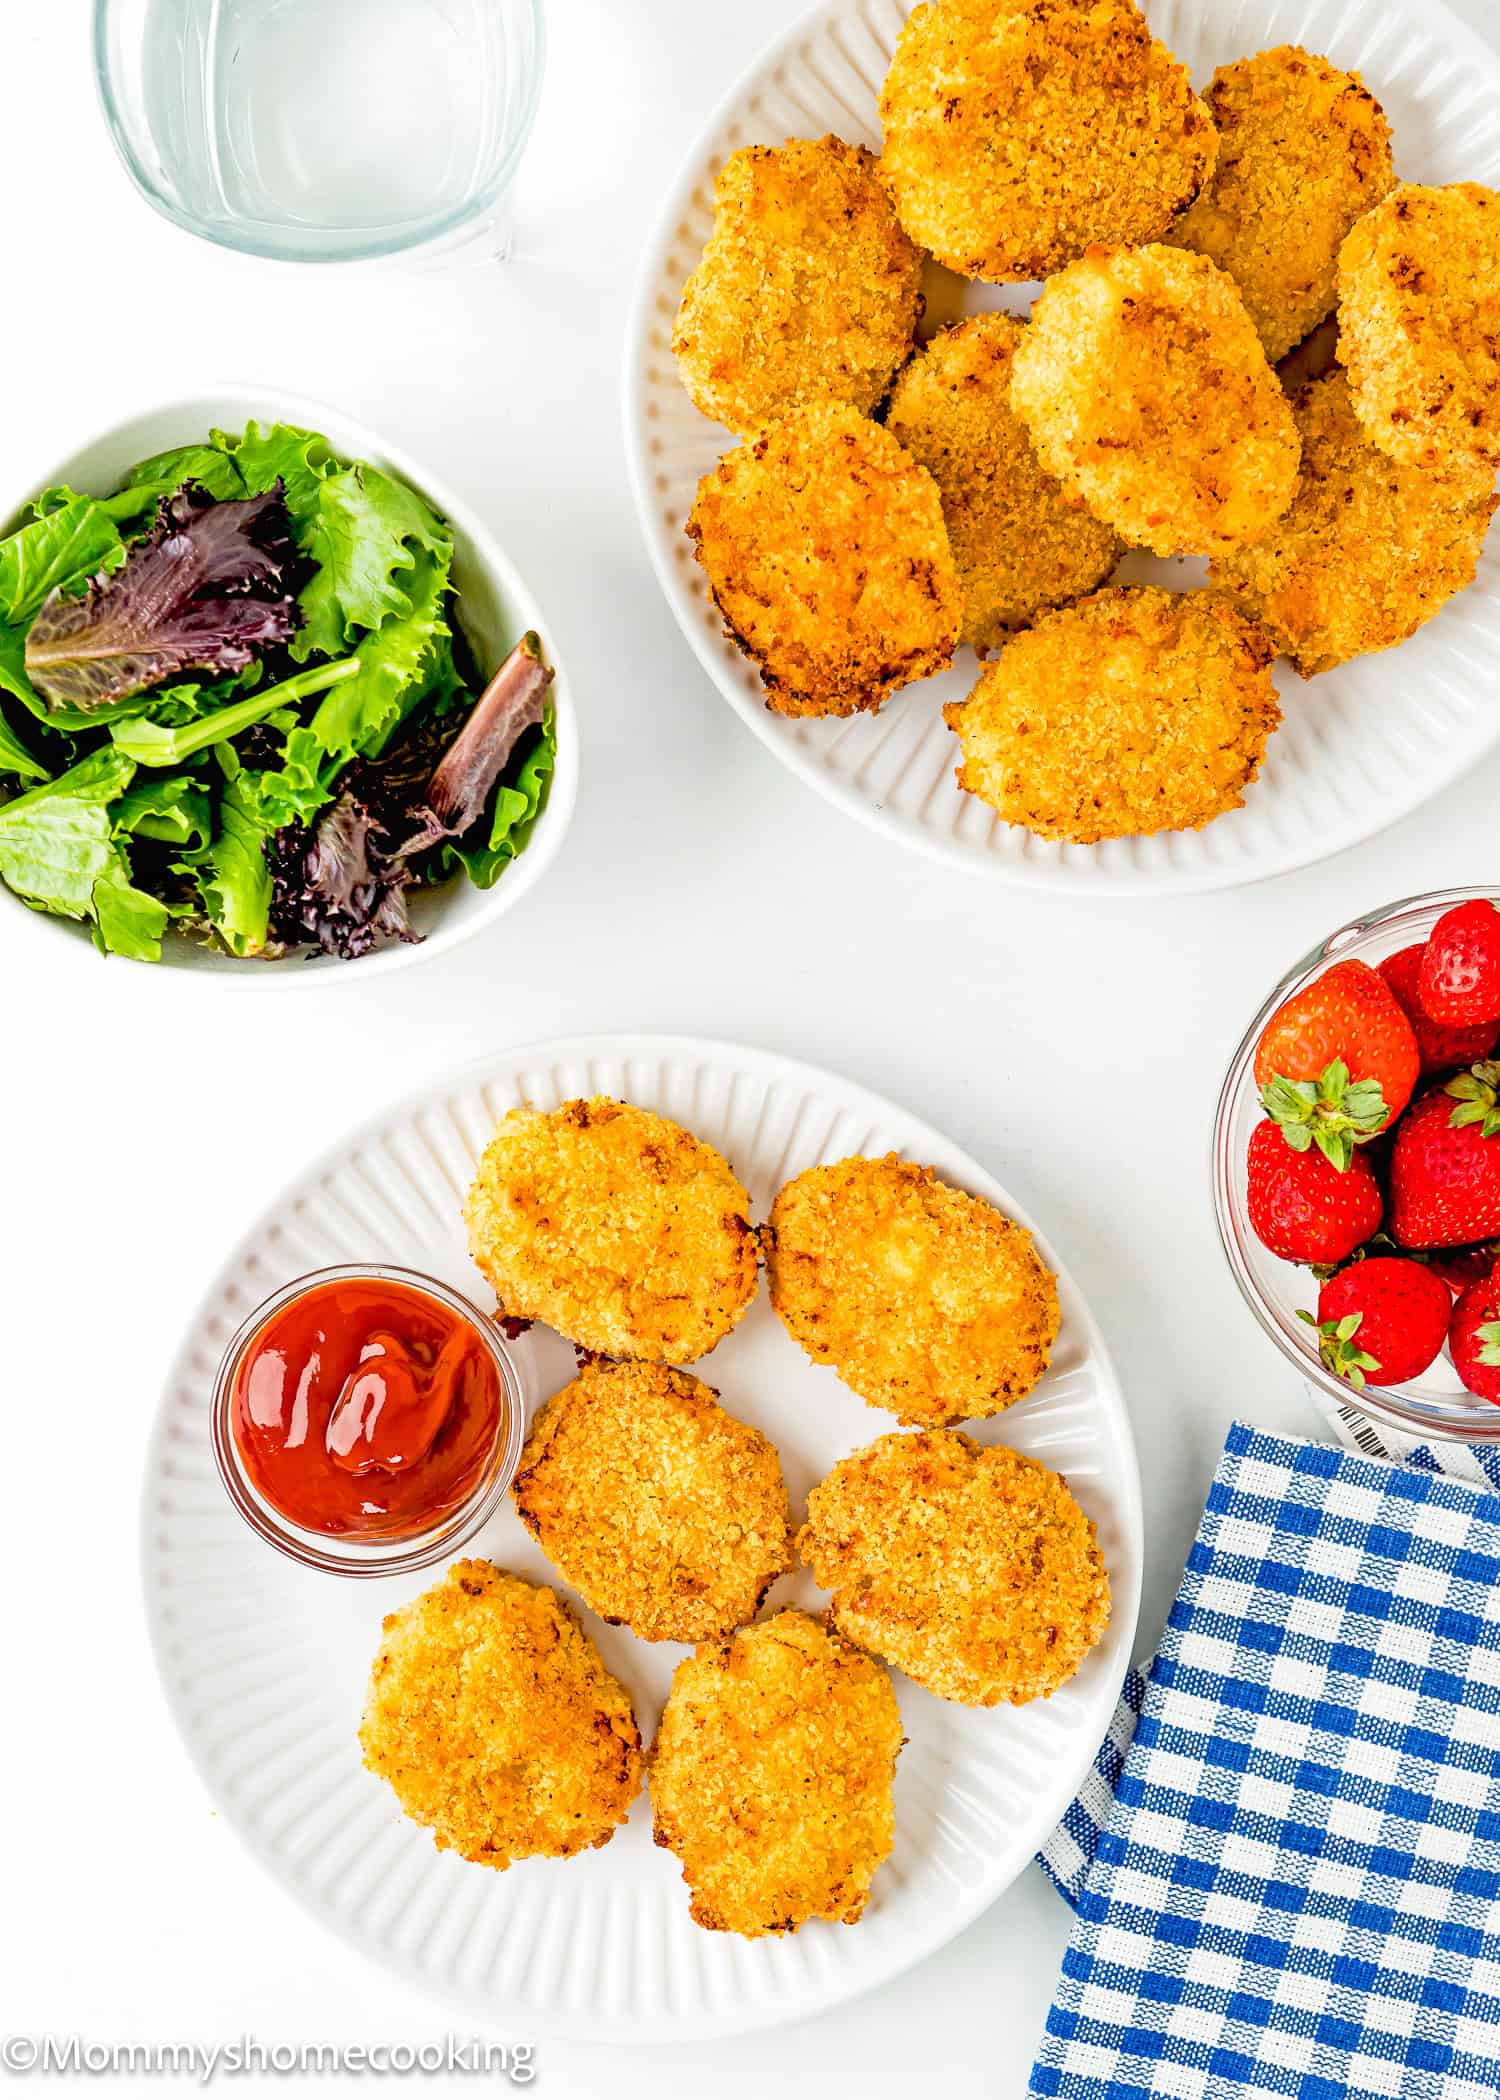
These nuggets pair perfectly with a side of sweet potato fries, a fresh salad or fruit, or even some homemade mac and cheese. For a fun twist, you could serve them in wraps or on slider buns with a little mayo and lettuce!
Storing and Freezing Instructions
Store Leftovers: Allow your nuggets to cool completely. Place your cooled nuggets in an airtight container and store them in the fridge. They’ll stay fresh for up to 3-4 days. When you’re ready to eat, reheat refrigerated nuggets in the oven at 350° F (180° C) for about 10-15 minutes to keep them crispy. Freeze Cooked Chicken Nuggets: To freeze, let the cooked nuggets cool completely, then transfer them to an airtight container or zip-top bag. They’ll keep in the freezer for up to three months. When you’re ready to enjoy them, reheat them in the oven or air fryer until crispy and heated through. Freeze Uncooked Chicken Nuggets: Once they are breaded, you can freeze them flat for 1 hour, then transfer them to Ziploc bags and store them for up to 3 months. When ready to bake them, bake frozen nuggets in the oven at 350° F (180° C) for 20-22 minutes.
More Kid-Friendly Recipes You’ll Love!
Easy Homemade Eggless Fish Sticks (Baked) Easy Eggless Tuna Patties BEST Eggless Italian Meatballs Easy Eggless Meatloaf Super Creamy Baked Mac and Cheese (Easy) Mini Chocolate Chip Muffins (Egg-Free & Dairy-Free) Eggless Easy Mini Quiche BEST Eggless Banana Bread [Video] Browse more recipes…
Recipe Card 📖