Oriana’s Thoughts On The Recipe
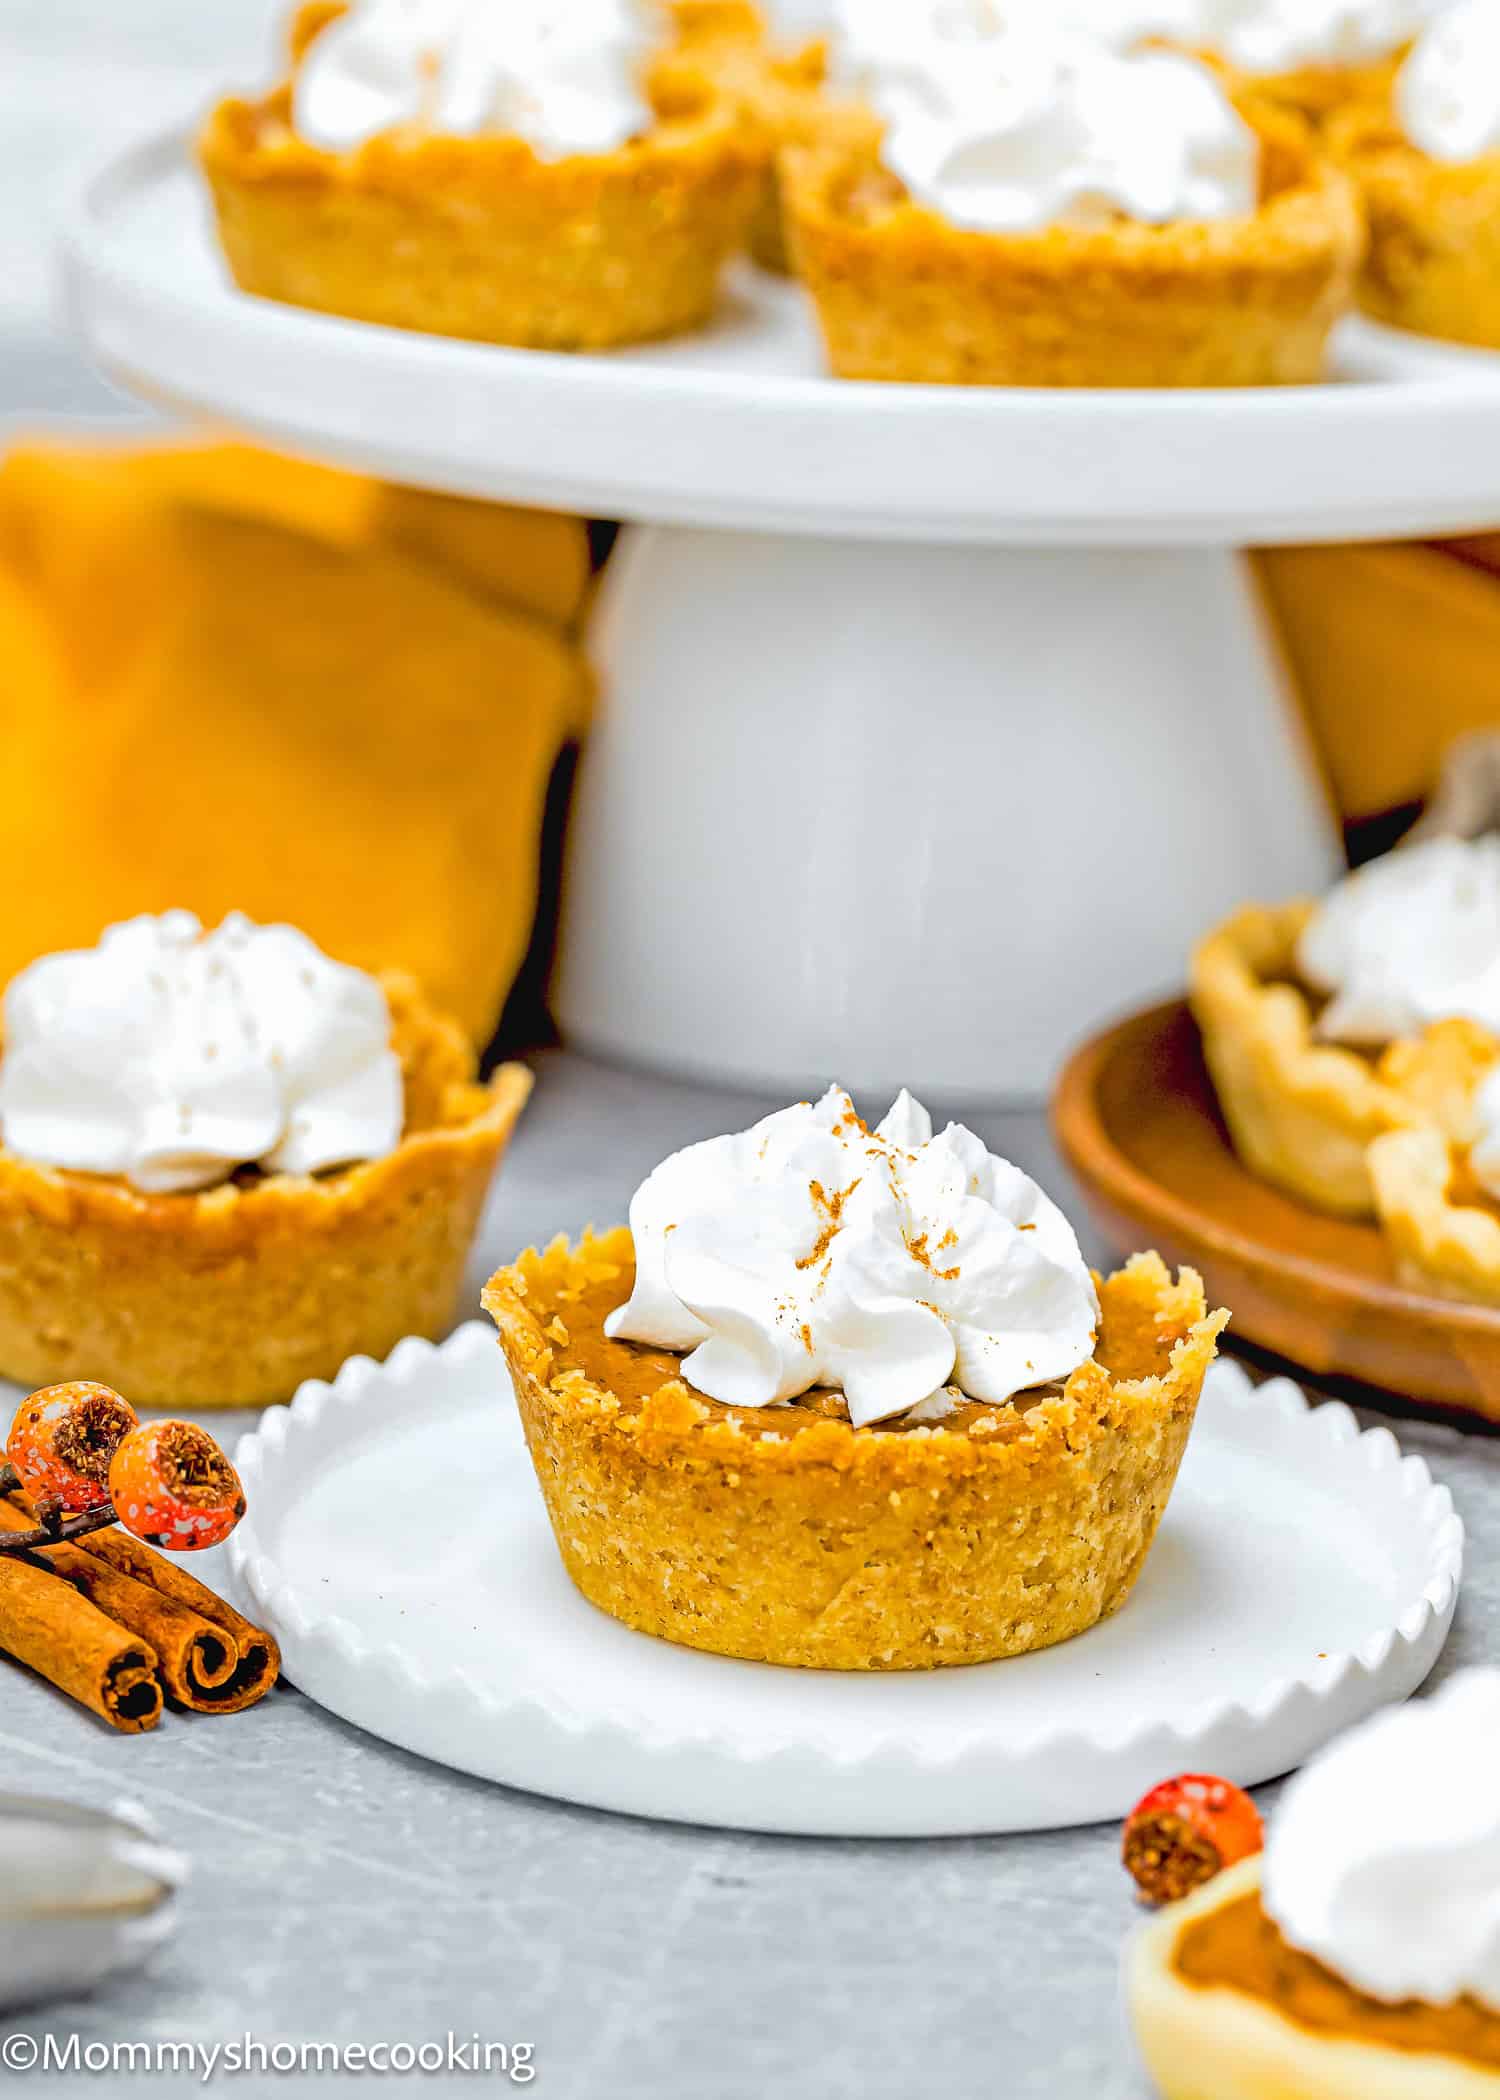
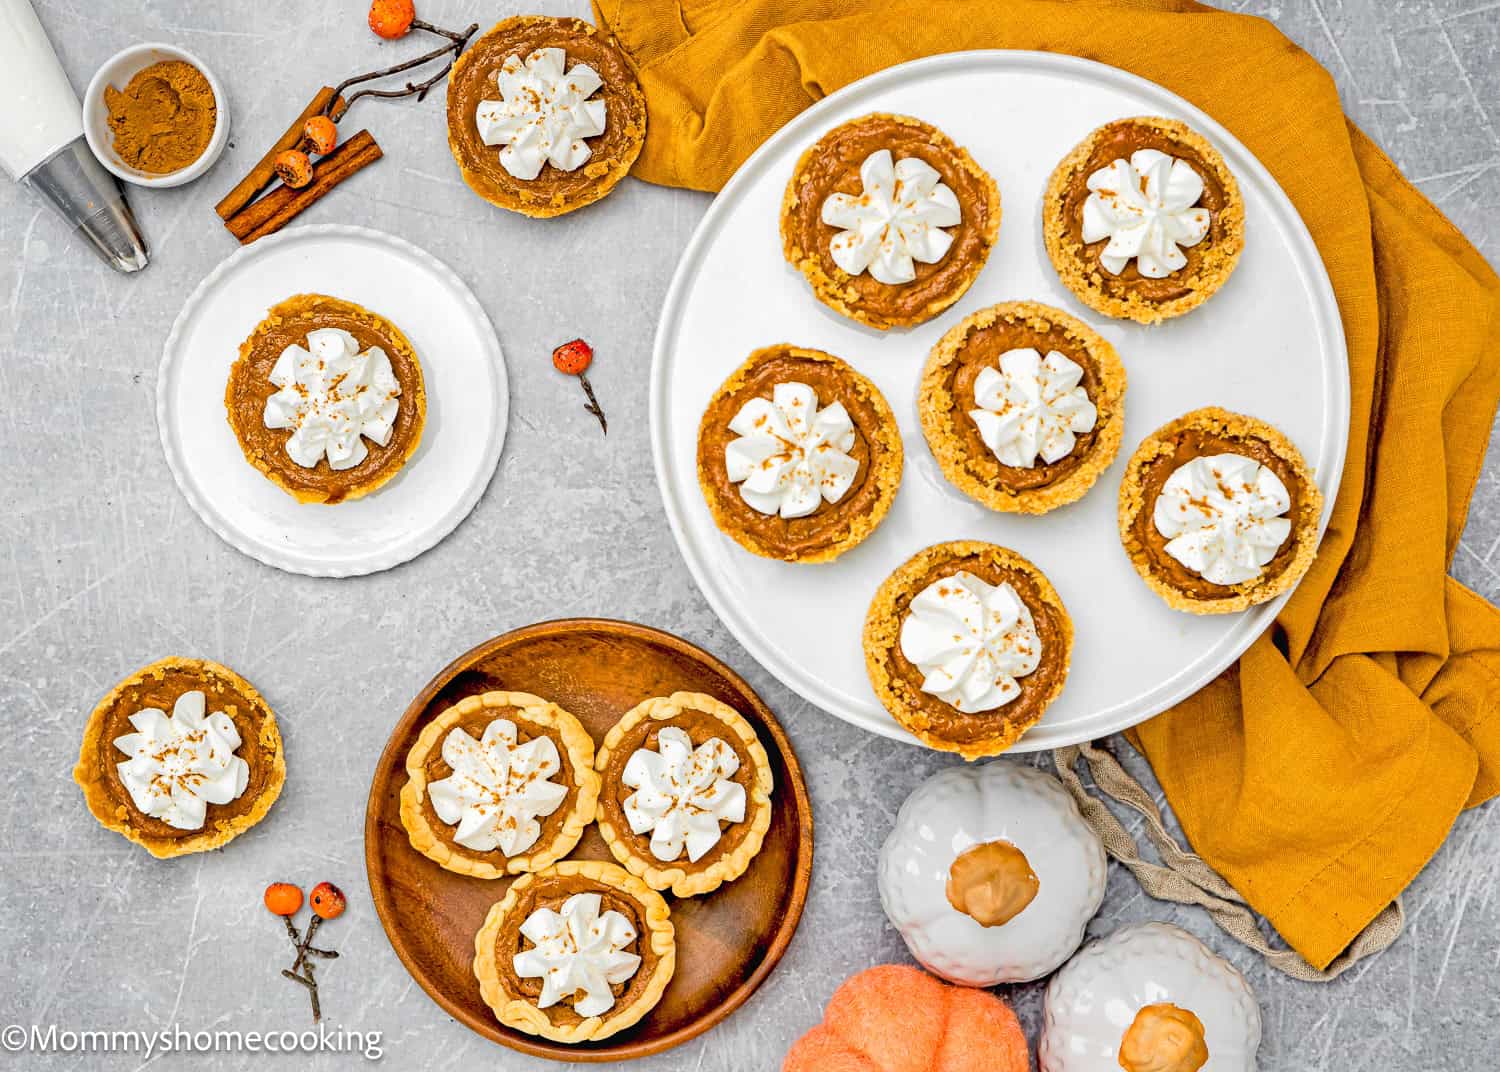
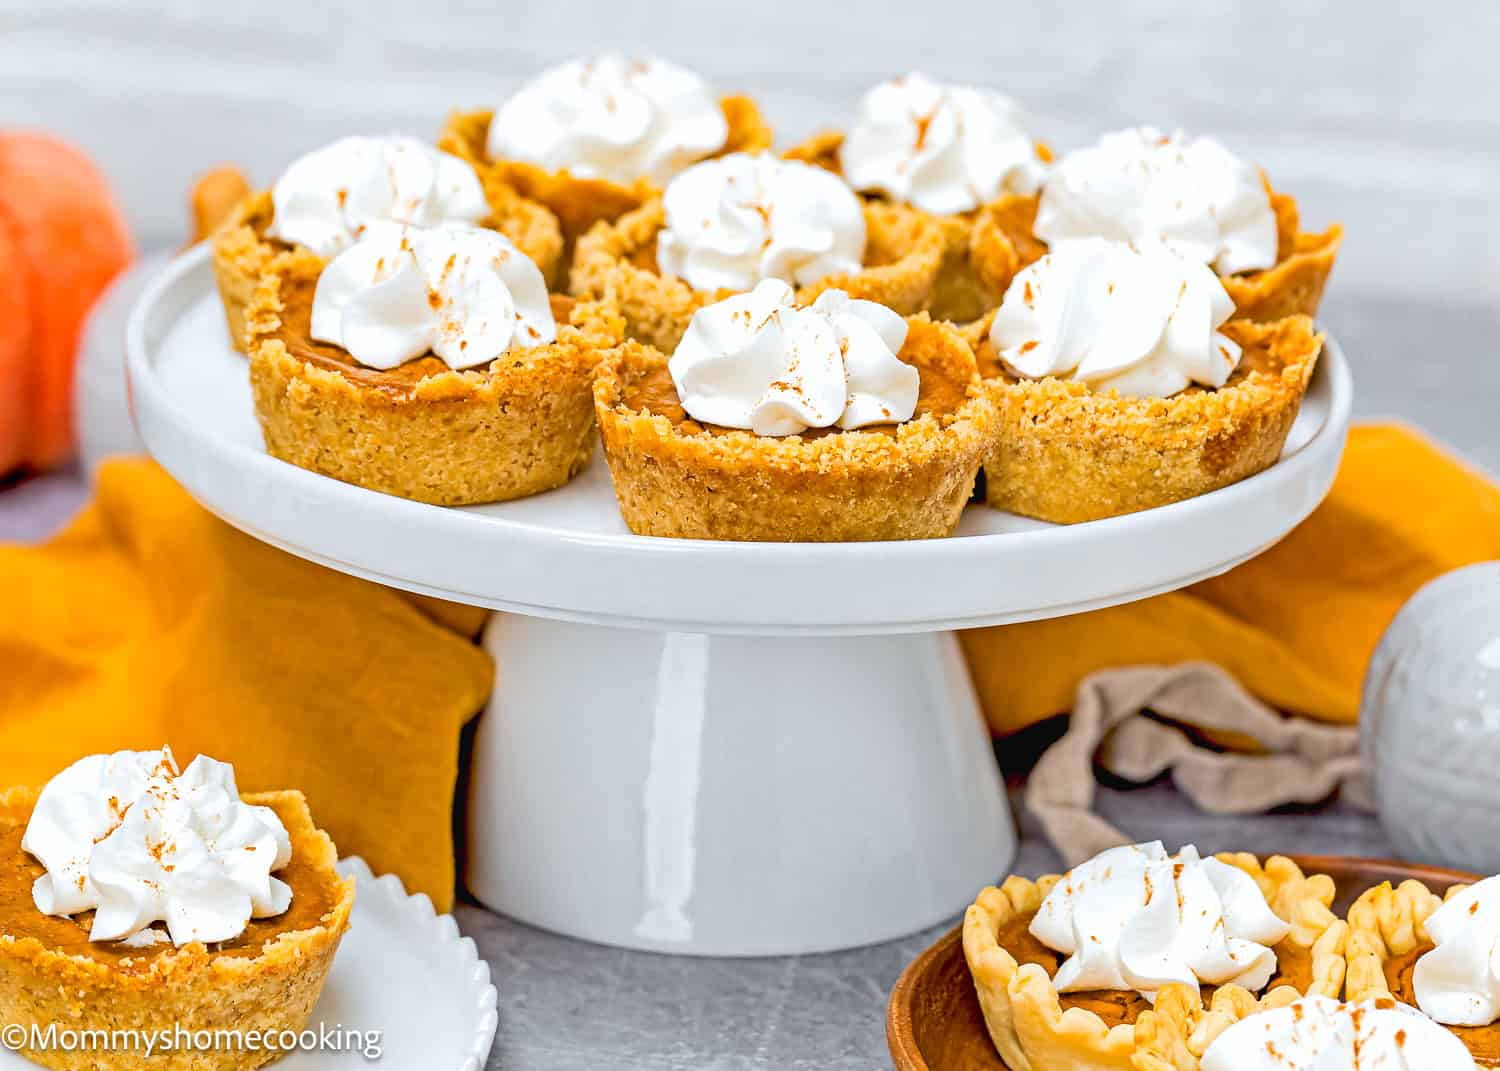
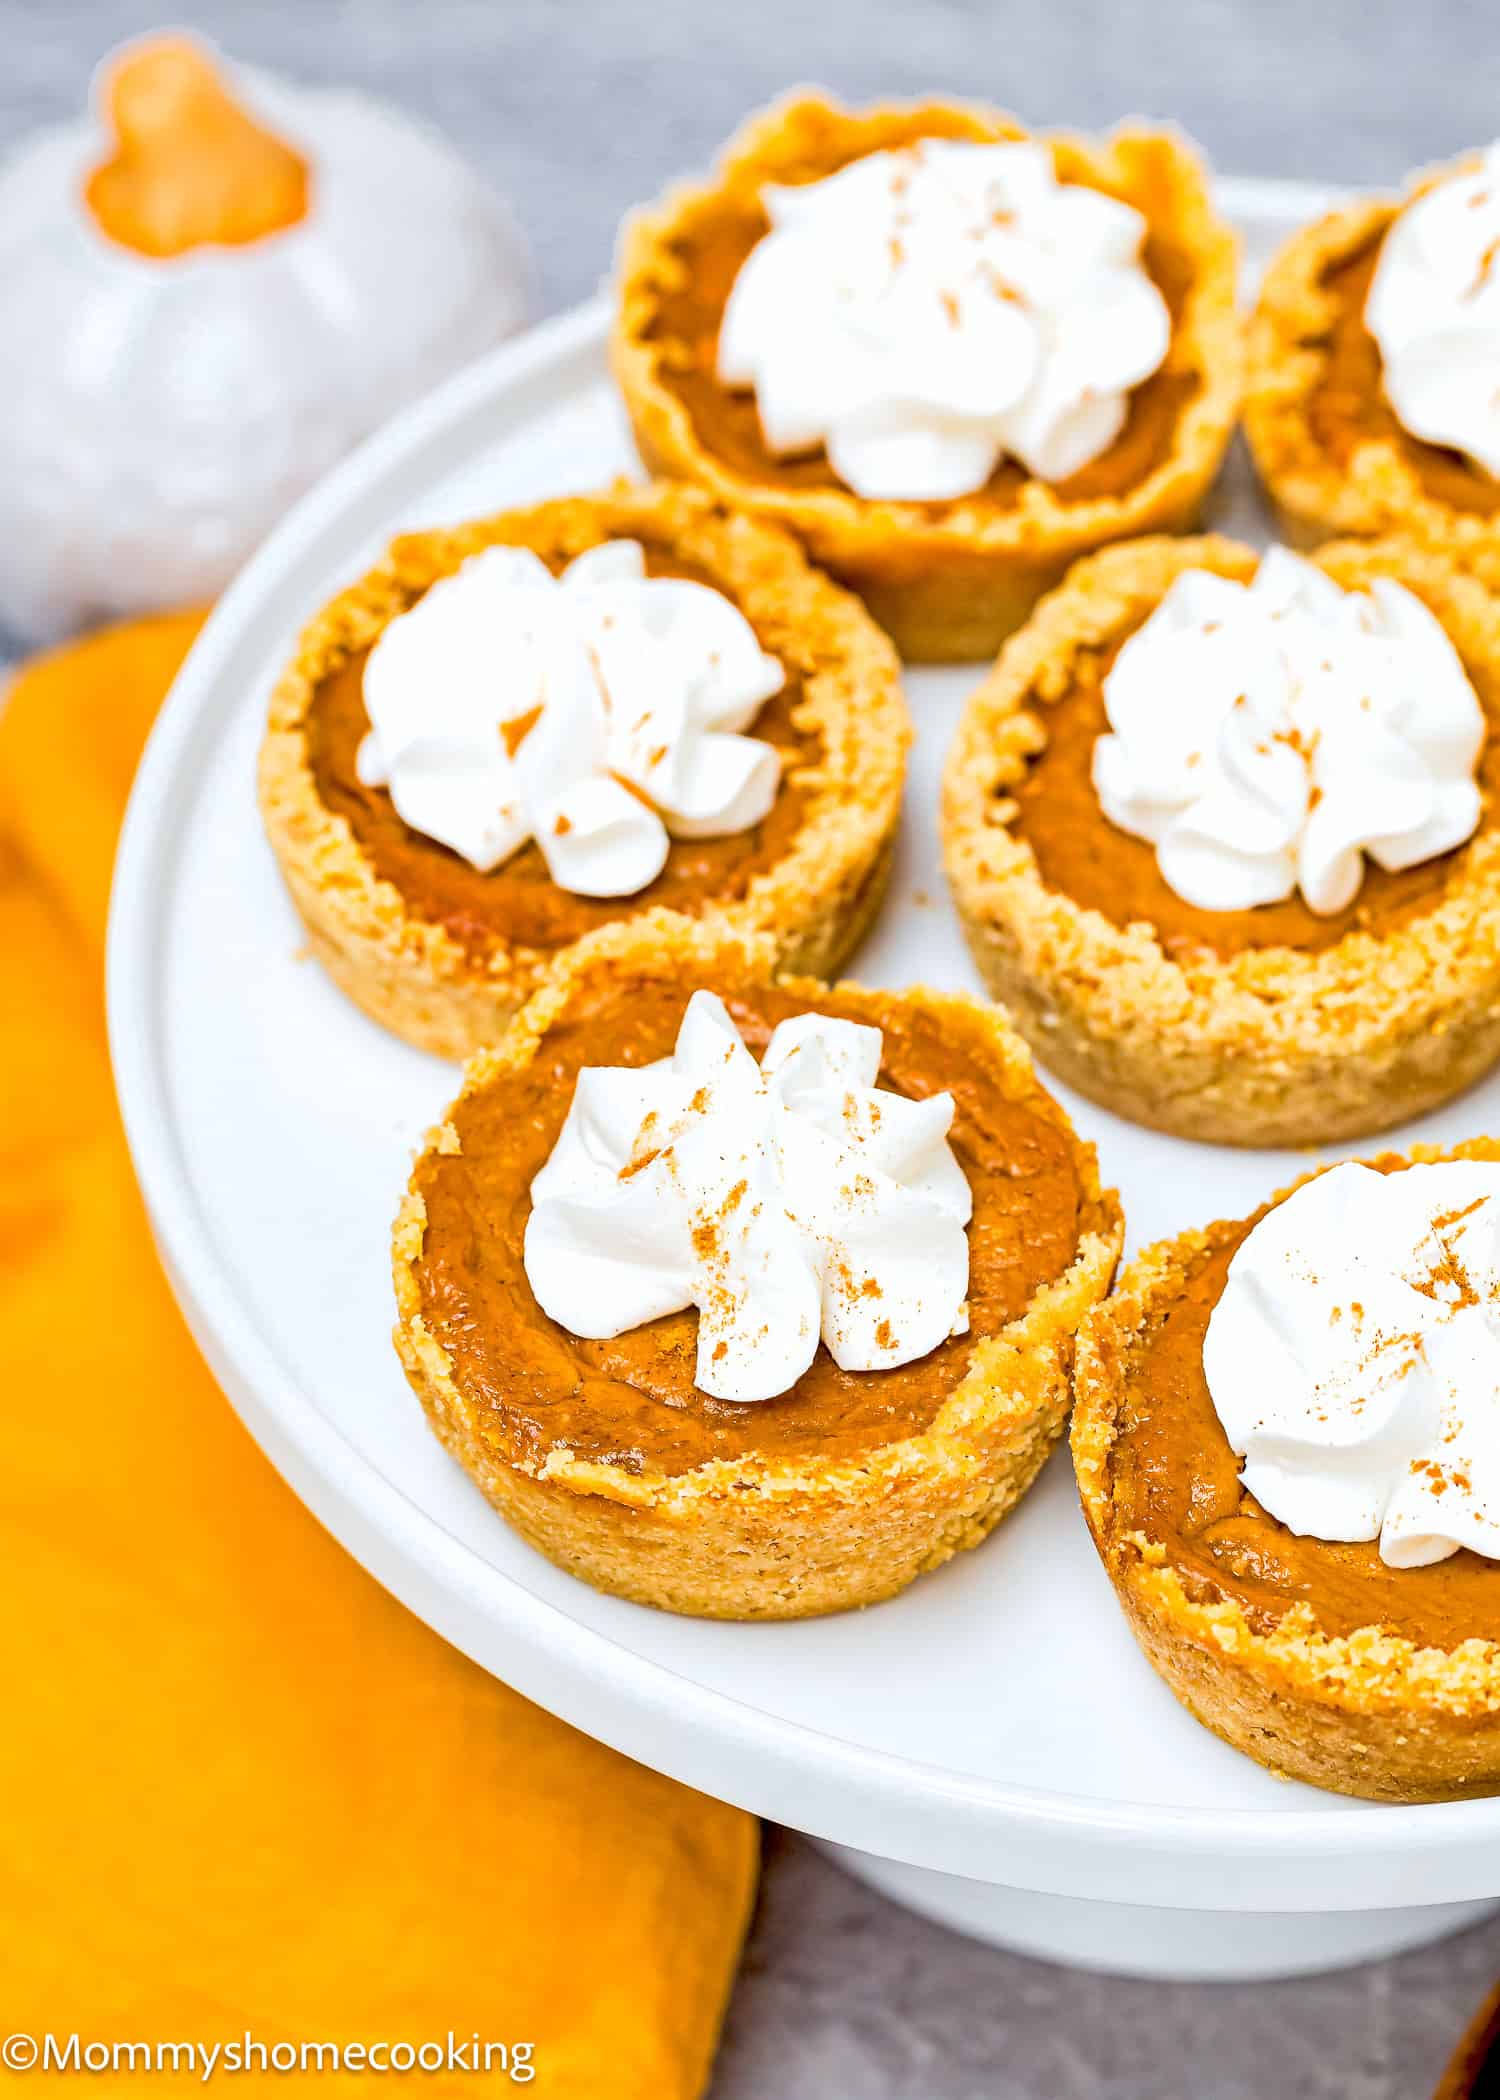
I absolutely love these Mini Pumpkin Pies! They’ve become a go-to for me when I’m craving that classic pumpkin pie flavor but don’t want to fuss with a full pie. These little beauties are made right in a muffin pan, which means they’re not only adorable but also super easy to make. No need to worry about cutting perfect slices—everyone can just grab one (or more!) and enjoy. What I really love is how simple the ingredients are. You can use a store-bought pie crust to save time, and the filling is made with pantry staples like pumpkin puree, sugar, and evaporated milk. Plus, they’re egg-free, making them perfect for anyone with egg allergies or if you just don’t have eggs on hand. It’s a win-win! They’re also perfect for parties or family gatherings because they’re so easy to serve. No messy pie slicing—just grab and go! And they look so cute on the table that your guests won’t be able to resist. Add a dollop of whipped cream on top, and you’ve got the perfect mini dessert.
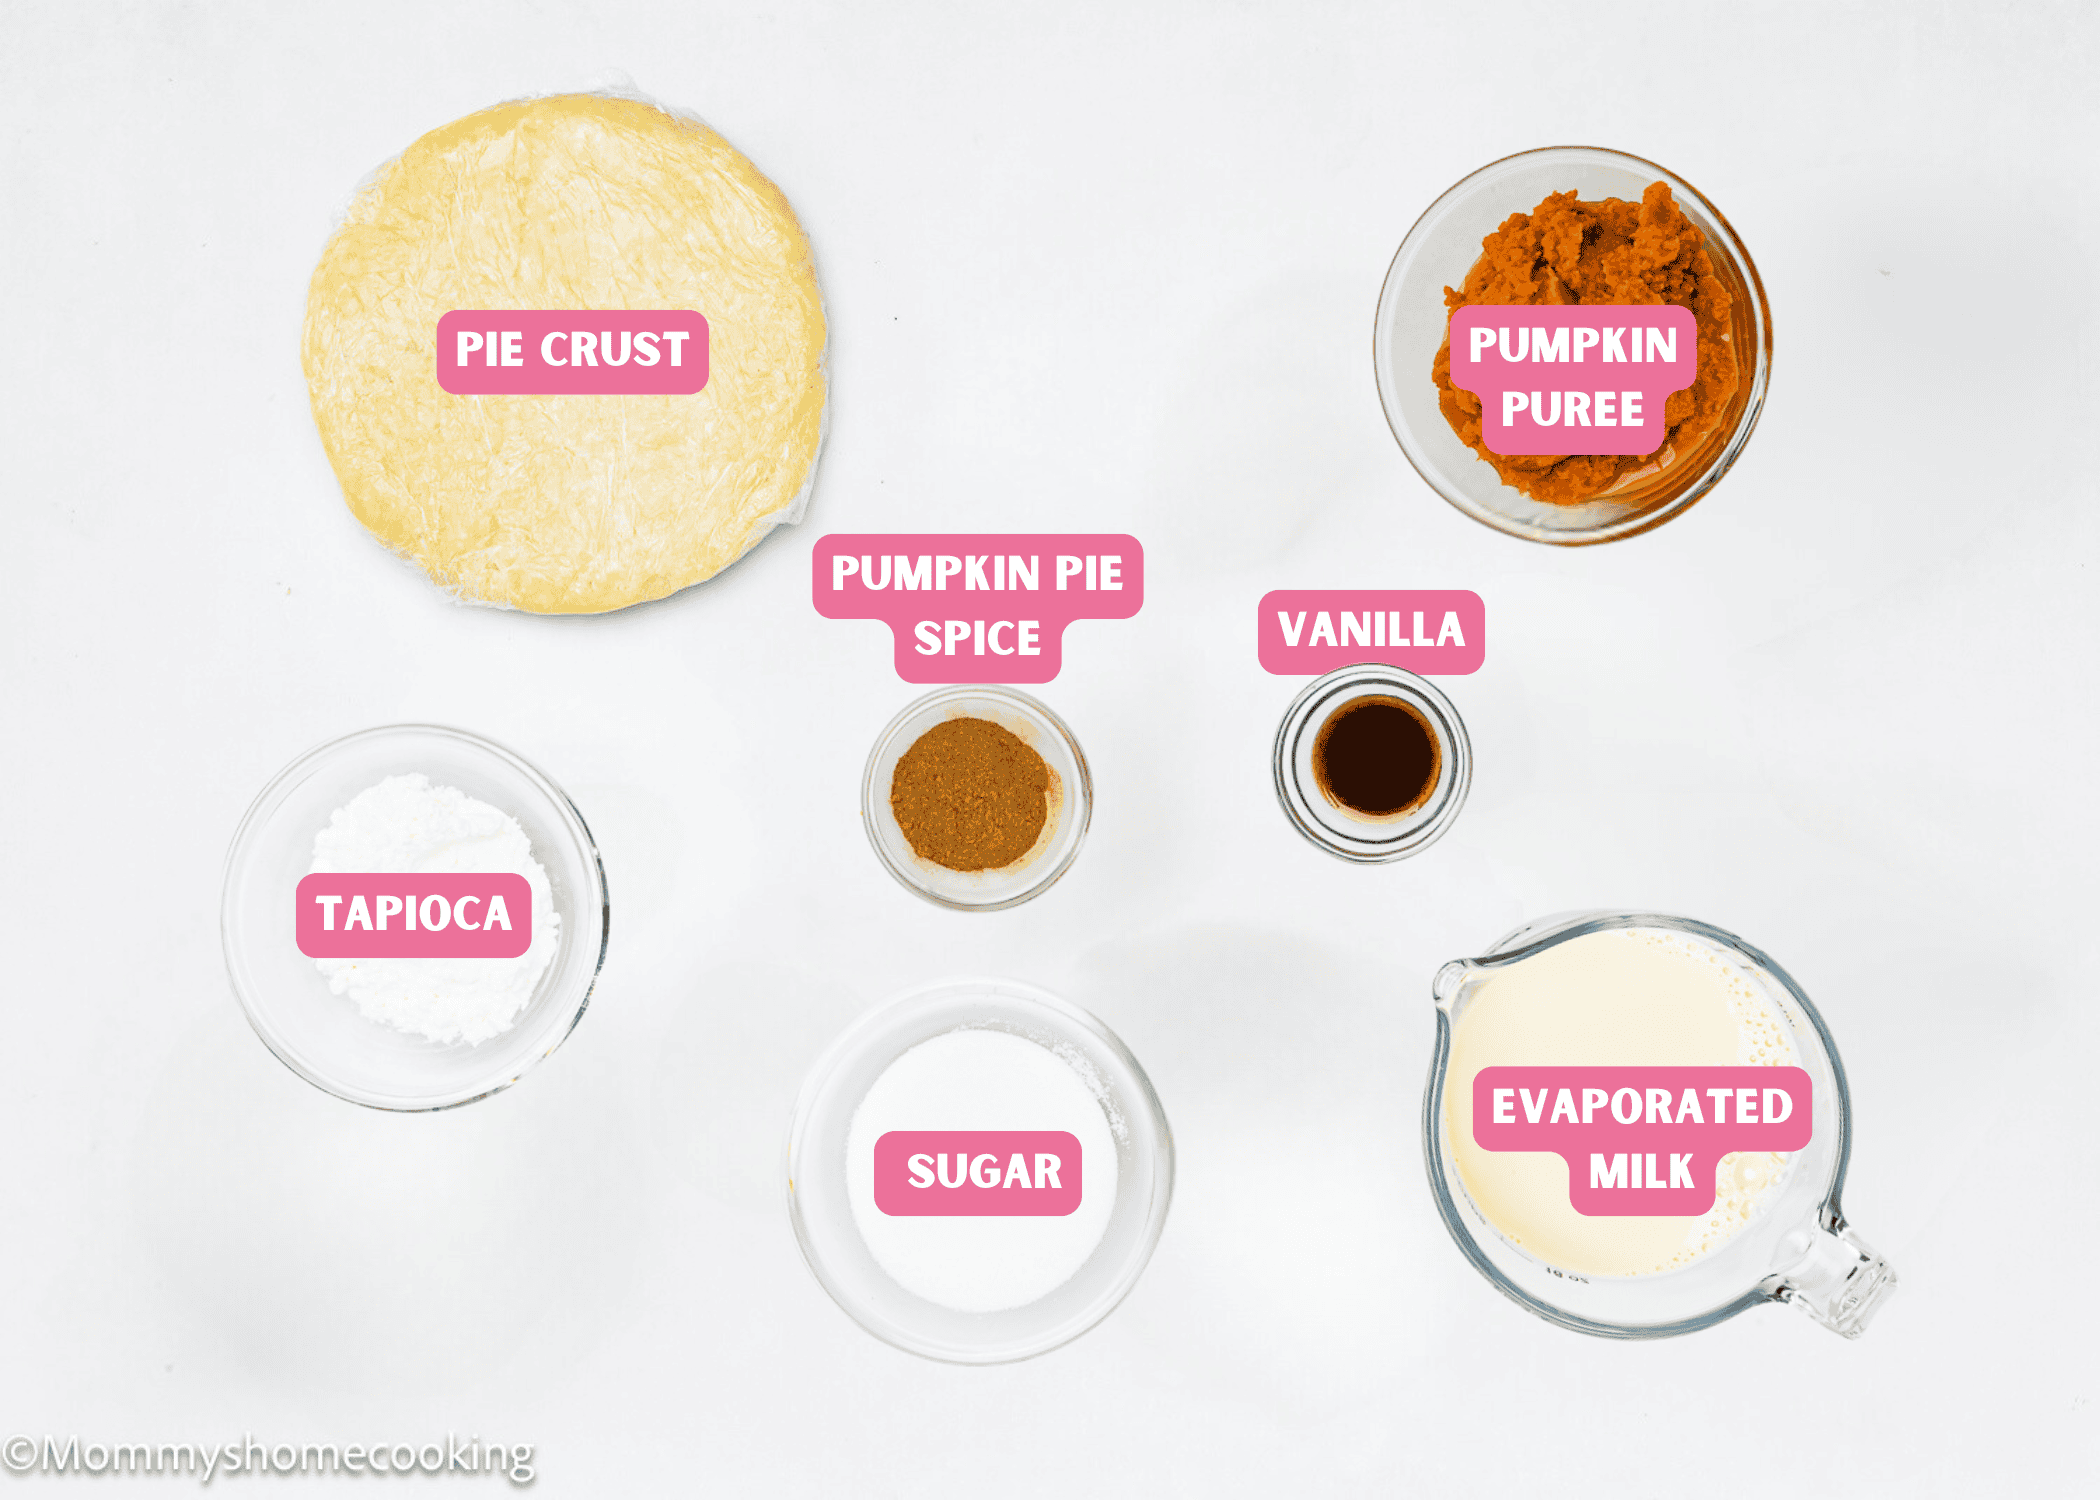
Ingredients You’ll Need, Substitutions & Notes
Please check the recipe card at the bottom of the post for exact quantities and detailed instructions (scroll down).
All the Pumpkin Pie Flavor, None of the Fuss: These Mini Pumpkin Pies pack all the flavor of a classic pumpkin pie but are so much easier to make. Simple Ingredients: With just a few basic ingredients, these mini pies come together quickly. You can even use a store-bought crust if you’re short on time. Egg-Free: These mini pies are completely egg-free, making them great for those with egg allergies or anyone who just doesn’t have eggs on hand. Made in a Muffin Pan: Using a muffin pan to make these pies means you get perfectly portioned mini treats. Perfect for Entertaining: No need for slicing or worrying about serving. Guests can simply grab a mini pie, and they’re good to go. It’s the ultimate stress-free dessert for any gathering.
Soggy Bottoms: If your crust isn’t fully baked, it can turn soggy. Pro Tip: Make sure to pre-bake the crust for a few minutes before adding the filling. This helps the crust get nice and crispy, even with the soft pumpkin filling. Uneven Baking: With mini pies, it’s easy to overbake the filling while waiting for the edges to brown. Pro Tip: Keep a close eye on them in the last few minutes of baking. The edges should be golden, and the centers should be set but still slightly wobbly—they’ll firm up as they cool.
Crust (Homemade or Store-Bought): This forms the base of your mini pies. You can use a store-bought crust for convenience or make your own if you prefer homemade. For this recipe, I provide instructions for two types of crust so you can pick your favorite! Sugar: Adds sweetness to balance the pumpkin’s natural earthiness. Pumpkin Pie Spice: This spice mix gives the filling its warm, cozy flavor. If you don’t have pumpkin pie spice, you can make your own using cinnamon, nutmeg, ginger, and cloves. I provide the exact amounts on the recipe card. Starch: Helps thicken the filling and gives it a smooth, creamy texture. You can use cornstarch or tapioca starch. 100% Pumpkin Puree: The star ingredient! Note: Make sure to use pure pumpkin puree, not pumpkin pie filling, which is pre-sweetened and spiced. Evaporated Milk: Adds richness and creaminess to the filling. Note: You can substitute with any dairy-free milk if needed. Read my suggestions above in my “Food Allergy Swaps” section. Vanilla: Enhances the flavor and adds a sweet aroma. Whipped Cream (Optional): For that finishing touch! It’s totally optional, but a little whipped cream on top makes these pies extra special.
Traditional Pie Crust vs. Press-In Crust
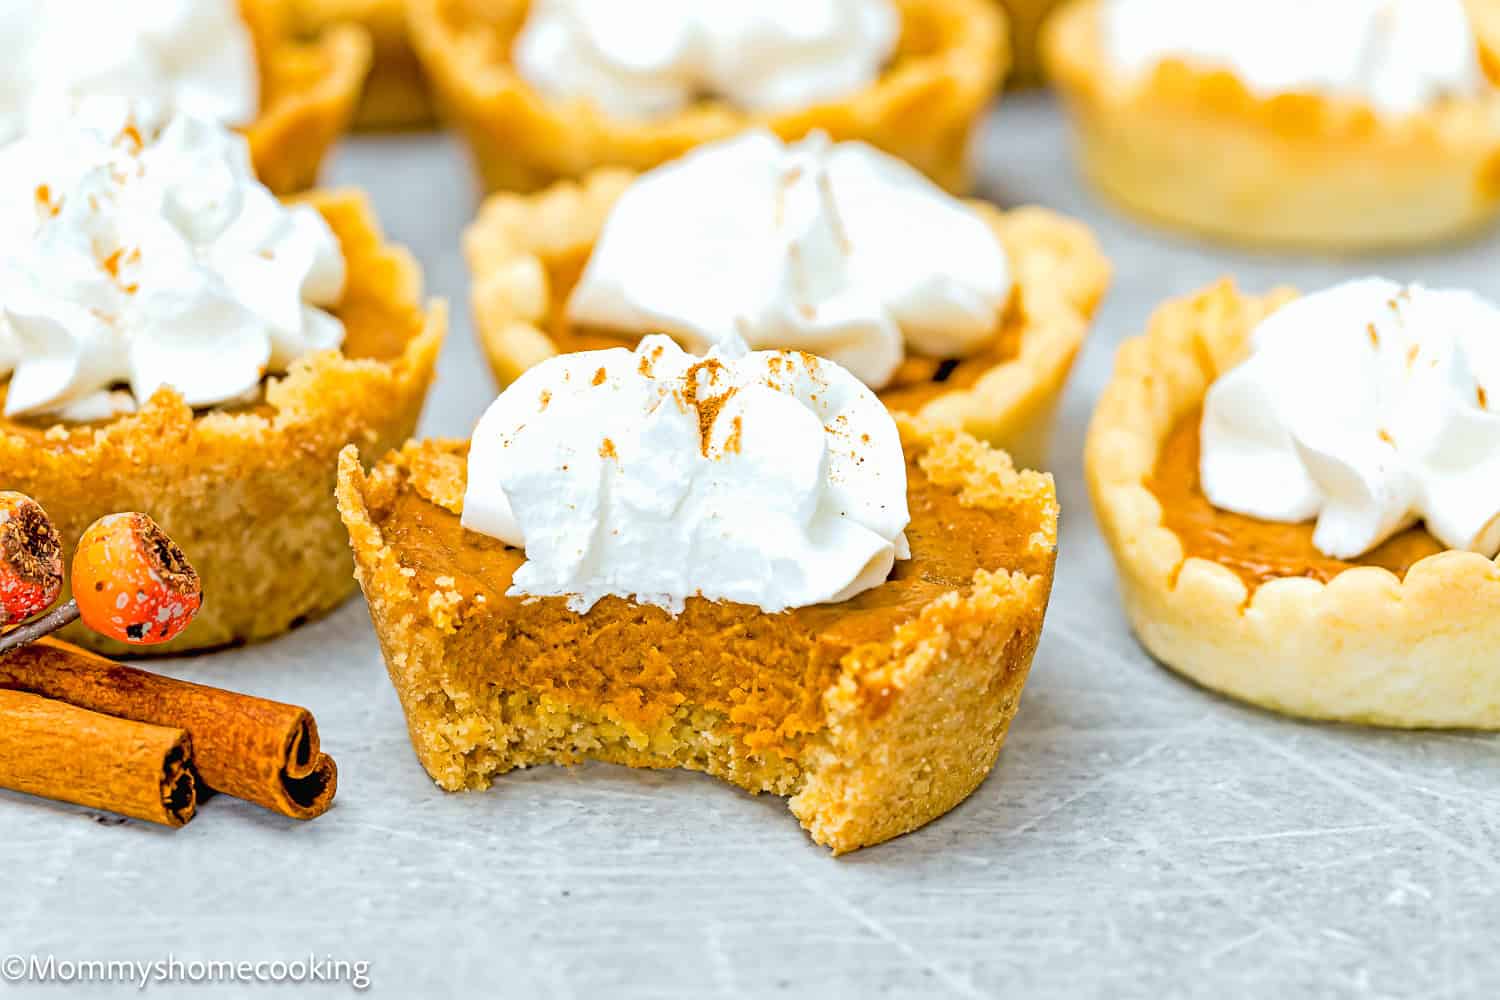
When making these mini pies, you can choose between a traditional pie crust or a press-in crust. I tested both during recipe development and while each has its own appeal, I personally favor the press-in crust. Not only does it bake more evenly, but it also brings extra flavor and texture that really enhances the pies. With the traditional pie crust, I found that skipping the pre-baking step led to undercooked bottoms—not ideal! Pre-baking improved the texture significantly, but it also caused the crust to shrink a bit, resulting in smaller mini pies. Ultimately, the choice is yours; I’ve provided instructions for both methods so you can pick your favorite!
Process Overview: Step-by-Step Photos
Please check the recipe card at the bottom of the post for exact quantities and detailed instructions (scroll down).
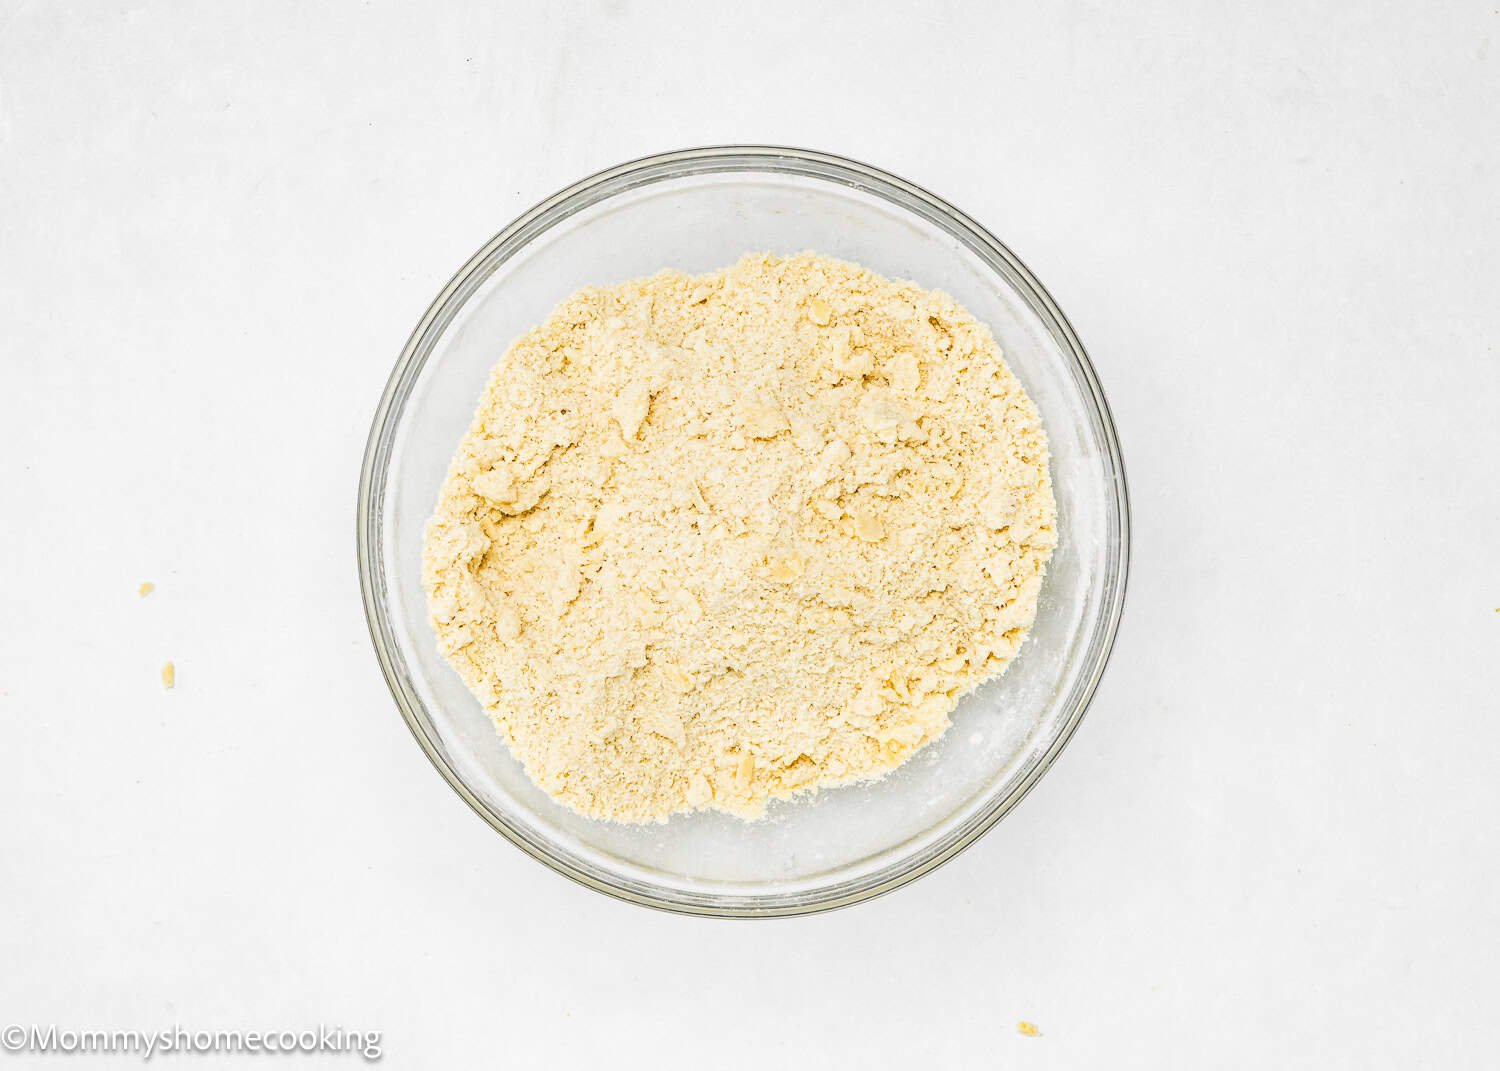
Step 1 – Prepare The Crust
If Using the Press-In Crust:
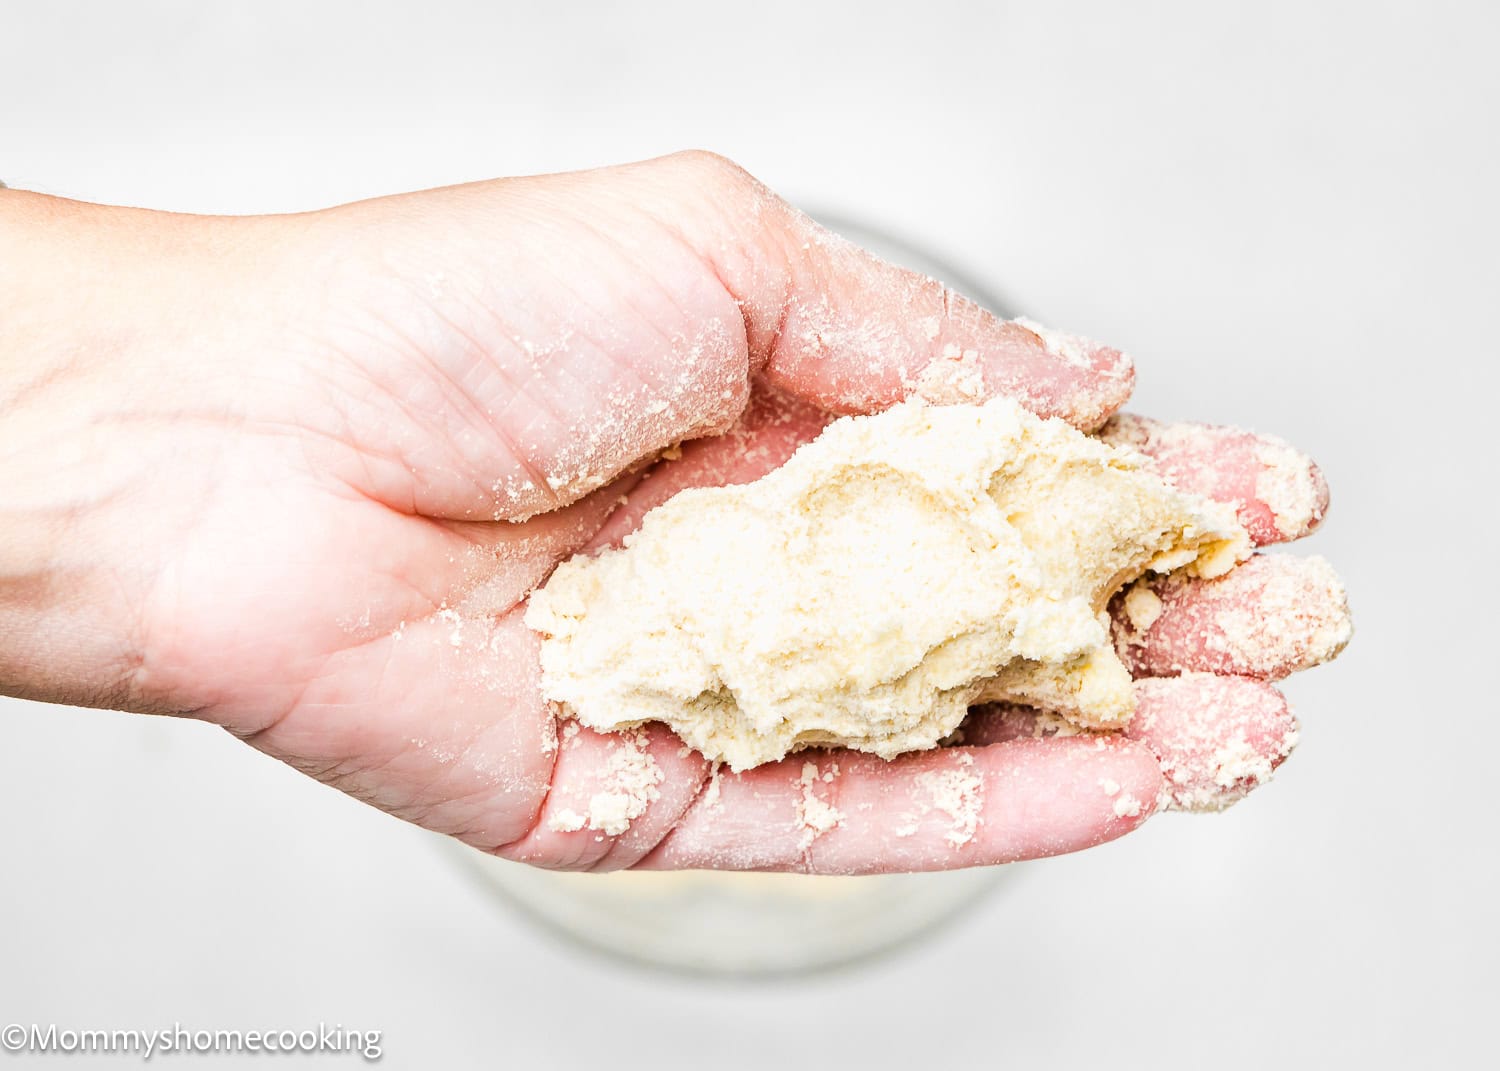
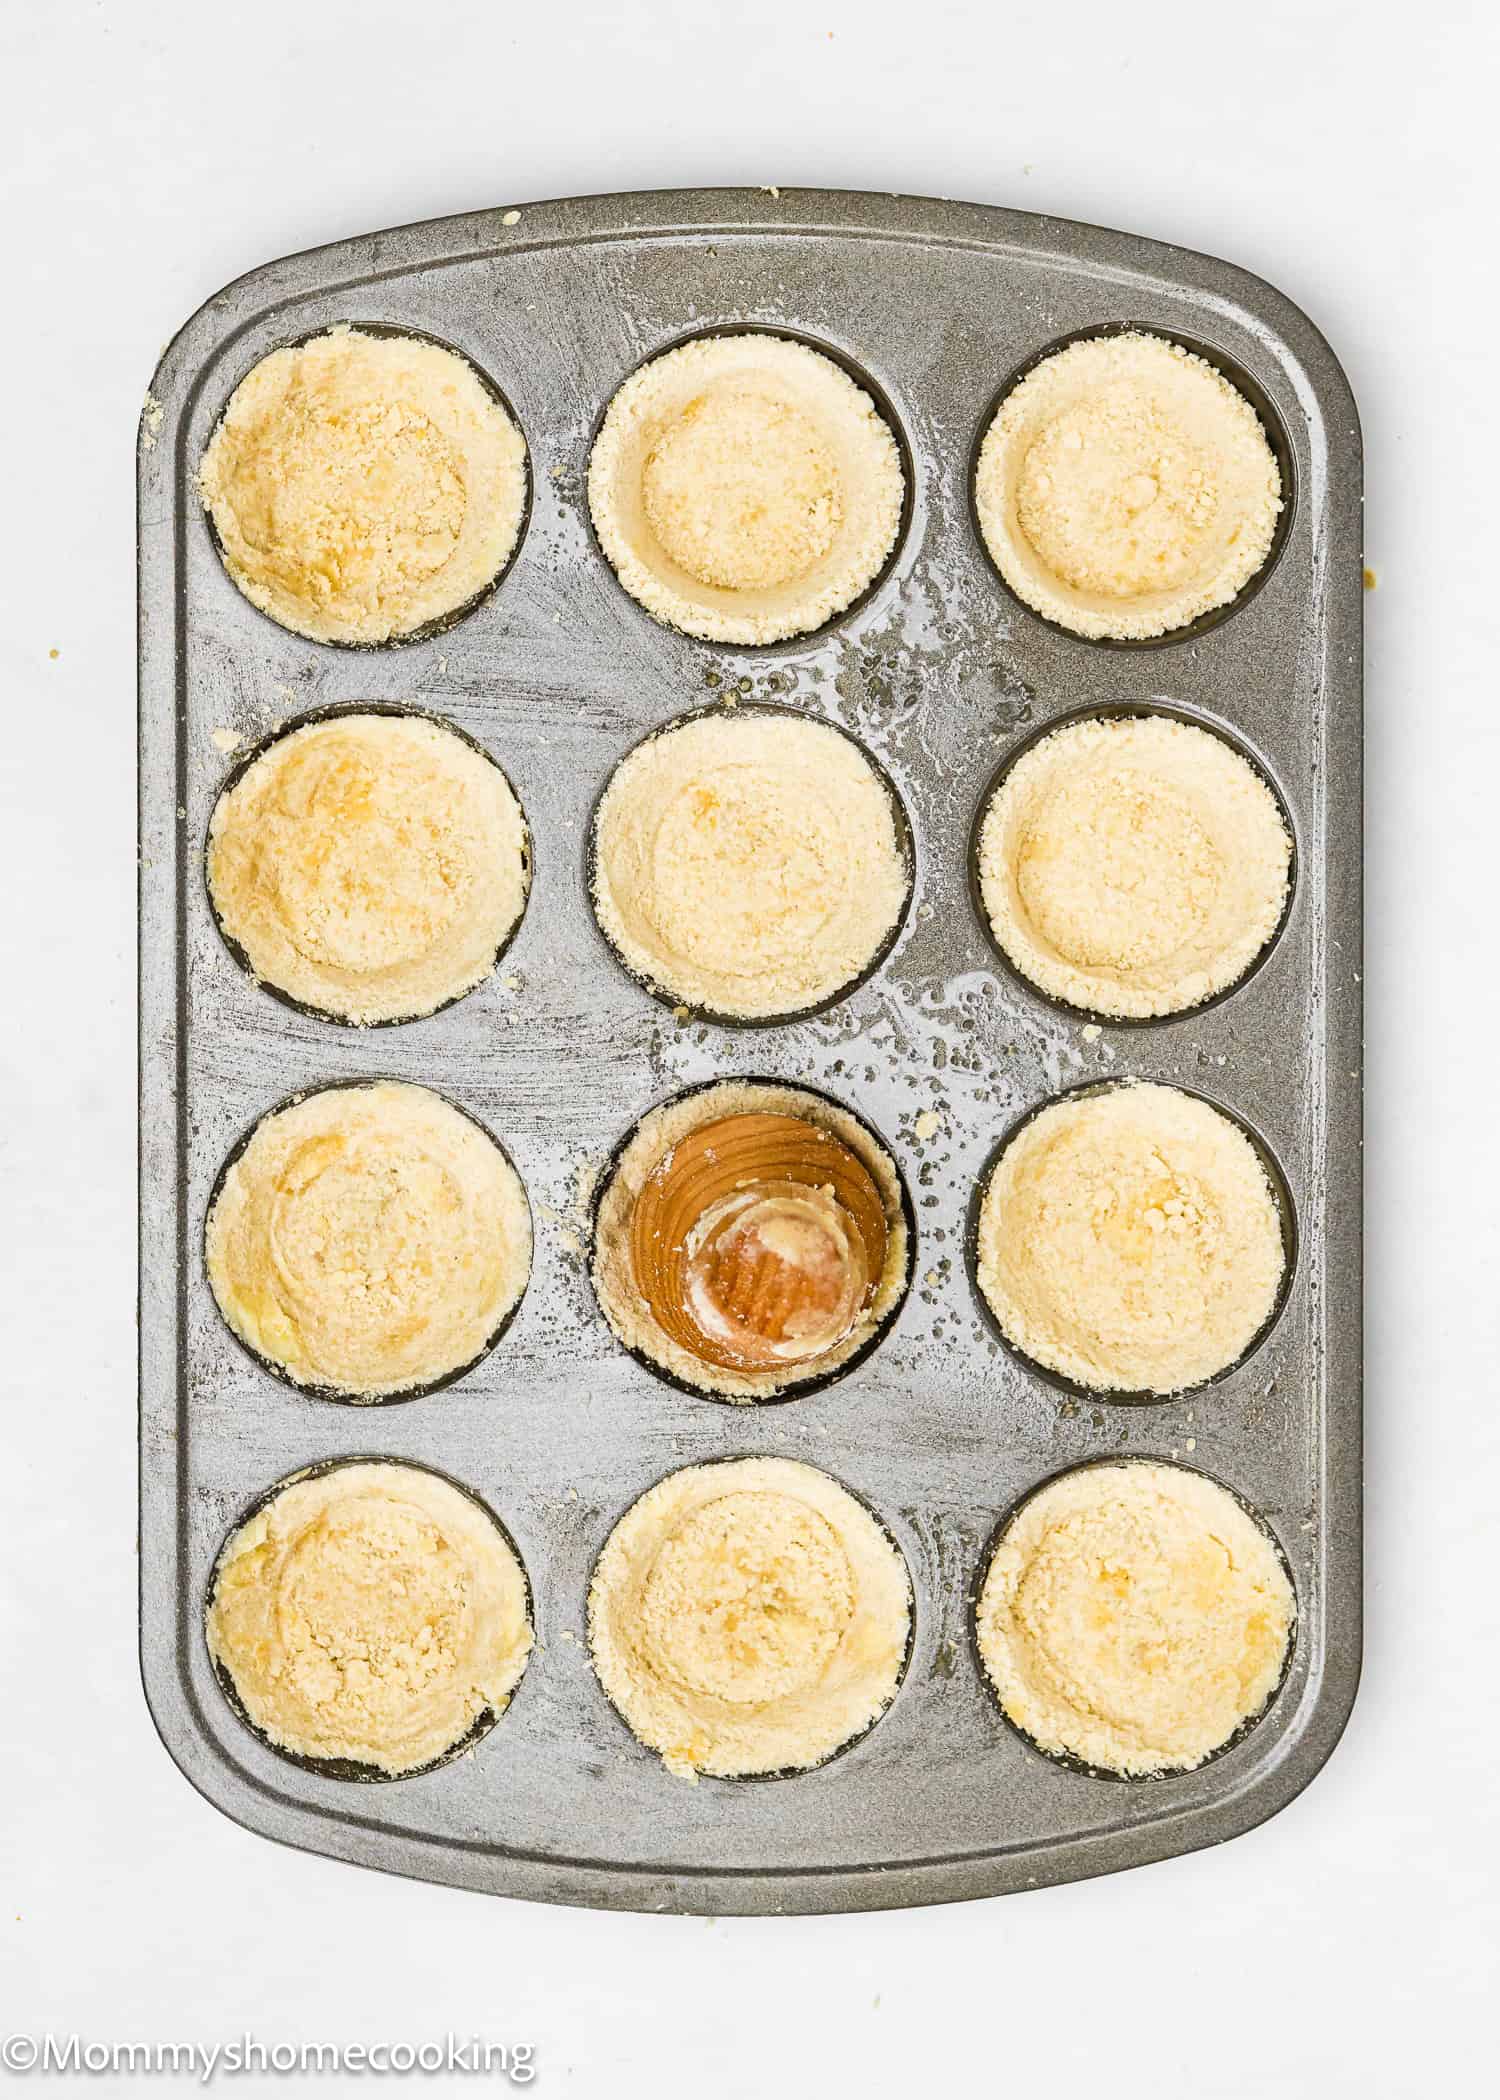
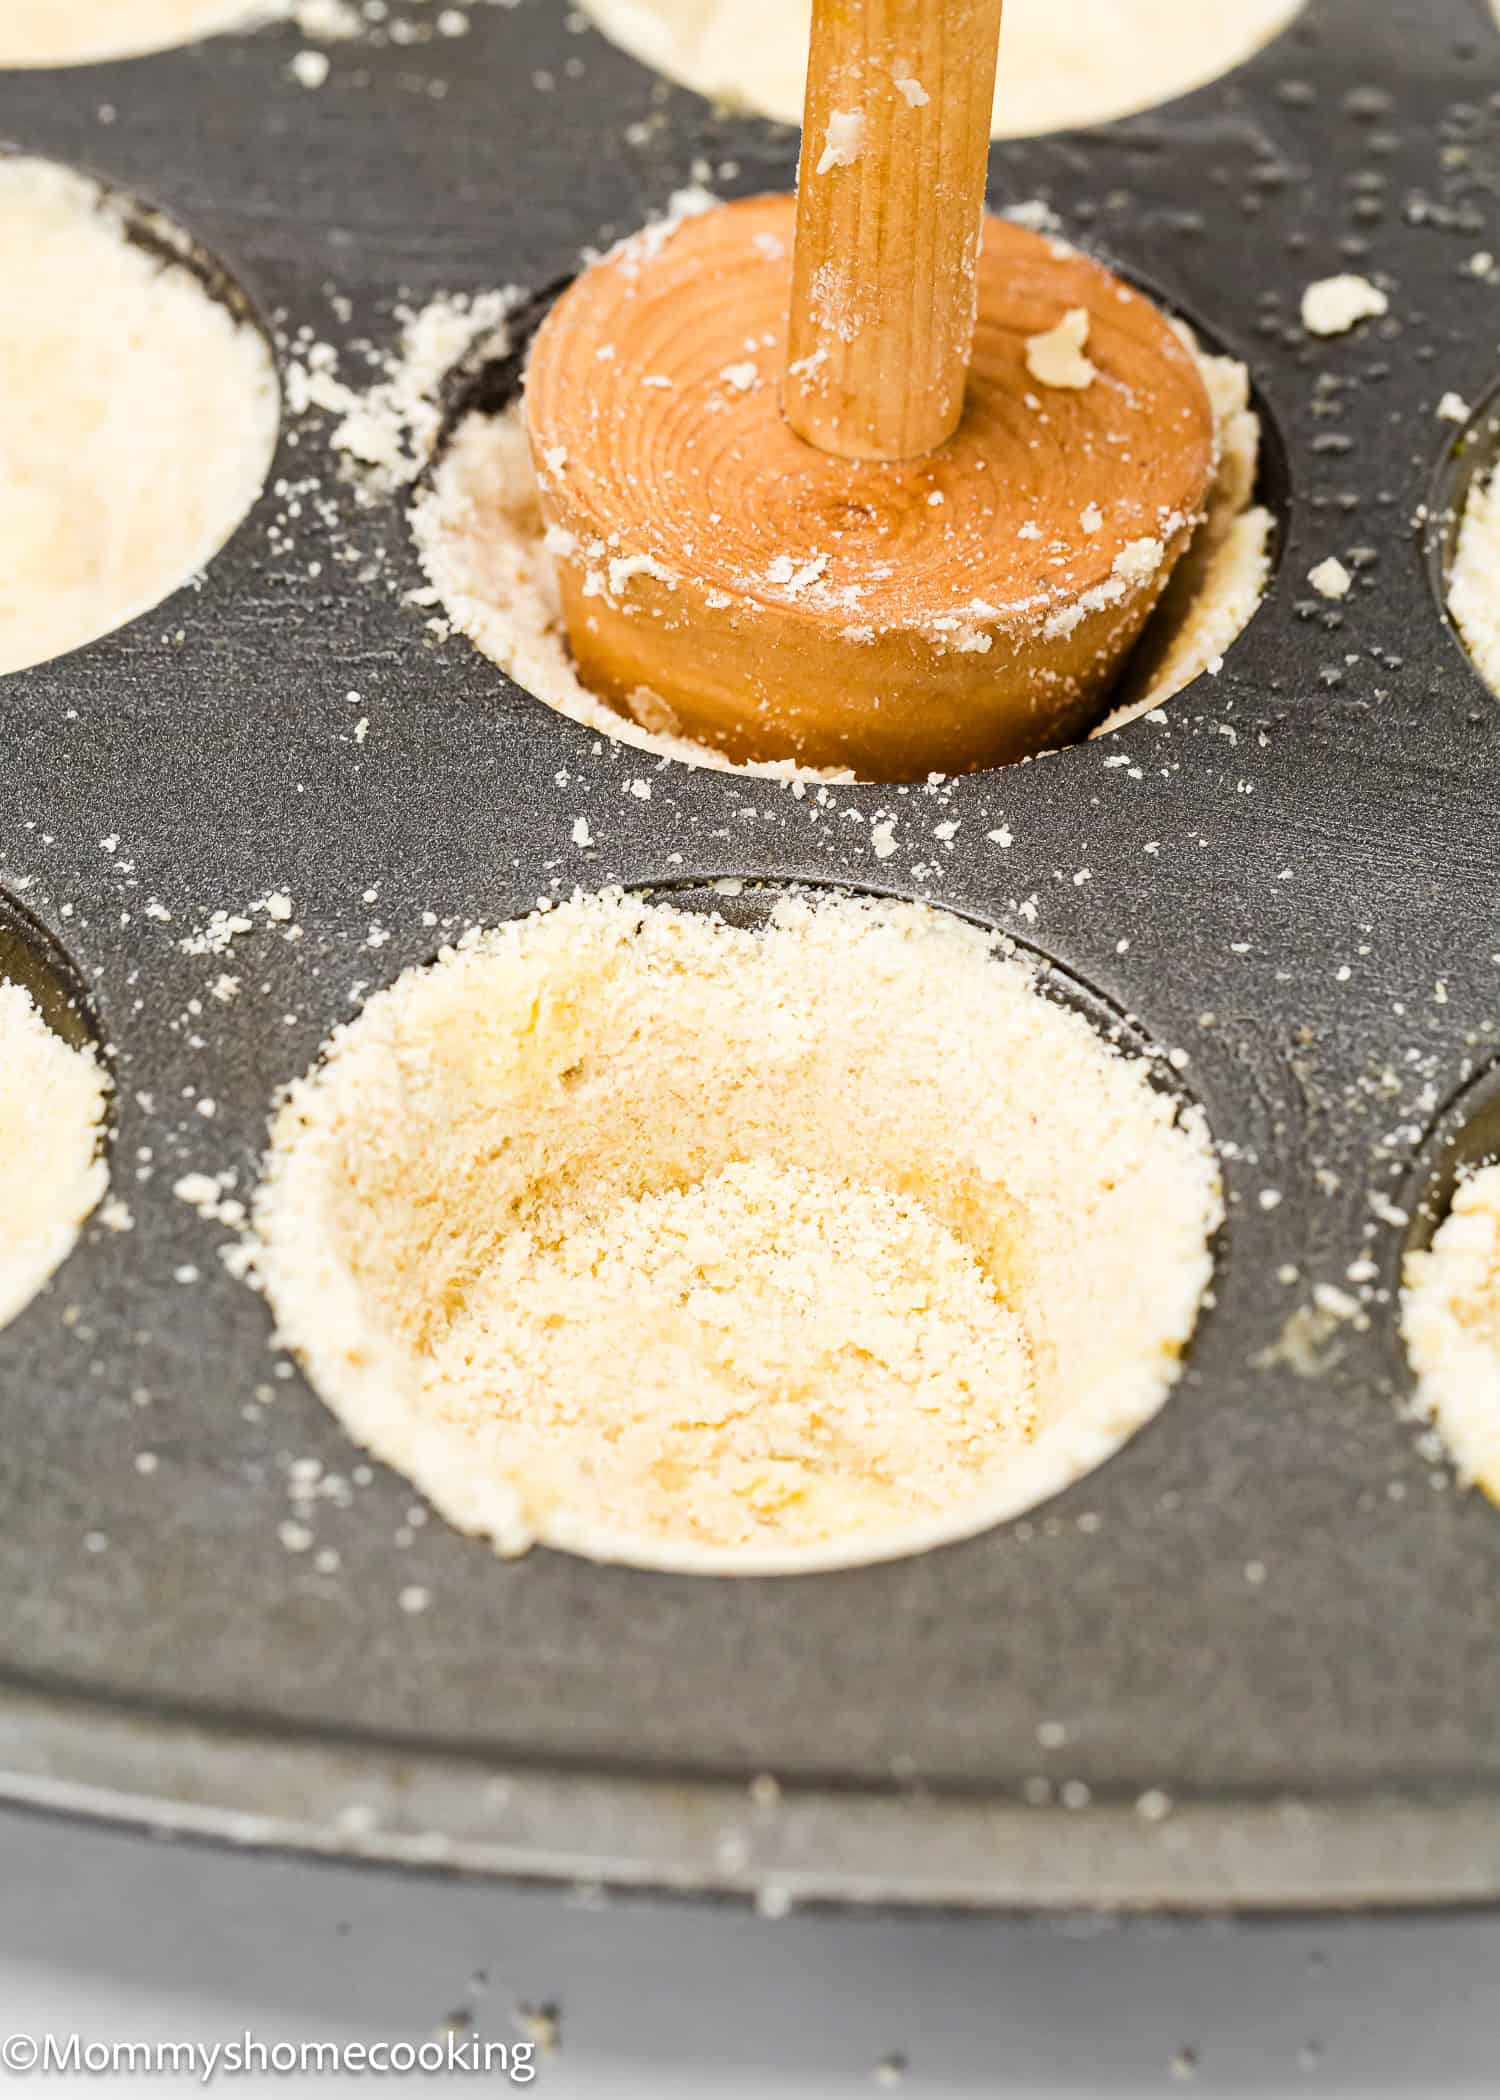
Place flour, brown sugar, salt and baking soda in a medium bowl and whisk to blend and press out any lumps of brown sugar (or pulse in a food processor). Add soft butter and rub it in with your fingertips (or pulse in short bursts) until it resembles coarse crumbs. Note: The butter needs to be evenly mixed in, and there shouldn’t be any dusty flour remaining in the bowl. Then, sprinkle in 1 teaspoon of water and mix it in with your fingers until it clumps together. If it needs a bit more moisture, add another teaspoon of water. You’re looking for a texture that resembles damp crumbs or clusters that hold together when you squeeze them. Divide the mixture into 12 even portions (about 28 g each). Use your hands to press each piece of dough into one cavity of the prepared muffin pan, aiming to keep it even on the base and sides. Bake for 15-20 minutes until golden, and it feels dry and firm. Set aside to cool while you make the filling.
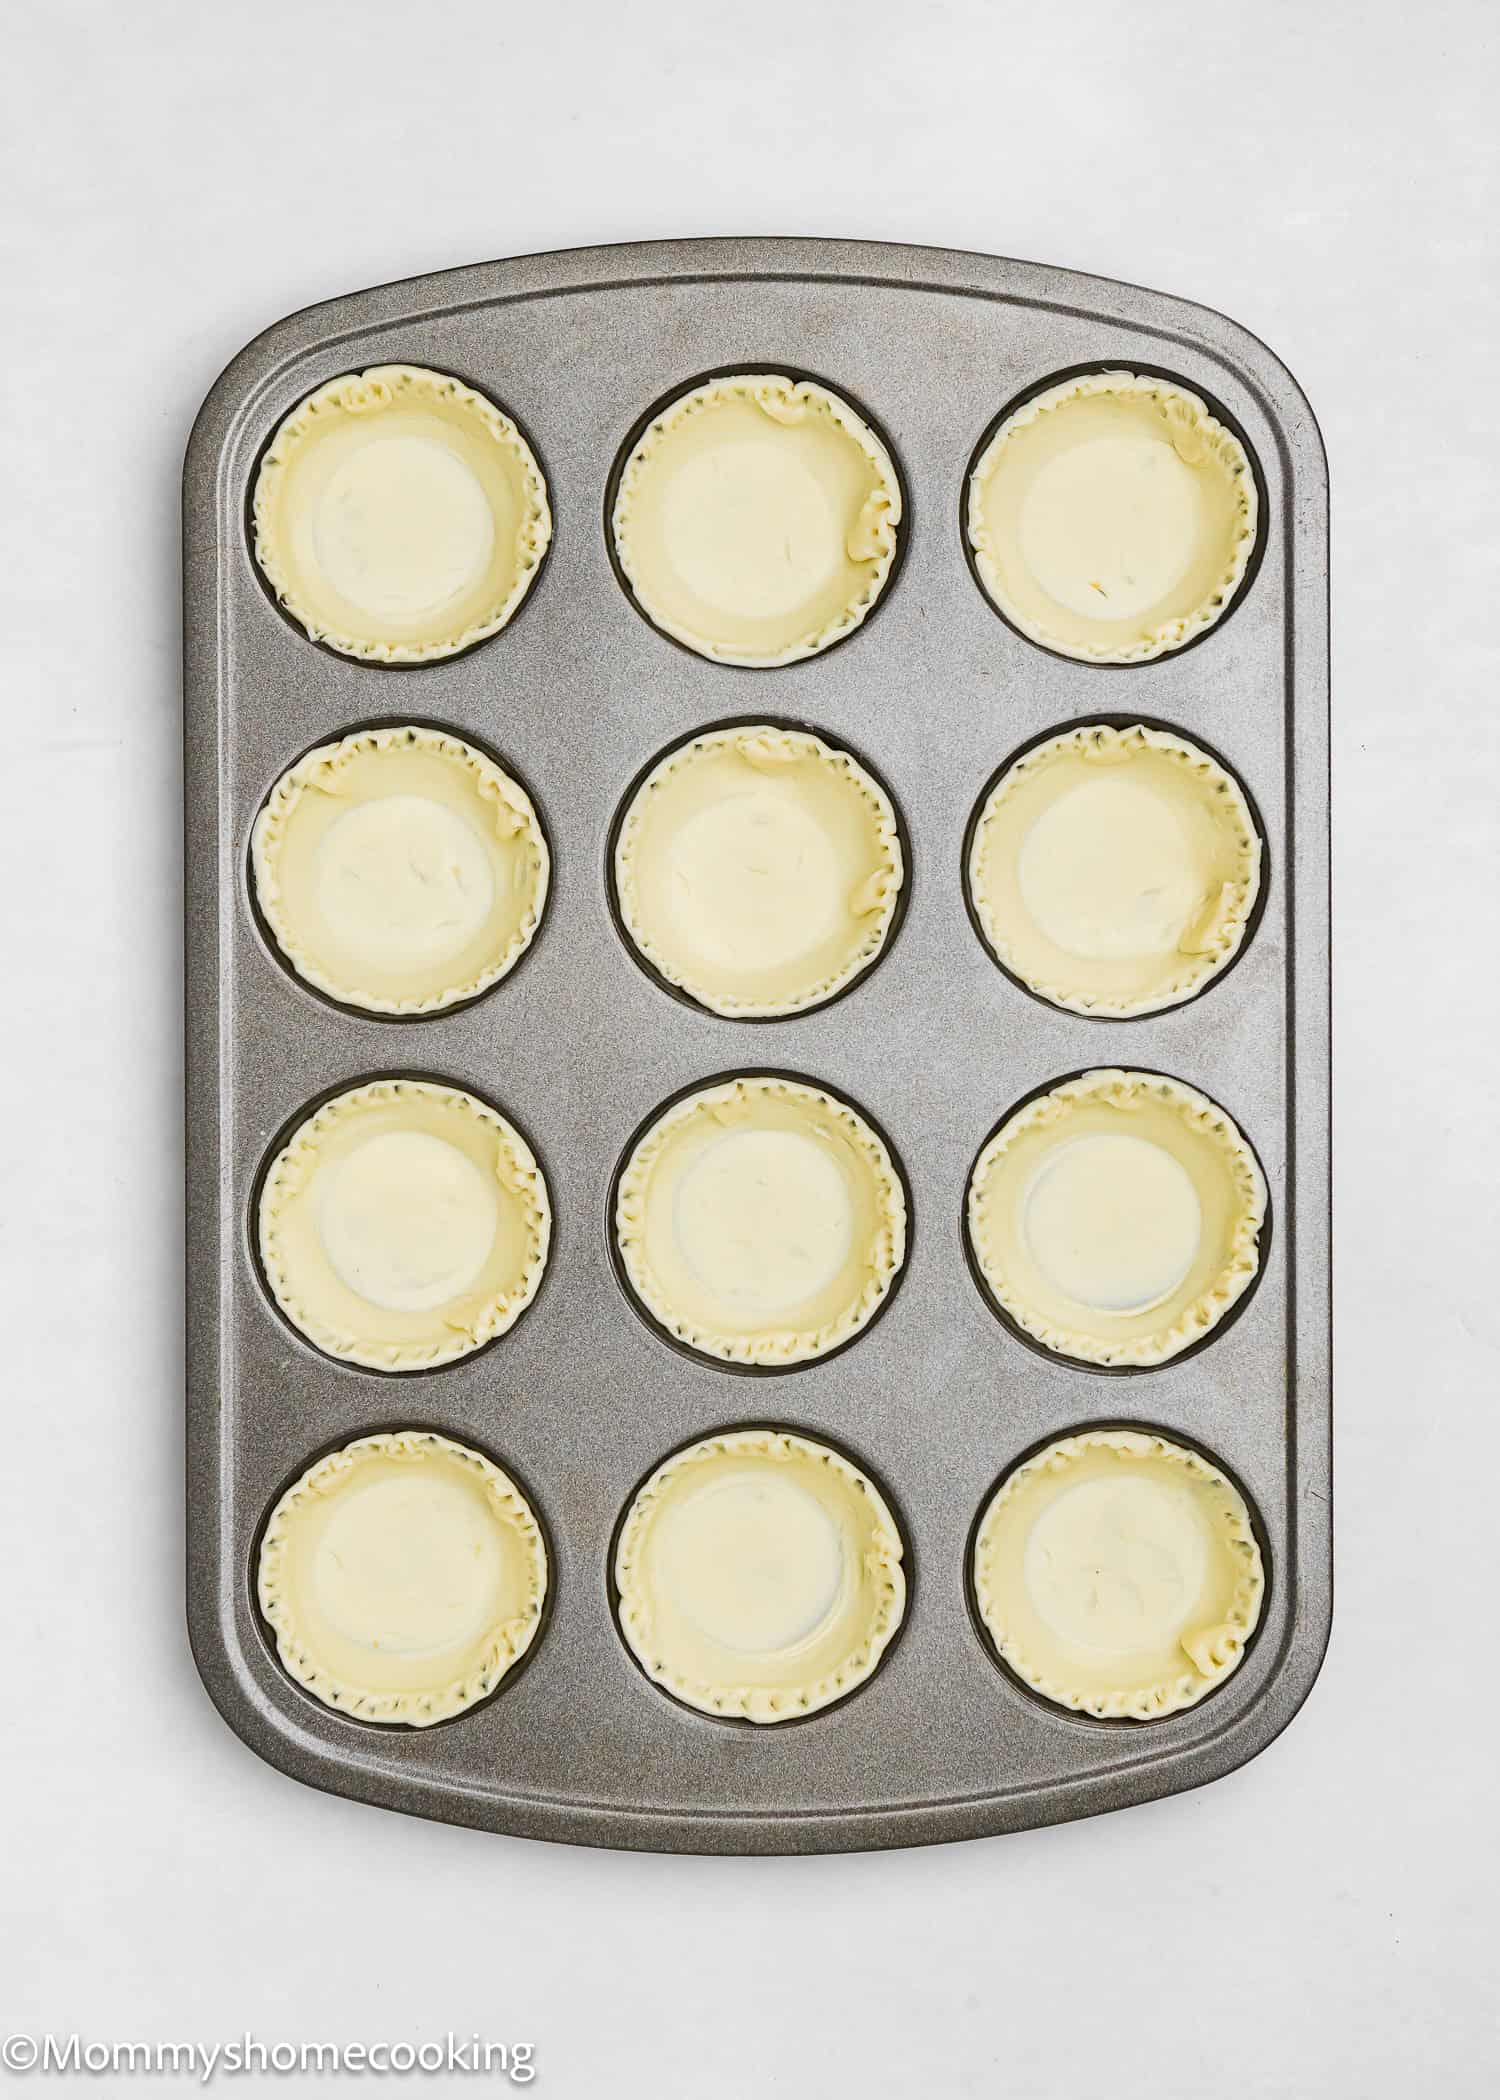
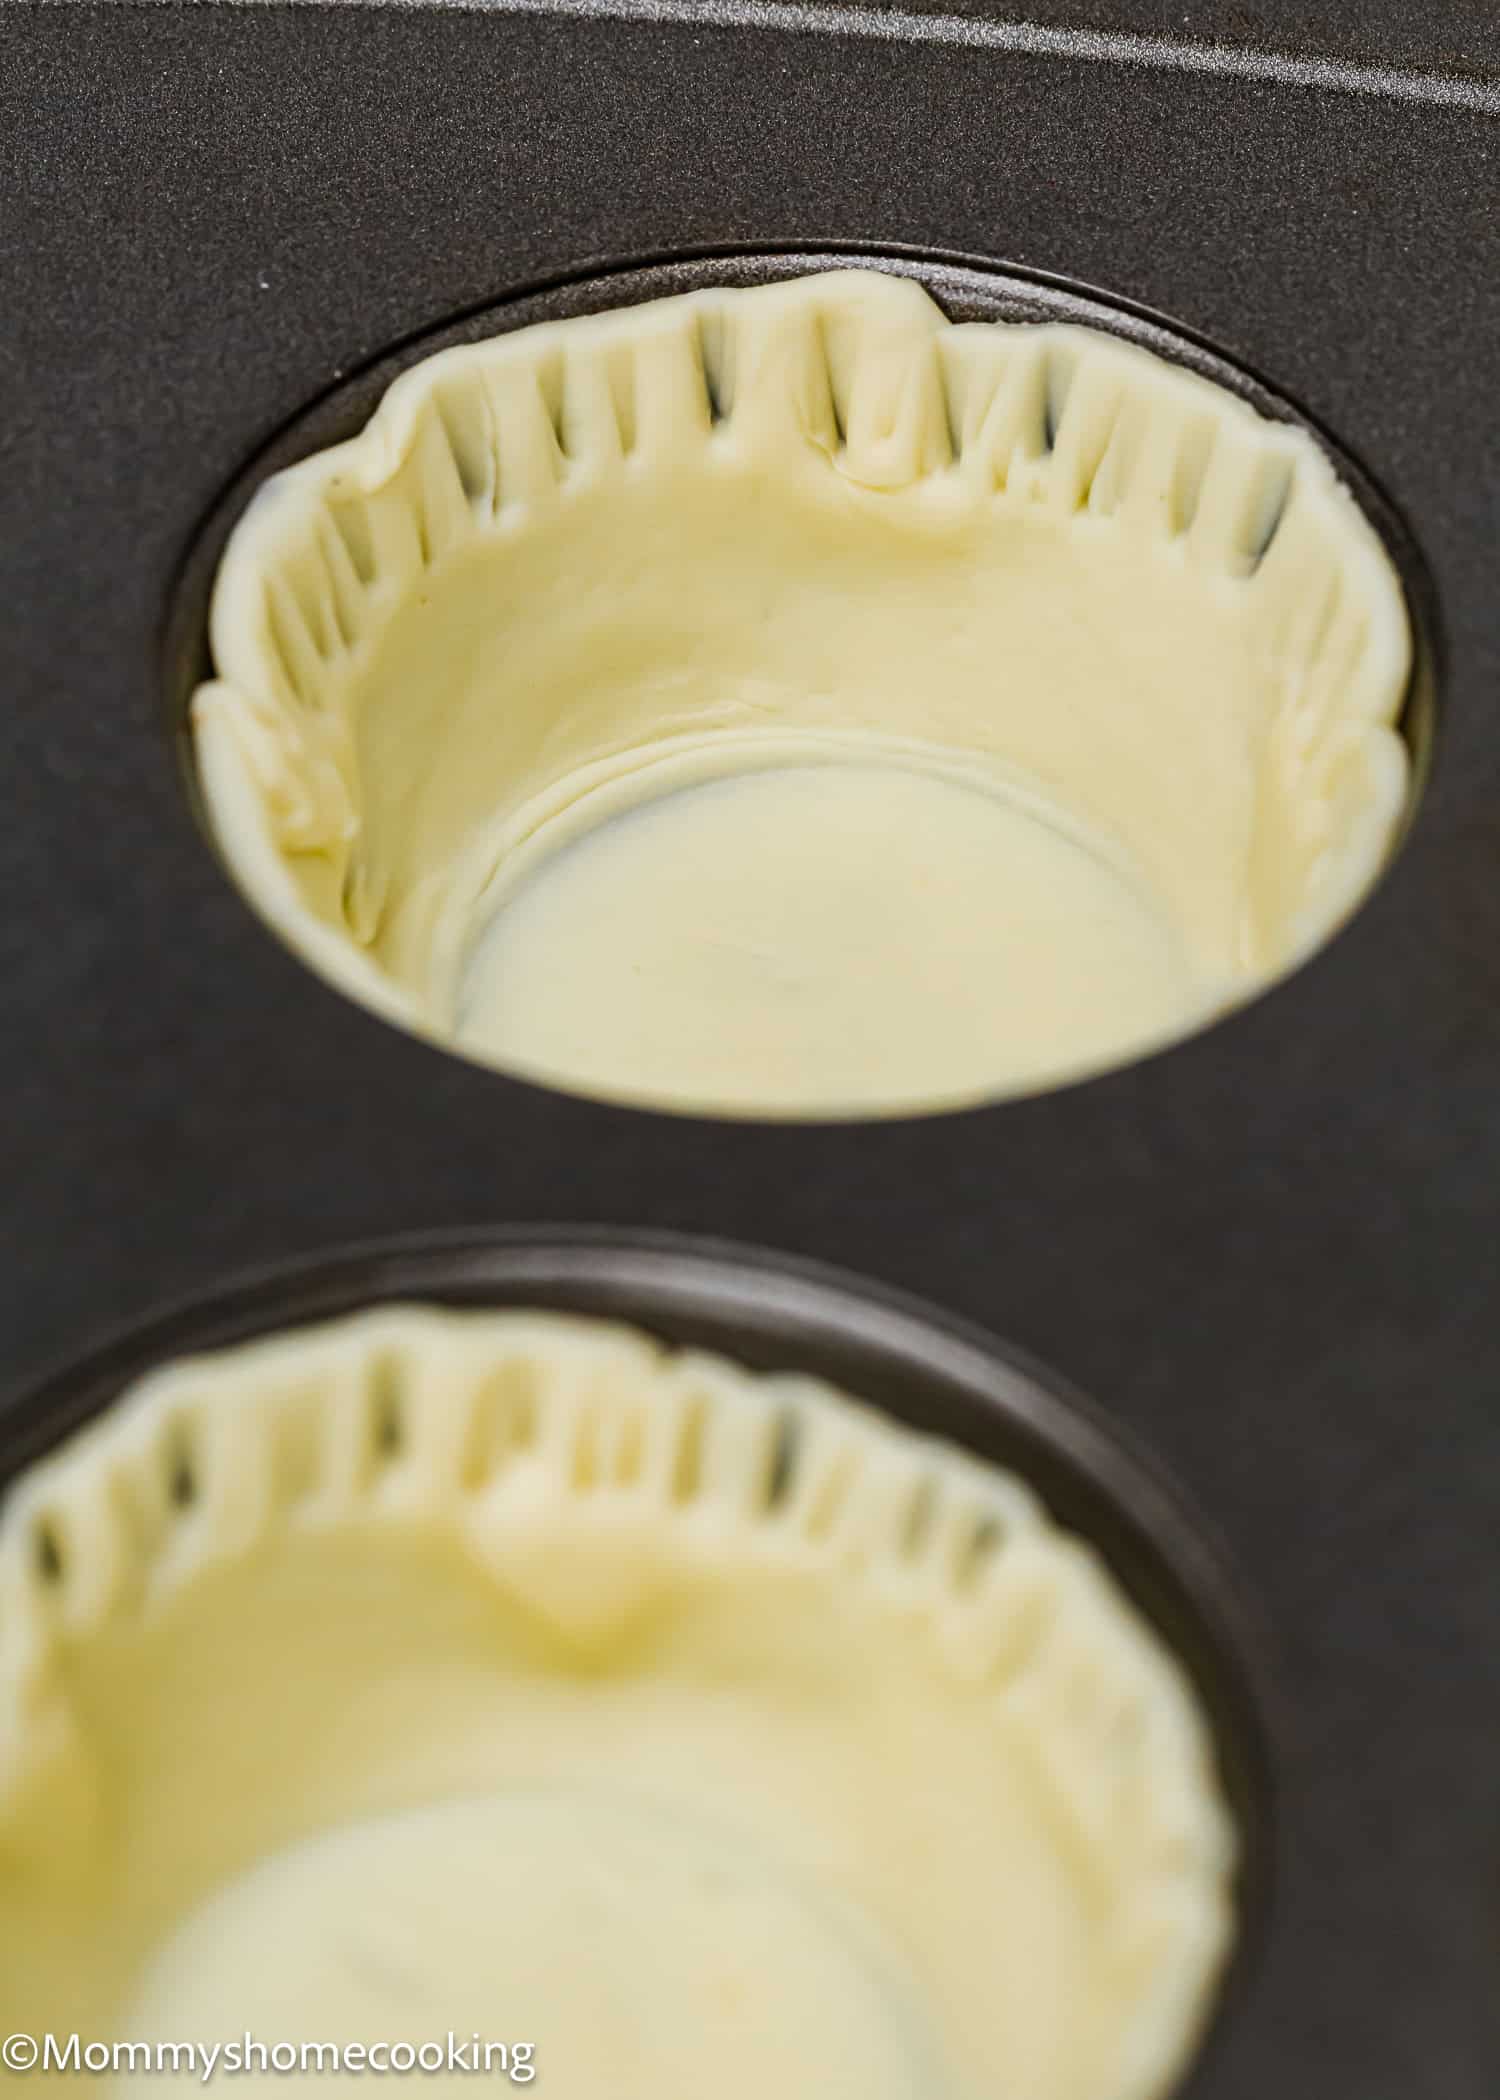
If Using the Pie Crust (homemade or store-bought):
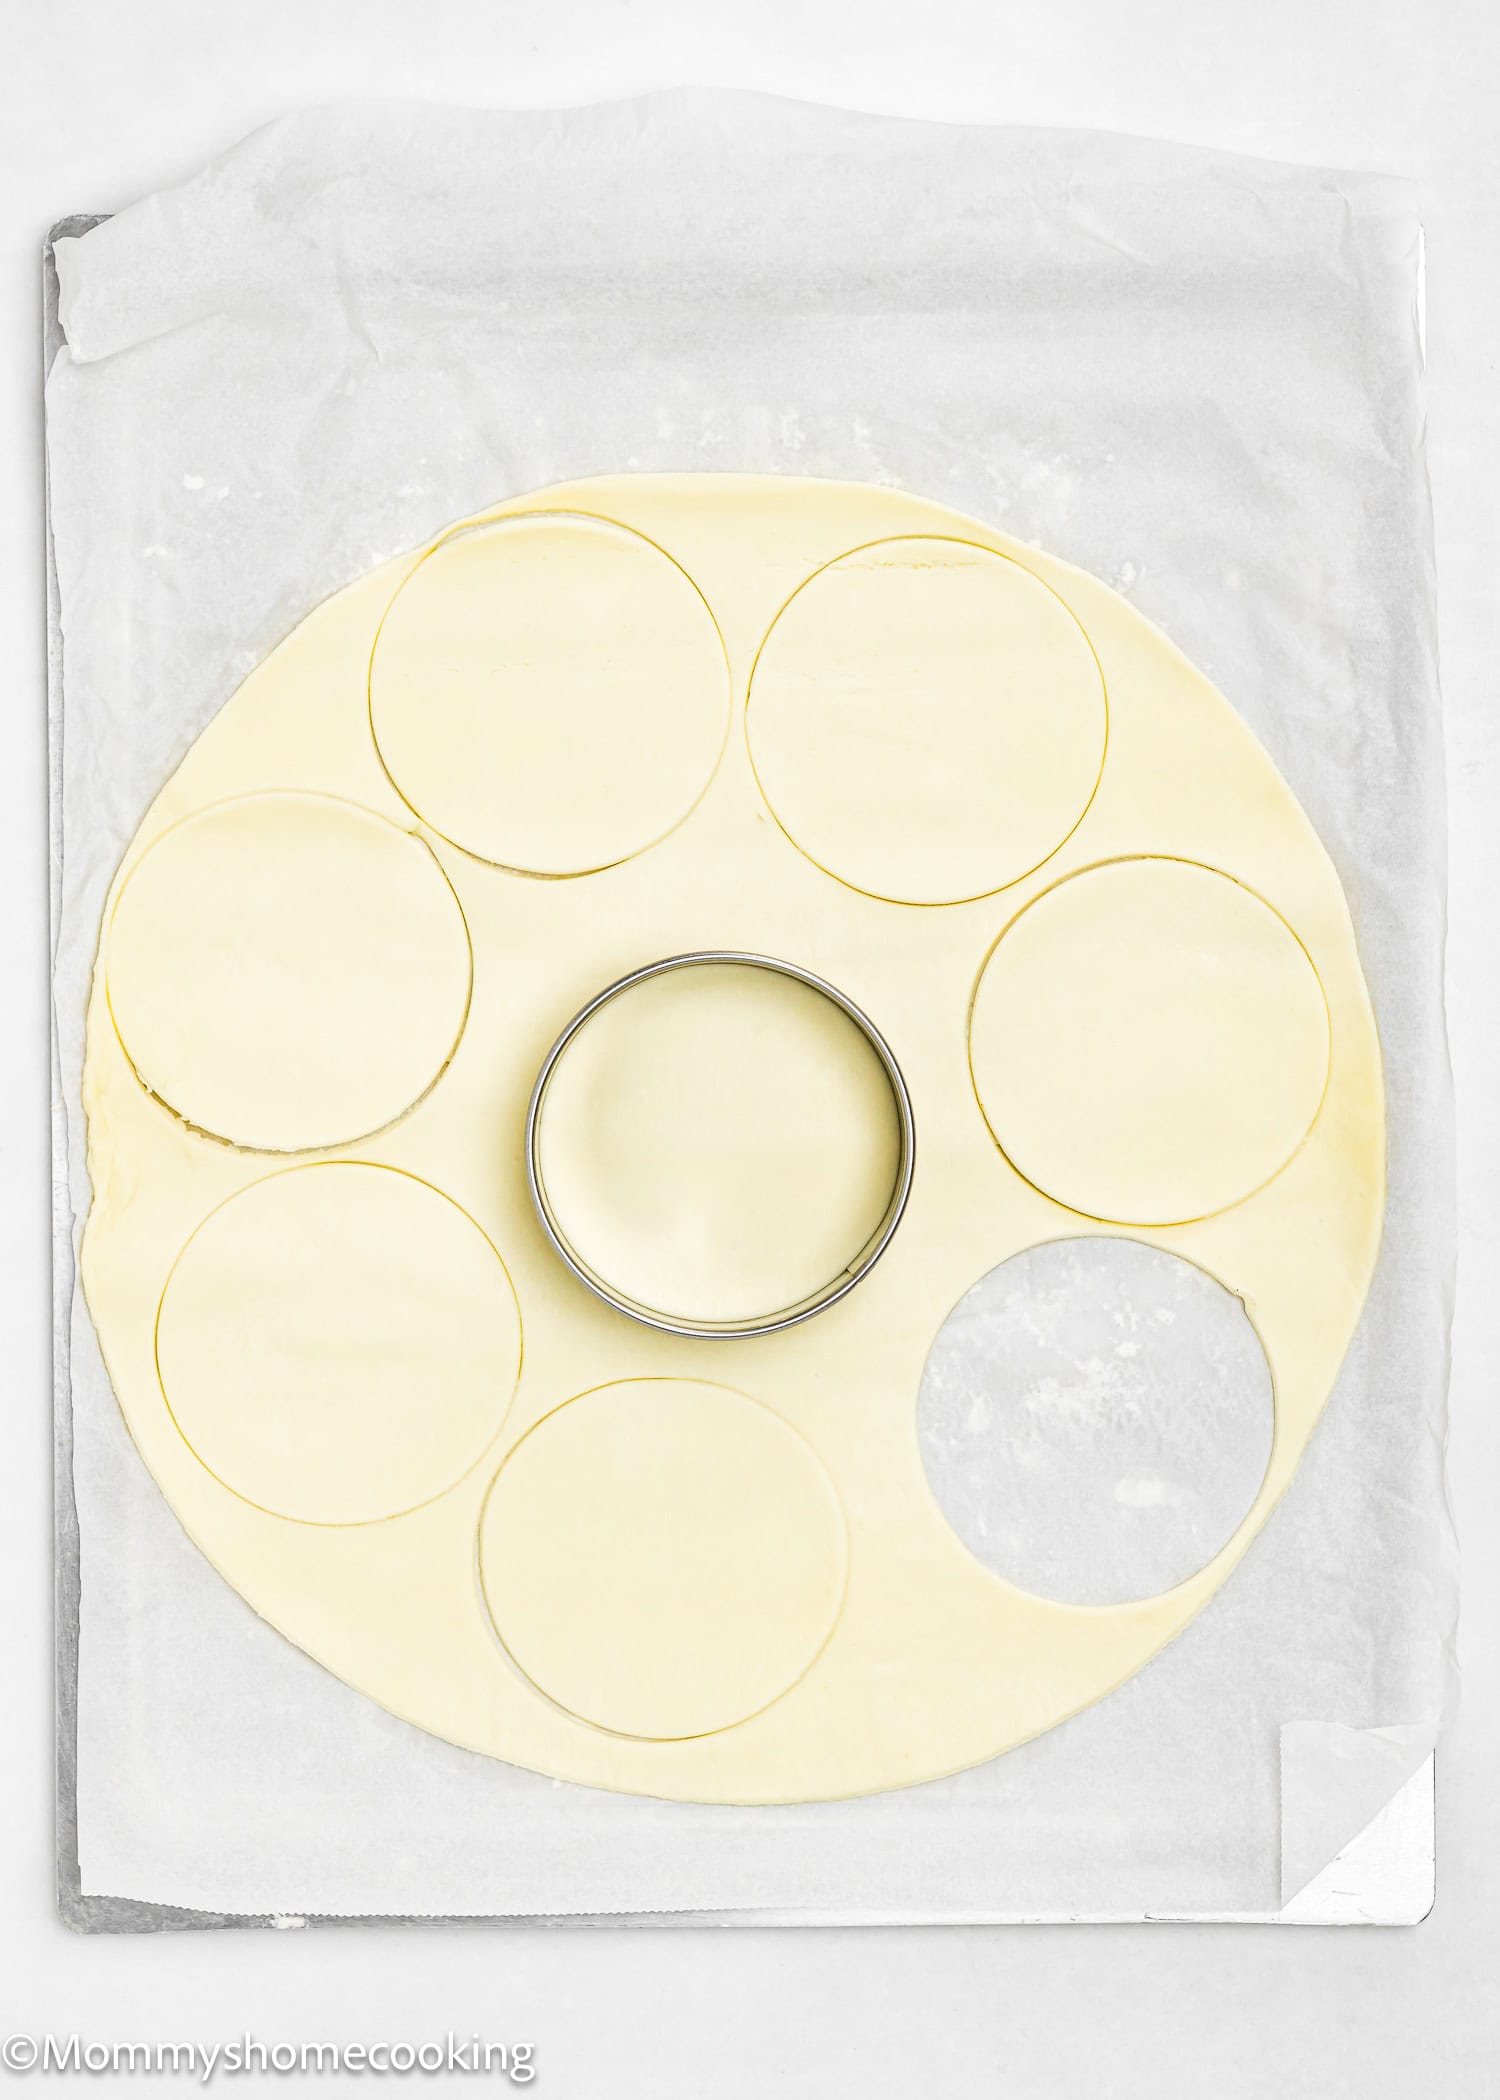
Roll up (homemade) into 1/8” thick on a floured surface, or unroll pie crusts (store-bought). Cut 3 1/2” (9 cm) circles using a cookie cutter. You should get 12 disks in total. If using homemade pie dough, you will need to re-roll scraps to get 12 rounds of dough. Fit one dough circle into each cup in the muffin pan, and use your fingers to gently push it into the cup, molding the dough to the sides of the muffin cups. Refrigerate while pre-heat the oven. Note: During my testing phase, I tried baking the mini pies without pre-baking the crust, which resulted in an unpleasantly raw bottom crust. I highly recommend pre-baking the crust to ensure the best flavor and texture. Preheat the oven to 400° F. Pre-bake the mini pie crusts for 10 minutes. Because you aren’t using pie weights, the bottoms of the crusts will puff up a bit during the pre-bake. They should sink back down when you remove them from the oven. They might shrink a bit, too. Set aside to cool while you make the filling.
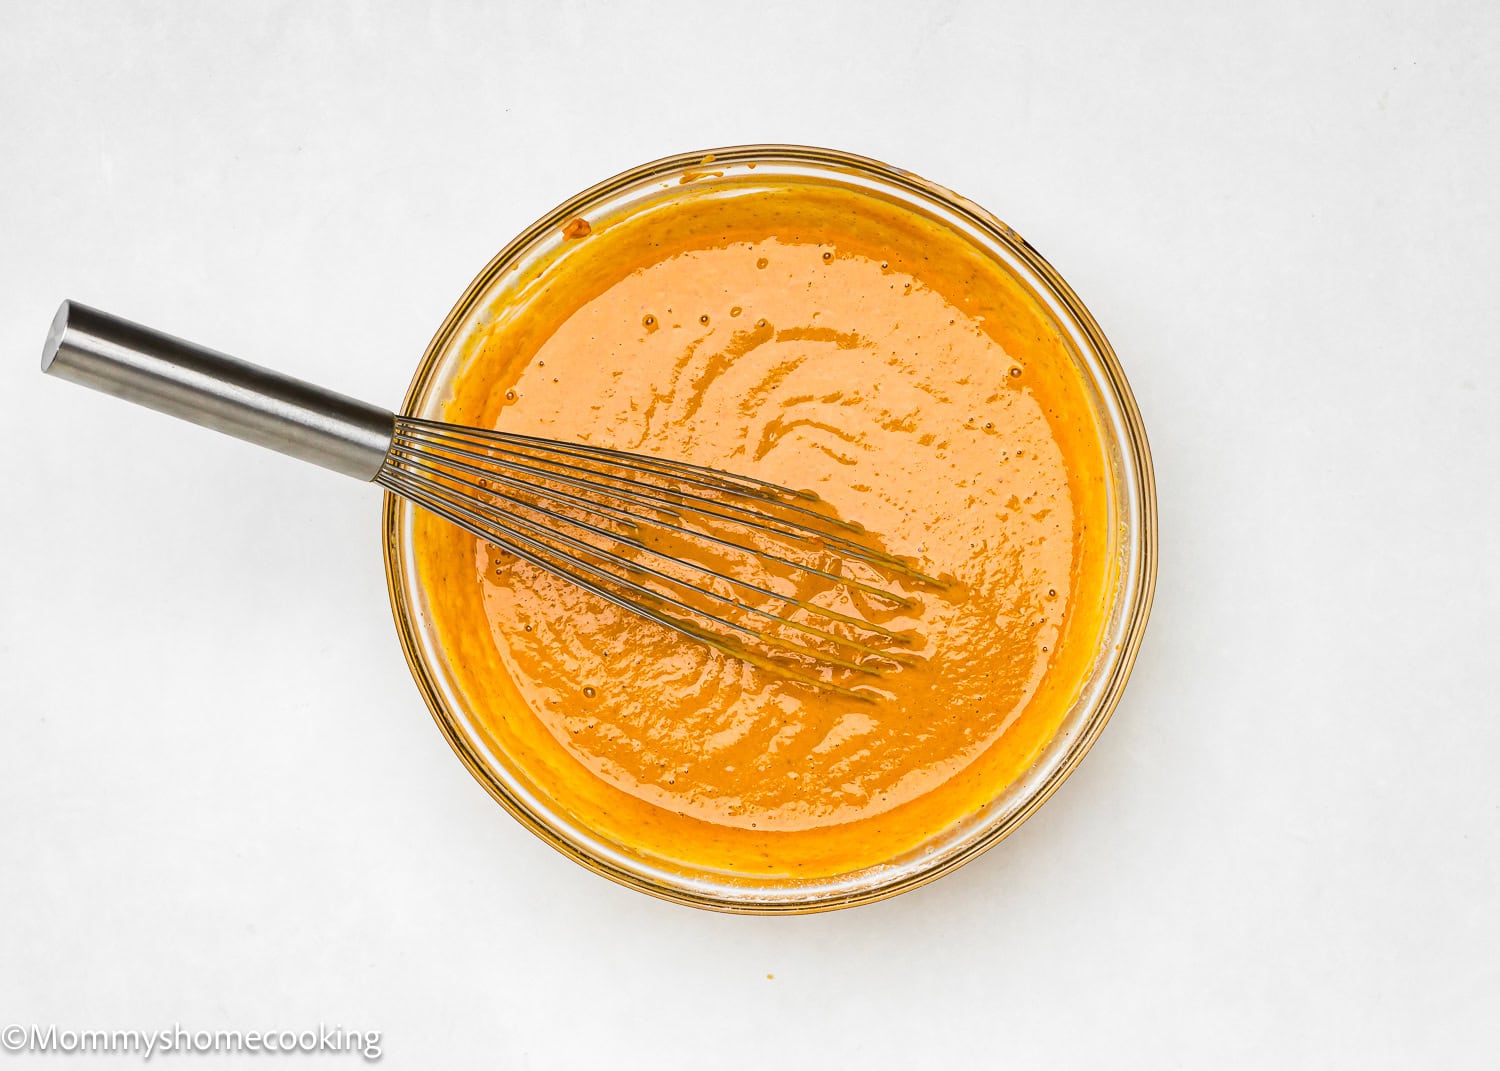
Step 2 – Make The Filling
In a large bowl, make the filling: whisk together sugar, pumpkin spice, tapioca, pumpkin puree, evaporated milk, and vanilla; whisk until combined.
Step 4 – Fill The Cups
Evenly spoon the filling into each crust, filling to the top edge of the crust (about ¼ cups—60 g each).
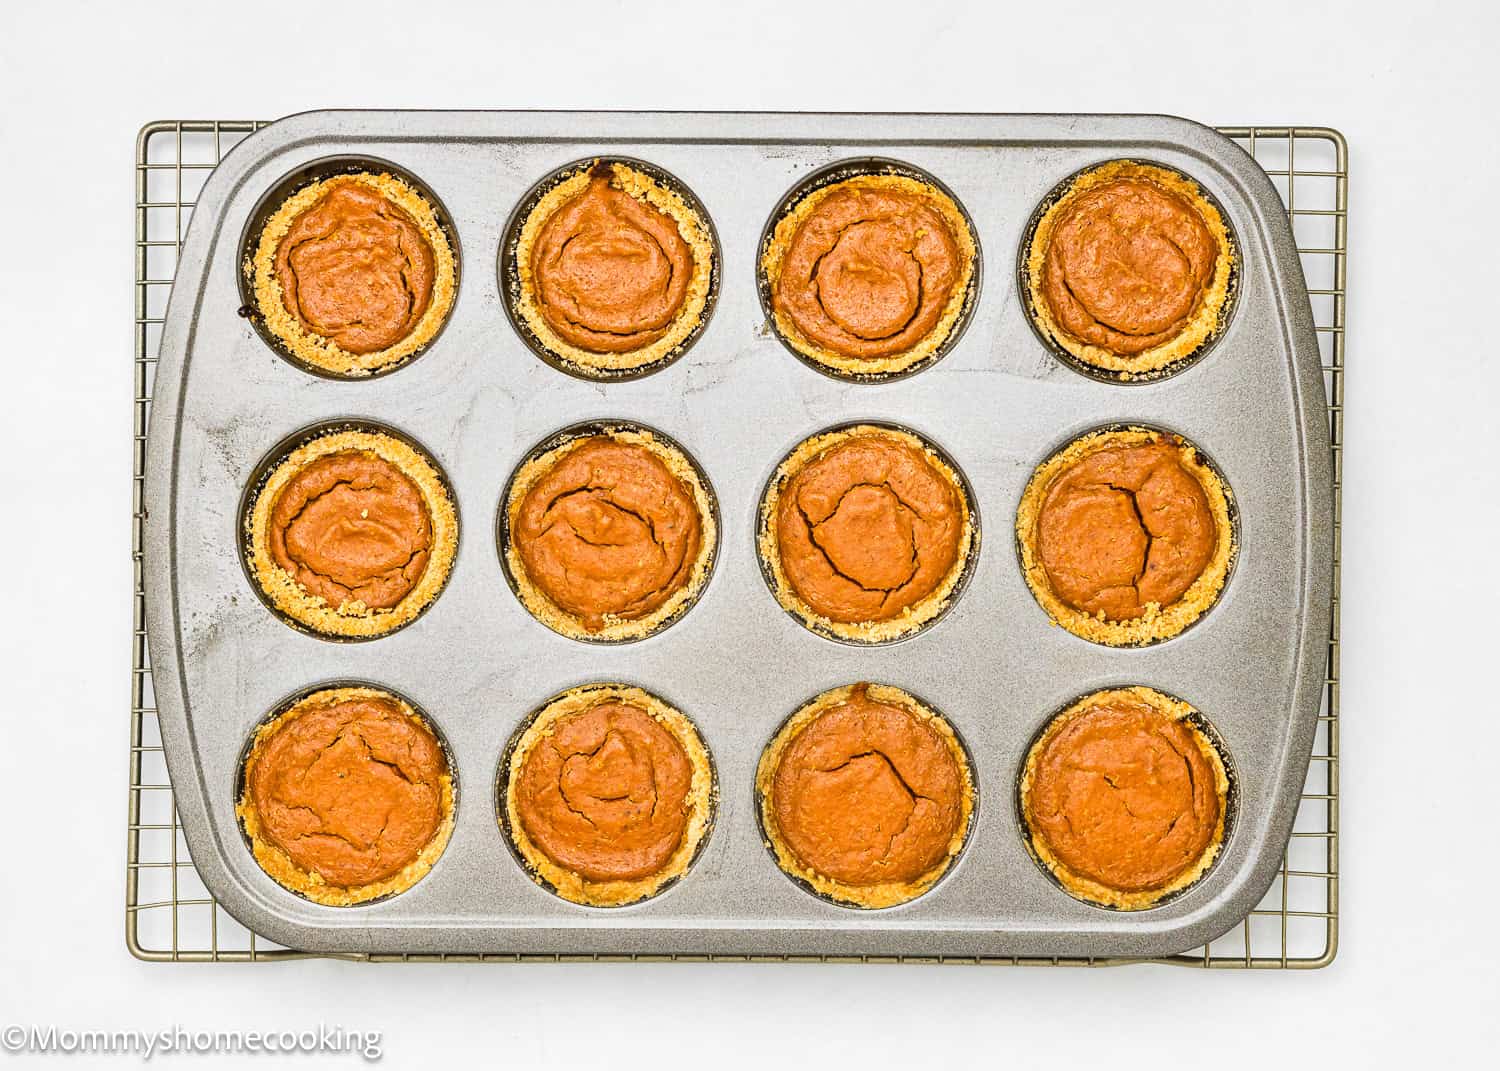
Step 5 – Bake
Bake for 15 minutes at 400° F (200 º C), then turn the oven down to 325° F (165 º C) for another 20 – 25 minutes, or until the center is just about set and edges are lightly browned. Remove from oven. If using a press-in crust, Allow it to cool completely before removing it from the pan. If greased well, the mini pies pop right out. Use a small spatula to scoop them up. Serve at room temperature or refrigerate until chilled and serve cold. The filling deflates a bit as they cool. Top with whipped cream, if desired. If using pie crust, Allow to cool for 5 minutes before removing from the pan. If greased well, the mini pies pop right out, using a spoon to scoop them up. Cool, then serve at room temperature or refrigerate until chilled and serve cold. The filling deflates a bit as they cool. Top with whipped cream, if desired.
Variations & Additions
Maple Pumpkin Mini Pies: Add a tablespoon of maple syrup to the filling for an extra layer of fall flavor. Cranberry Topping: Add a dollop of cranberry sauce on top of each mini pie for a festive touch.
Serving Suggestions
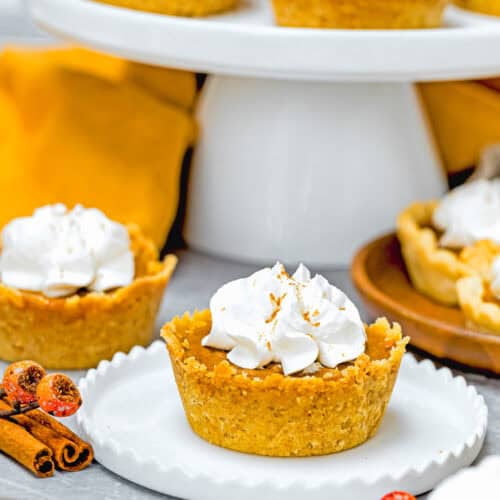
Top each mini pie with a generous dollop of whipped cream and a sprinkle of cinnamon or nutmeg. They’re perfect for dessert at a fall gathering, Thanksgiving, or even just a cozy night in. Serve them with a cup of hot coffee or tea, and you’ve got the ultimate fall treat.
Measure Carefully: Especially with baking, precise measurements ensure the best results. I highly recommend using a kitchen scale. Preheat the oven for at least 15 minutes before you start, giving it plenty of time to reach the ideal recipe temperature. Make sure to chill the dough if you’re making your own traditional pie crust. Cold dough is easier to work with and bakes up flakier. For a prettier presentation, use a cookie cutter to cut out shapes from the extra pie dough and place them on top of each mini pie before baking. Don’t skip the pre-baking step for the crust—it helps keep the crust from getting soggy when you add the pumpkin filling. Know your oven! Every oven is different, so baking times must always be taken with a grain of salt. Oven thermostats can be wildly off, affecting baking time, so keep an eye on yours.
Storing and Freezing Instructions
Storing: Leftover mini pumpkin pies can be stored in an airtight container in the fridge for up to 3 days. If desired, let them come to room temperature before serving. Freezing: To freeze, wrap each cooled pie individually in plastic wrap and place it in a freezer-safe bag. They’ll keep in the freezer for up to 2 months. Thaw them at room temperature before serving.
More Pie Recipes You’ll Love!
Easy Eggless Pecan Pie Easy Eggless Pumpkin Pie Eggless Easy Banana Cream Pie Easy Eggless Key Lime Pie Easy Eggless Coconut Cream Pie (from scratch) Pie Bliss Unleashed: 8 Delicious Eggless Pie Recipes! Browse more recipes…
Recipe Card