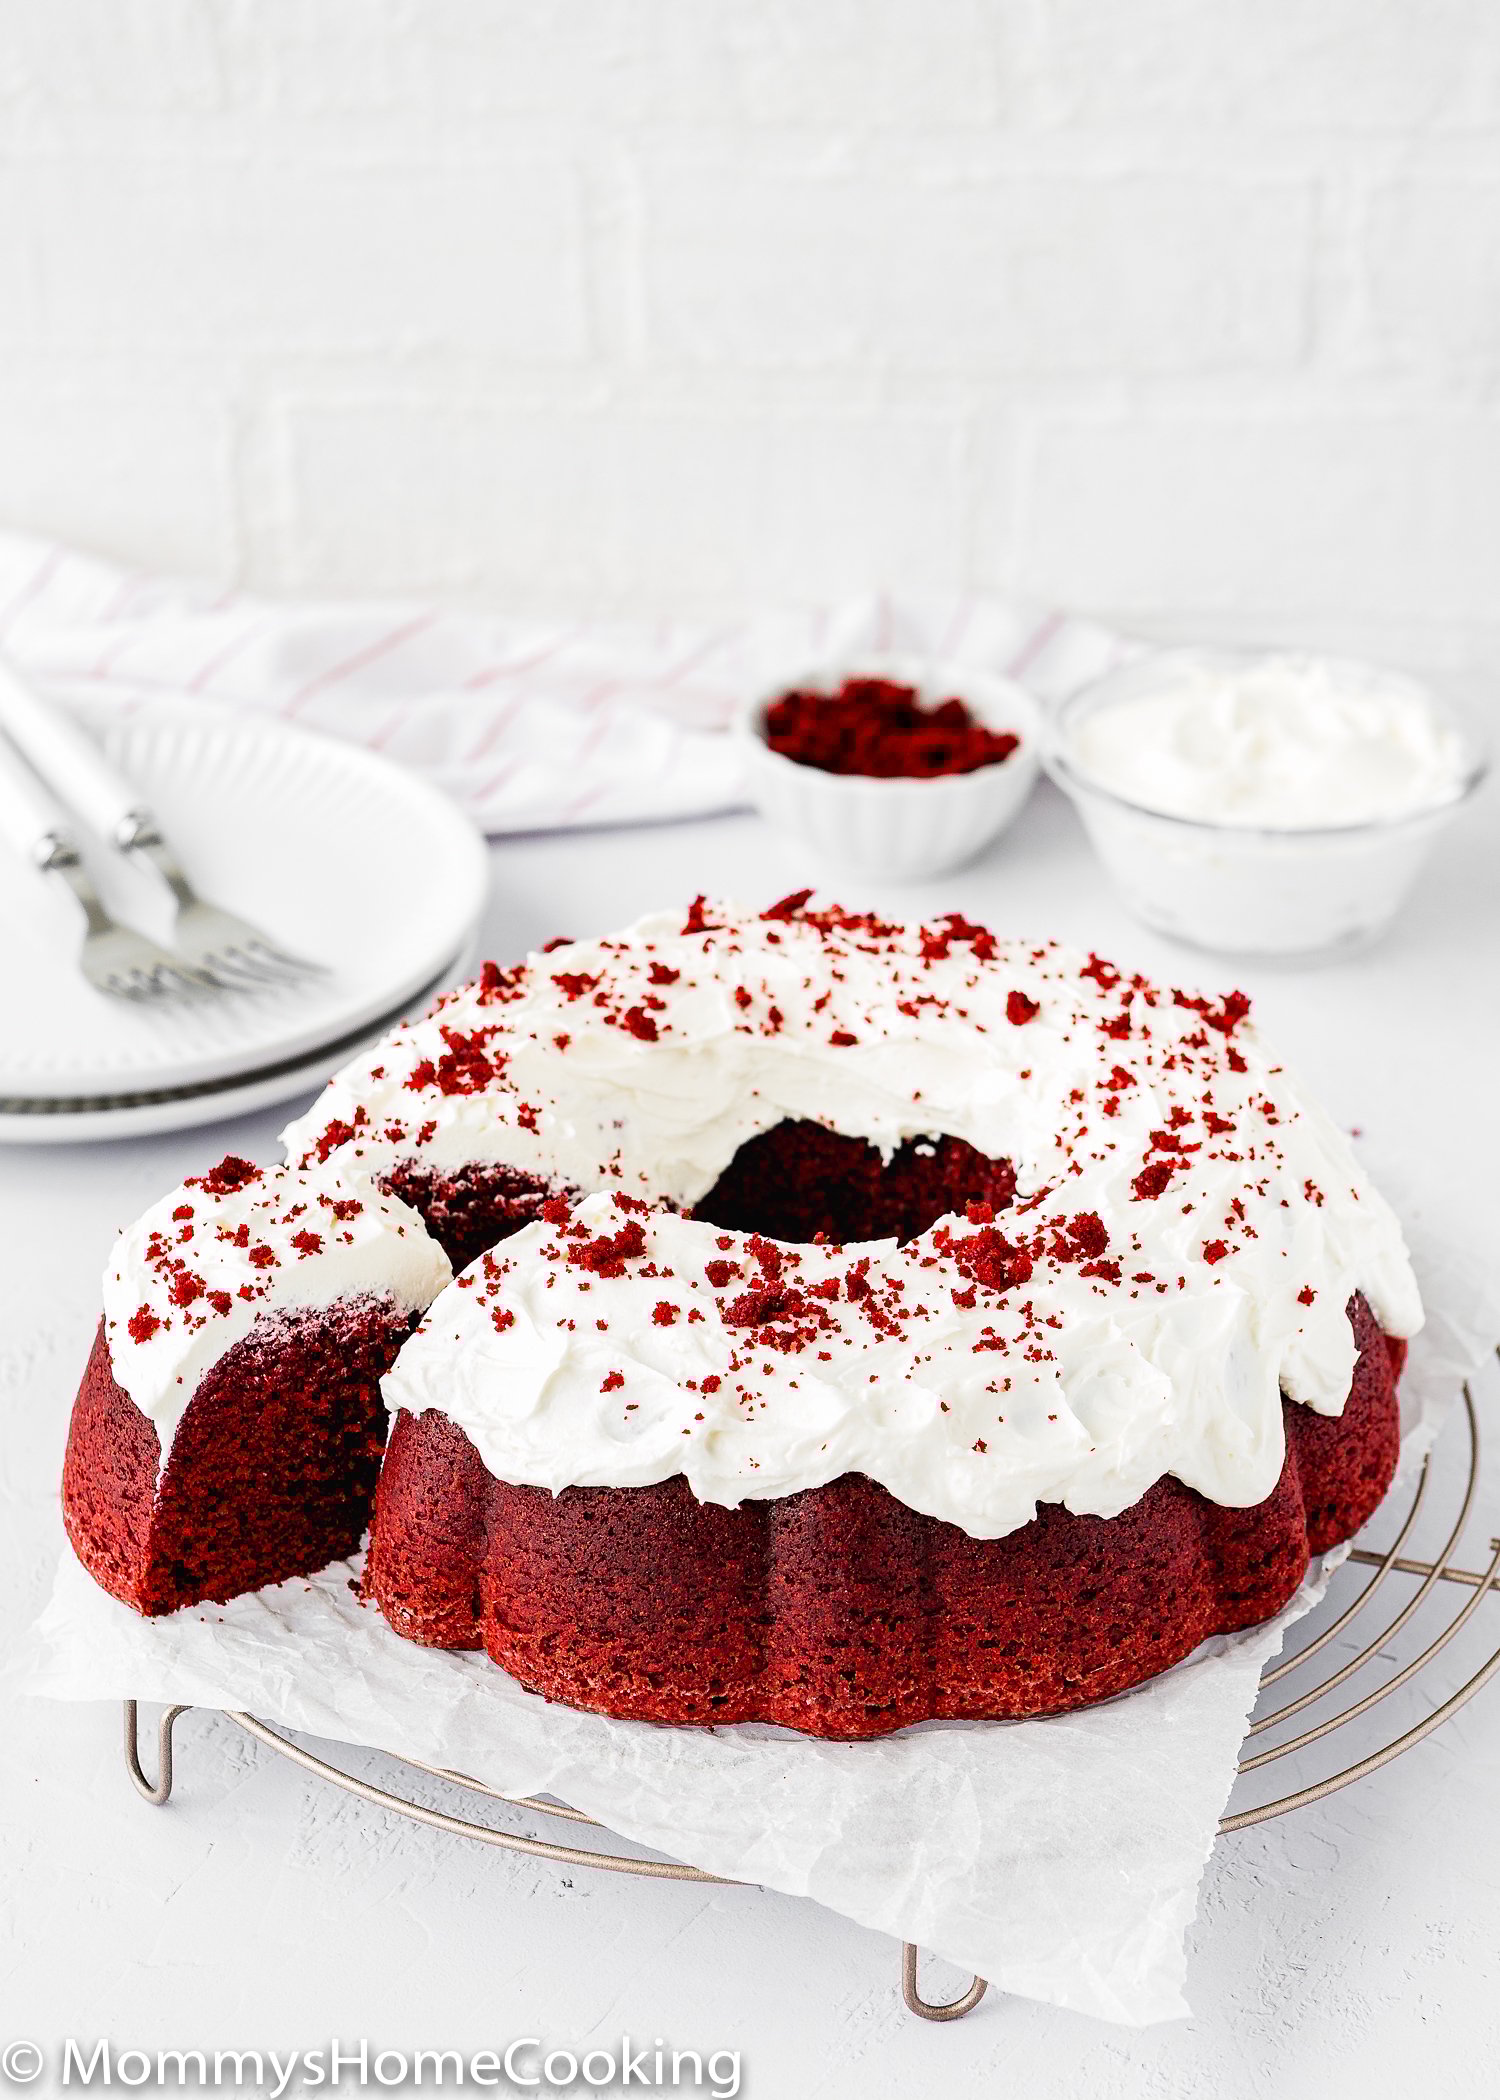
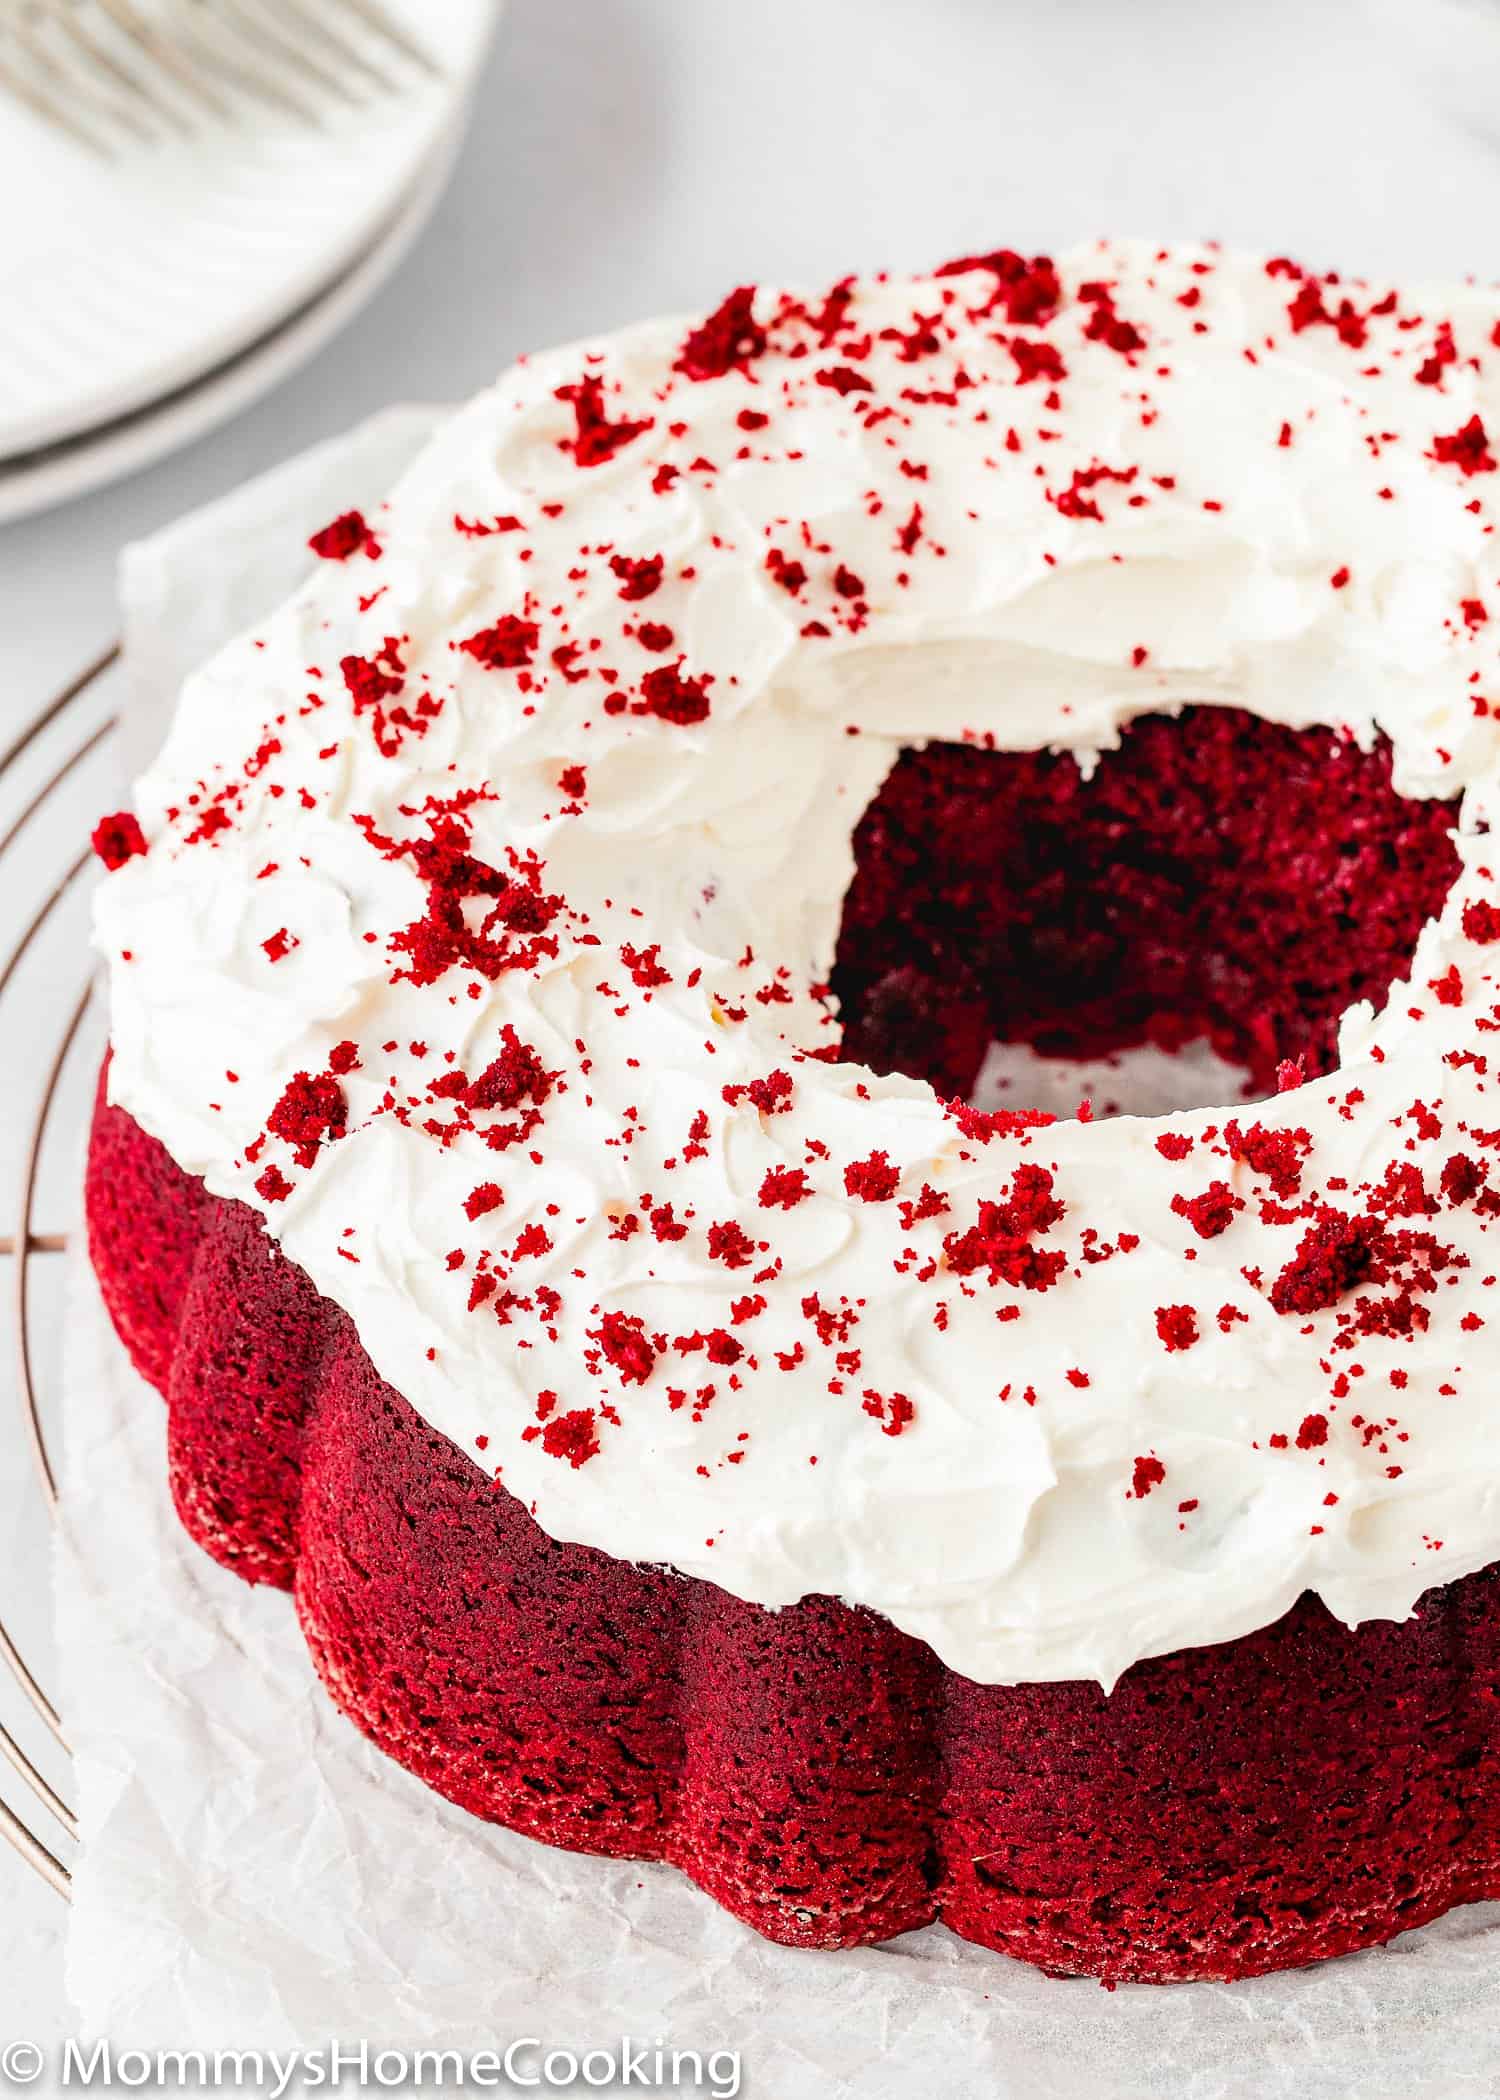
Why I Love This Egg-Free Red Velvet Bundt Cake Recipe
You know occasions are special when there’s cake, am I right? Why not make your event even more special with my Eggless Red Velvet Bundt Cake? This bundt cake is always a hit in my home. The cake always comes out perfectly moist and flavorful. And it tastes delicious, and the texture is out of this world! Red Velvet is such a beautiful, festive color, so it’s perfect for celebrating with your loved ones. Whether you’re attending a casual party or gathering with friends and family, Eggless Red Velvet Bundt Cake is a perfect companion. This Eggless Red Velvet Cake recipe is easy to make with simple ingredients. When you’re craving dessert, this recipe is a must-make! If you’re a red velvet fanatic, like I am, you must try my Eggless Red Velvet Layer Cake recipe, eggless red velvet cupcakes, and eggless red velvet cake brownies.
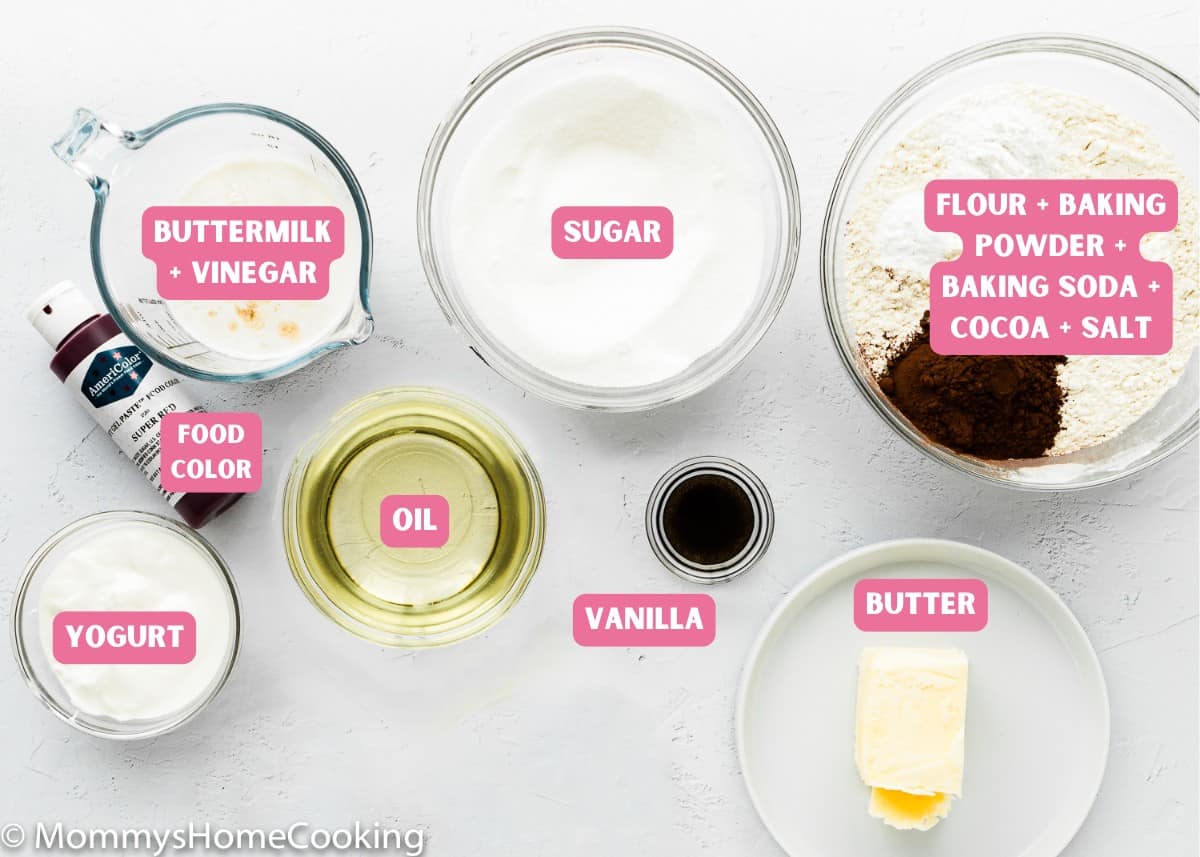
Eggless Red Velvet Bundt Cake Ingredients
Amounts are included in the printable recipe below (scroll down).
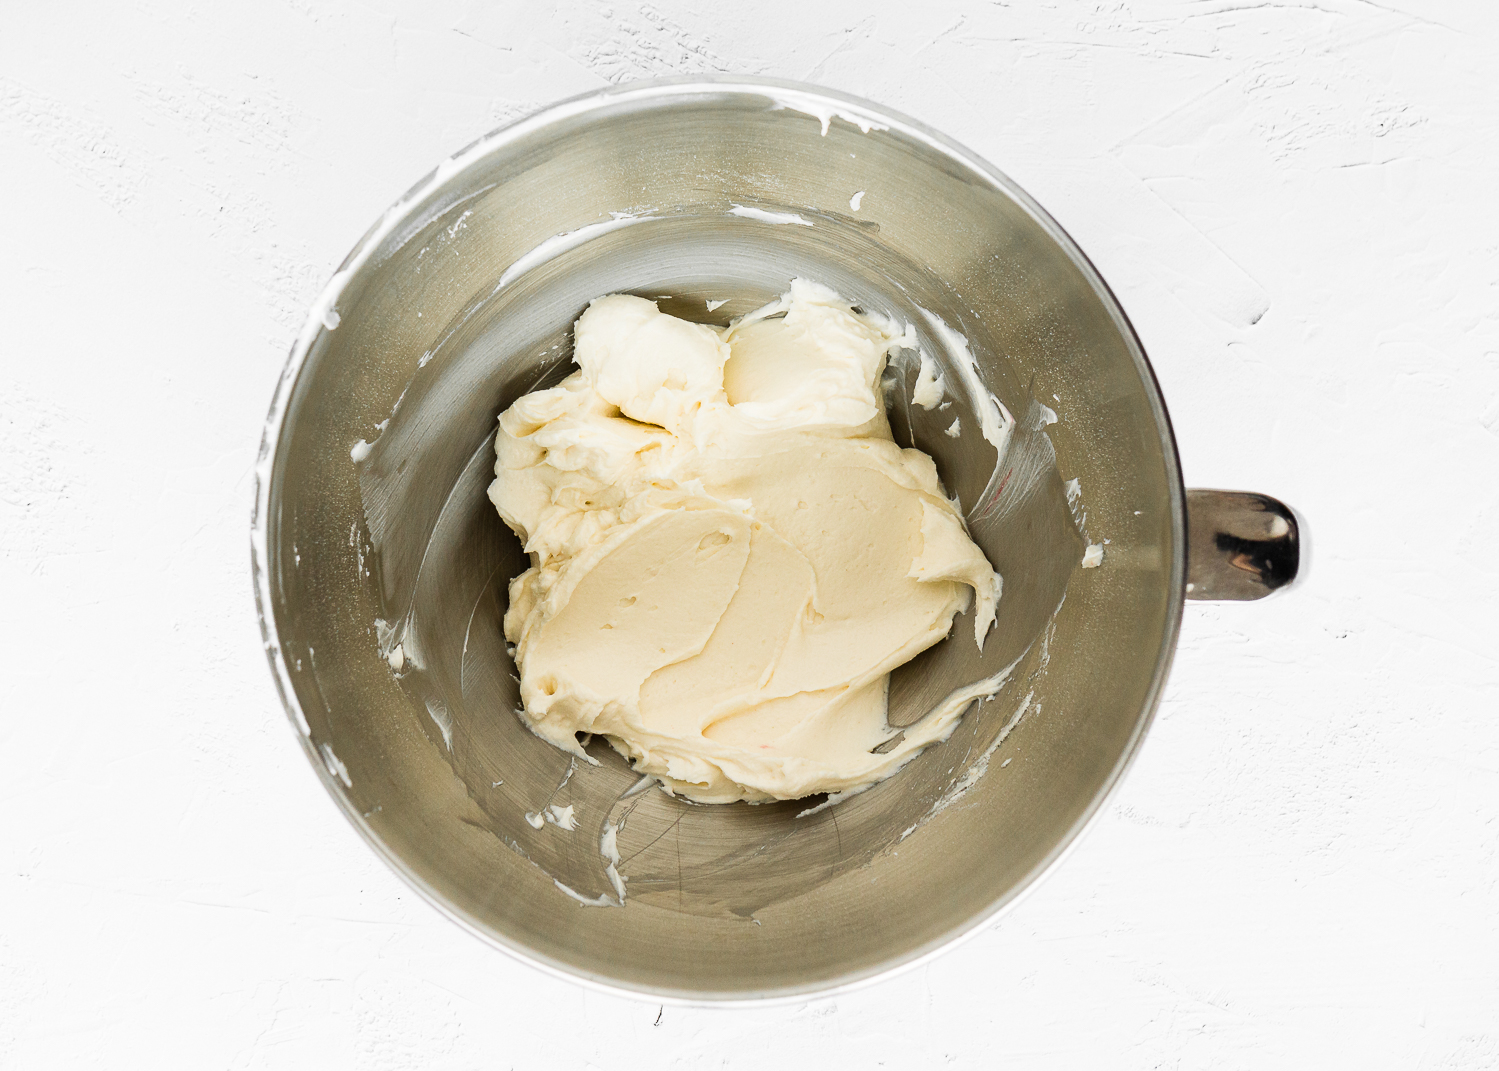
Step 2 – Cream the Butter and Sugar
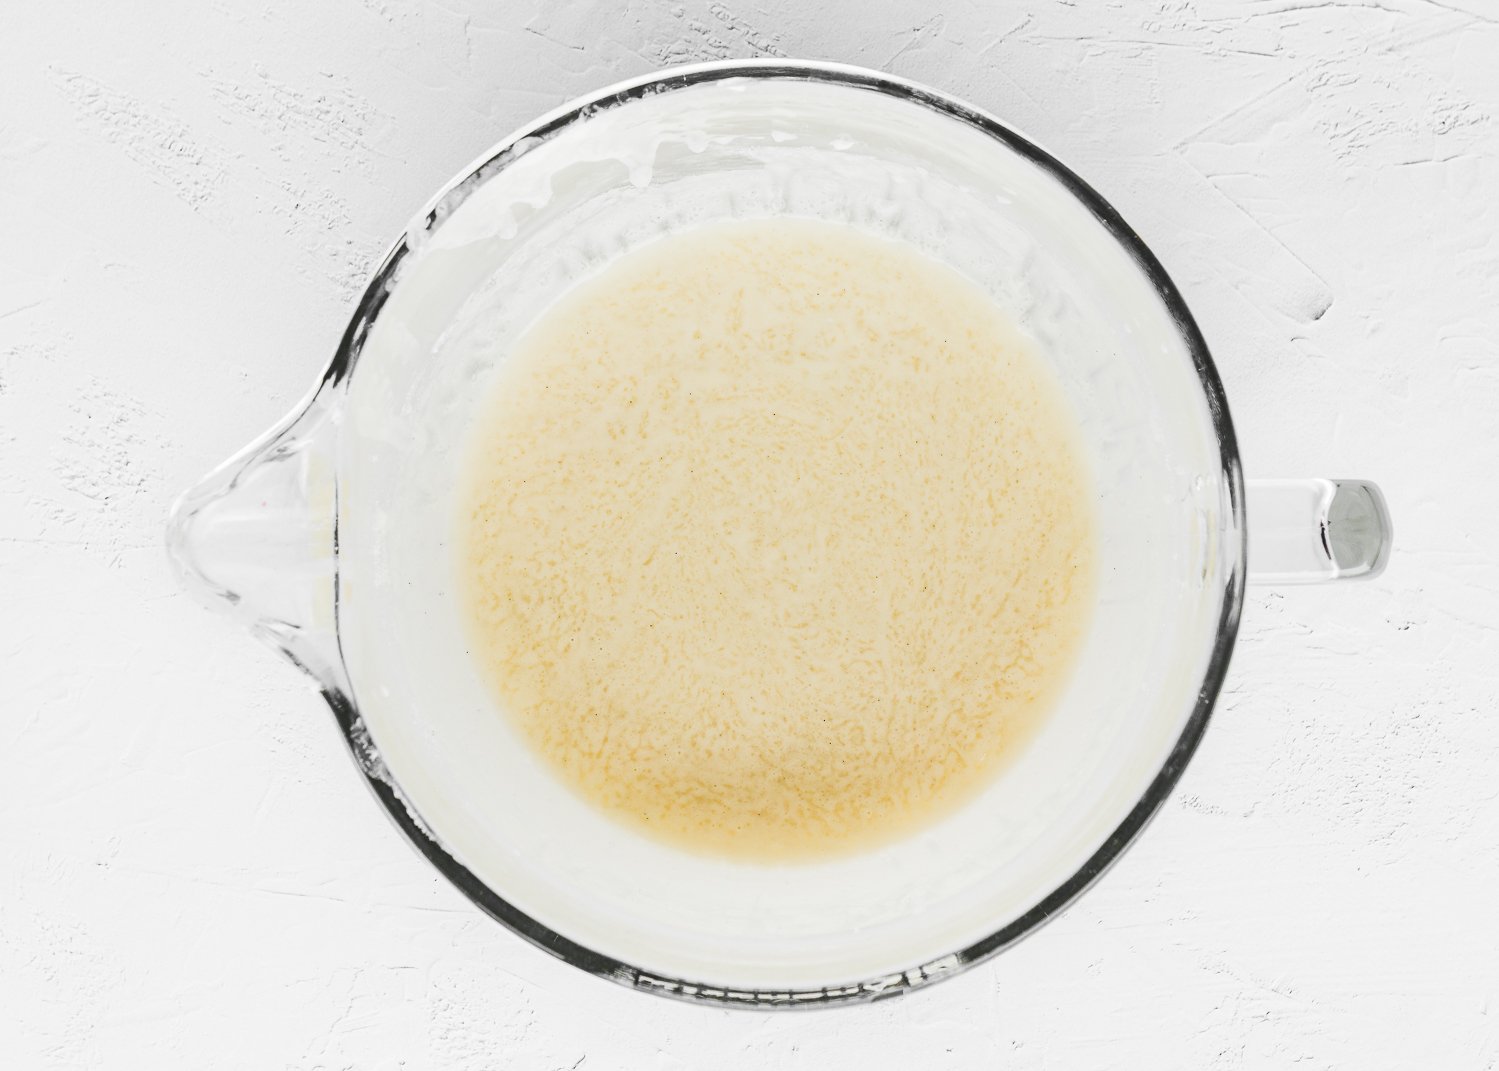
Step 3 – Add The Other Wet Ingredients And Beat Some More
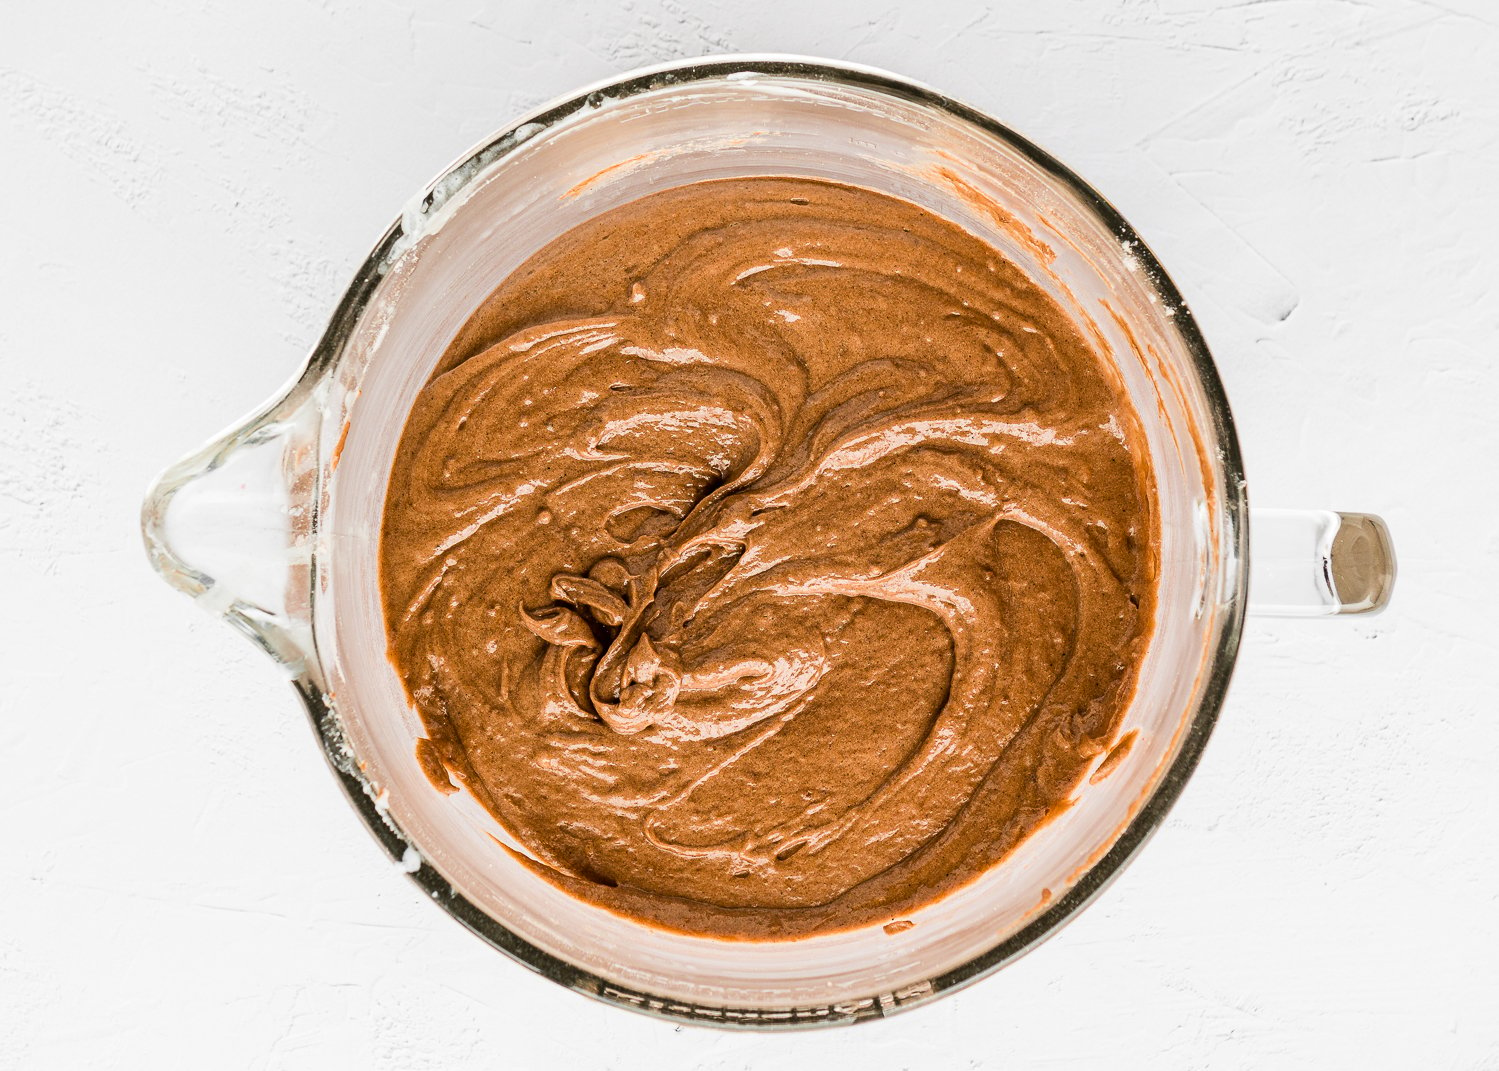
Step 4 – Combine The Dry Ingredients with The Wet Ingredients in Three Batches, Alternating With Buttermilk
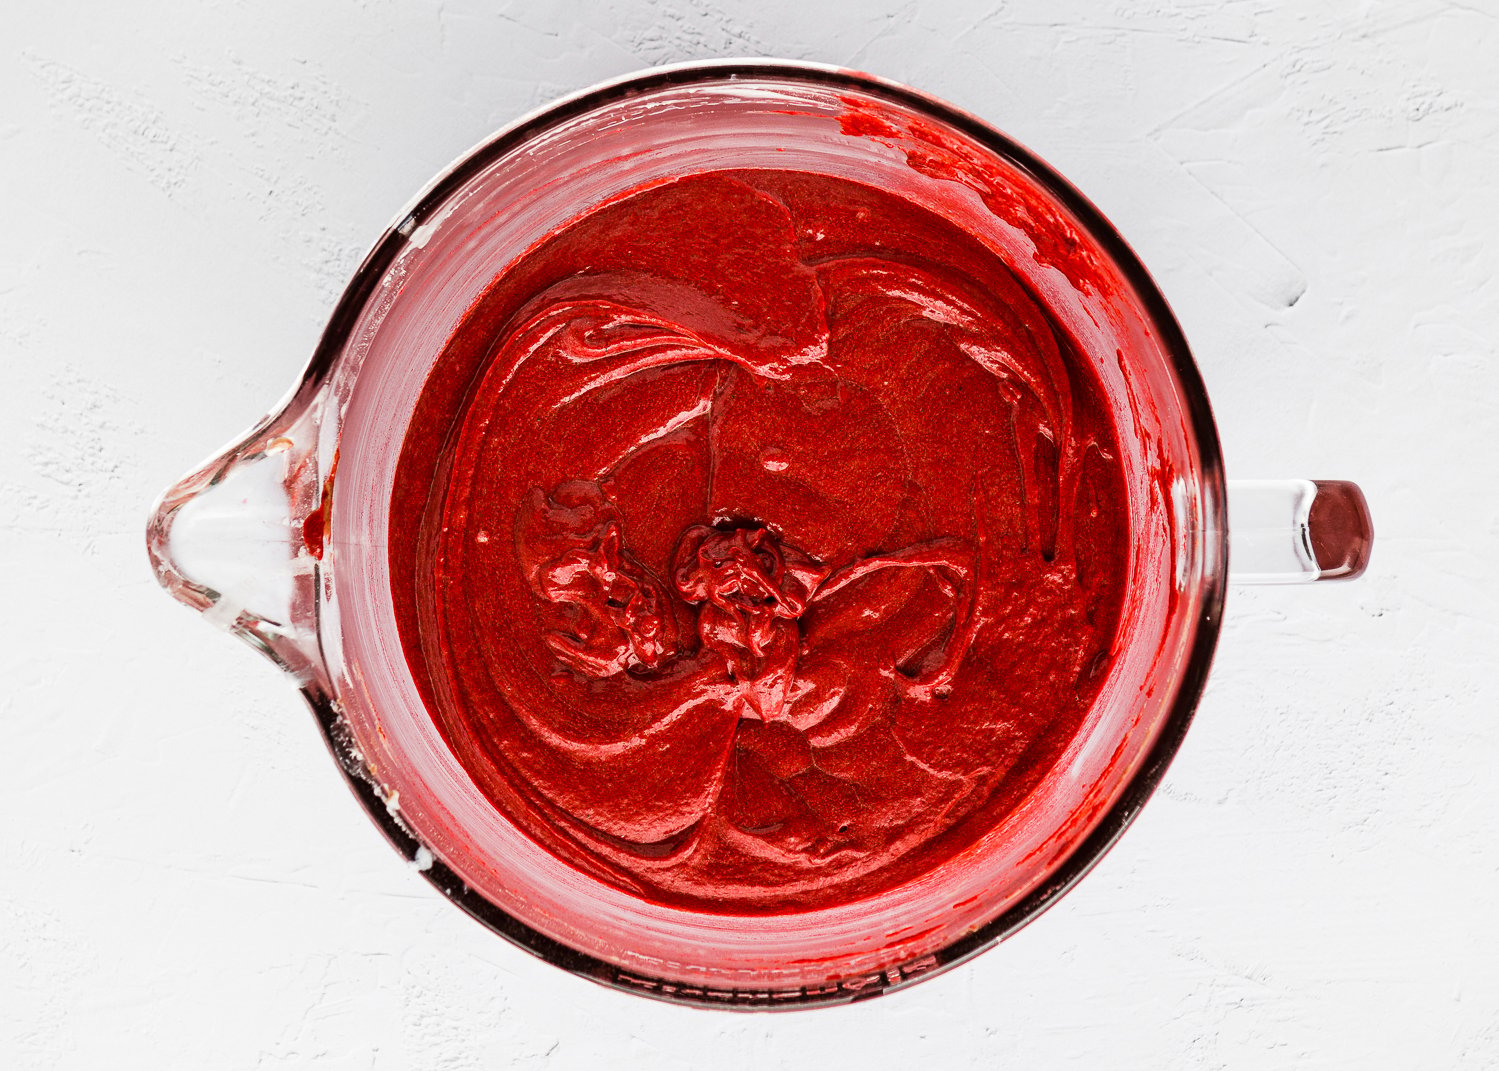
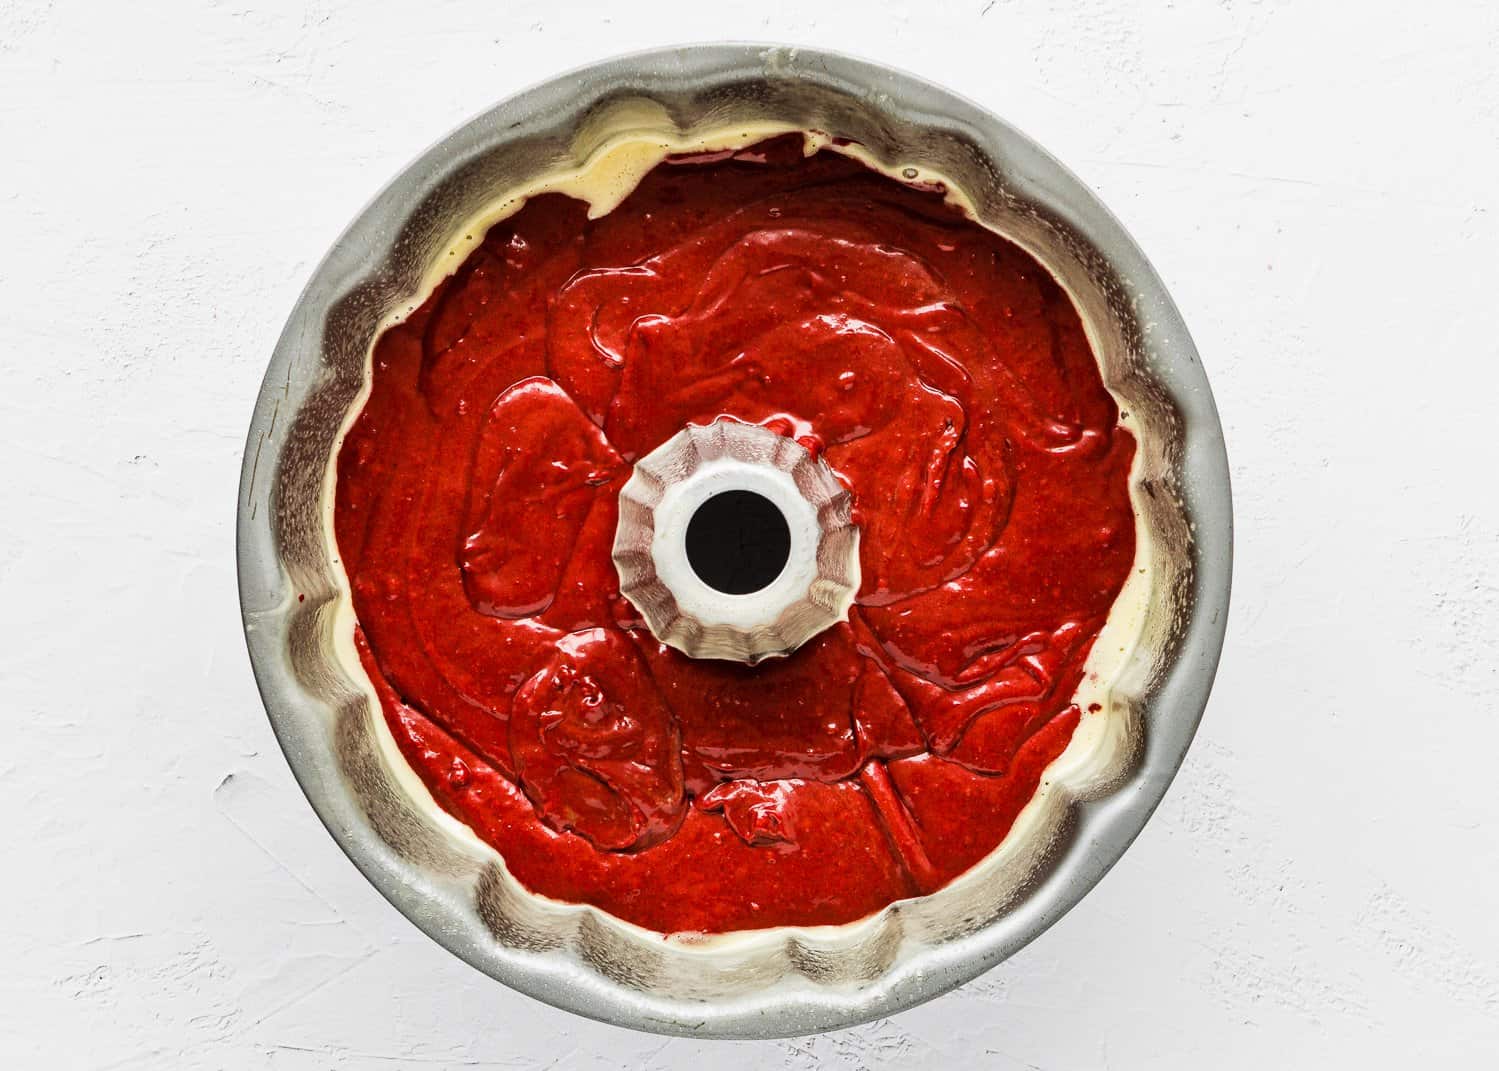
Step 5 – Add Food Coloring
Step 6 – Transfer The Cake Batter To The Prepared Pan
PRO TIP: Make sure to grease the bundt cake pan very well. I like to spray a bundt pan with non-stick spray and then dust it with flour.
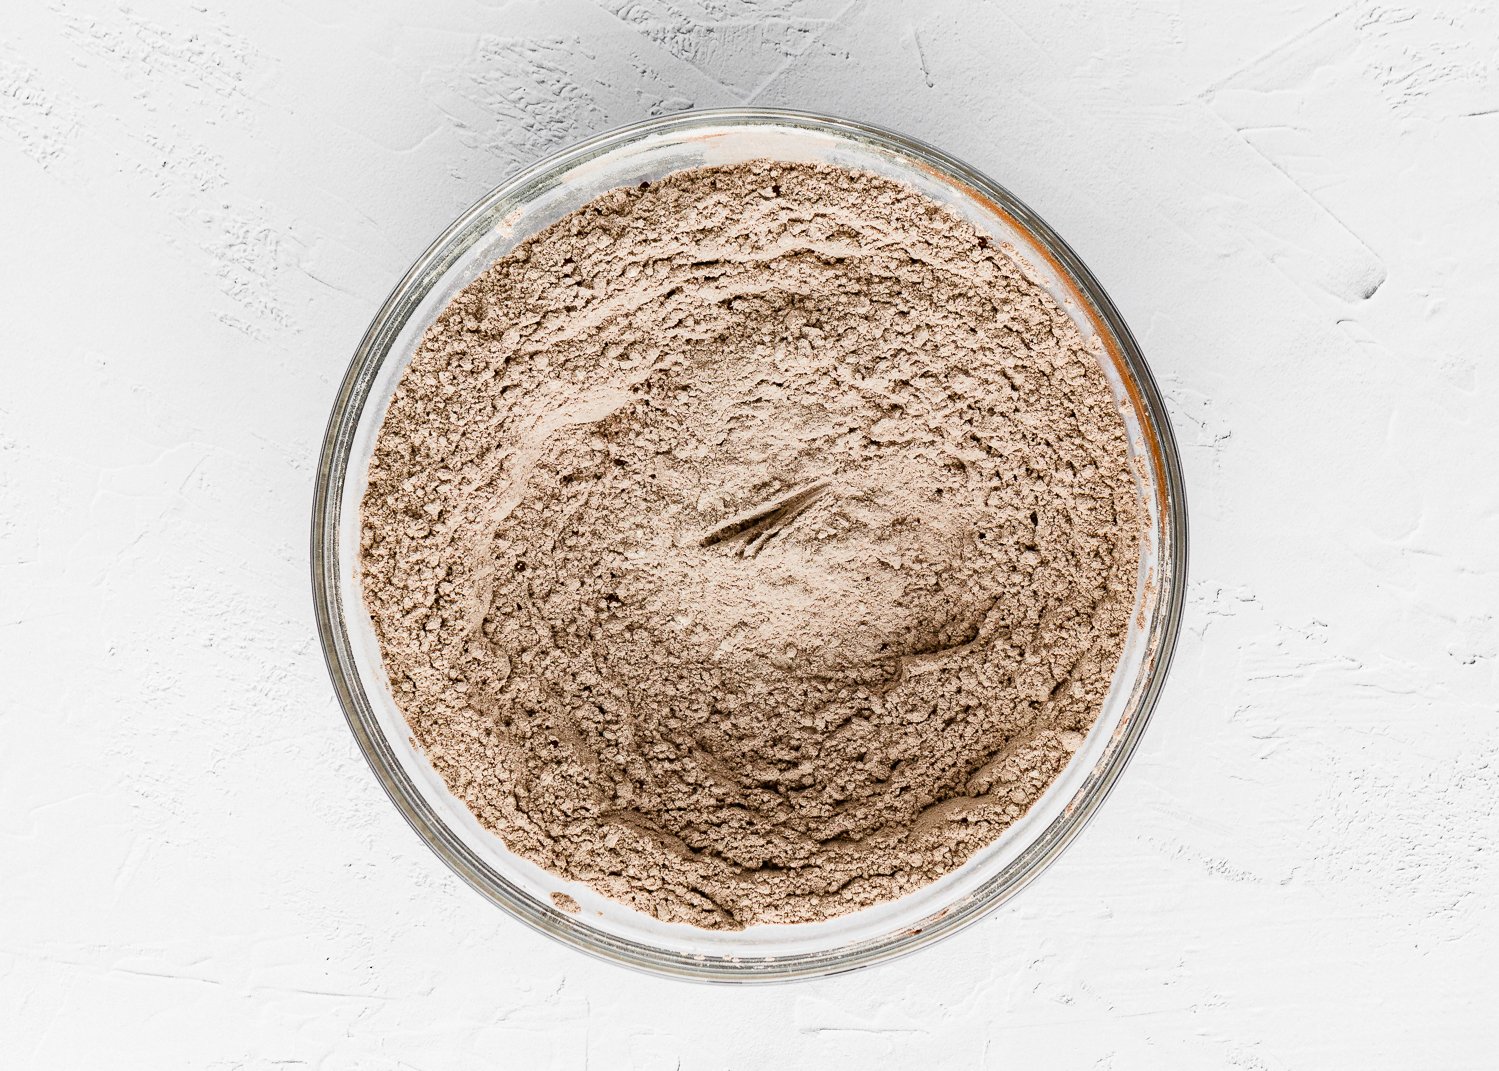
Step 1 – Sift The Dry Ingredients into A Large Bowl
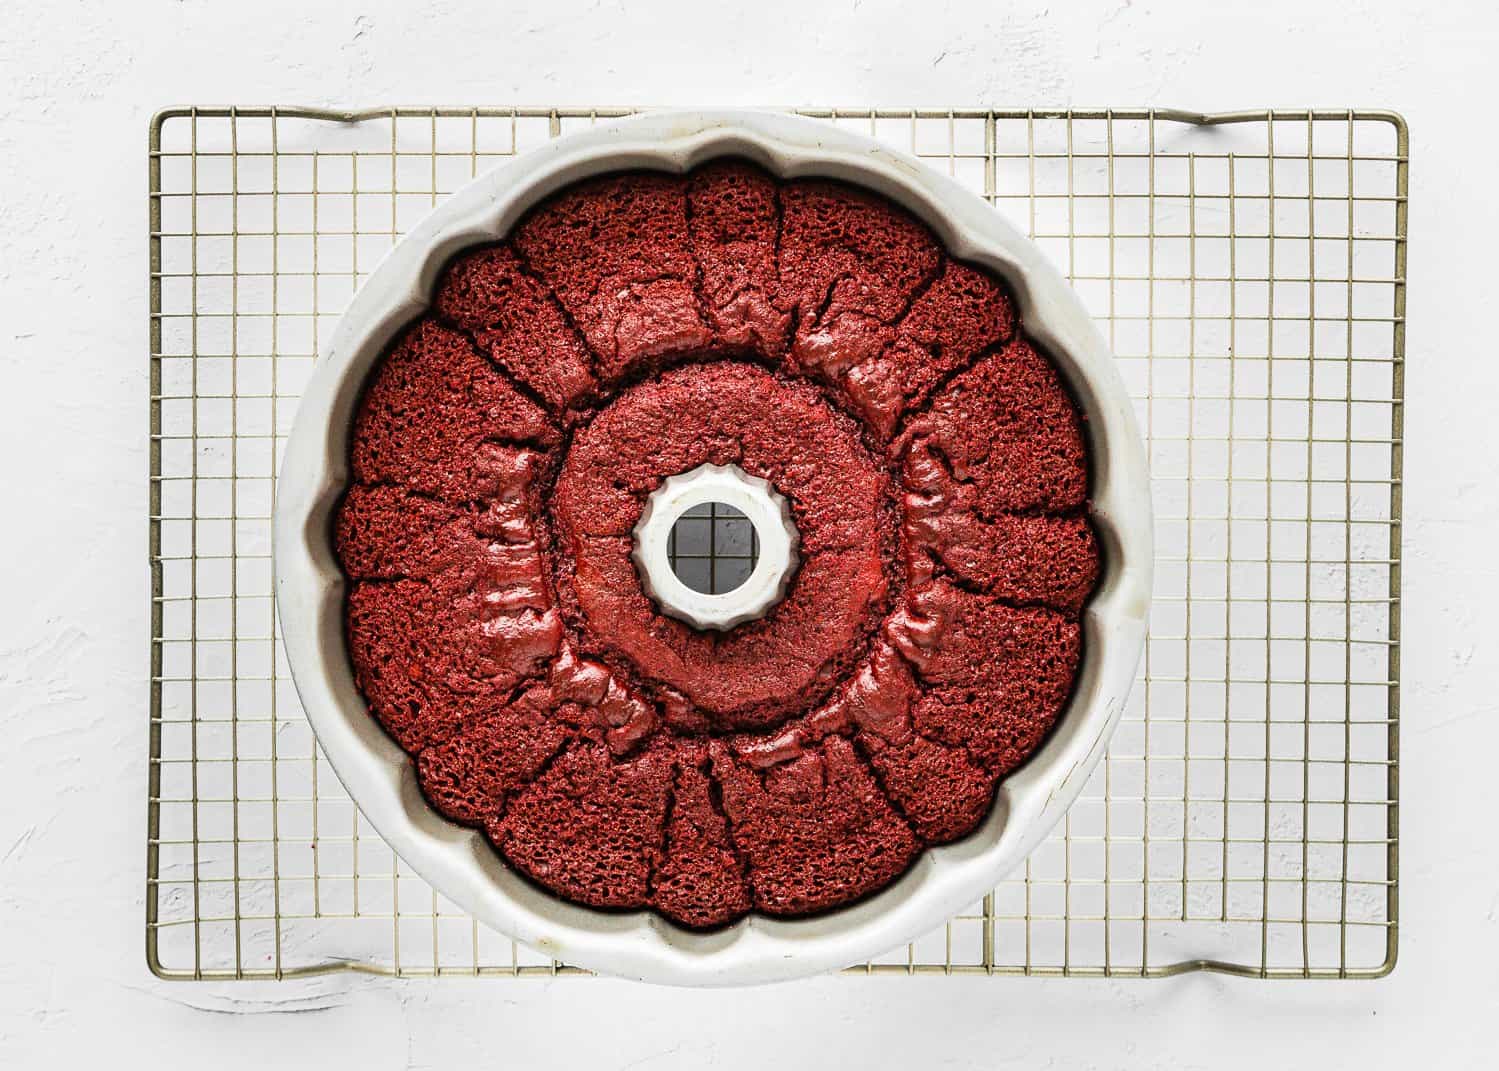
Step 7 – Bake
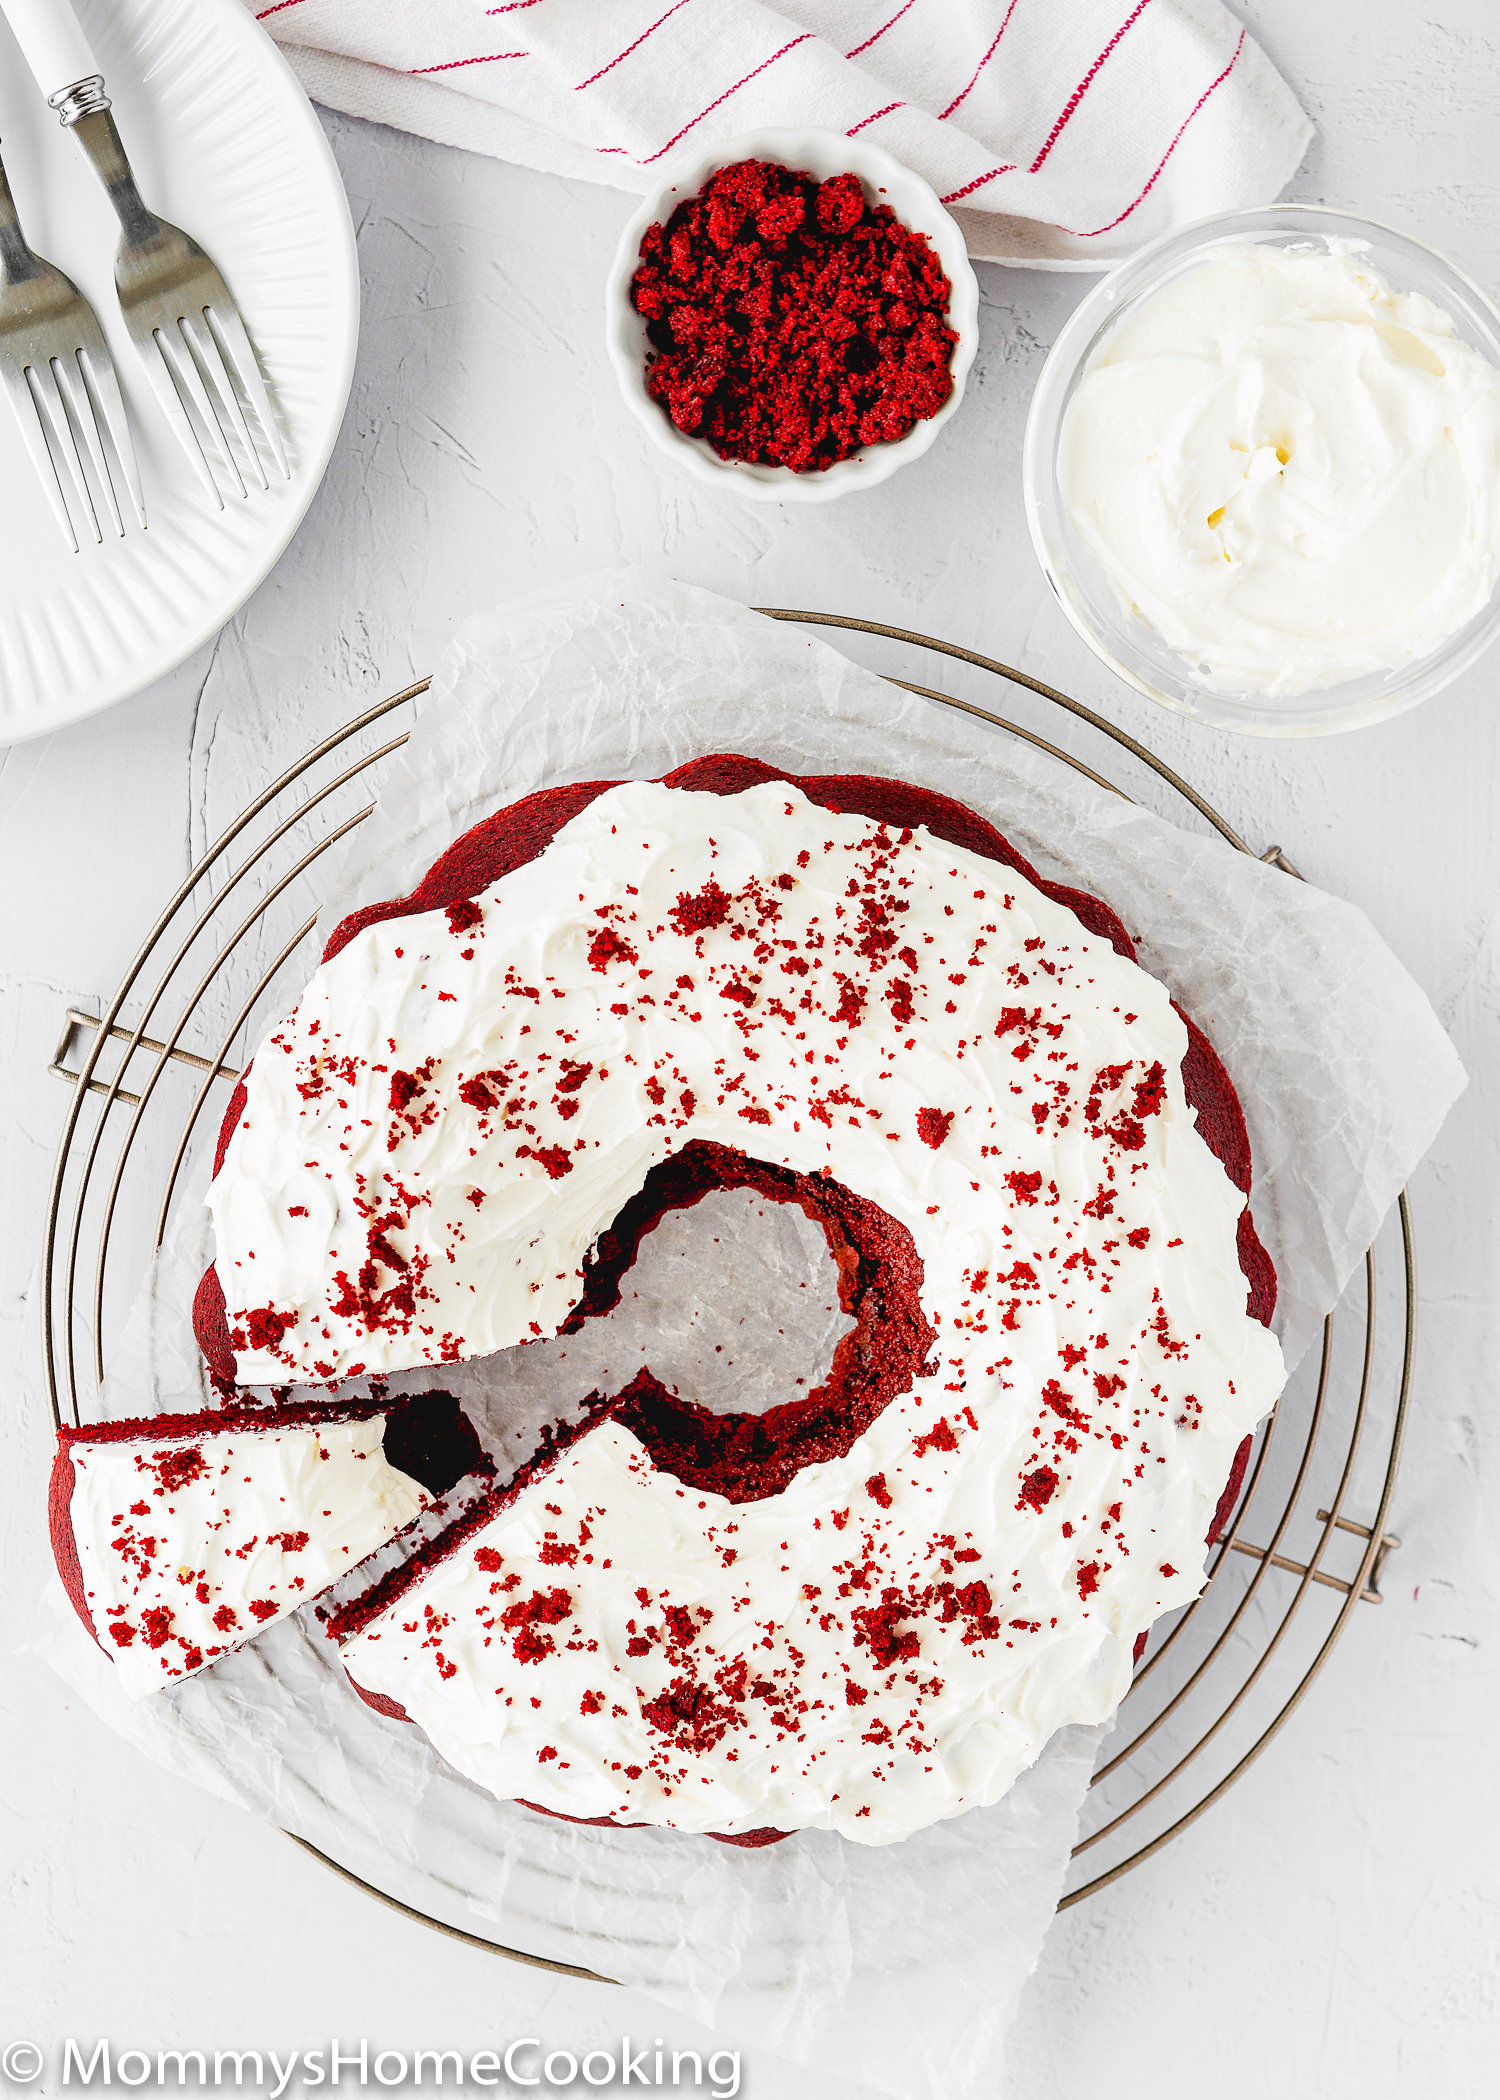
Let the cake cool in the pan on a wire rack for 20 minutes, then remove it from the pan. Allow the cake to cool completely on a wire rack before icing or slicing.
Make sure to cream the butter and sugar together for 4 – 5 minutes until creamy and pale. To achieve this, the butter has to be at the right consistency; ideally, the butter will easily bend without breaking and will give slightly when pressed. If it looks or feels oily is too soft. Don’t overmix the batter. Mix just until you’ve evenly distributed the ingredients throughout the batter. Bake the cake(s) as soon as the batter is ready. Don’t open the oven door until the cake(s) has set. Leave the oven closed until the minimum time is stated in the recipe. Preheat the oven for at least 15 minutes before you get started to give it plenty of time to reach the ideal recipe temperature. Every oven is different, so baking times always have to be taken with a grain of salt. Oven thermostats can be wildly off, and that will all affect baking time, so keep an eye on yours. The cake(s) are done when a toothpick inserted in the center comes out clean.
Gluten-Free: Substitute all-purpose flour for 1-to-1 Gluten-Free flour. This is my favorite brand. Just be sure to stir the batter longer than normal to help give the baked goods proper structure. Also, gluten-free batters need to rest. So let your batter rest for about 30 minutes so the flour has time to hydrate and soften before baking it. Dairy-Free: Use your favorite dairy-free or vegan butter. Also, use dairy-free yogurt. My favorite dairy-free butter brands for baking are:
Miyoko’s Creamery Organic Vegan Butter.Earth Balance Vegan Buttery Sticks
Freeze: This cake can be frozen for up to 1 month. To freeze the Eggless Red Velvet Bundt Cake, make sure the cake cools completely and wrap it in several plastic wrap layers to ensure it is tightly sealed. An extra layer of aluminum foil wouldn’t be a bad idea, either. It’s a small step that offers extra protection against freezer burn! Defrost the cake at room temperature before serving and frosting. Keep in mind that the cake will lose a bit of its fluffiness if refrigerated or frozen.
More Egg-Free Red Velvet Recipes You’ll Love!
Eggless Red Velvet CakeEasy Eggless Red Velvet CupcakesEggless Red Velvet Whoopie PiesEggless Red Velvet CheesecakeEasy Eggless Red Velvet DonutsEggless Red Velvet BrowniesEggless Red Velvet CookiesBrowse more recipes…
Recipe Card 📖
You’ve asked, and I’ve answered! Read on for a handful of answers to the most frequently asked questions about eggless baking. This recipe was originally published on February 2021. The recipe remains the same, but more notes, tips, photos, and information have been added to the post in November 2022 to make it as helpful as possible!