Oriana’s Thoughts On The Recipe
This eggless vanilla ice cream is a staple in my freezer. It’s perfect for making chocolate chip ice cream sandwiches, which my kids absolutely adore. Plus, it’s such a relief to know exactly what’s in it, especially since my daughter has an egg allergy. The best part? It’s ridiculously easy and quick to make! With just three simple ingredients, you can whip up a batch in no time. You don’t need any fancy equipment either, which is a huge plus in my book. The texture is so smooth and creamy, it’s hard to believe it’s homemade. Trust me, once you try this recipe, you’ll never go back to store-bought ice cream again. It’s a great recipe for getting the kids involved, too! They love watching the ingredients transform into a delicious, creamy dessert. Let me tell you, there’s something so satisfying about making your own ice cream. You know exactly what’s in it, you know that it’s safe for your loved one, and it feels great to serve something made with love. Give it a try, and I promise you’ll be hooked!
Ingredients You’ll Need, Substitutions & Notes
Please check the recipe card at the bottom of the post for exact quantities and detailed instructions (scroll down). Totally Eggless: Many ice creams have eggs in them, but not this one! Making my own gives me peace of mind that it’s safe for my daughter, who has an egg allergy. Plus, it’s just as creamy and rich as any traditional ice cream. Simply Delicious: This recipe couldn’t be more simple or more delicious. I always keep it in my freezer to make chocolate chip ice cream sandwiches. The combination of creamy vanilla ice cream and crunchy chocolate chip cookies is simply irresistible. Quick and Easy: This ice cream is incredibly easy and quick to make. No need to spend hours in the kitchen; you can have this ready in a flash, perfect for when those sweet cravings hit. Just 3 Ingredients: This delightful ice cream only needs three ingredients: sweetened condensed milk, heavy cream, and vanilla. It’s amazing how something so simple can be so delicious. Smooth and Creamy: The texture of this ice cream is so smooth and creamy, you’d never guess it’s homemade. It’s the perfect base for adding your favorite mix-ins or toppings. No Special Equipment: No ice cream maker? No problem! This recipe doesn’t require any special equipment. A hand mixer or even a whisk will do the trick.
Density: No-churn ice cream can sometimes be denser and less airy than traditional ice cream, which might affect the mouthfeel. Fat and Sugar Content: To achieve a creamy texture without churning, no-churn recipes often use higher fat and sugar content, which might not align with all dietary preferences.
Tips To Mitigate These Cons
Proper Mixing: Whip the cream to stiff peaks to incorporate enough air, which helps create a smoother texture. Fat and Sugar Content: If you are looking for a healthier option, this might be the recipe for you. You could experiment with lower-fat or alternative sweeteners, though these might affect texture.
Sweetened Condensed Milk – This adds sweetness and helps create that creamy texture. Note: Make sure you use the full-fat version. Heavy Cream – Provides the rich, creamy base. Note: Make sure it has at least 35% fat content. Vanilla Extract – Gives the ice cream its lovely vanilla flavor. Note: Use pure vanilla extract for the best taste. You can also use vanilla paste for a more intense vanilla flavor. Salt – Just a pinch enhances the flavors and balances the sweetness.
Process Overview: Step-by-Step Photos
Please check the recipe card at the bottom of the post for exact quantities and detailed instructions (scroll down).
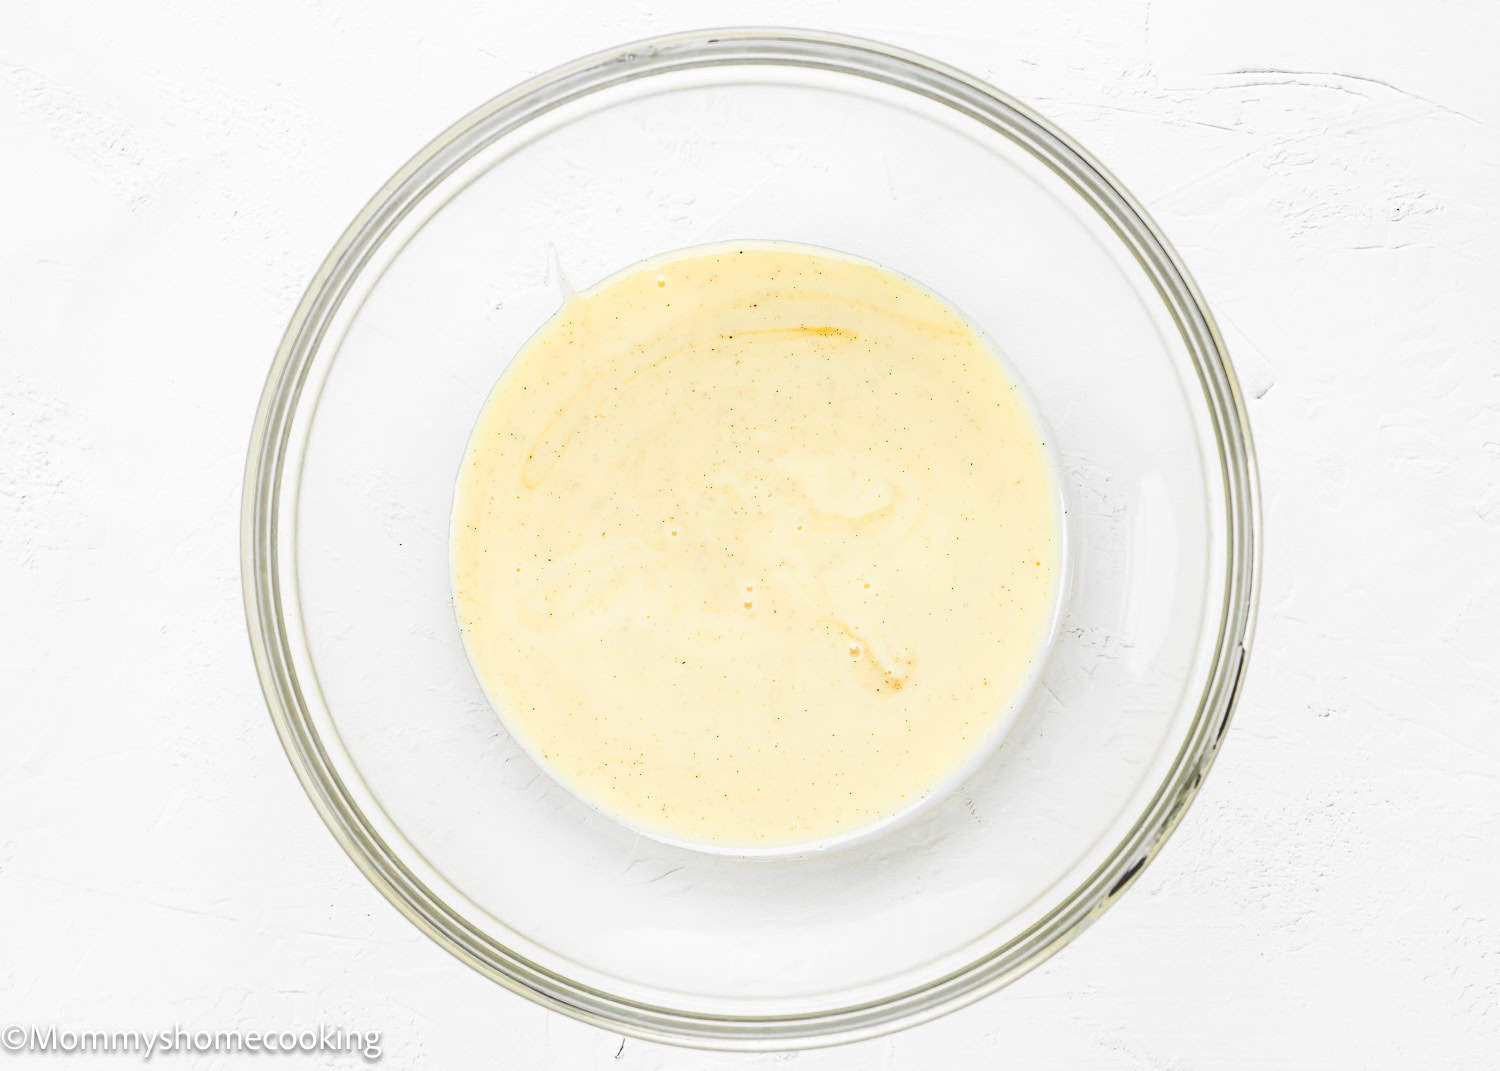
Step 1 – Whisk
Whisk together the condensed milk, vanilla, and salt in a bowl. Set aside.
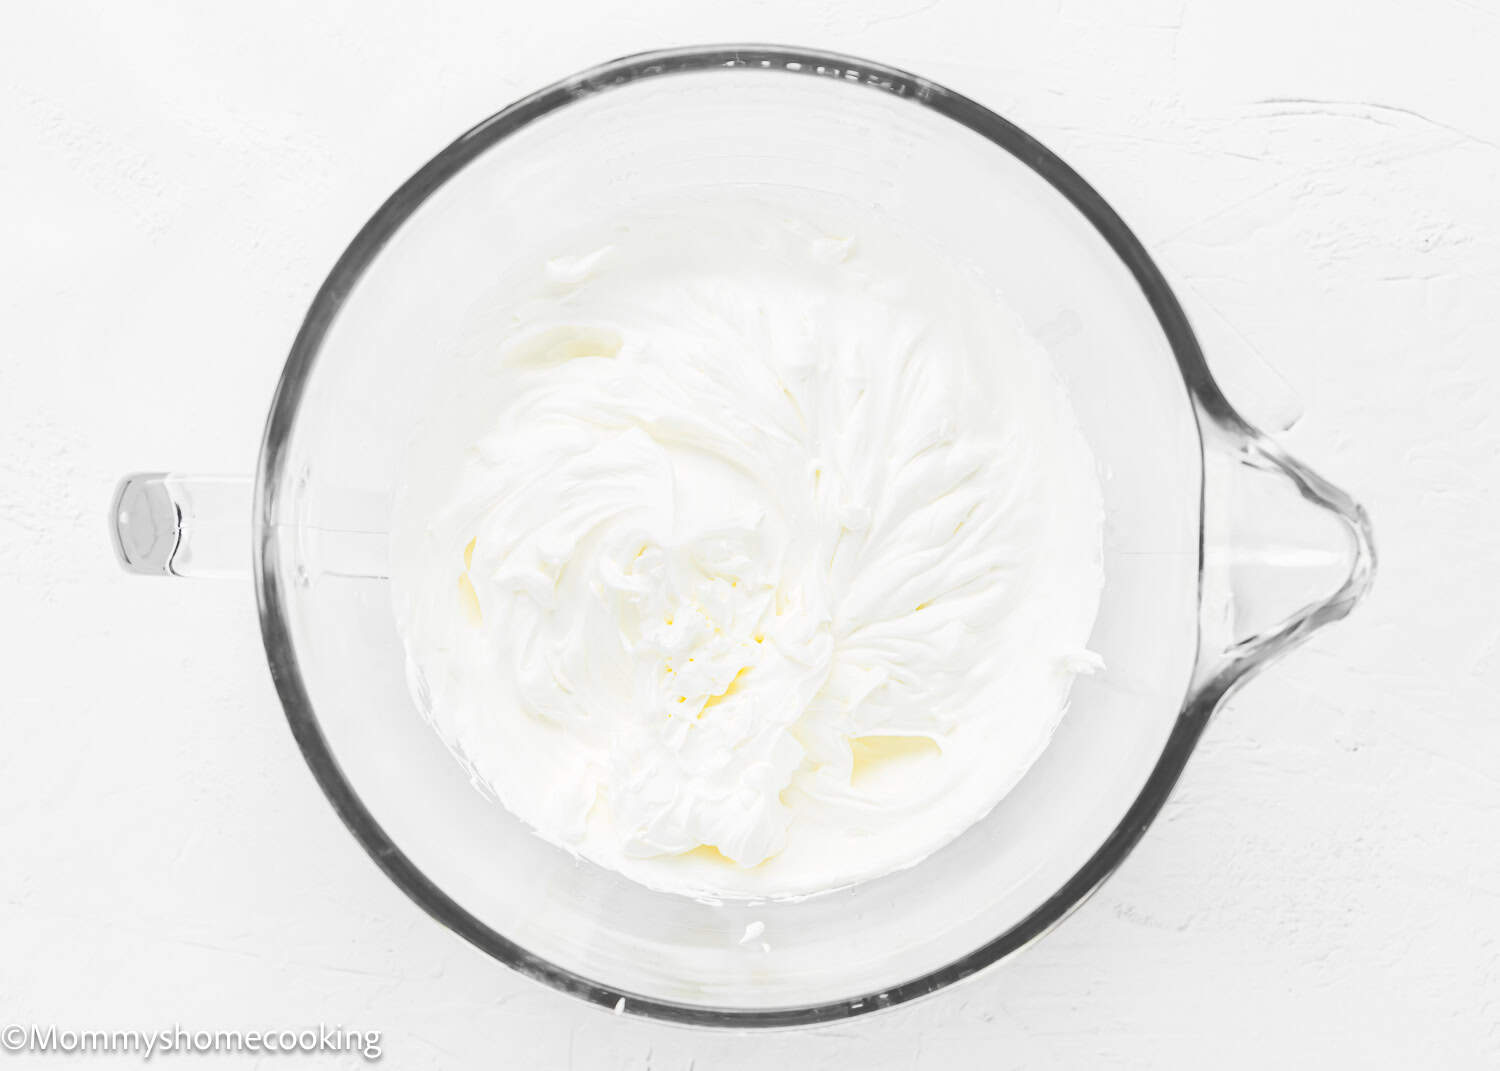
Step 2 – Whip
Pour the heavy cream into a mixing bowl or the bowl of a stand mixer. Whip the cream until thick and stiff peaks form. The mixture will be thick and fluffy, similar in consistency to Cool Whip. This happens quickly, so watch it closely!
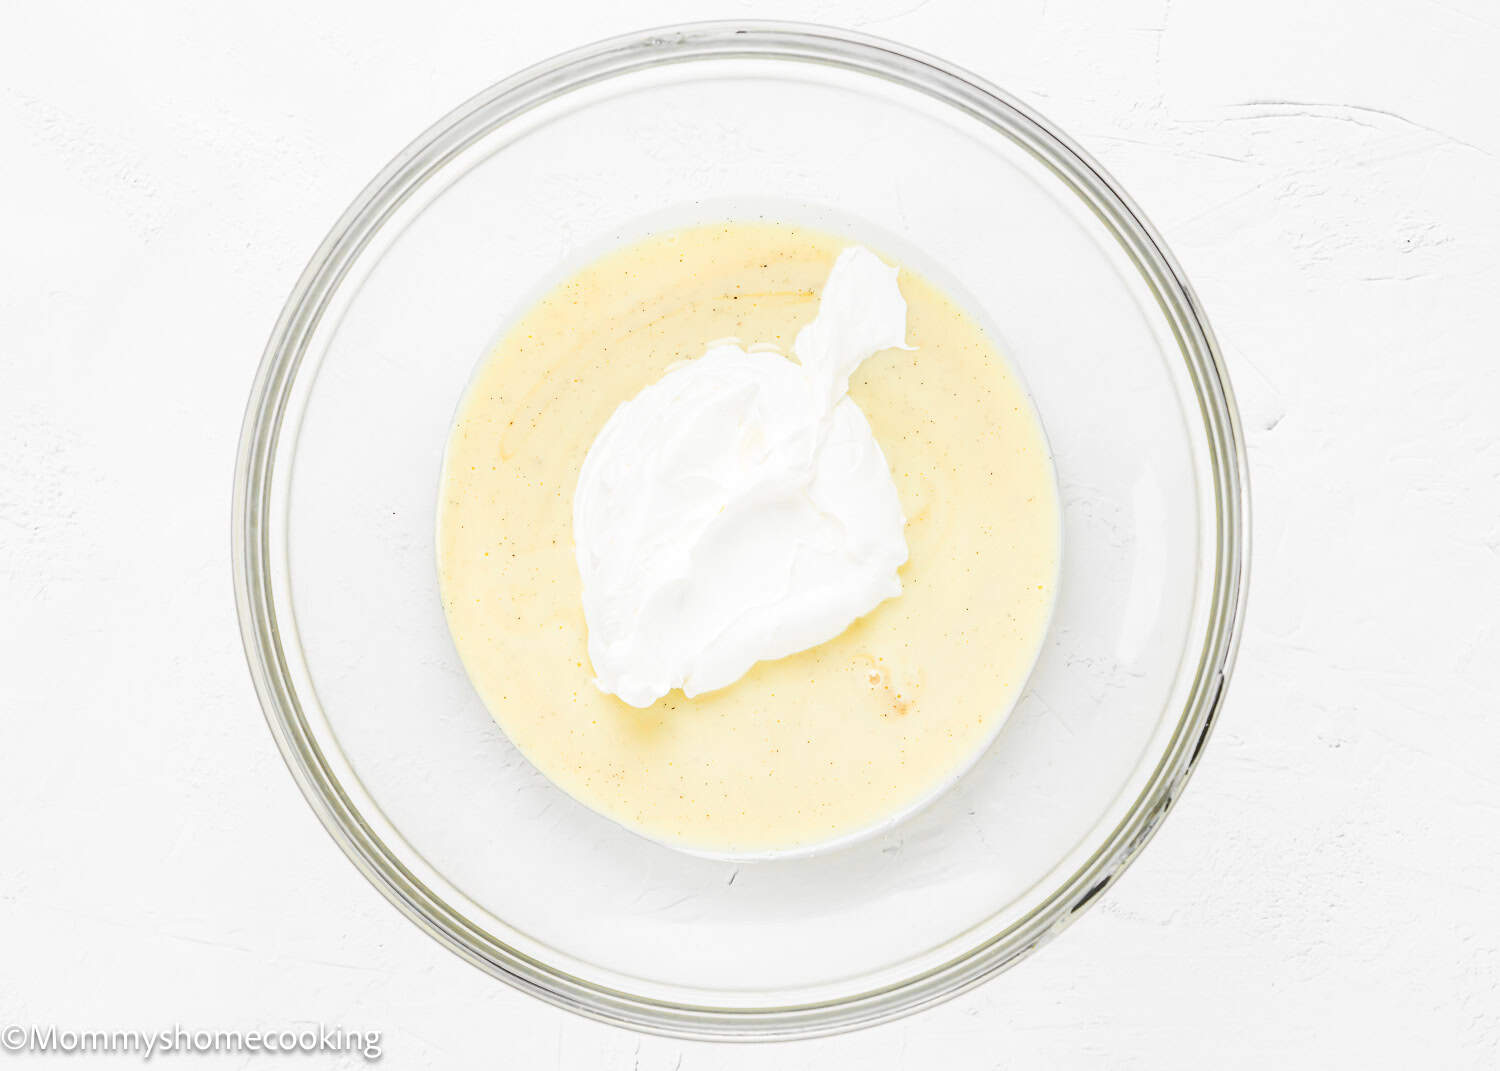
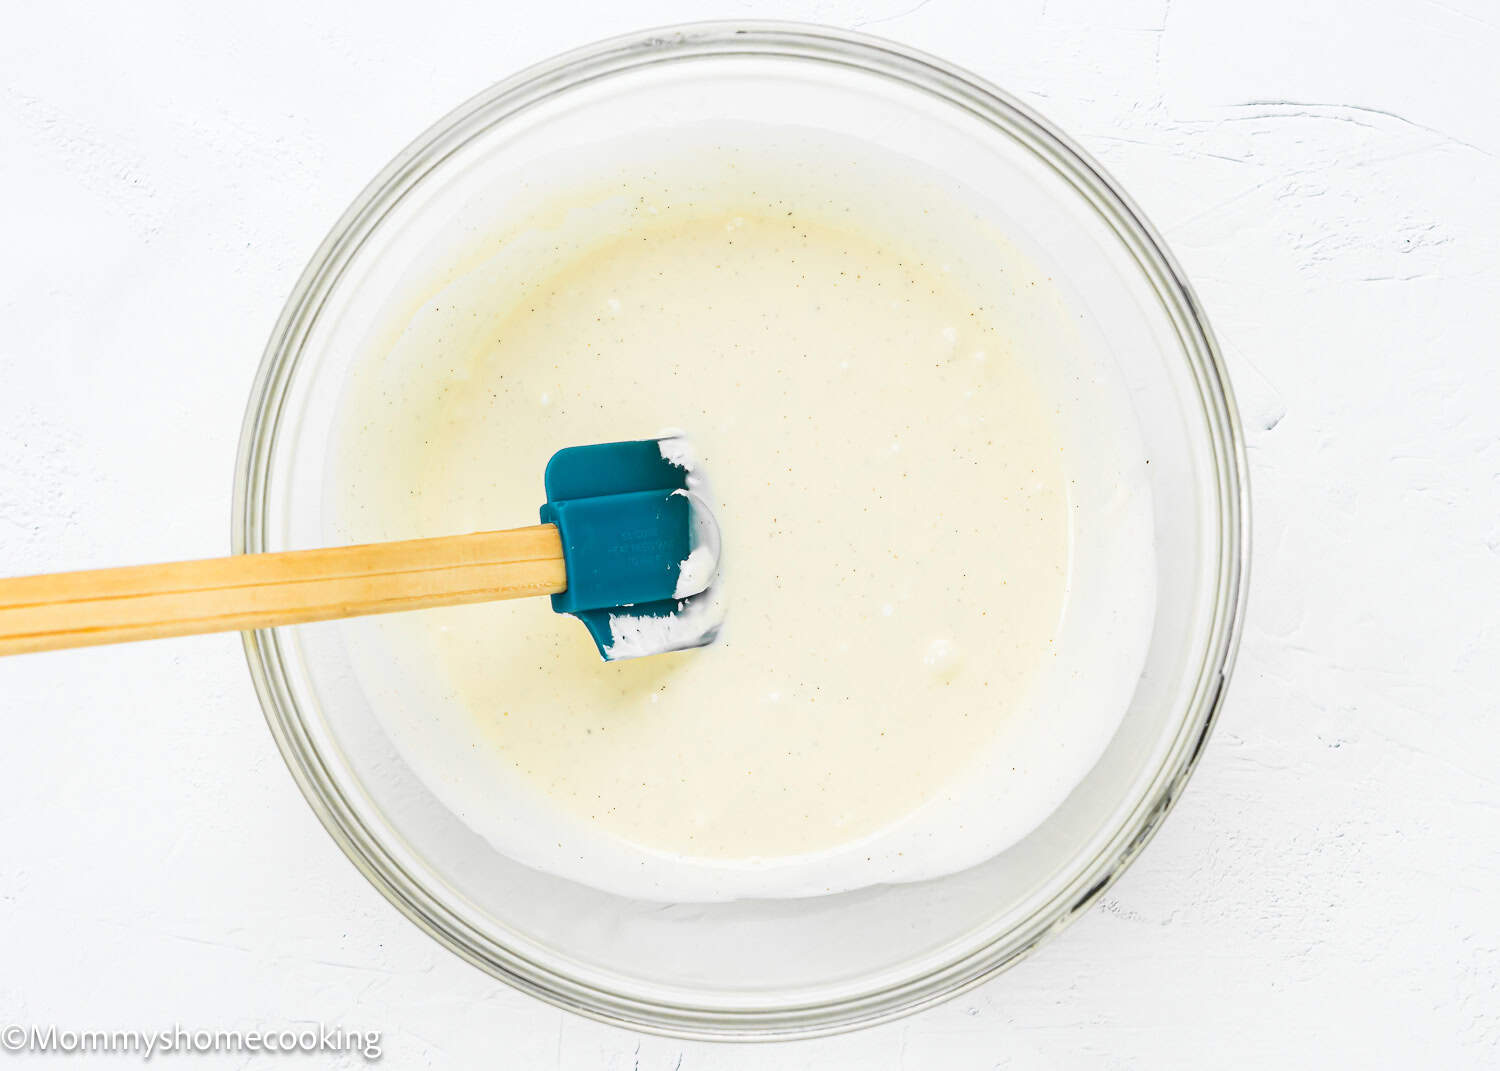
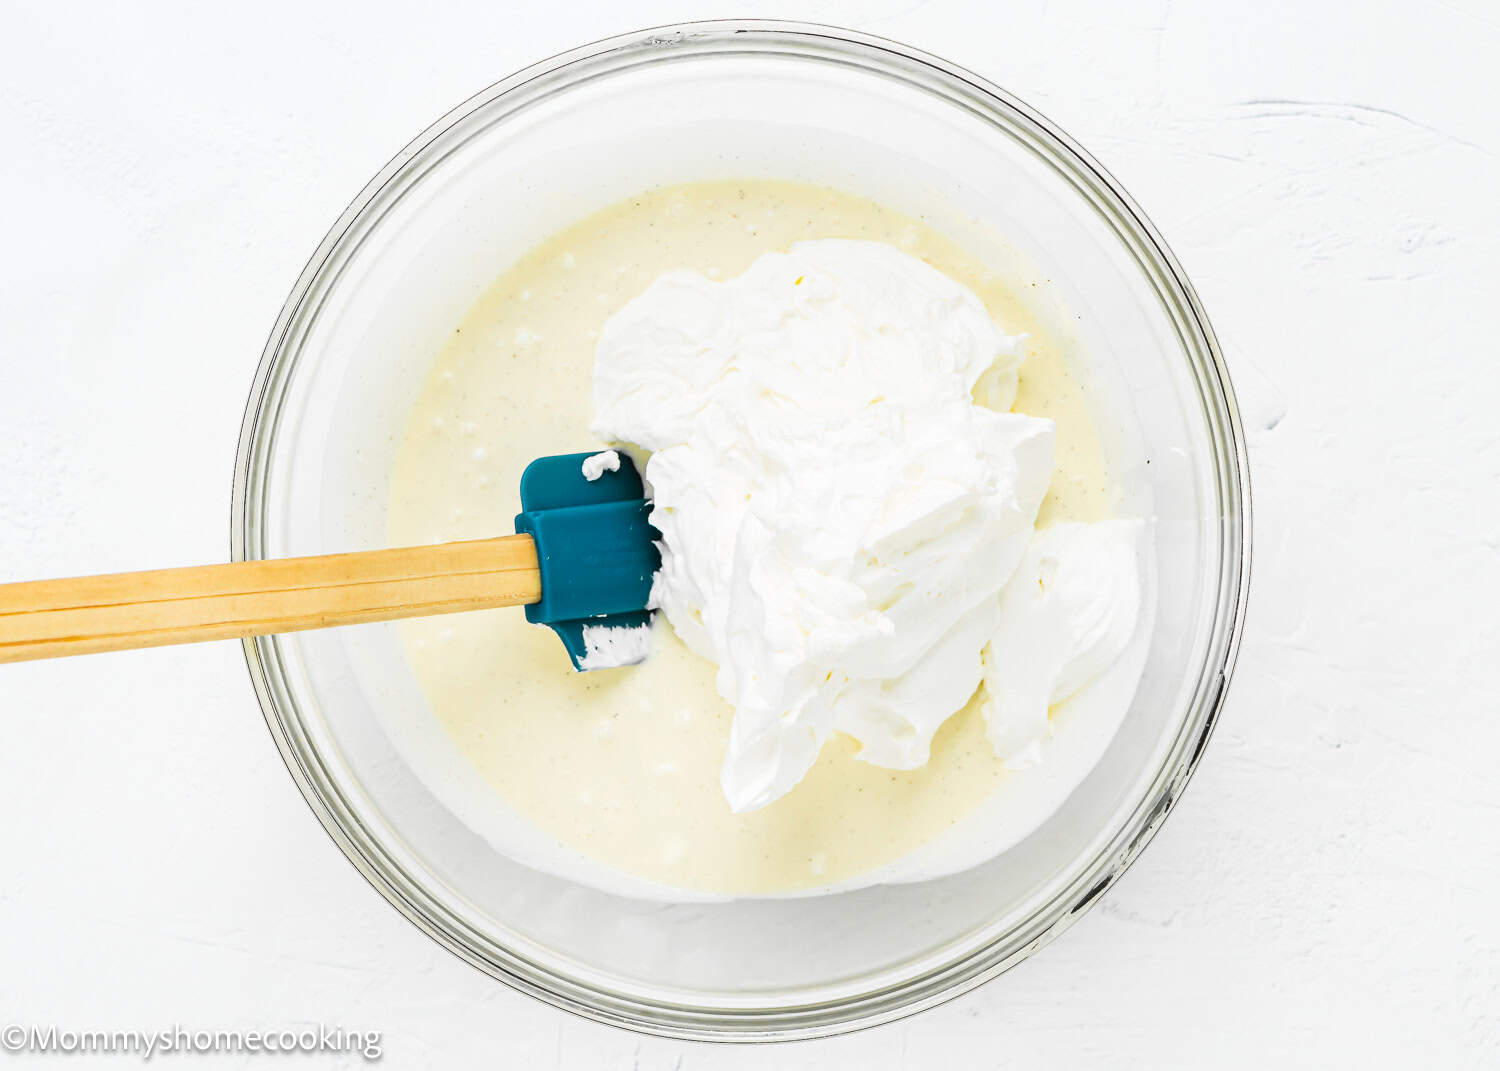
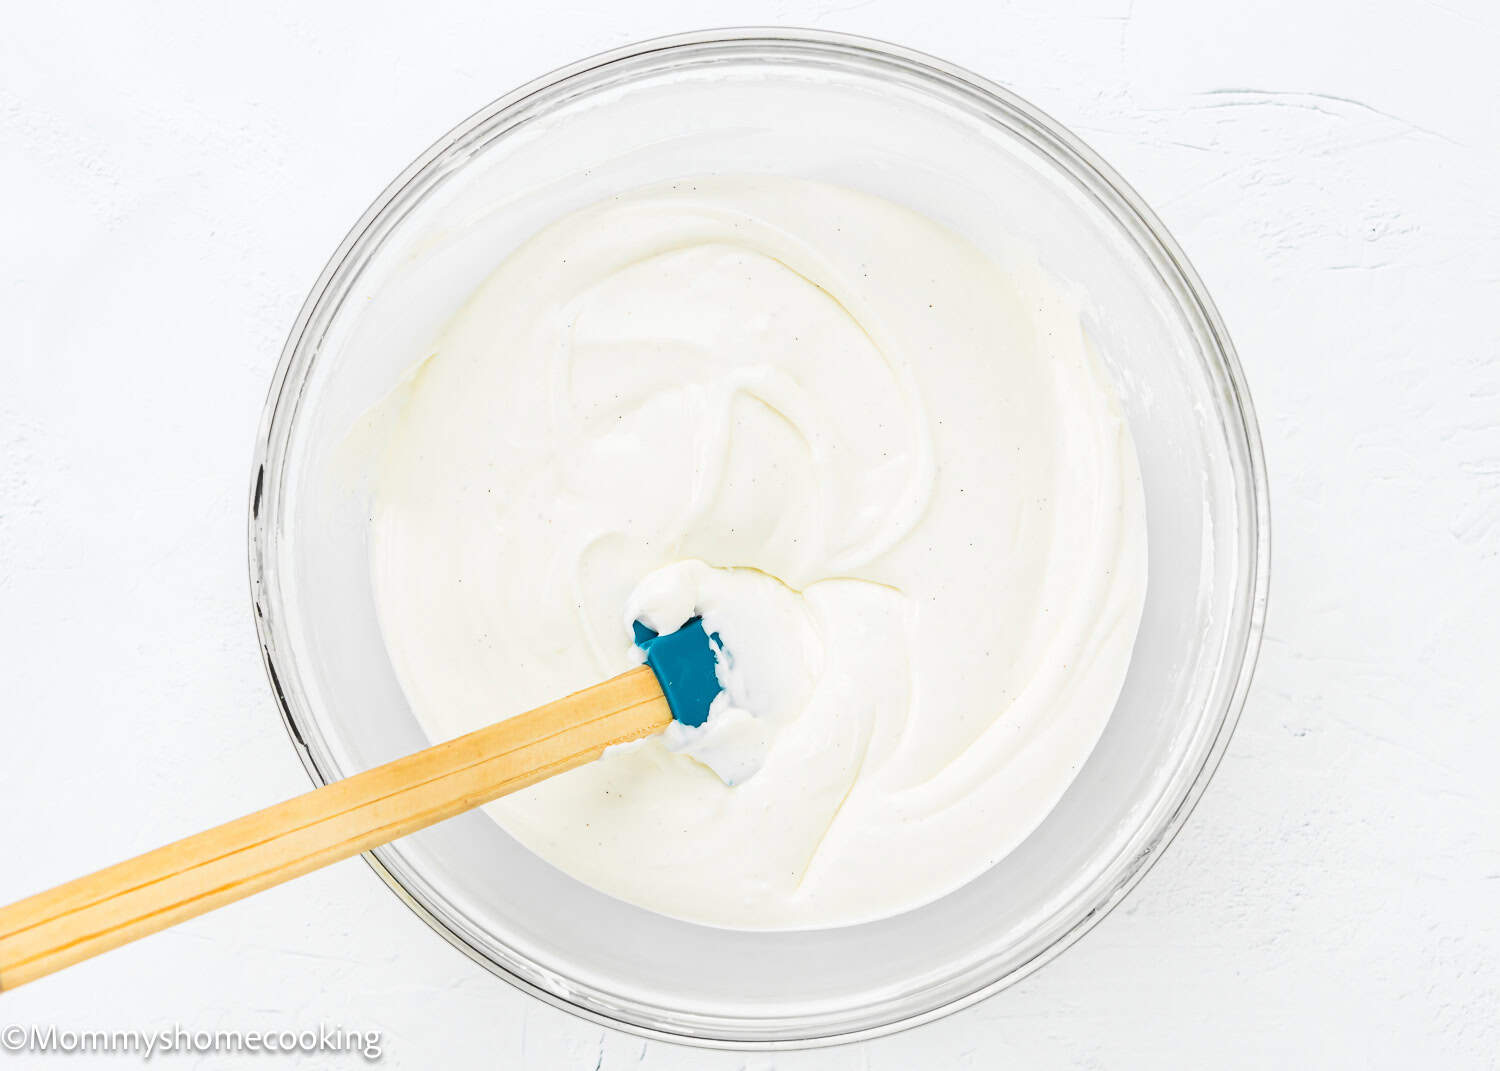
Step 3 – Fold
Gently mix a scoop of the whipped cream into the condensed milk mixture. This lightens the condensed milk and makes it easier to fold into the rest of the whipped cream. Transfer the rest of the whipped cream to the bowl with the condensed milk mixture. Gently fold the whipped cream into the condensed milk – be careful not to deflate the mixture too much or over-mix.
Step 3 – Freeze
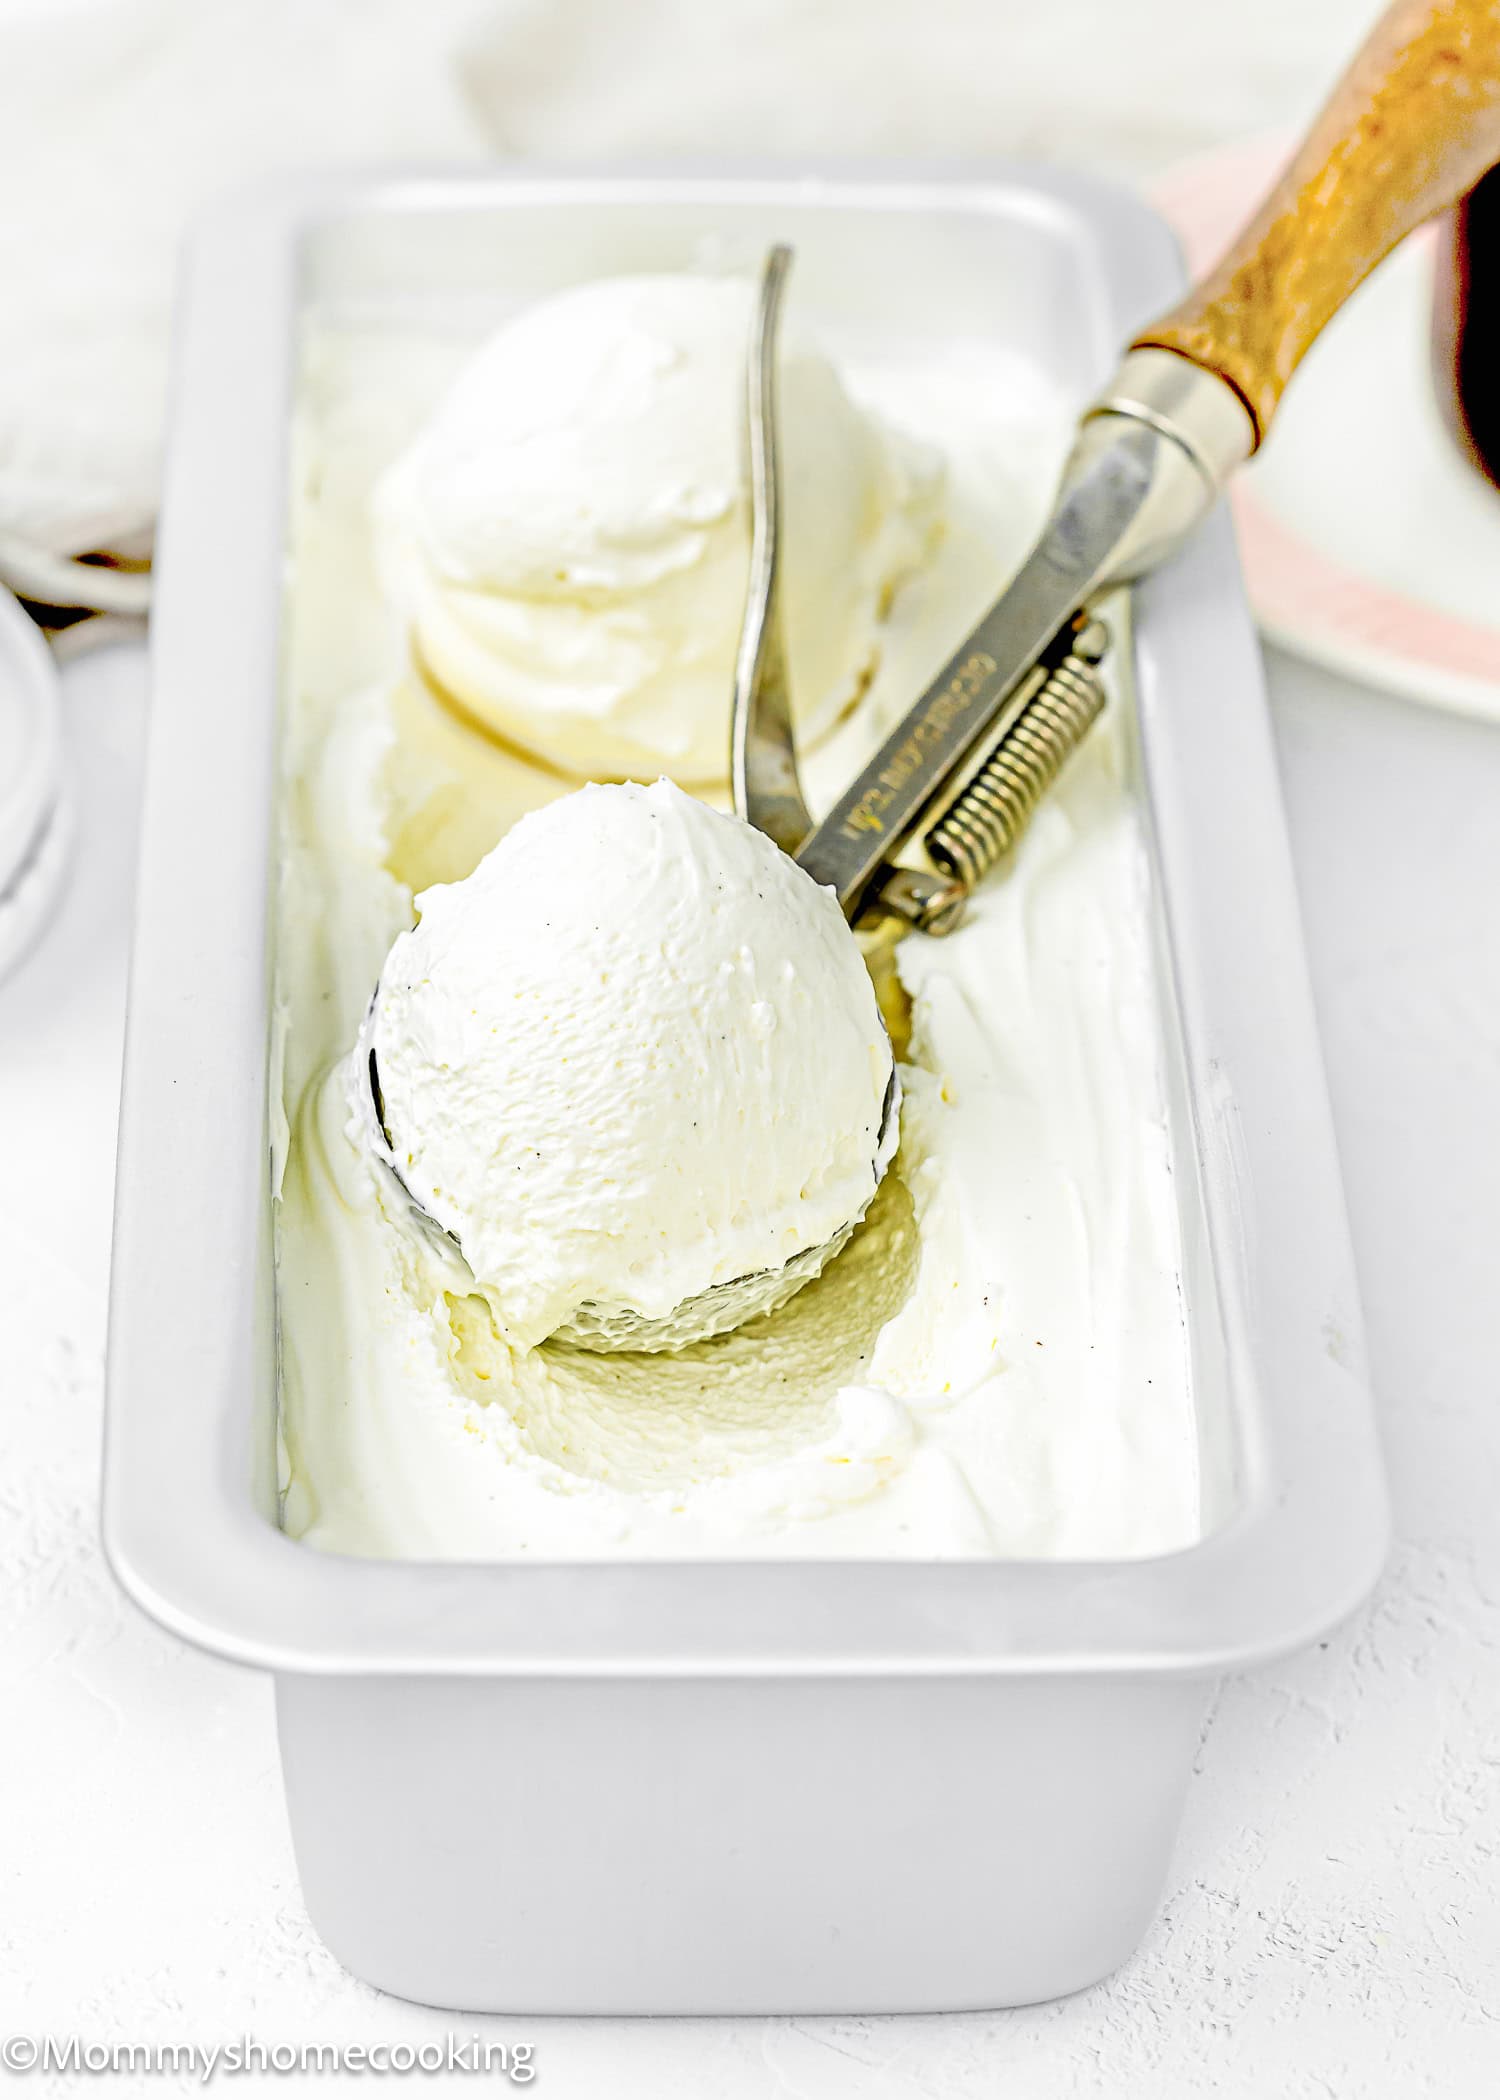
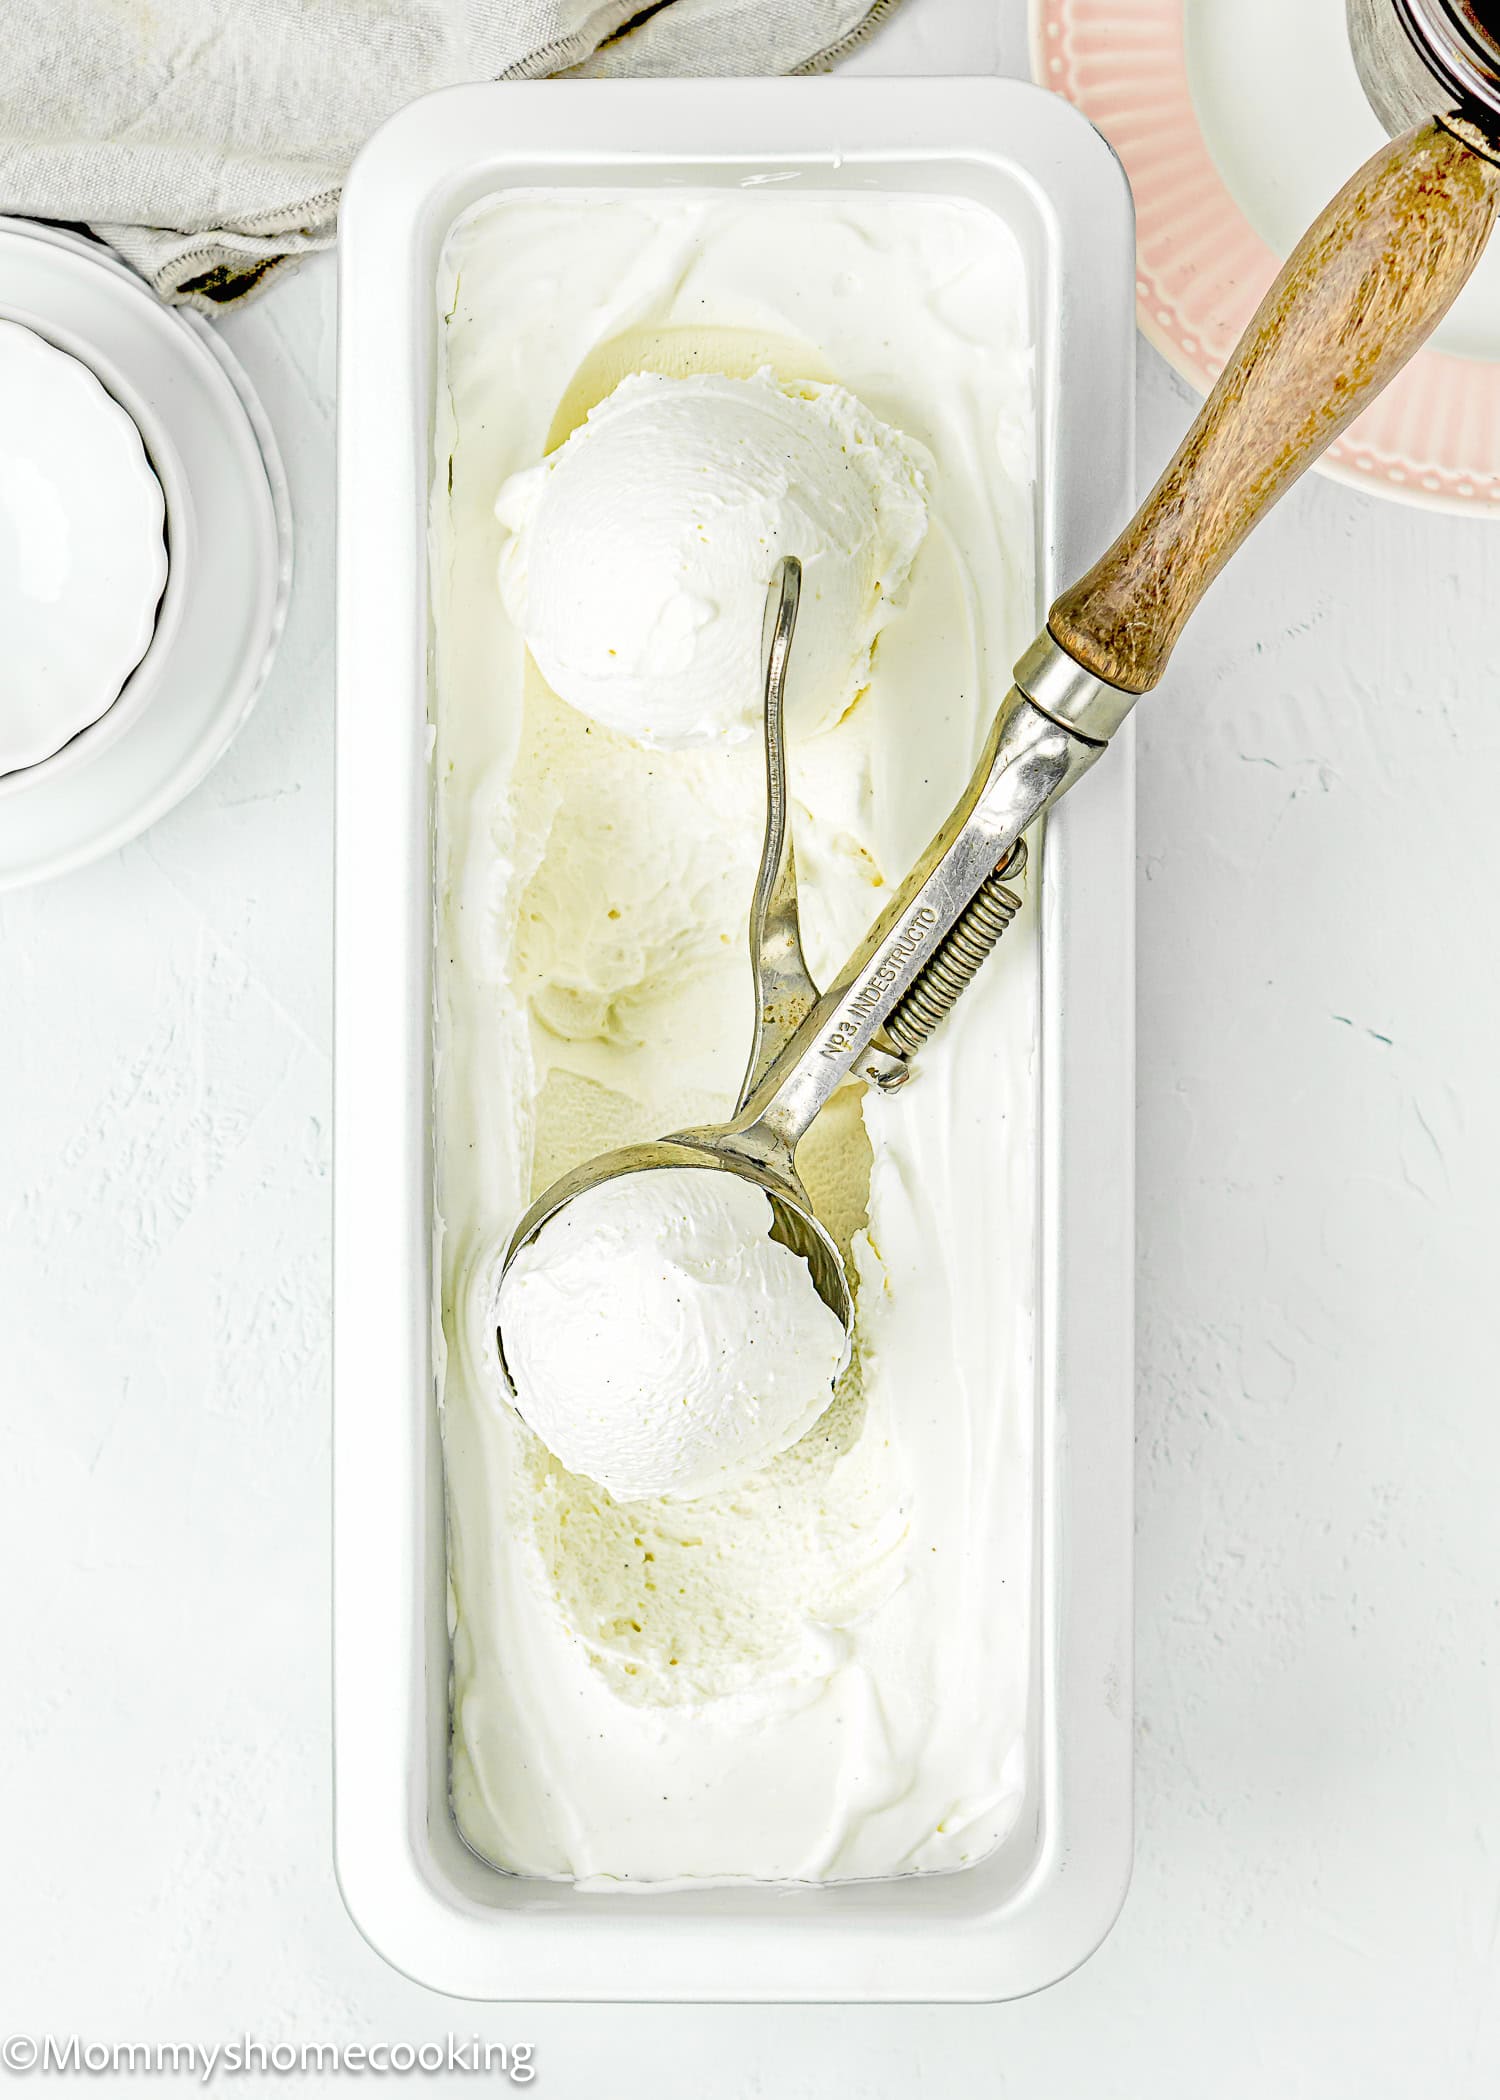
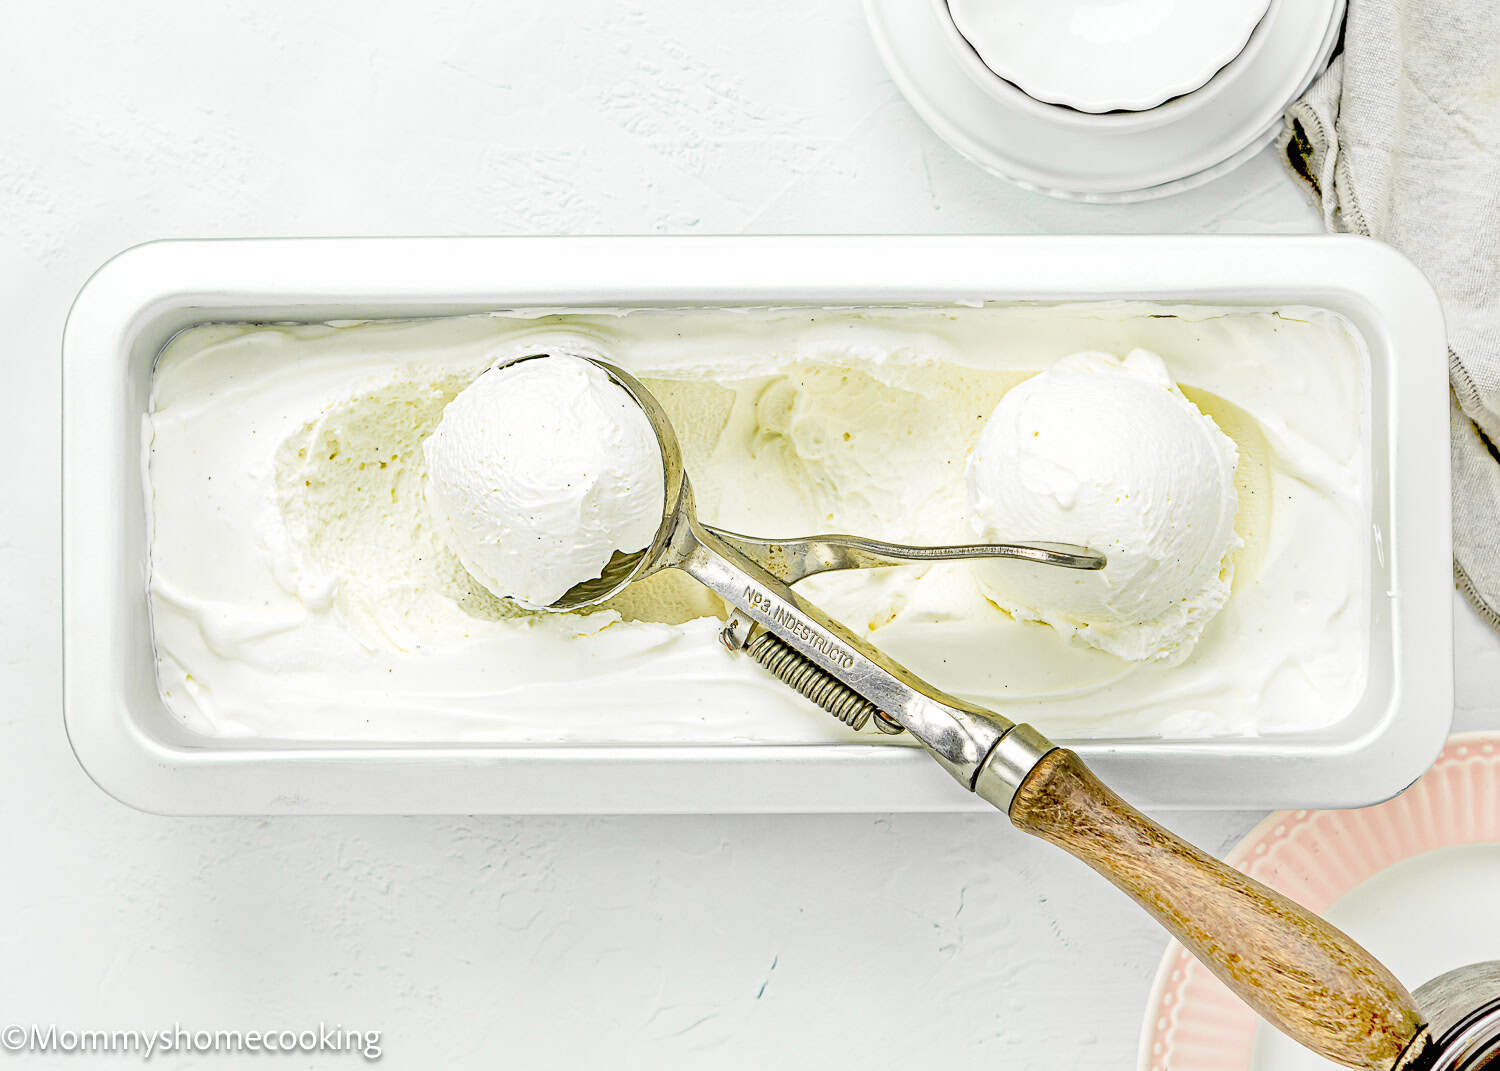
Pour the ice cream mixture into a 9×5” loaf pan. Cover the loaf pan tightly with plastic wrap. Freeze for at least 6 hours or until fully firm, preferably overnight, before scooping and serving.
Food Allergy Swaps
Dairy-Free Version: I haven’t personally tested this recipe using dairy-free alternatives. I will update this recipe when I do. However, you could try substituting the condensed milk with non-dairy condensed milk and the heavy cream with non-dairy heavy cream or coconut cream. I’m not sure how this would turn out, as I haven’t tried it myself, but it’s worth a try! If you do try this, please let me know how it turns out for you. Wheat-Free: This recipe is naturally wheat-free.
Variations & Additions
Chocolate Chips: Add mini chocolate chips for a bit of texture. Fruit Swirls: Gently fold in strawberry sauce, blueberry sauce, or raspberries for a fruity twist. Cookie Dough: Mix in chunks of edible cookie dough for a fun variation.
Serving Suggestions
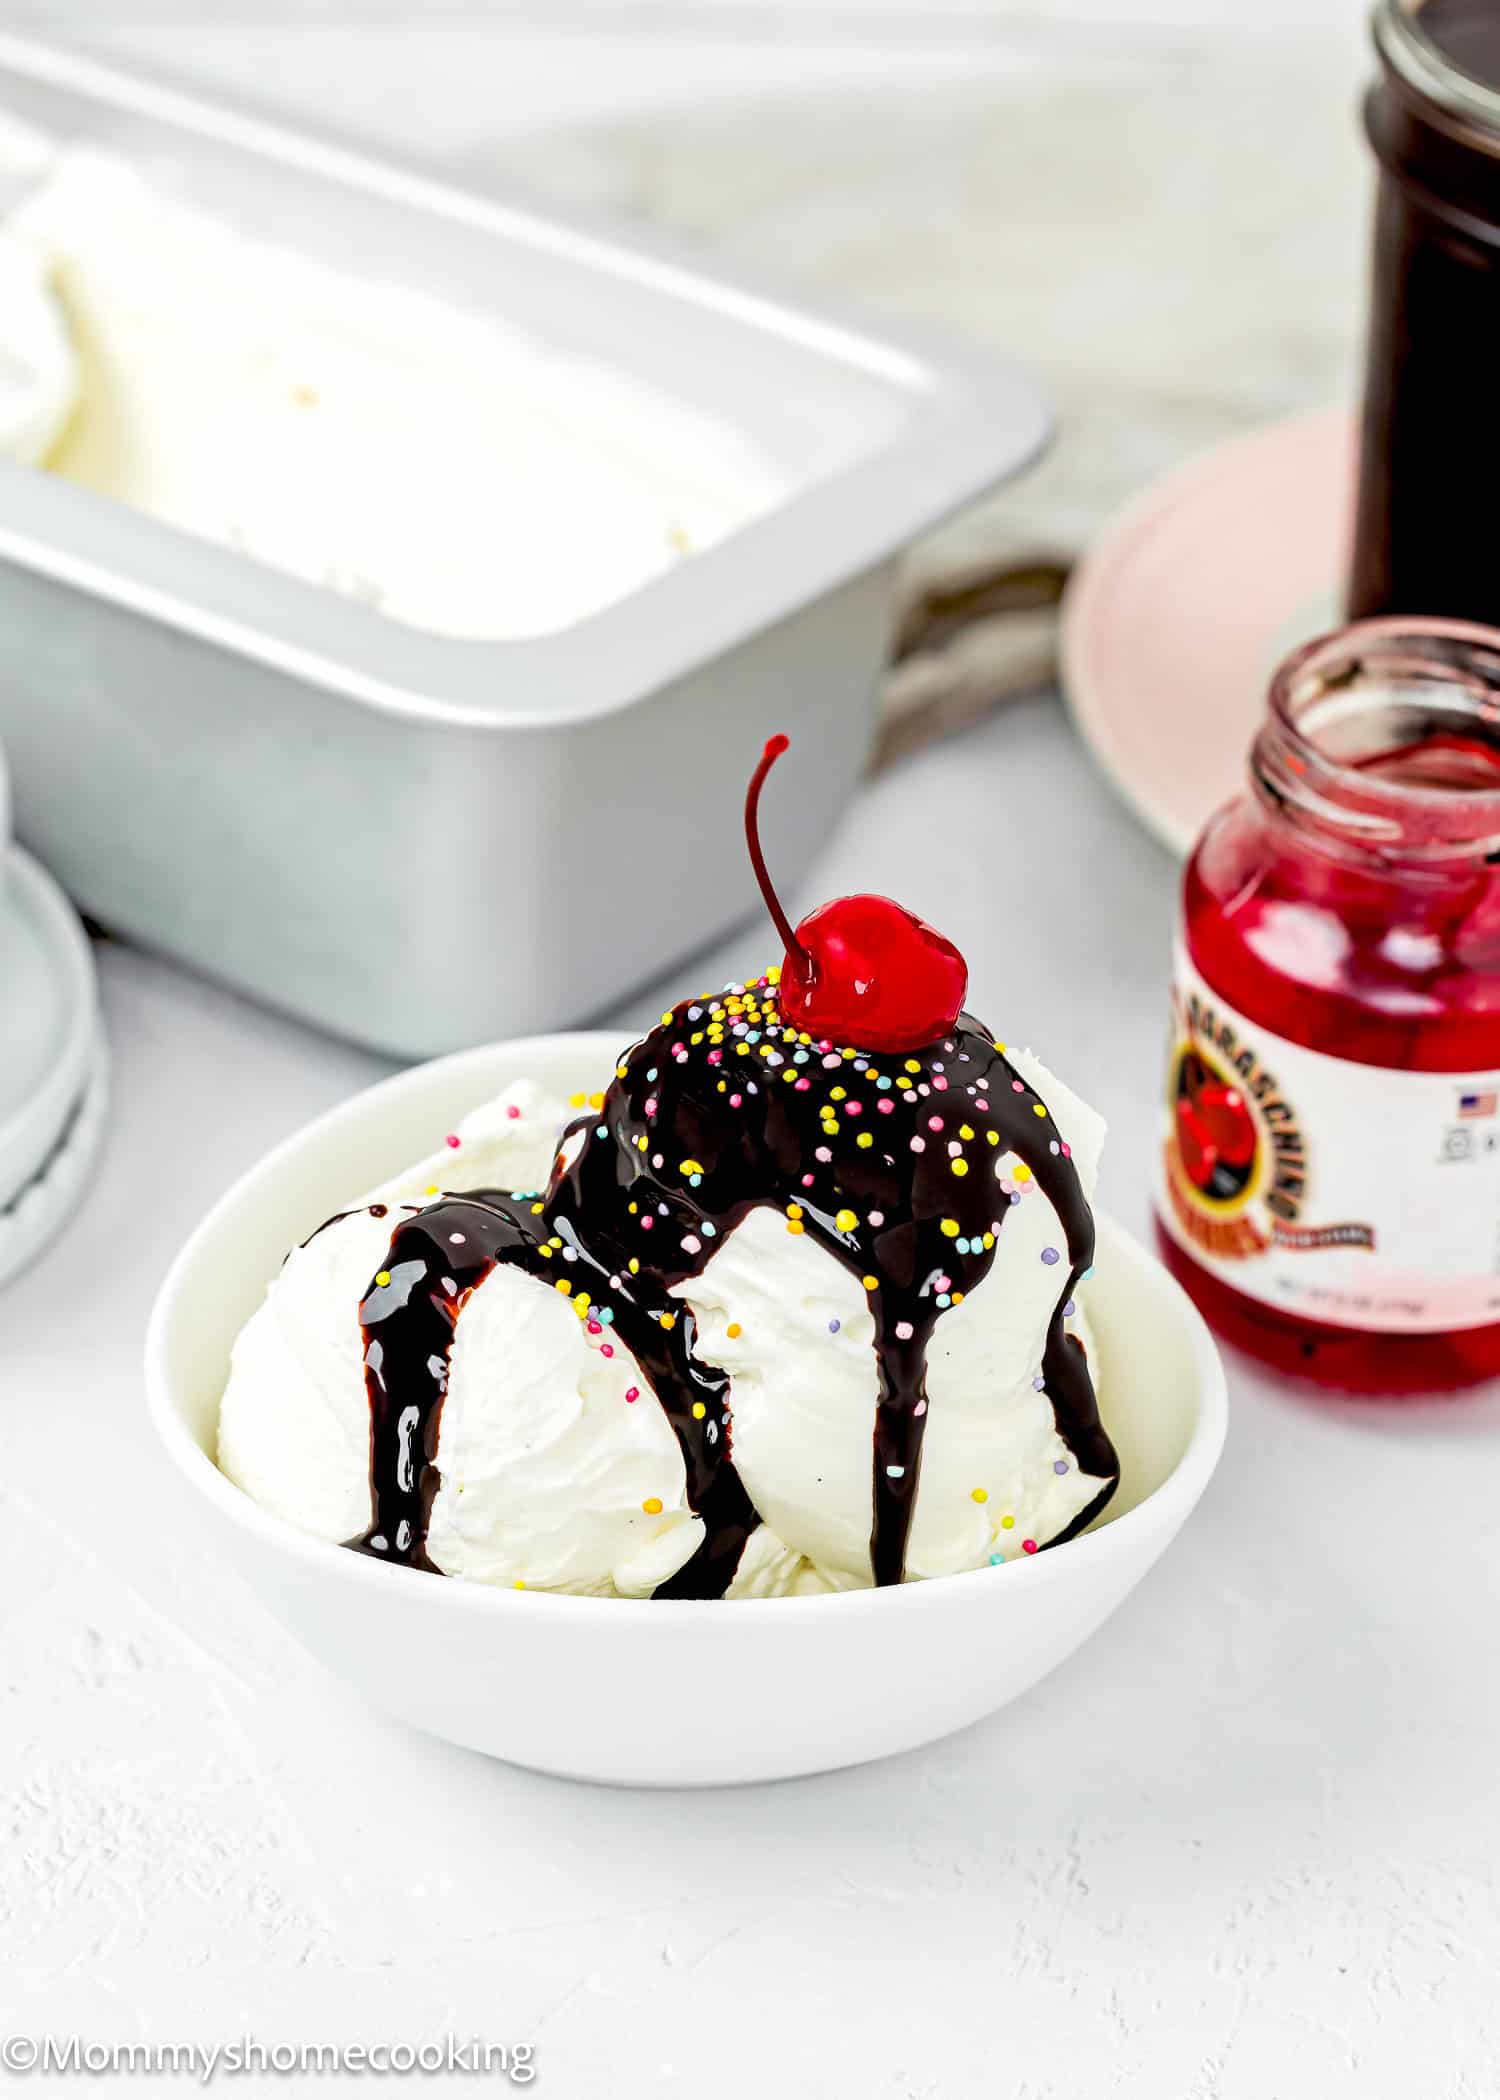
Serve this ice cream in a bowl with your favorite toppings, such as fresh fruit, hot chocolate fudge sauce, or sprinkles. You can also use it to make decadent ice cream sandwiches with your favorite cookies.
Chill the Mixing Bowl: For best results, chill your mixing bowl and beaters in the freezer for about 15 minutes before whipping the cream. Don’t Overwhip: Be careful not to overwhip the cream. You want it to form stiff peaks but not turn into butter. Fold Gently: When combining the whipped cream and condensed milk, fold gently to keep the mixture light and airy. Storage: Pressing plastic wrap against the surface helps prevent freezer burn. Vanilla ice cream will easily pick up freezer odors and flavors, so keep it tightly sealed in a freezer container.
Storing and Freezing Instructions
Store the ice cream in an airtight container in the freezer. For the freshest taste, it’s best enjoyed within a week. However, when stored properly, it lasts for up to 2 months. If it gets too hard, let it sit at room temperature for a few minutes before scooping. Pro-Tip: Pressing plastic wrap against the surface helps prevent freezer burn. Vanilla ice cream will easily pick up freezer odors and flavors, so keep it tightly sealed in a freezer container.
Topping Ideas For You Egg-Free Ice Cream!
Easy Chocolate Hot Fudge Sauce (No Corn-Syrup) Easy Strawberry Topping Sauce Recipe Quick and Easy Homemade Blueberry Sauce Topping (Chunky) Easy Eggless Lemon Curd 3 Ingredient Easy Strawberry Crunch Browse more recipes…
Recipe Card 📖