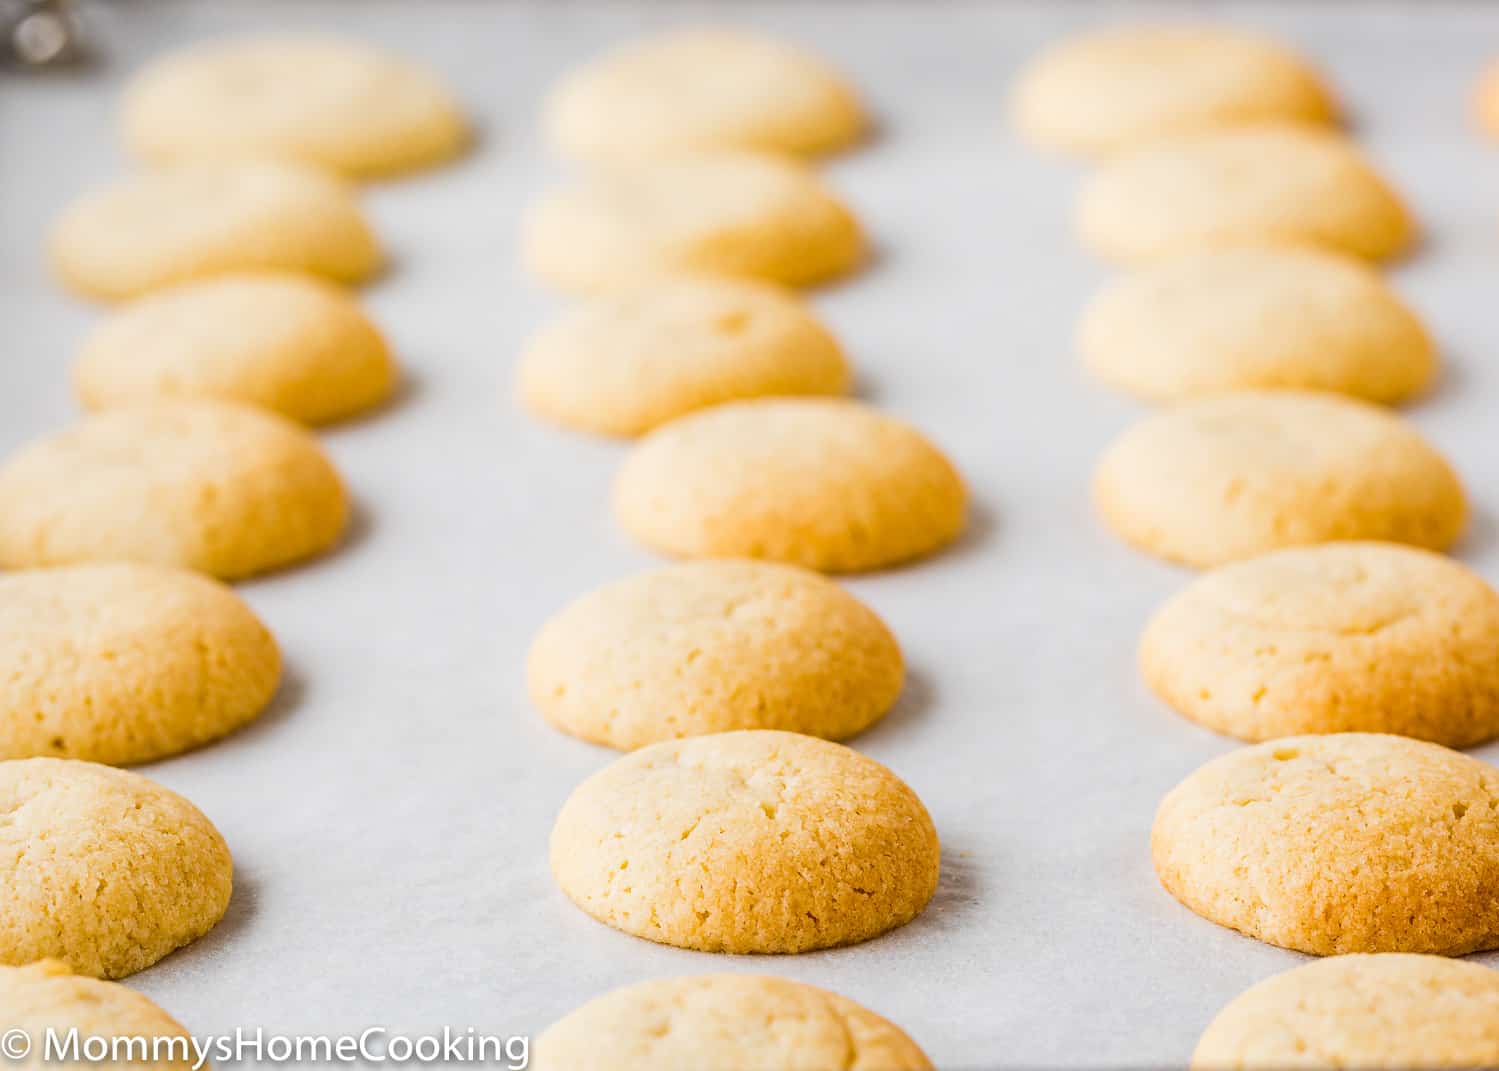
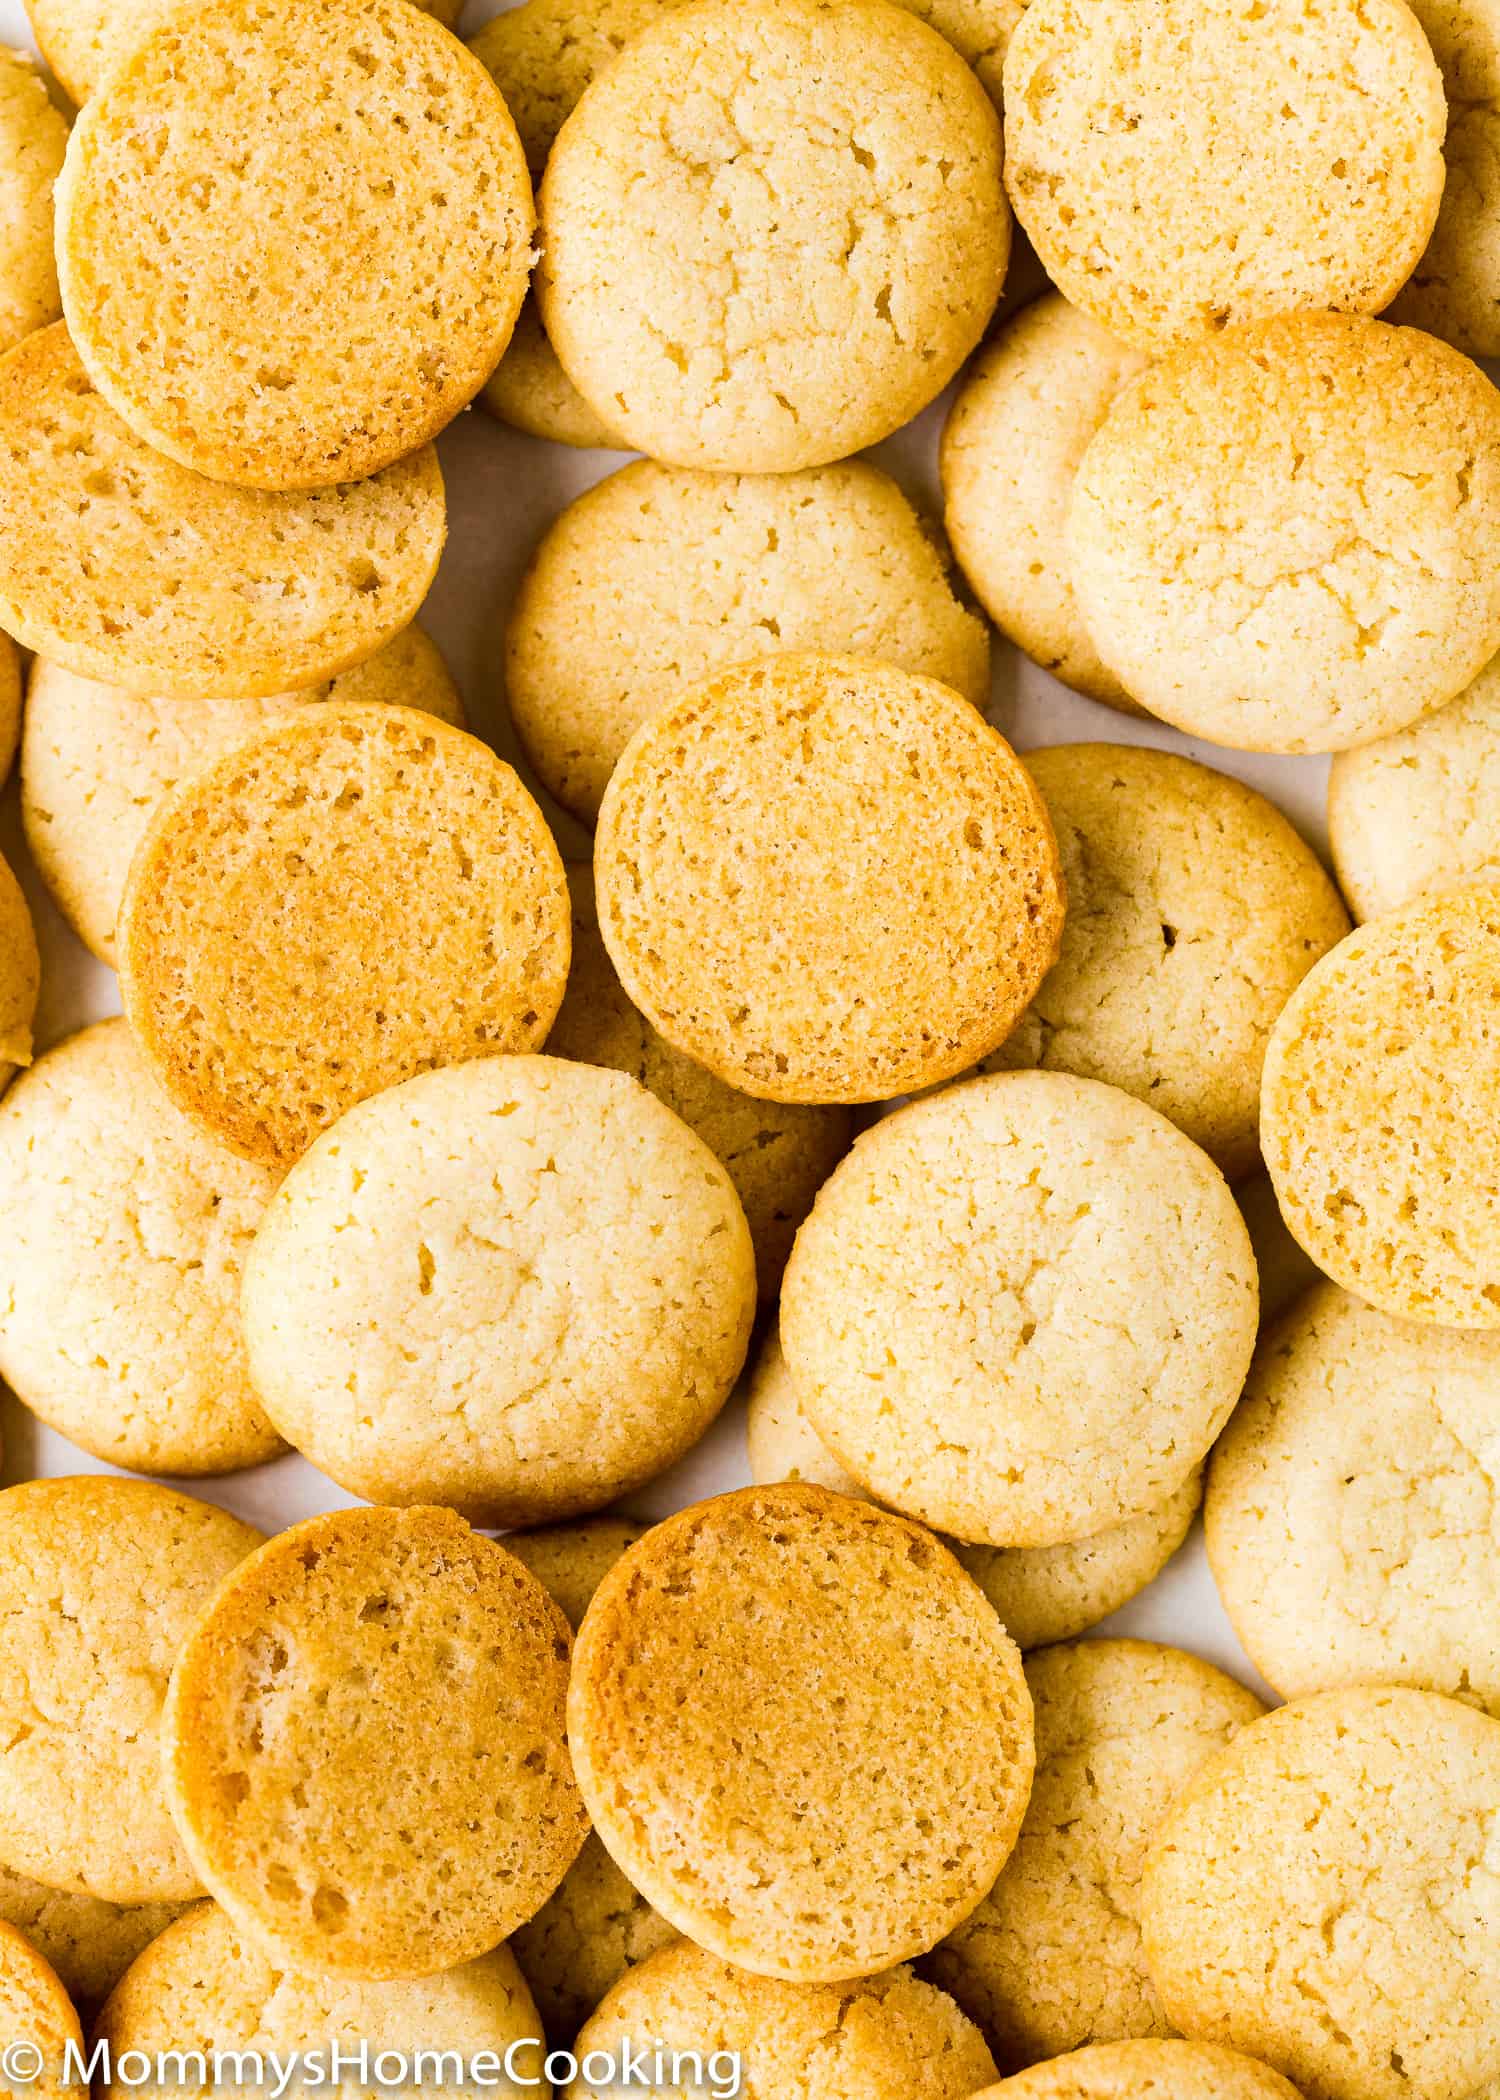
Oriana’s Thoughts On The Recipe
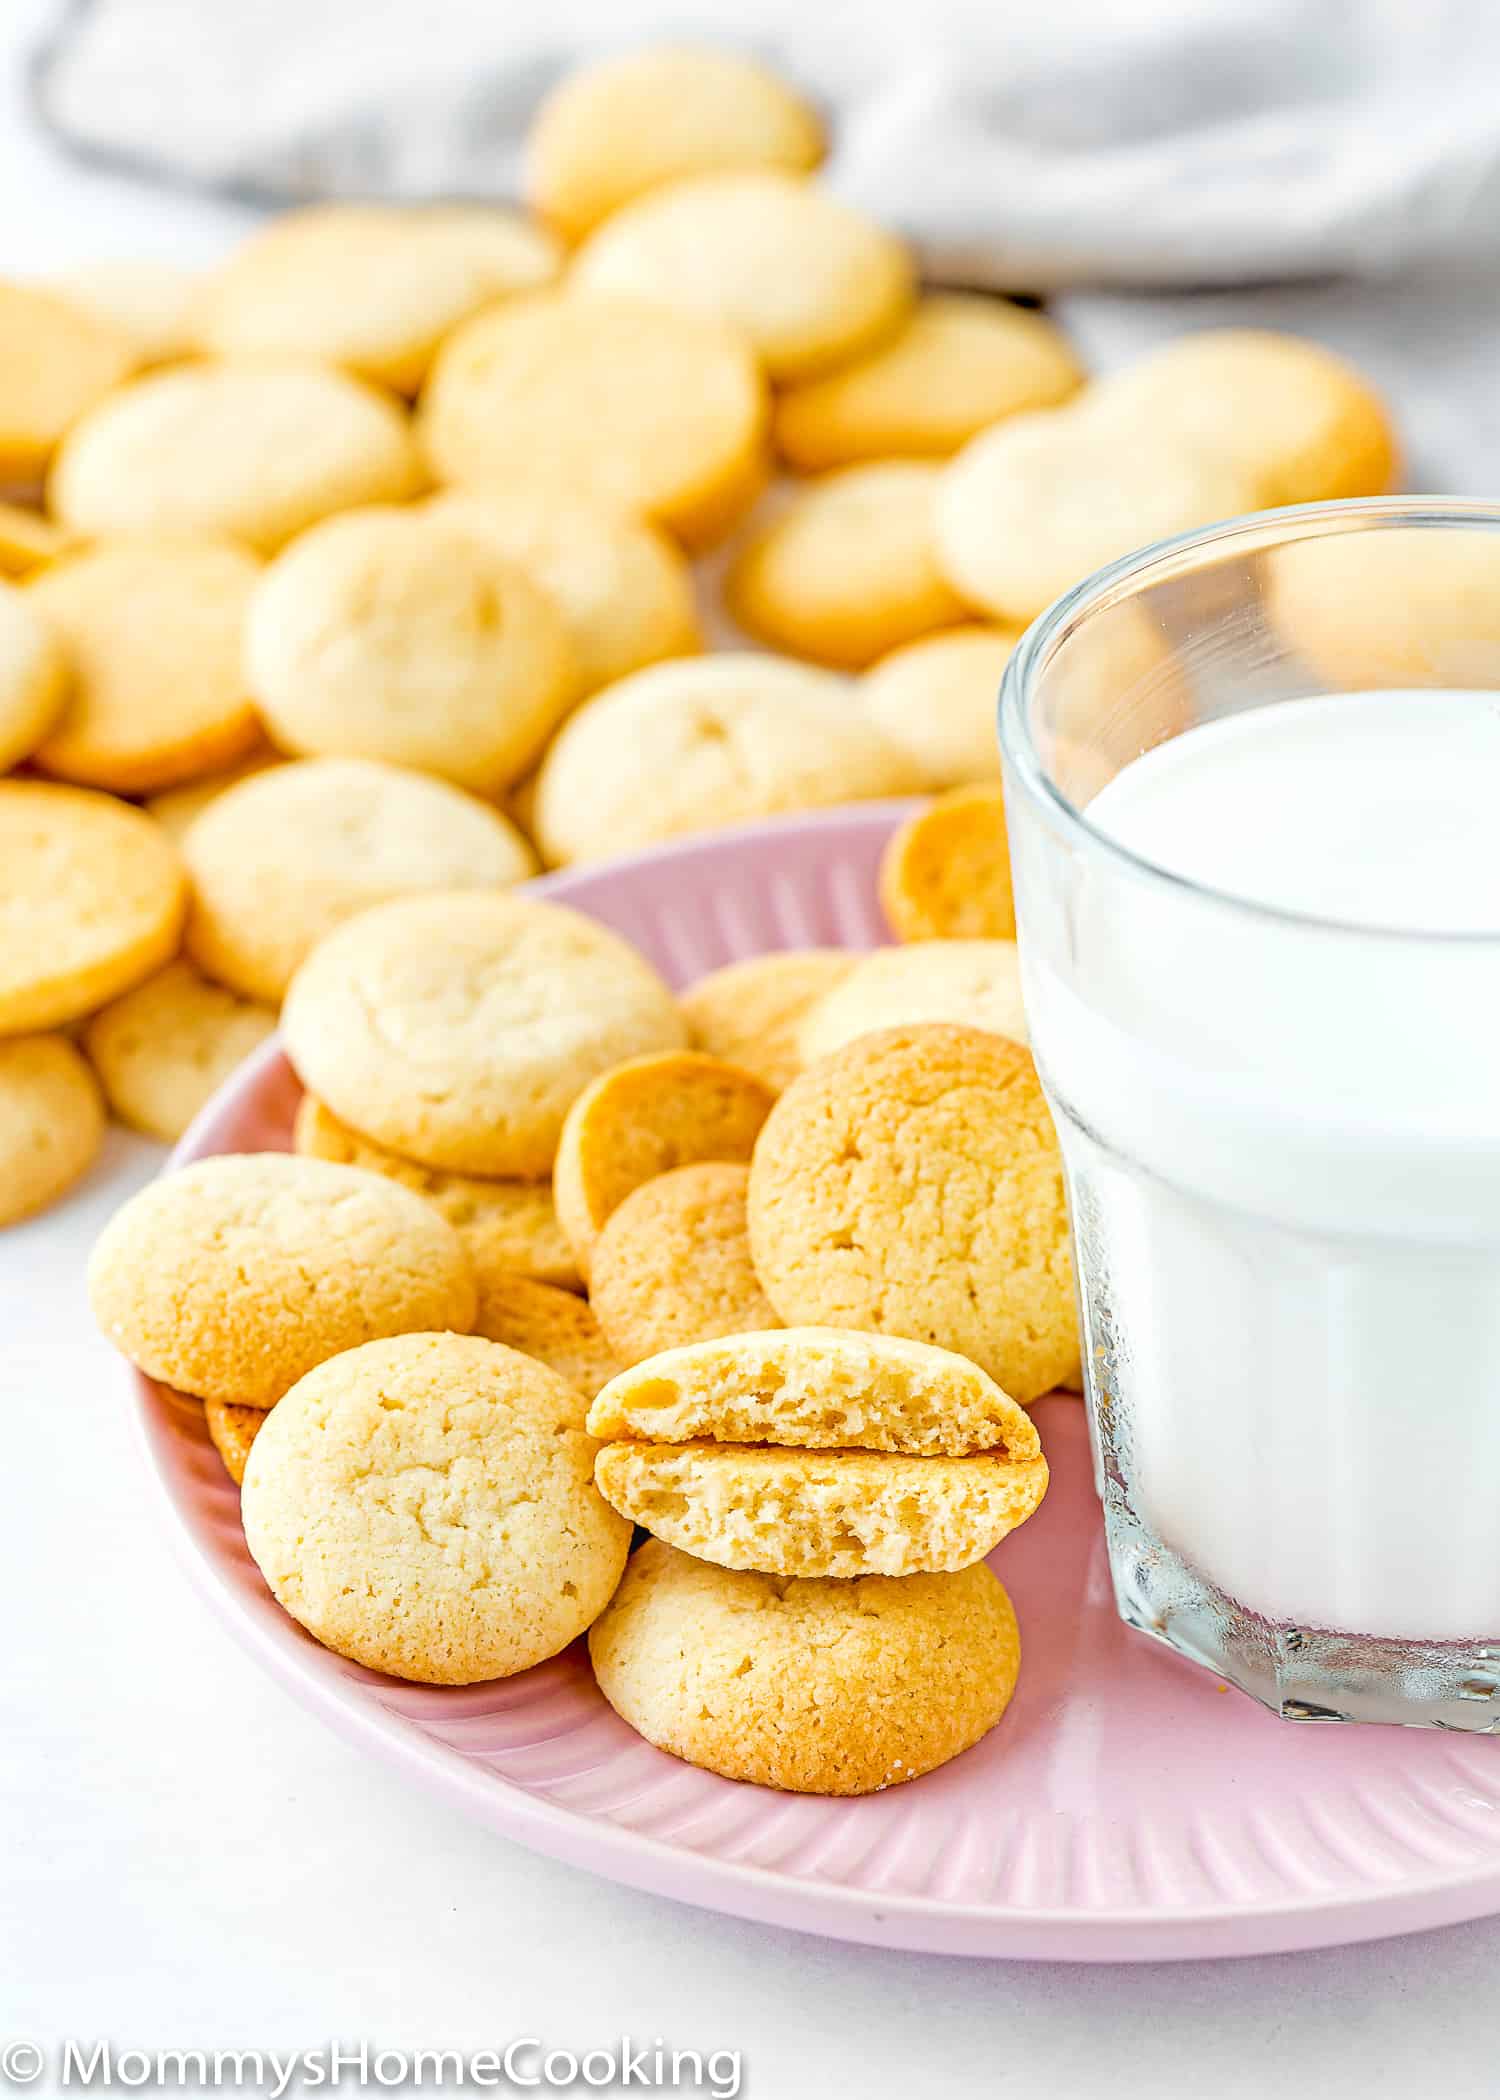
I need to warn you that these little Eggless Vanilla Wafers are addictive! They are buttery, rich, and totally delicious. You probably know that the Vanilla Nilla wafer you can buy in the store has eggs. And even though the reduced-fat version does not have eggs, it’s not always easy to find. But that is not a problem anymore! I finally got the perfect Eggless Vanilla Wafers recipe. This simple recipe calls for basic ingredients you probably already have on hand, meaning there’s no excuse to buy those yellow-box cookies! Plus, these taste 100x better. So let’s get started!
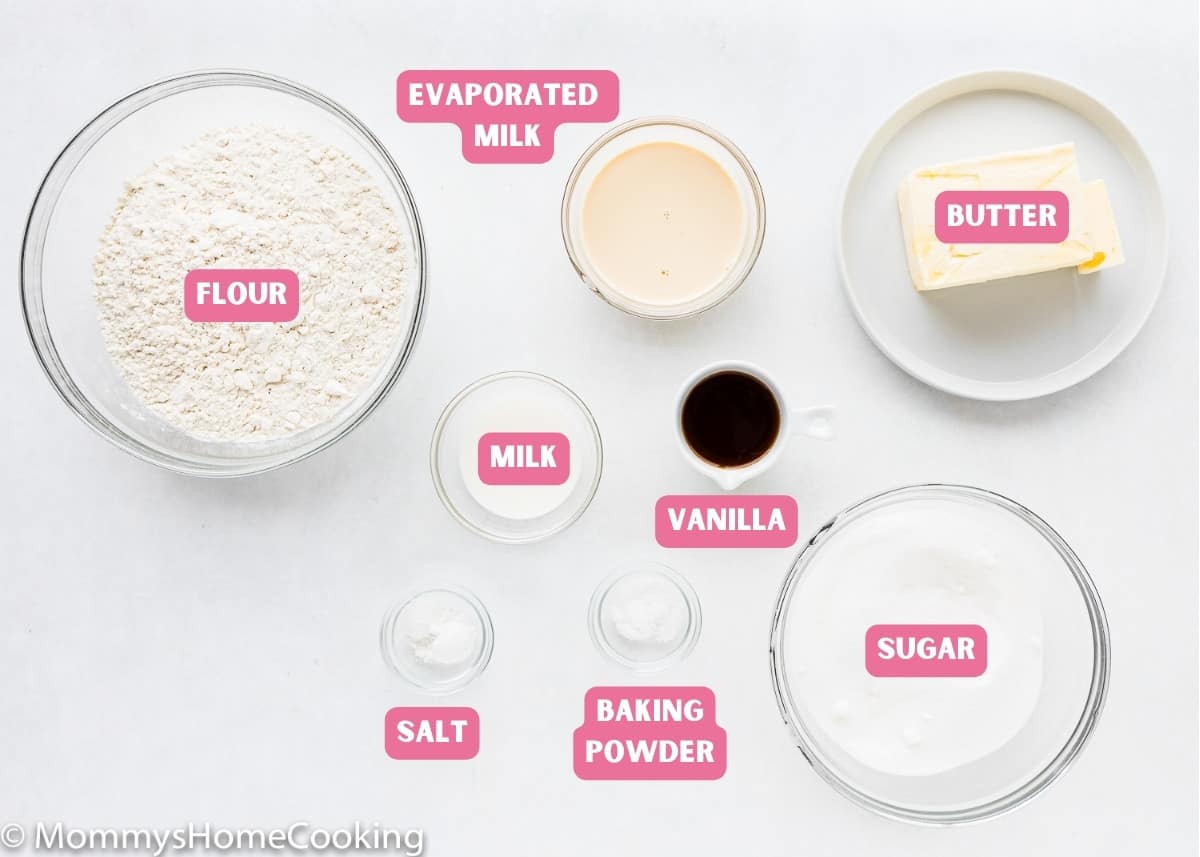
Ingredients You’ll Need, Substitutions & Notes
Please check the recipe card at the bottom of the post for exact quantities and detailed instructions (scroll down).
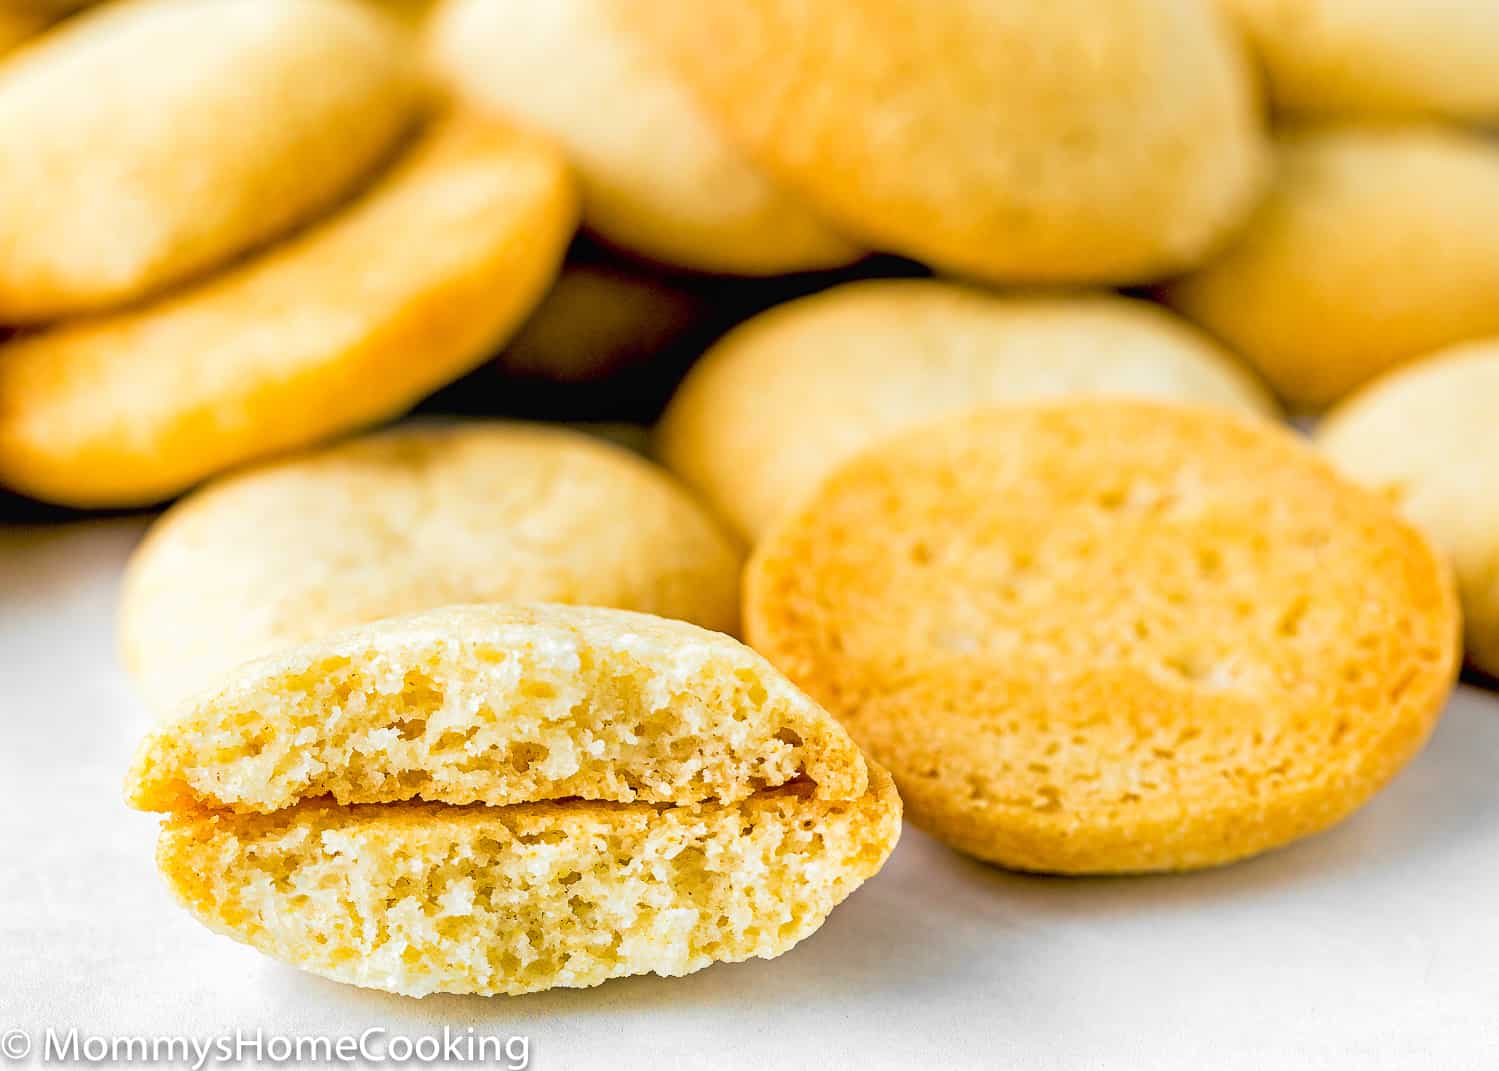
They are rich, buttery, crisp, and melt-in-your-mouth delicious! No chilling time is required. Made from scratch. No artificial ingredients. They’re easy to make, fuss-free. Made with simple ingredients. Perfect for making Eggless Banana Pudding or snacking on its own.
Pro Tip: To get that classic light and crispy texture, make sure to cream the butter and sugar properly until light and fluffy. This step helps incorporate air into the batter, creating a better texture.
2 – Browning Too Quickly: Since these cookies are small, they can brown too fast, resulting in a burnt taste or too crisp texture.
Pro Tip: Keep an eye on the baking time and use an oven thermometer to ensure the correct temperature. If your oven runs hot, lower the temperature by 5-10 degrees.
Flour: Standard all-purpose flour works best here; skip the cake flour, bread flour, and wheat flour. Baking powder: Make sure it’s not expired or too old. Salt: I prefer kosher or sea salt. If you only have table salt handy, I recommend reducing the amount to half. Butter: I prefer to use unsalted butter, but if you only have salted butter handy, you can use it. In this case, skip the salt called in the recipe. Sugar: Regular white granulated sugar or caster sugar. Evaporated milk: You don’t have evaporated milk? No problem!! Check out my post about How to Make Evaporated Milk at home. Vanilla extract: For optimal flavor, reach for pure vanilla instead of imitation. Even better, try homemade vanilla extract! Milk: For baking, I like to use whole milk. However, you can use any milk you have handy.
Food Allergy Swaps
Gluten-Free: Use a gluten-free, all-purpose flour blend. Look for a gluten-free flour blend specifically formulated for baking, as it will have the right combination of flours and starches to mimic the texture of wheat flour. My favorite is Better Batter Original Blend. I also like Doves Farm Freee Gluten-Free All-Purpose Flour, but this blend does not contain xanthan gum, so you need to add 1/4 teaspoon of xanthan gum per cup (140 g) of gluten-free flour blend. Dairy-Free: To make this recipe dairy-free, you can easily swap out the dairy ingredients for non-dairy alternatives. Butter: Use vegan butter instead of dairy butter. Many brands are available in stores. I usually use Earth Balance Vegan Buttery Sticks or Miyoko’s Creamery Organic Vegan Butter. For the evaporated milk, use evaporated coconut milk or evaporated oat milk, or make your own dairy-free evaporated milk with your favorite plant-based milk. Evaporated milk is just milk that has been reduced to eliminate the water content, so it’s super easy to make at home with any milk of your choice. Check out my How to Make Evaporated Milk post. Milk: Instead of milk, use non-dairy milk like soy or oat milk.
Process Overview: Step-by-Step Photos
Please check the recipe card at the bottom of the post for exact quantities and detailed instructions (scroll down).
Step 1 – Preheat the Oven & Prepare the Baking Sheets
Preheat the oven to 350º F (180º C) and line two baking sheets with parchment paper. Set aside.
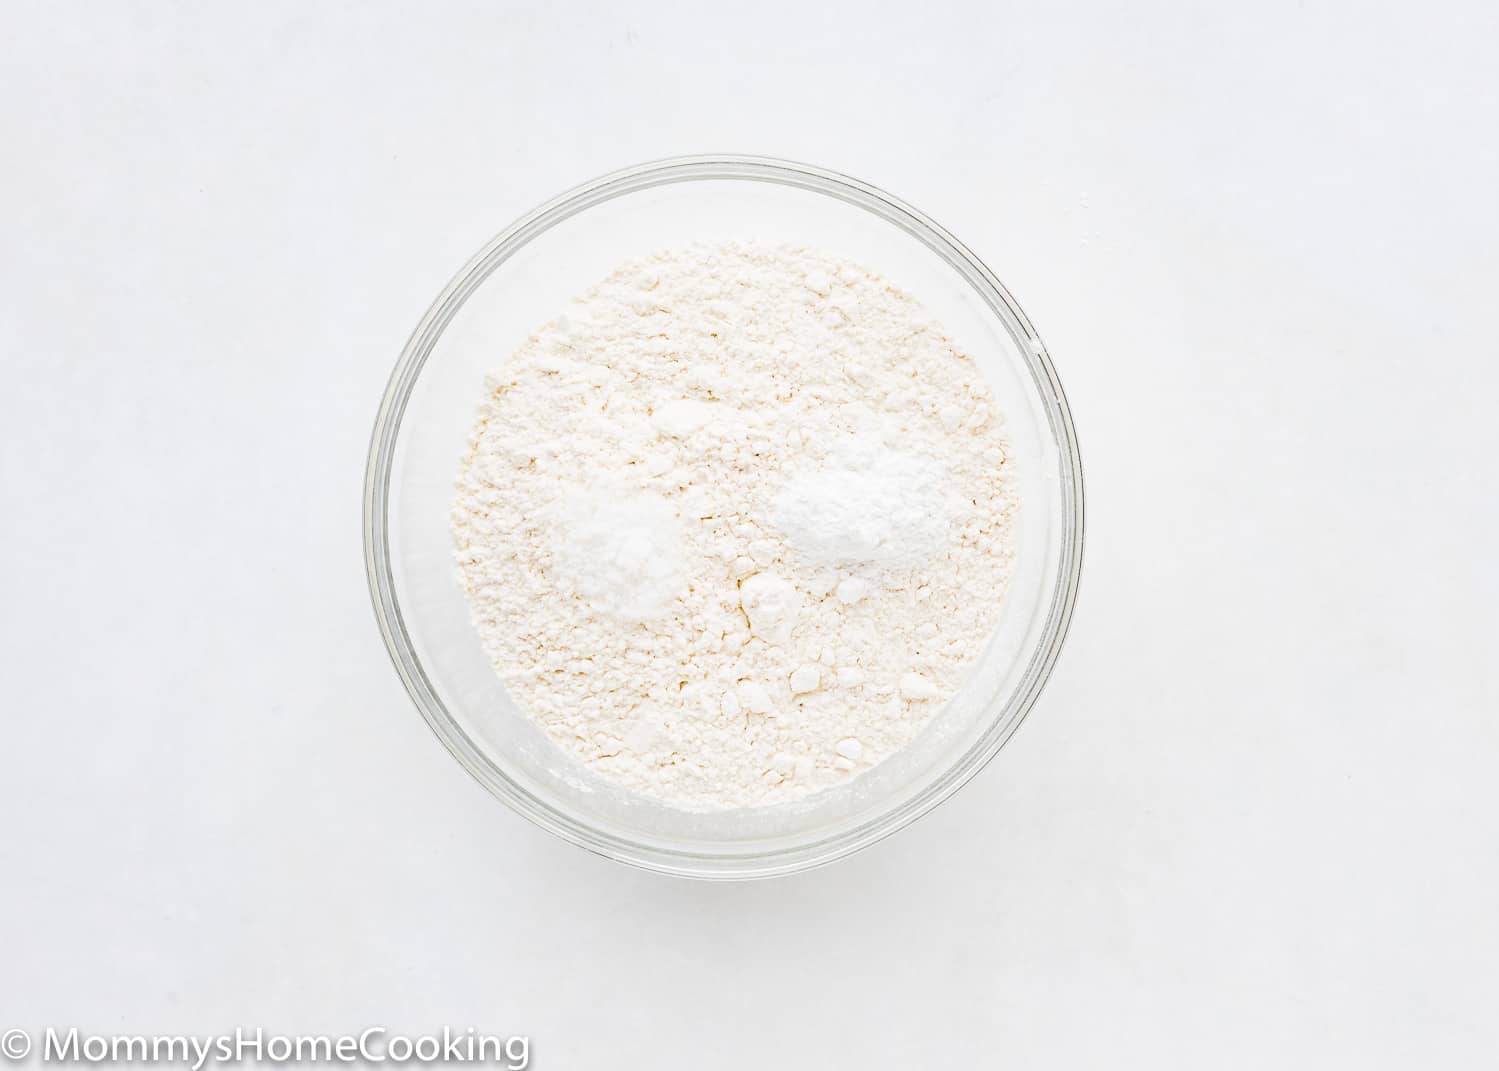
Step 2 – Mix Dry Ingredients
In a medium bowl, whisk flour, baking powder, and salt. Set aside.
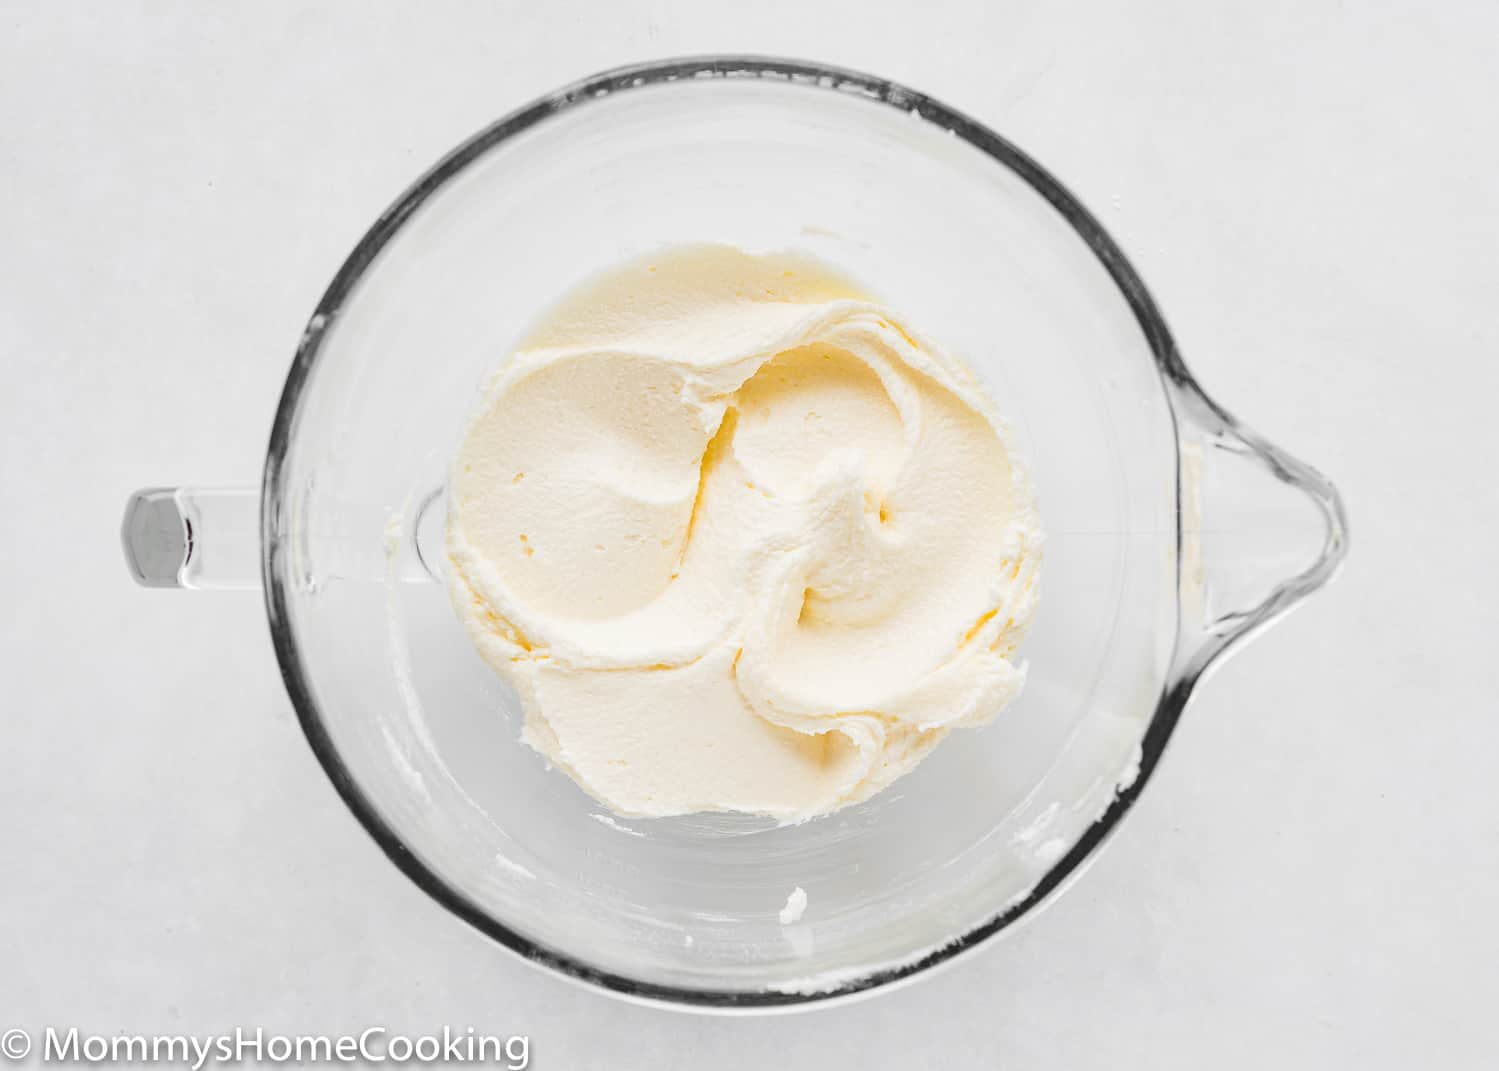
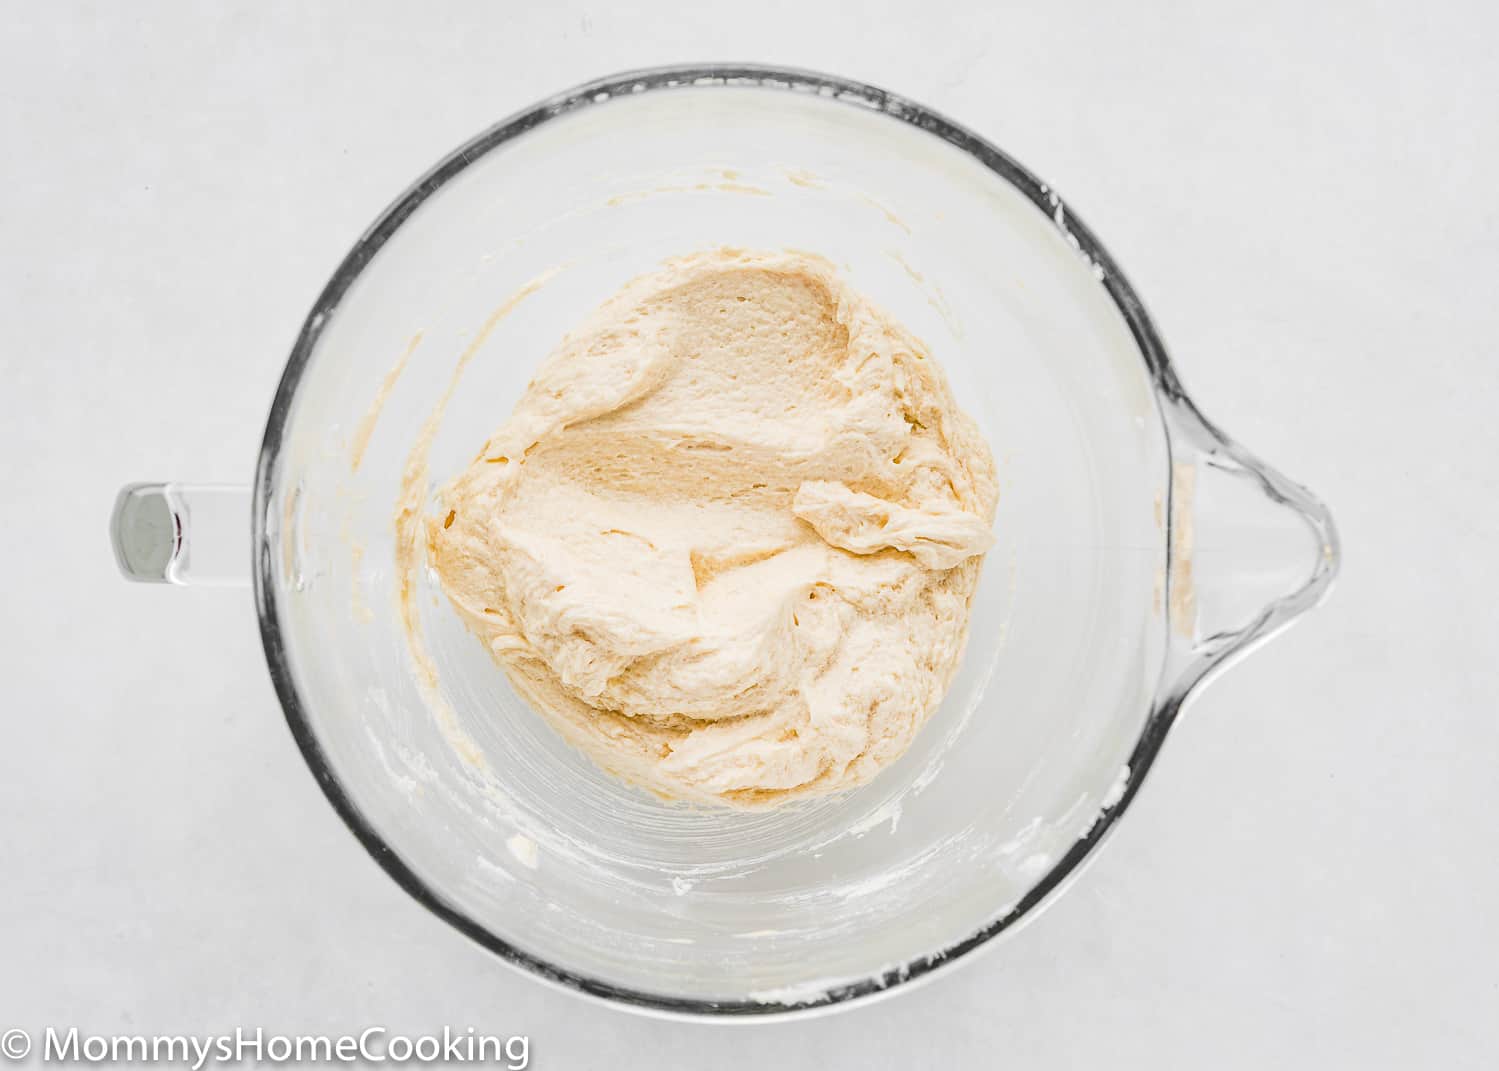
Step 3 – Cream Butter and Sugar
Using an electric hand mixer or a stand mixer, beat butter until creamy and pale at medium-high speed for about 3 – 4 minutes. Add the sugar and beat on high speed for 2 minutes until creamed and pale, scraping down the sides and up the bottom of the bowl with a rubber spatula as needed. Then add evaporated milk and vanilla; continue beating to combine, about 1 minute.
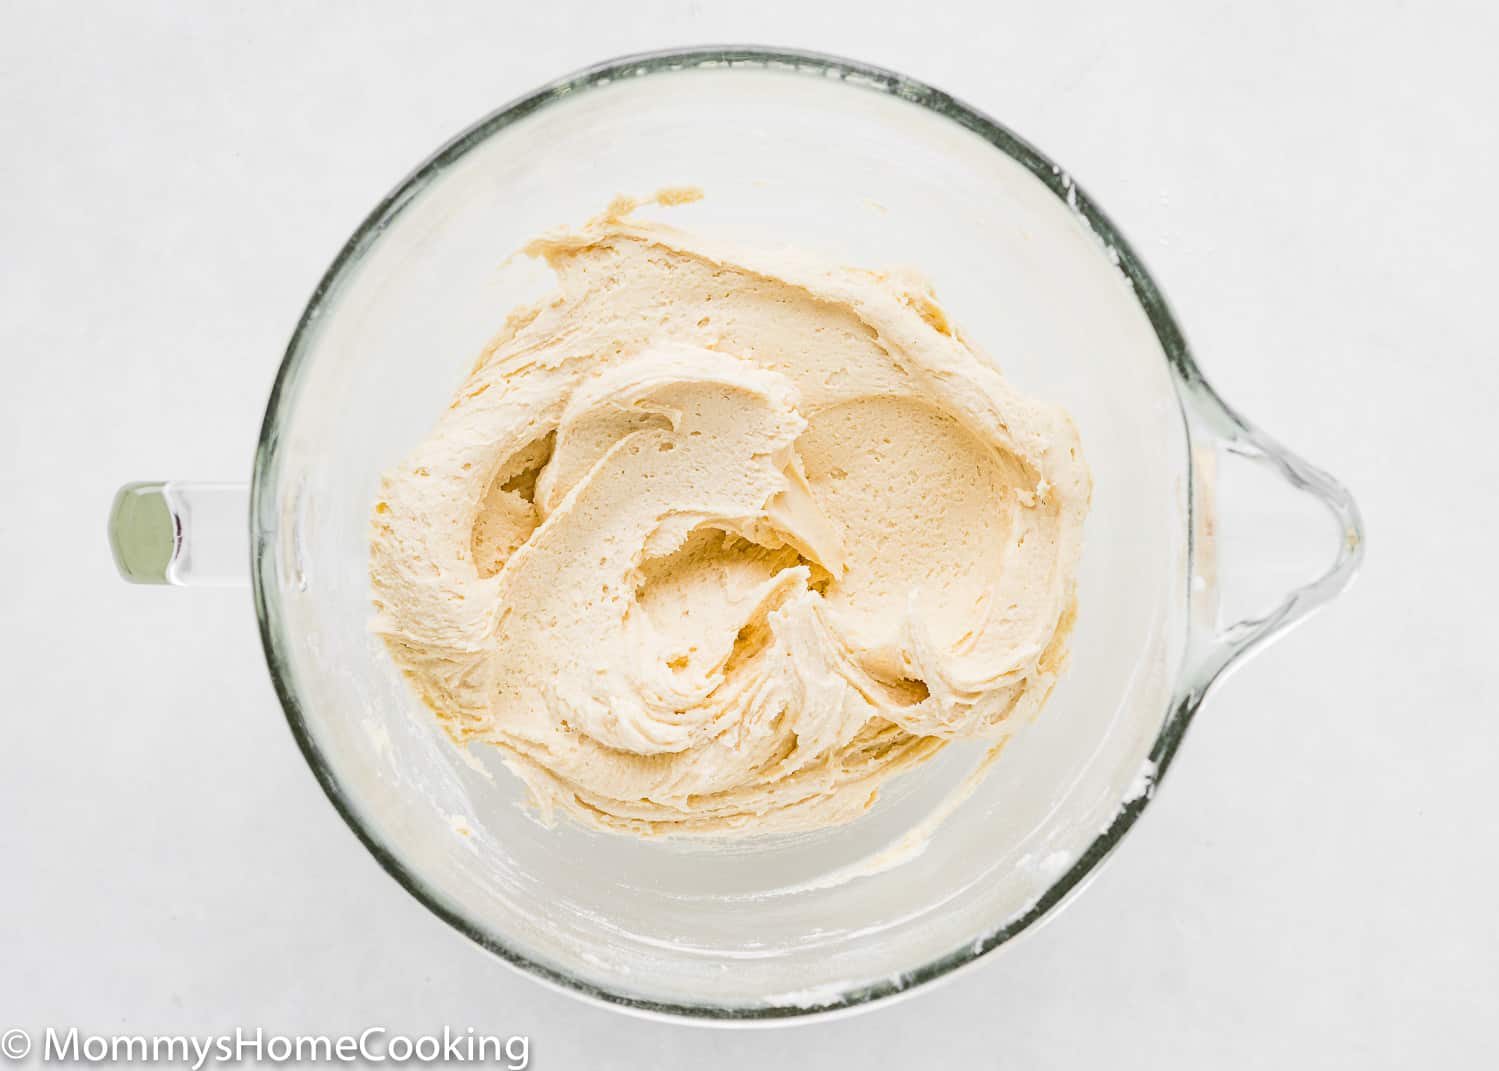
Step 4 – Add Dry Ingredients
Turn the mixer to low and add the flour mixture; beat until just combined, about 30 – 45 seconds. Then add the milk; mix until well combined. Do not overmix.
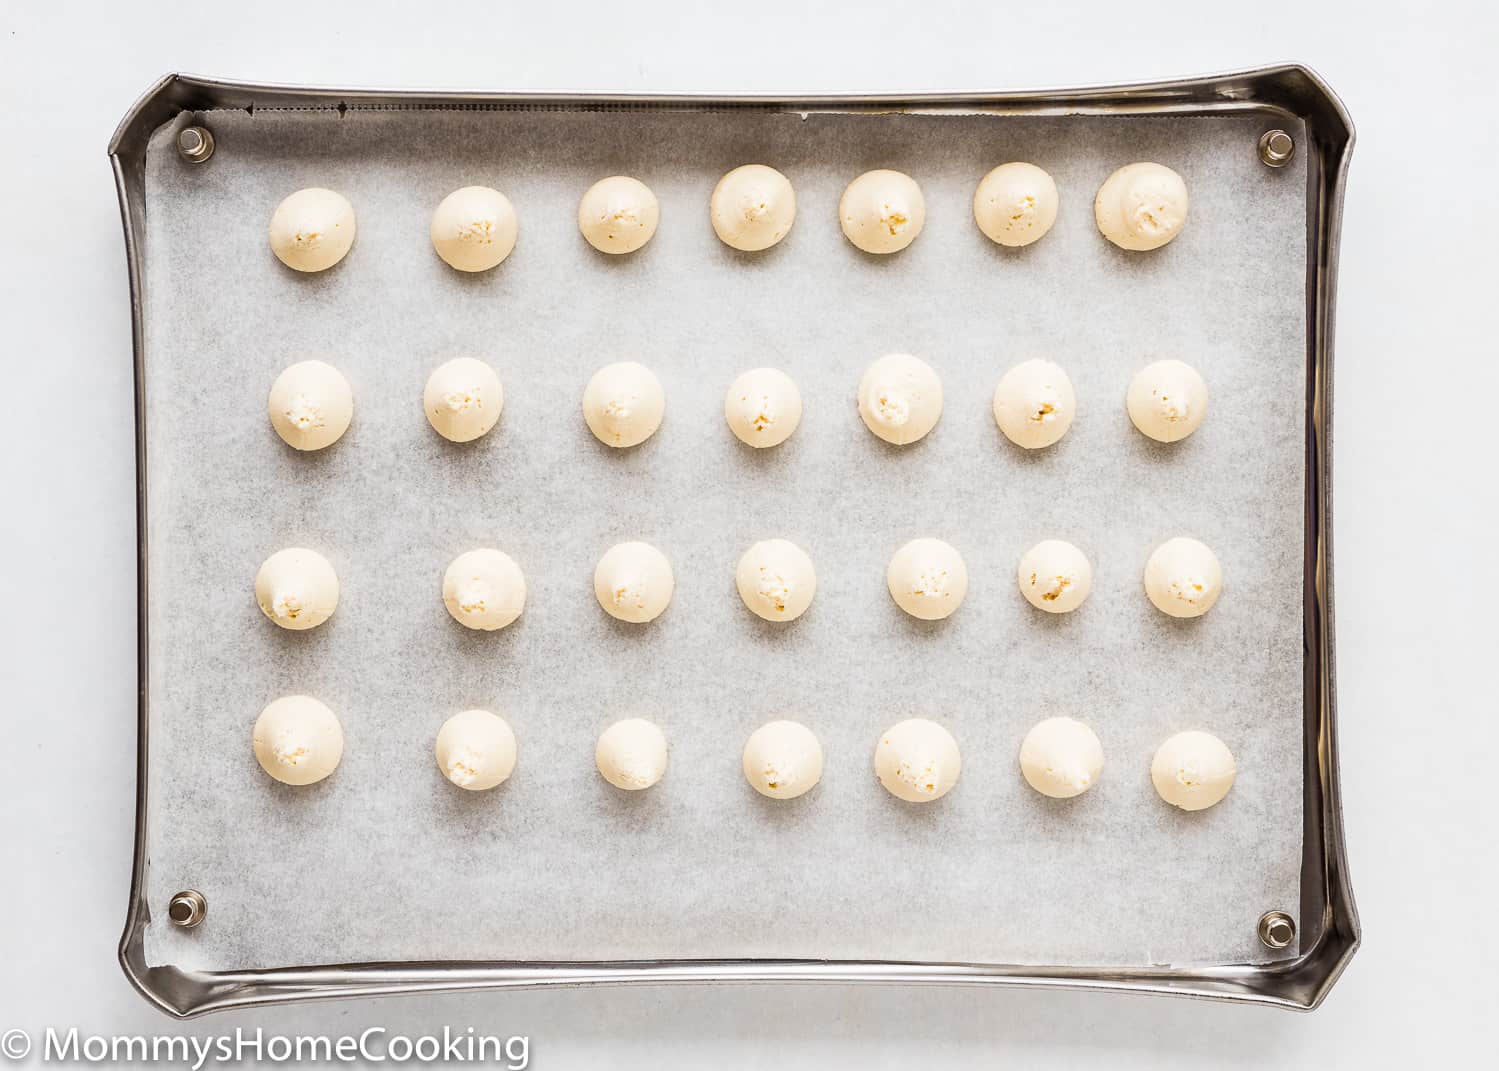
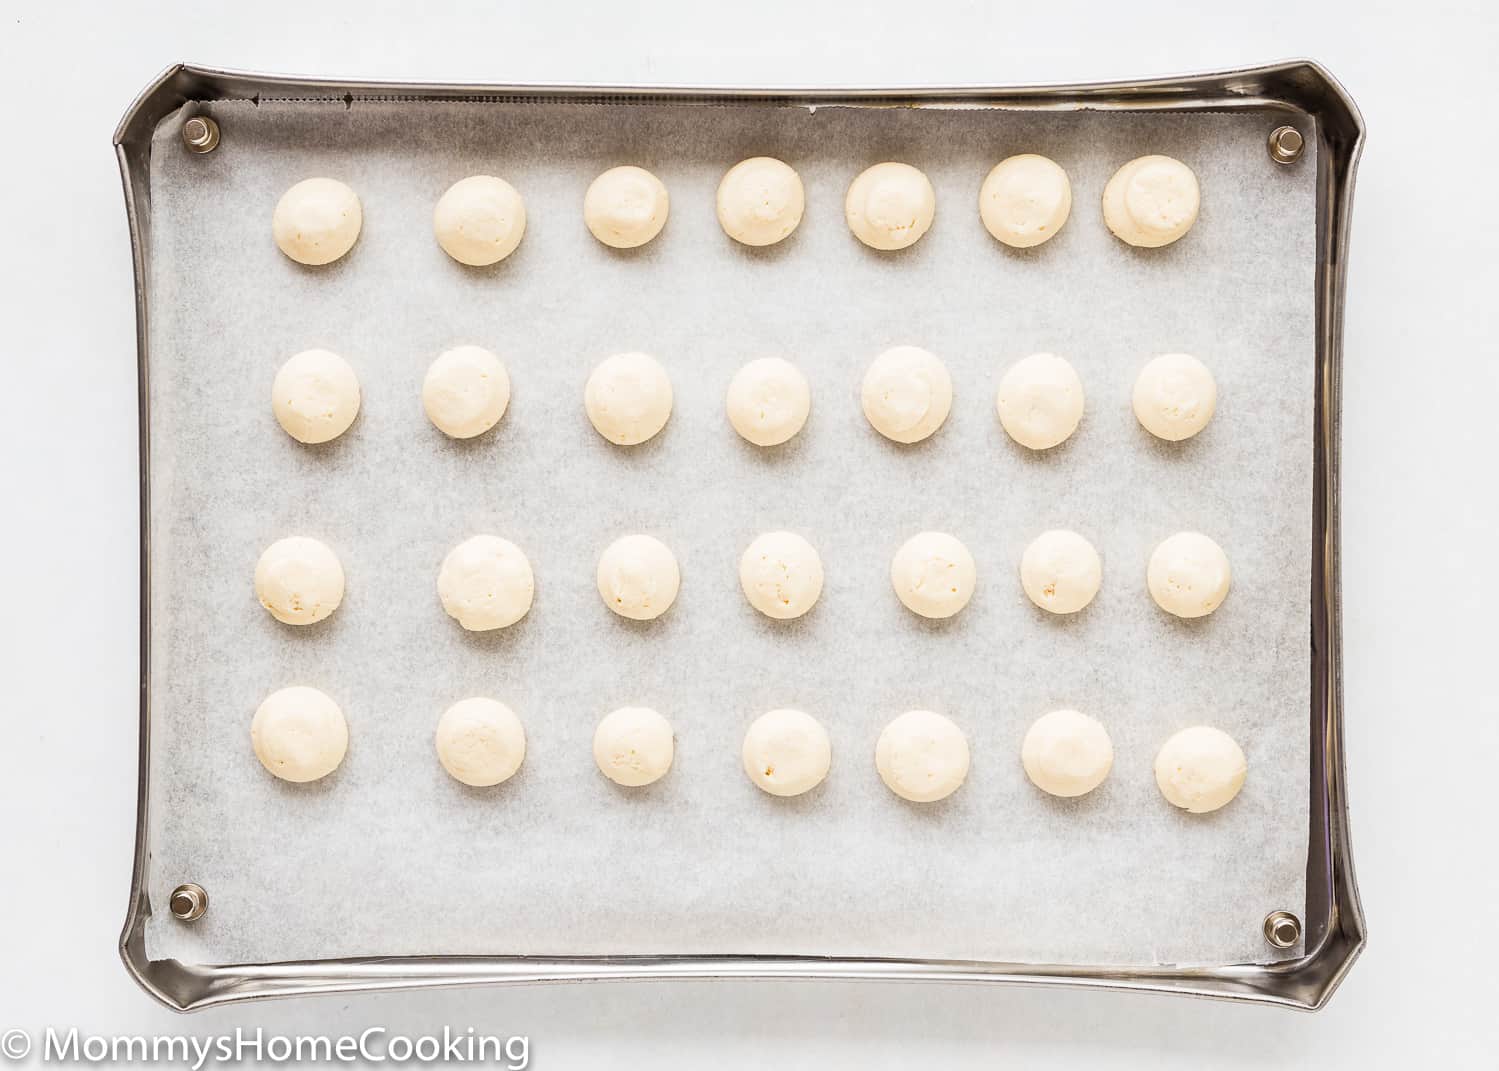
Step 5 – Form the Cookies
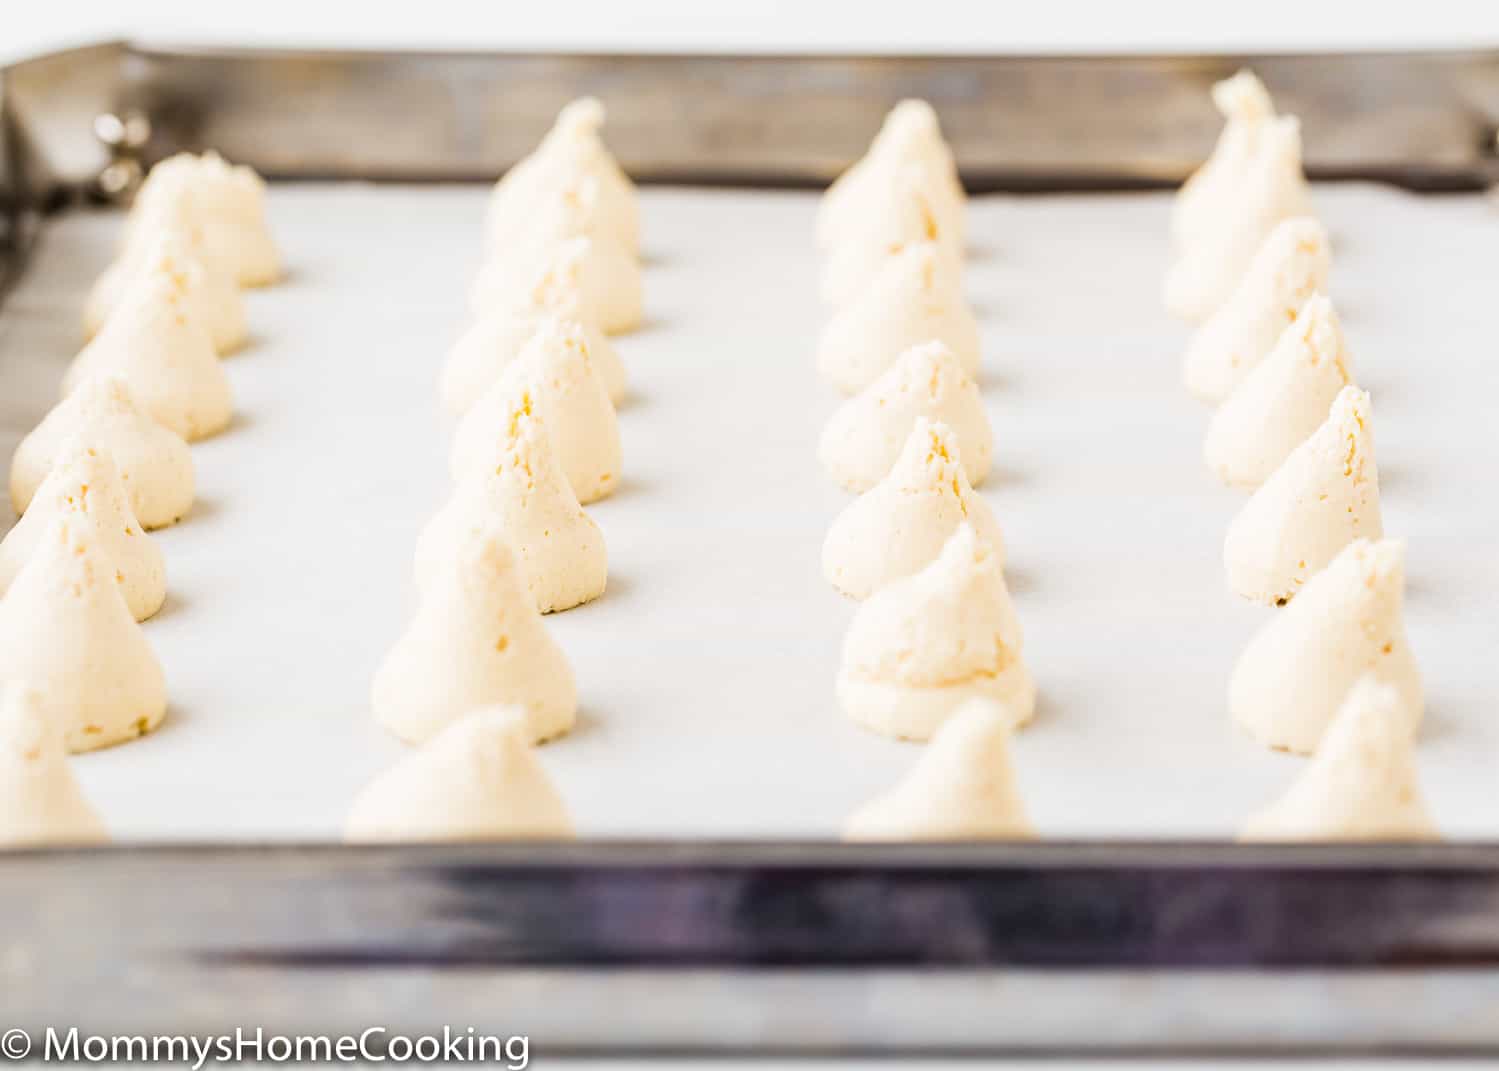
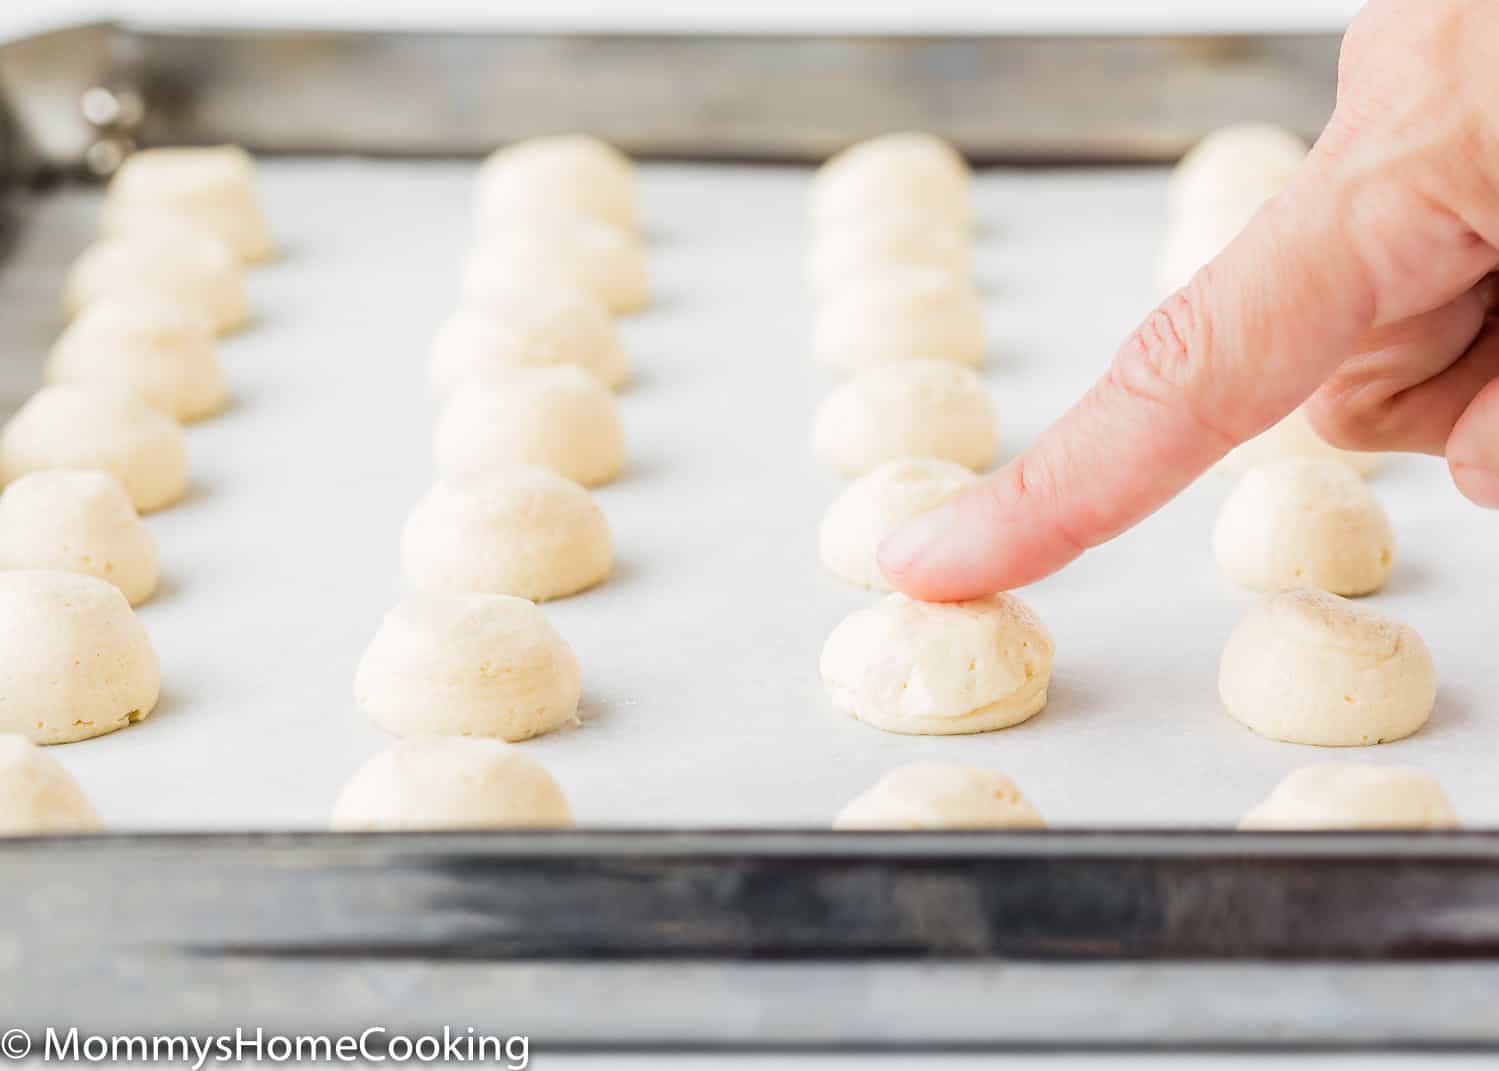
Scoop dough into two teaspoon-sized scoops and drop onto the prepared baking sheet, spacing cookies at least 2” (5 cm) apart. You should be able to fit all the cookies on the two baking sheets. Note: If you don’t have a small cookie dough scoop, you can place the dough in a piping bag fitted with a medium round pastry tip and pipe it in even mounds onto a cookie sheet (roughly 2 teaspoons). Once all the batter has been scooped or piped, dip your fingers in some water and lightly press down on the top of each cookie to create a smooth surface.
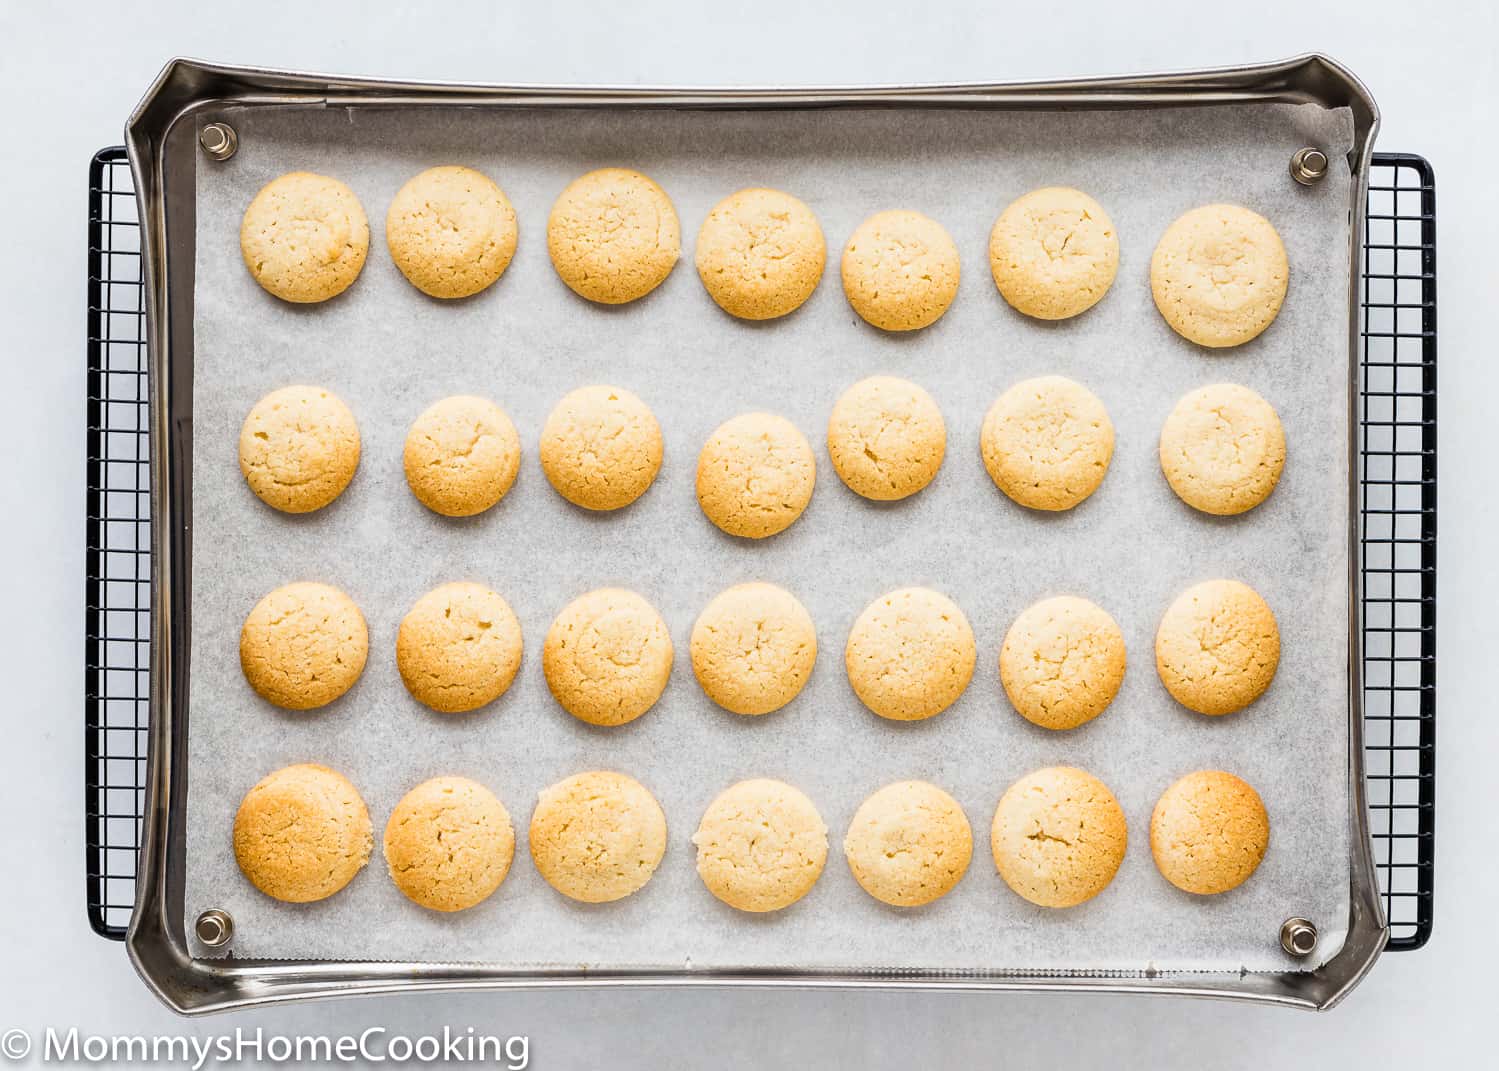
Step 6 – Bake
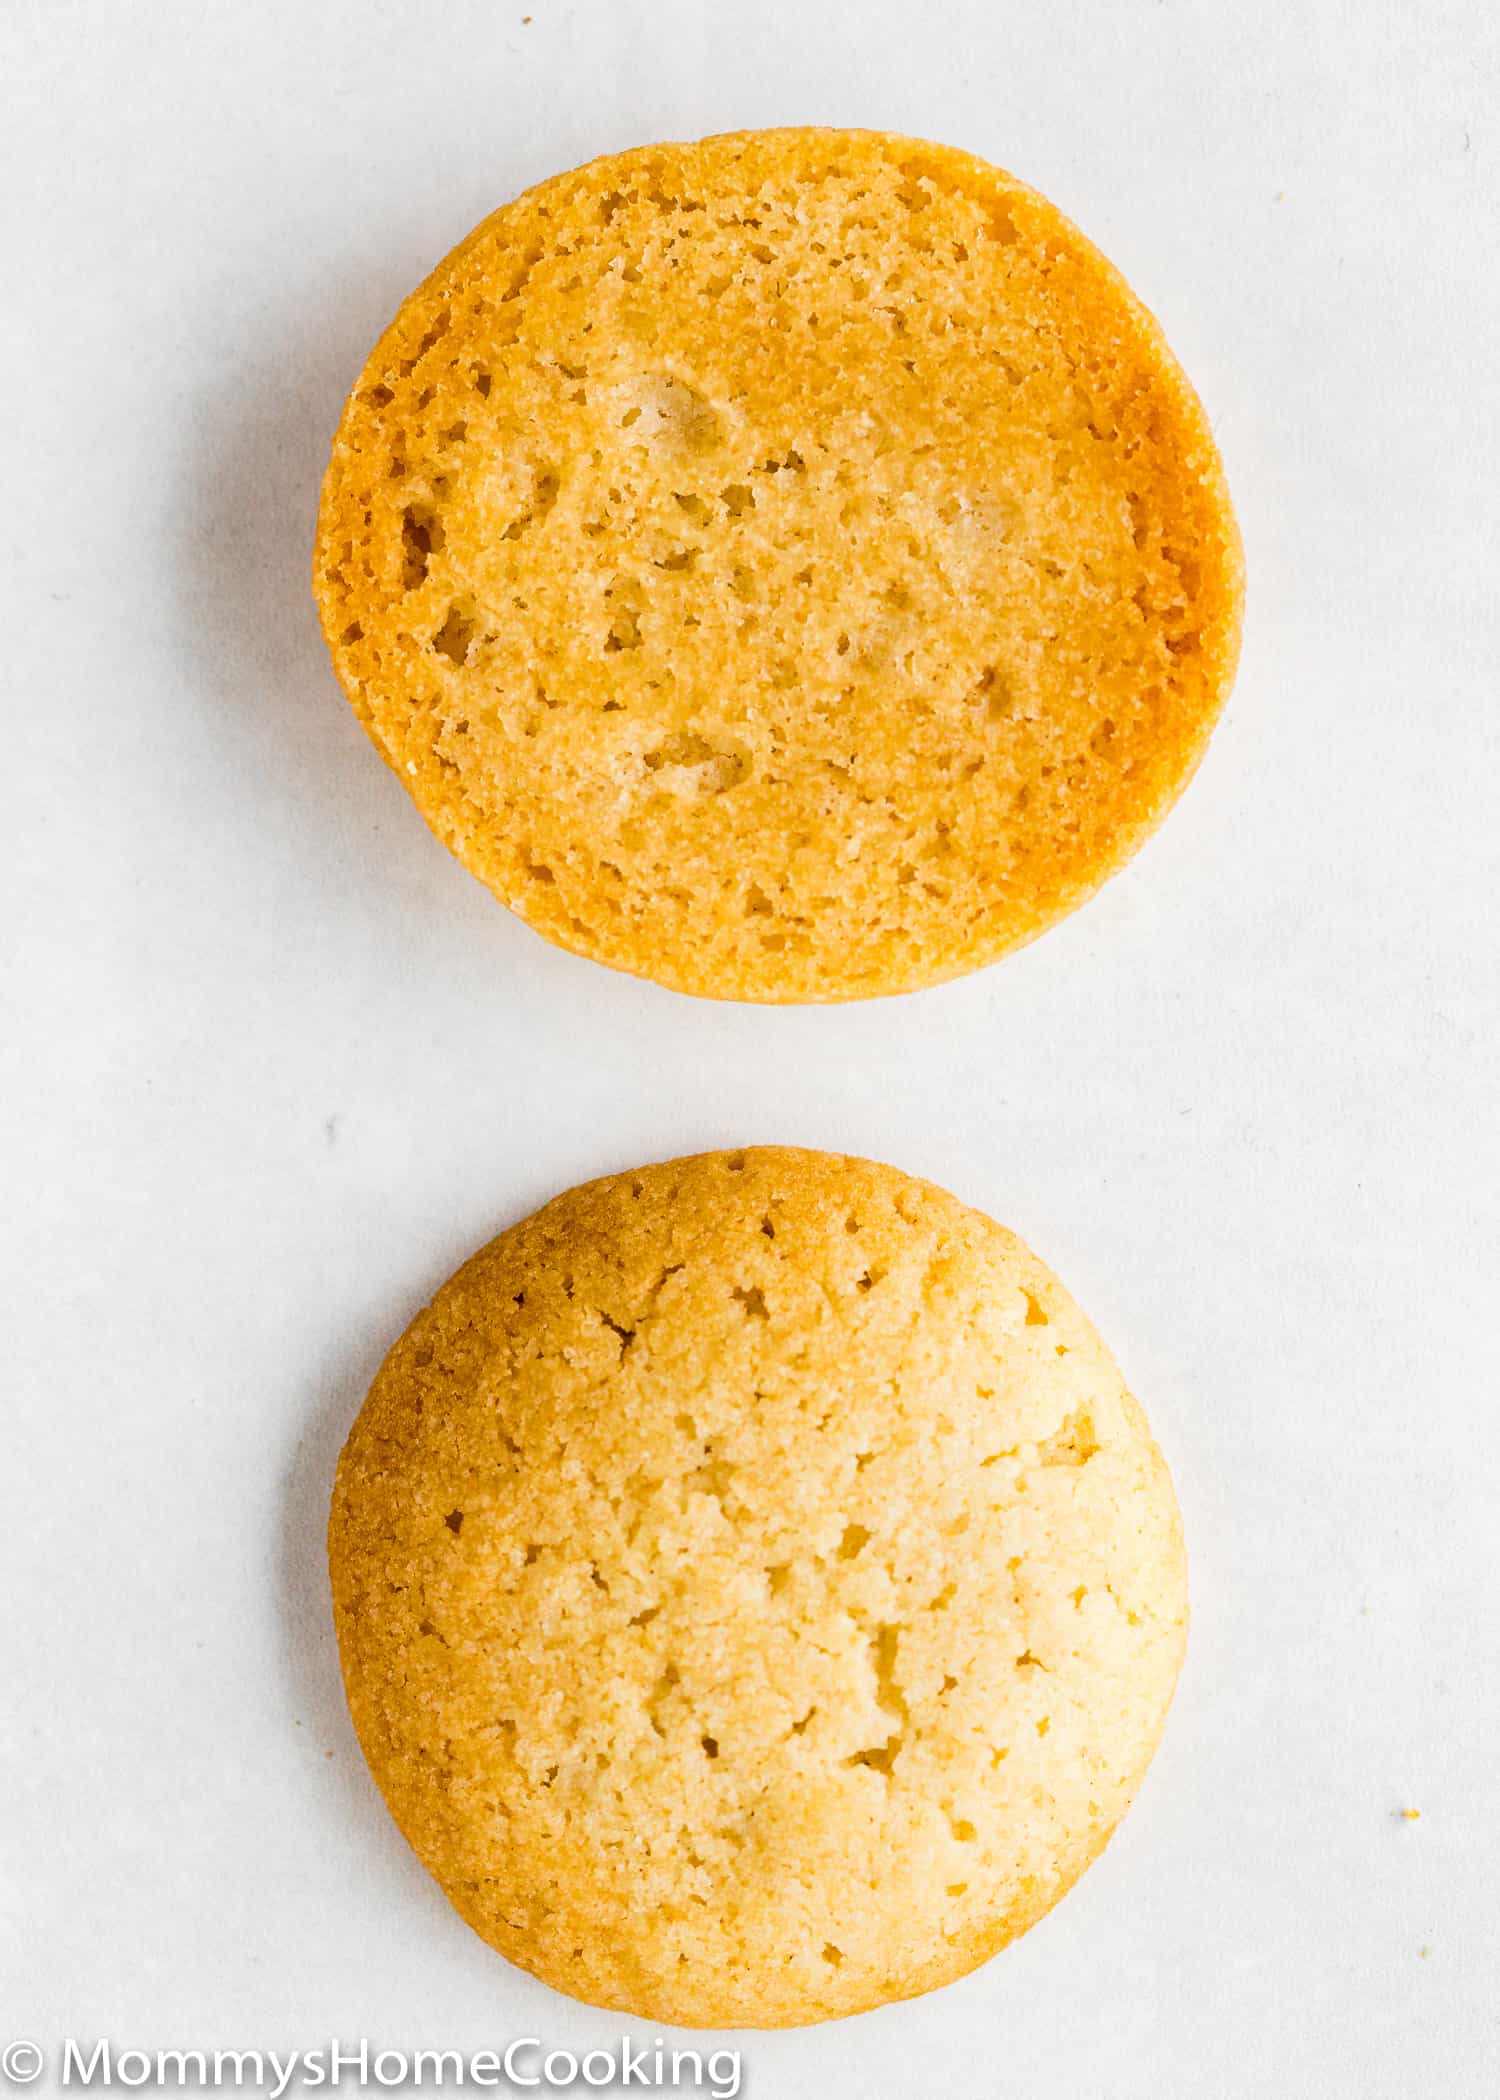
Bake the cookies for 13 – 15 minutes until the edges are browned. I recommend rotating the pans halfway through the baking time to ensure even browning. For cookies that remain somewhat soft in the center, aim for light browning around the edges. If you’d like a crispier cookie, bake a bit longer until the edges are golden brown.
This is the small cookie dough scoop I use. If you don’t have a small cookie dough scoop, you can place the dough in a piping bag fitted with a medium-round pastry tip and pipe it in even mounds onto a cookie sheet (roughly 2 teaspoons). To achieve the perfect look, it is very important to smooth the tops of the wafers. To do so, dip your fingers in water and lightly press down on the top of each cookie to create a smooth surface. Even though you can probably fit two baking sheets in your oven to bake all the cookies simultaneously, I recommend baking one tray at a time for better results. While the first batch bakes, you can put the other tray in the fridge. For cookies that remain somewhat soft in the center, aim for light browning around the edges. If you’d like a crispier cookie, bake a bit longer until the edges are golden brown.
Tasty Ideas For Using Homemade Eggless Vanilla Wafers
Classic Banana Pudding: Layer your eggless vanilla wafers with creamy vanilla pudding and fresh banana slices for a delightful and nostalgic dessert. Top with whipped cream for the perfect finishing touch. Here is my Eggless Banana Pudding Recipe. Trifles: Layer the vanilla wafers with fresh berries, whipped cream, and pudding to create a beautiful and delicious trifle dessert. It’s easy to make and looks stunning in a glass dish. I love this Eggless Berry Trifle Cake recipe. Pie Crust: Crush the vanilla wafers and use them as a base for a no-bake pie crust. It’s perfect for cheesecakes, chocolate pies, or any dessert that calls for a graham cracker crust. Yogurt Parfaits: Crumble the wafers and layer them with yogurt and fresh fruit for a delicious breakfast parfait. It’s a quick and easy way to add some crunch to your morning meal. Snack on the Go: These wafers are perfect as a quick snack. Pack them in lunchboxes or enjoy them with a cup of coffee or tea.
Storing & Freezing Instructions
Store in an airtight container at room temperature for up to 5 days. If you’re going to make banana pudding with them, I recommend leaving them out uncovered overnight, just to make them a bit stale before you use them in the pudding. Freeze: I do not recommend freezing the baked wafers because they become too soft after defrosting. But you can freeze the dough for up to 1 month. To do so, scoop out all the cookies, place them over a big plate or a baking sheet, smooth the top, and freeze until hard. Then, transfer them to a freezer bag.
More Recipes You’ll Love!
Eggless Homemade Ladyfingers Eggless Madeleines Easy Hummingbird Snack Cake (No Eggs or Dairy) Browse more recipes…
Recipe Card 📖
You’ve asked, and I’ve answered! Read on for a handful of answers to the most frequently asked questions about eggless baking.