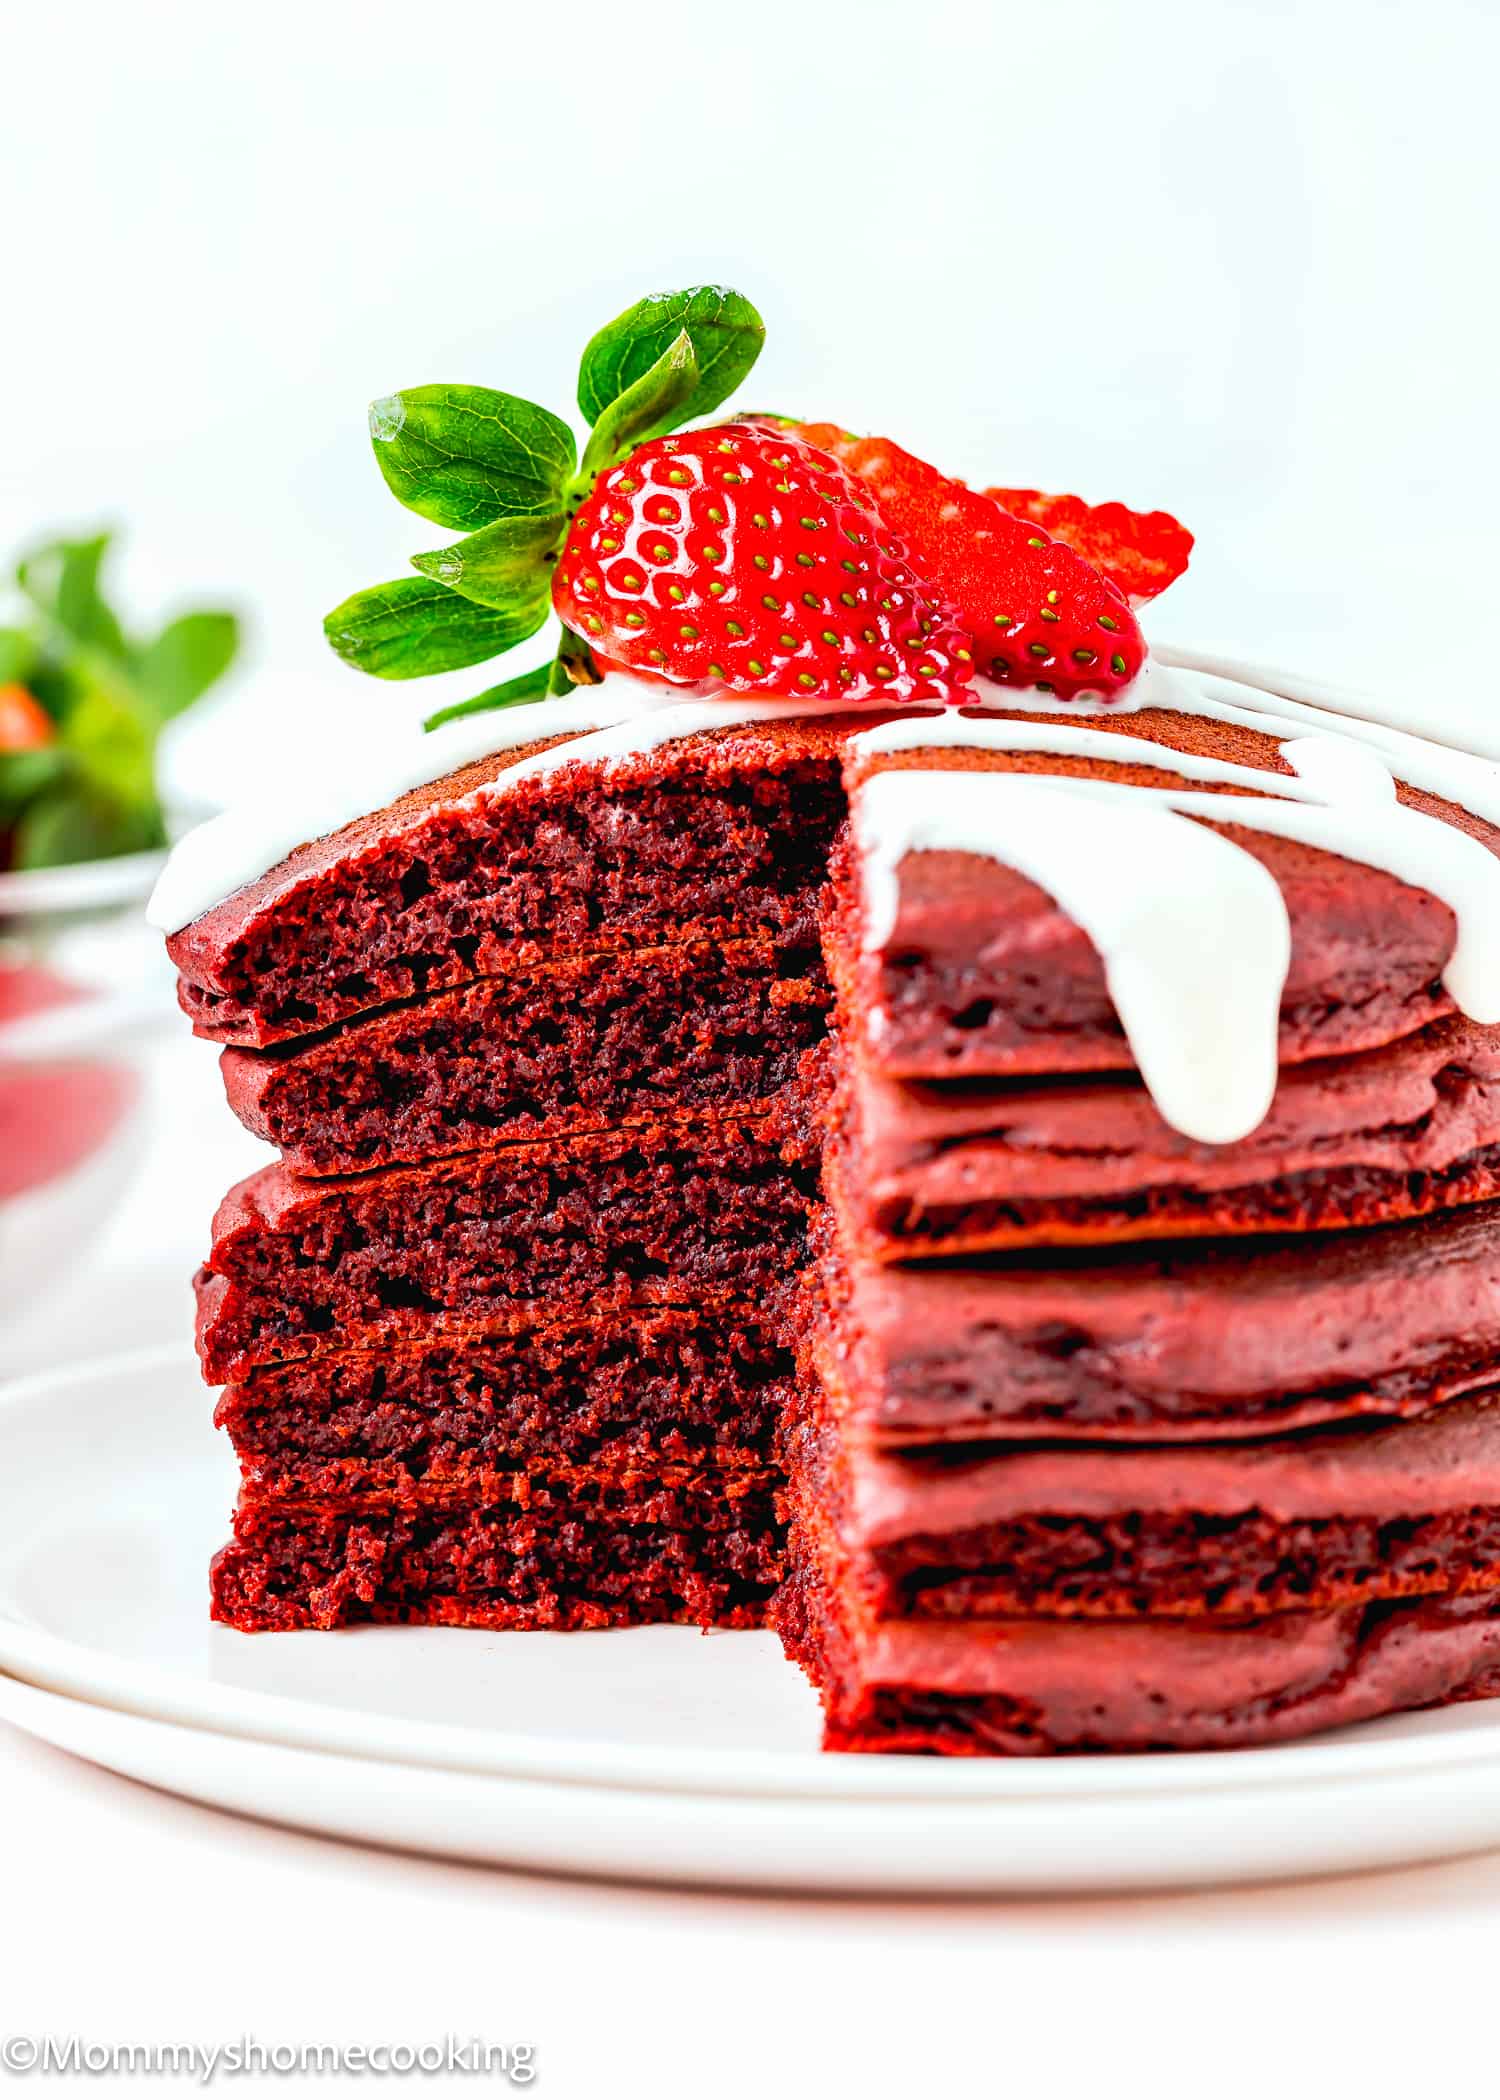
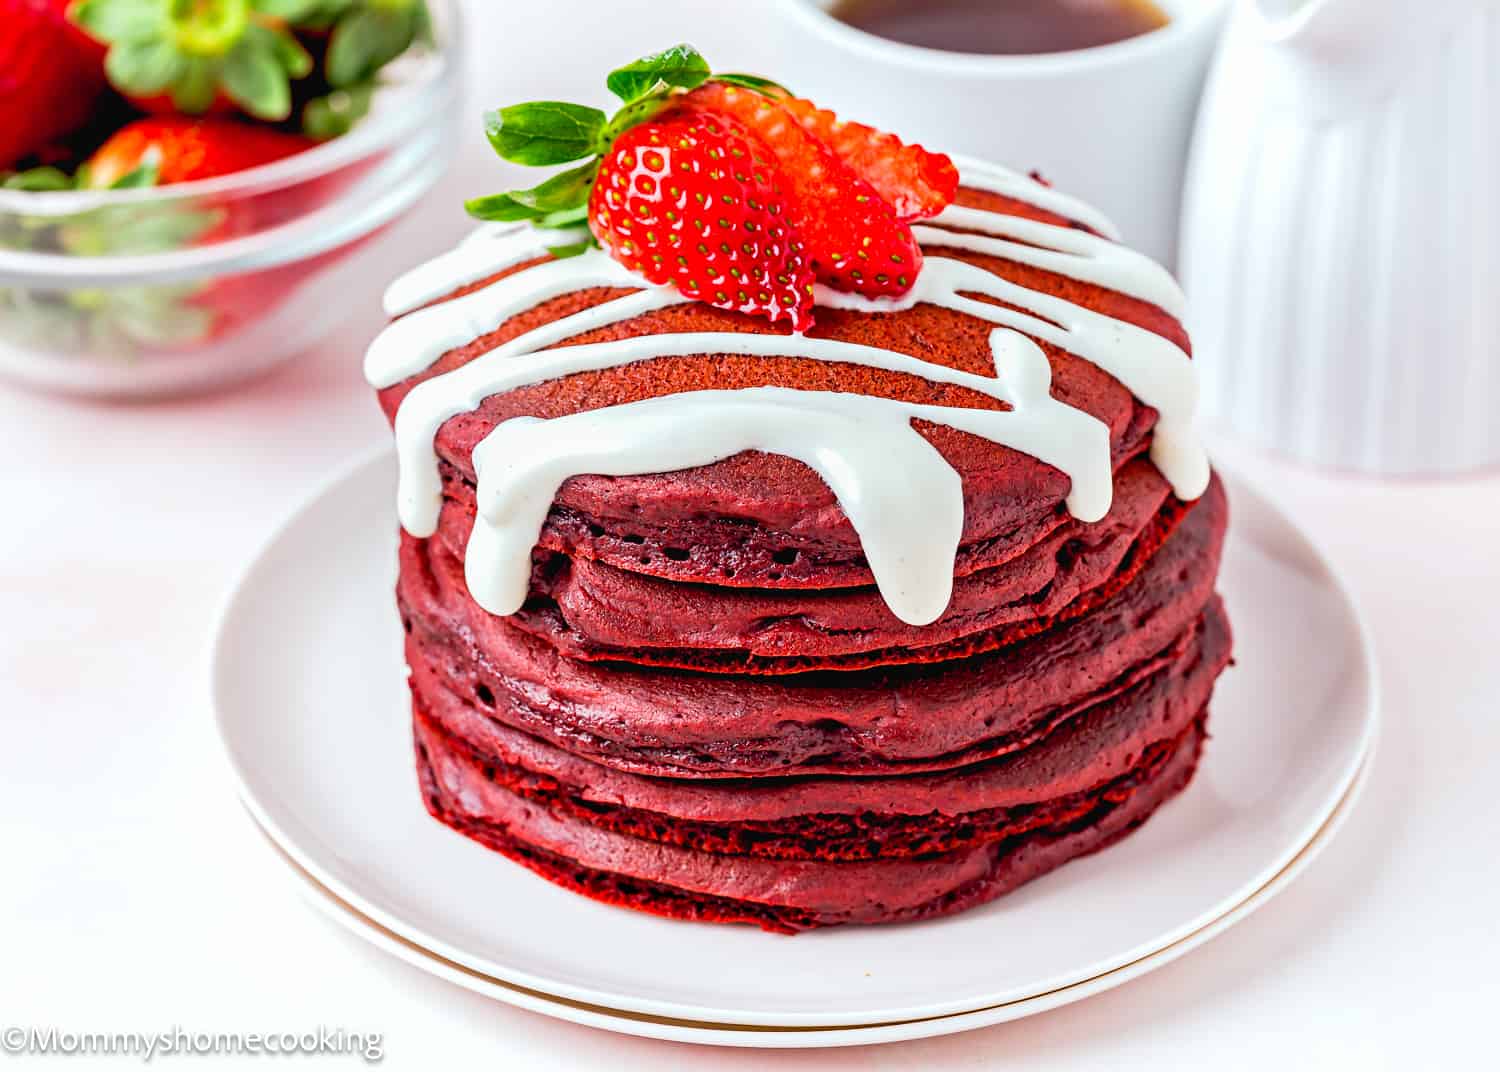
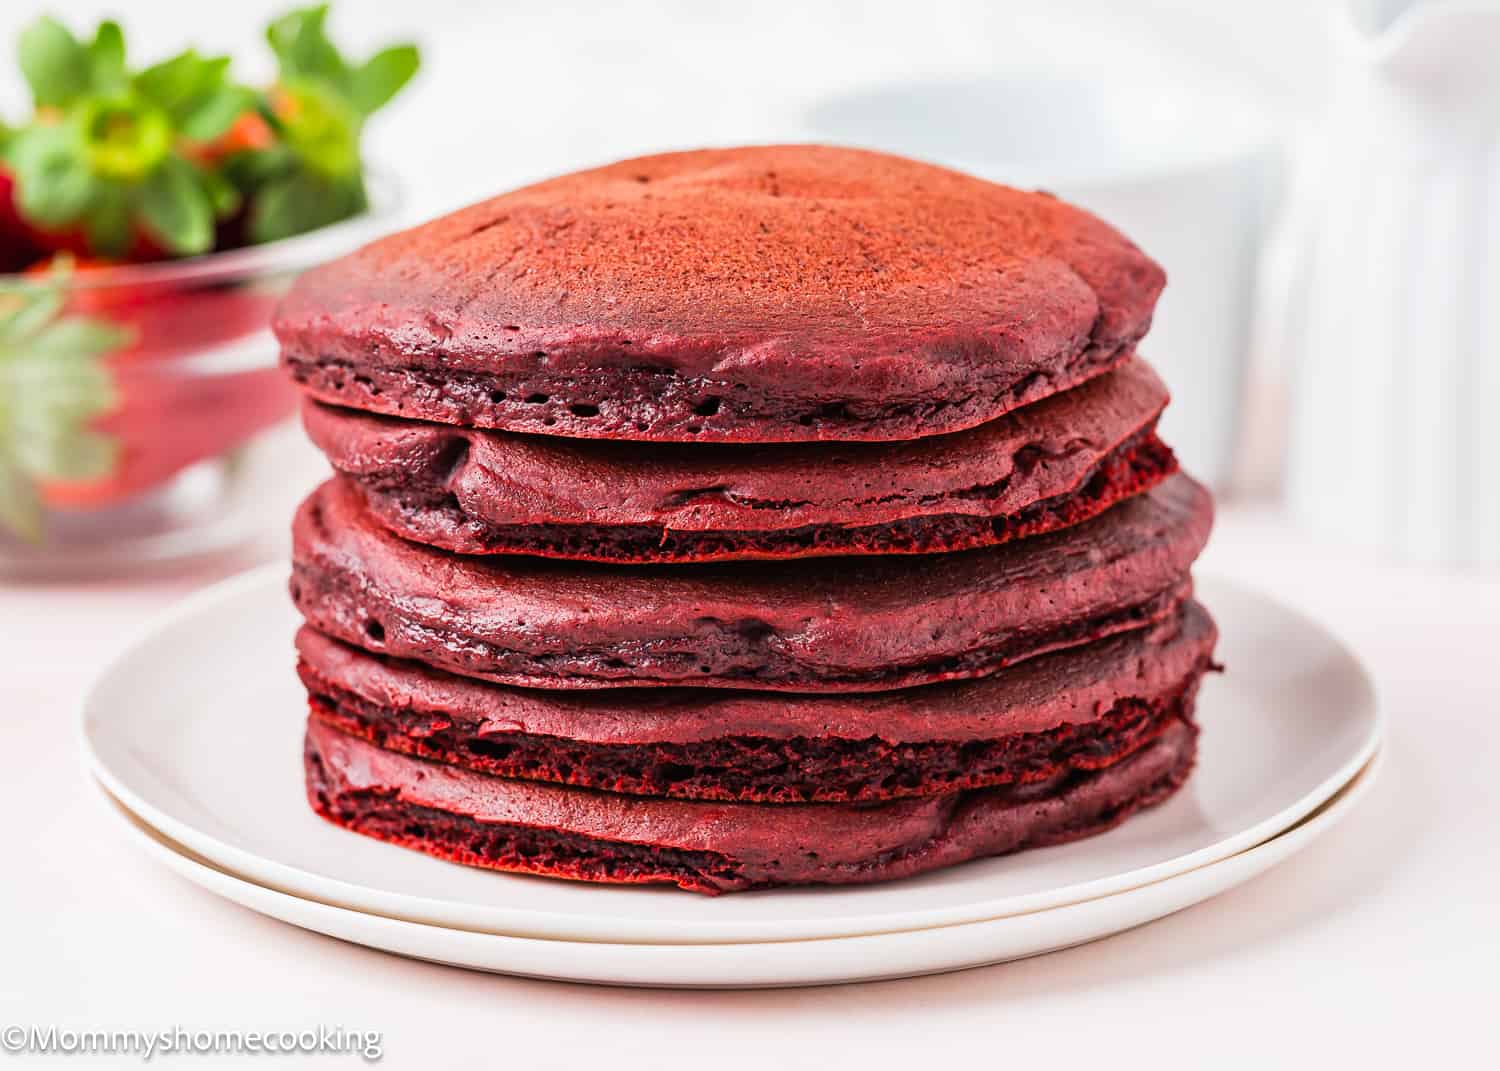
Irresistible Red Velvet Pancakes Recipe for Special Moments!
Whether it’s Valentine’s Day, Christmas morning, or just a special occasion to celebrate, these vibrant, beautiful, and Fluffy Red Velvet Pancakes are sure to dazzle your taste buds and bring a smile to your face. And the best part? They’re incredibly easy and quick to make, requiring only simple ingredients that you probably already have in your pantry. Plus, they’re completely egg-free, and with a few simple adjustments, you can easily make them dairy-free, gluten-free, or both (instructions provided below). With these Fluffy Red Velvet Pancakes, every day feels like a celebration. So grab your spatula, whip up a batch, and get ready to indulge in pancake perfection!
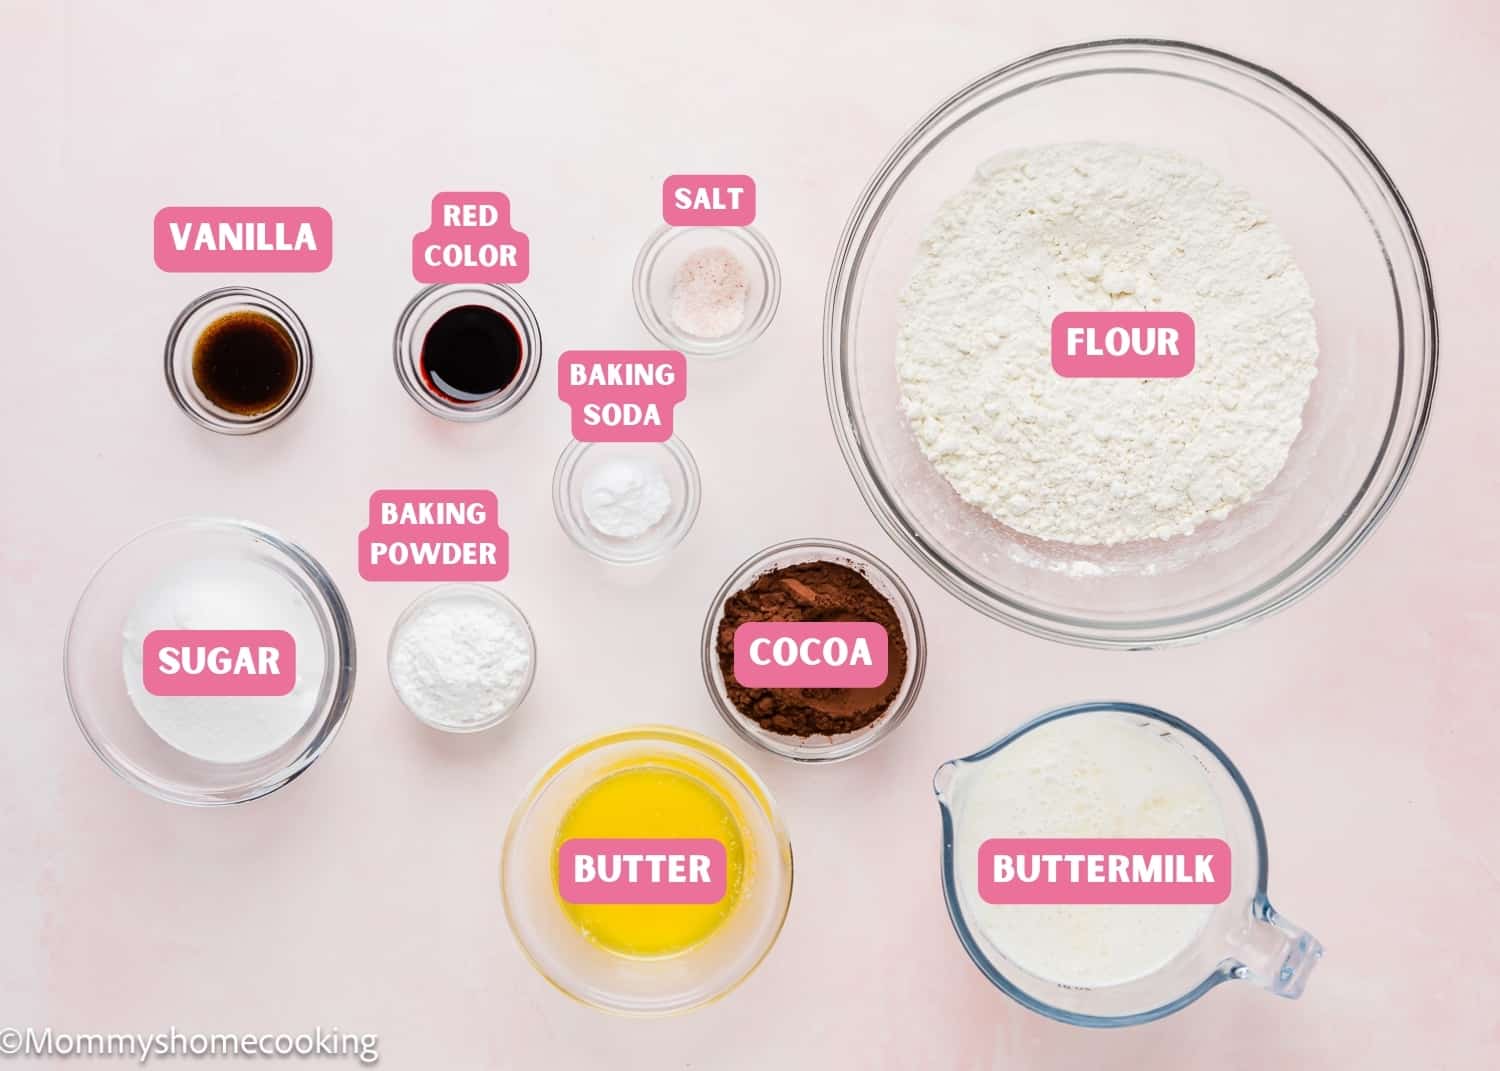
All-Purpose Flour: Provides the base for the pancake batter, giving it structure and substance. Make sure to measure accurately. In my opinion, a kitchen scale is the best way to measure your ingredients. Cocoa Powder: Adds rich chocolate flavor and gives the pancakes their signature red velvet hue. I like to use unsweetened natural cocoa powder instead of Dutch-processed because it’s more acidic and reacts with baking soda, allowing your baked goods to rise; this is especially important in egg-free baking. Granulated Sugar: Sweetens the pancakes and enhances their flavor. I do not recommend reducing the amount of sugar or changing the type of sugar, as it will change the texture of the pancakes. Baking Powder and Baking Soda: Leavening agents that help the pancakes rise and achieve their fluffy texture. Make sure they’re not expired or too old. To avoid a chemical aftertaste, use baking powder that is labeled aluminum-free. I usually use the Clabber Girl brand, and though the ingredients state aluminum, I’ve never noticed an aluminum aftertaste. Salt: Balances the sweetness and enhances the overall flavor of the pancakes. I prefer kosher or sea salt. If you only have table salt handy, I recommend reducing the amount to half. Buttermilk: Adds moisture and tanginess to the batter, contributing to the pancakes’ tender crumb. You don’t have buttermilk? No problem!! Check out my recipe for Easy Homemade Buttermilk Substitute [Video]. Unsalted Butter: Adds richness and flavor to the pancakes, making them irresistibly decadent. I prefer to use unsalted butter, but if you only have salted butter handy, you can use it. In this case, skip the salt called in the recipe. Vanilla Extract: Enhances the flavor profile of the pancakes with its warm and aromatic notes. Reach for pure vanilla instead of imitation for optimal flavor. Even better, try homemade vanilla extract! If you are looking for non-alcoholic vanilla flavoring, I recommend Simply Organic Vanilla Flavoring. Red Gel Food Coloring: Gives the pancakes their vibrant red hue without watering down the batter. The amount of food coloring will depend on the concentration of the food coloring you are using. I recommend using gel or paste food colors since they are highly concentrated, and you’ll end up using less.
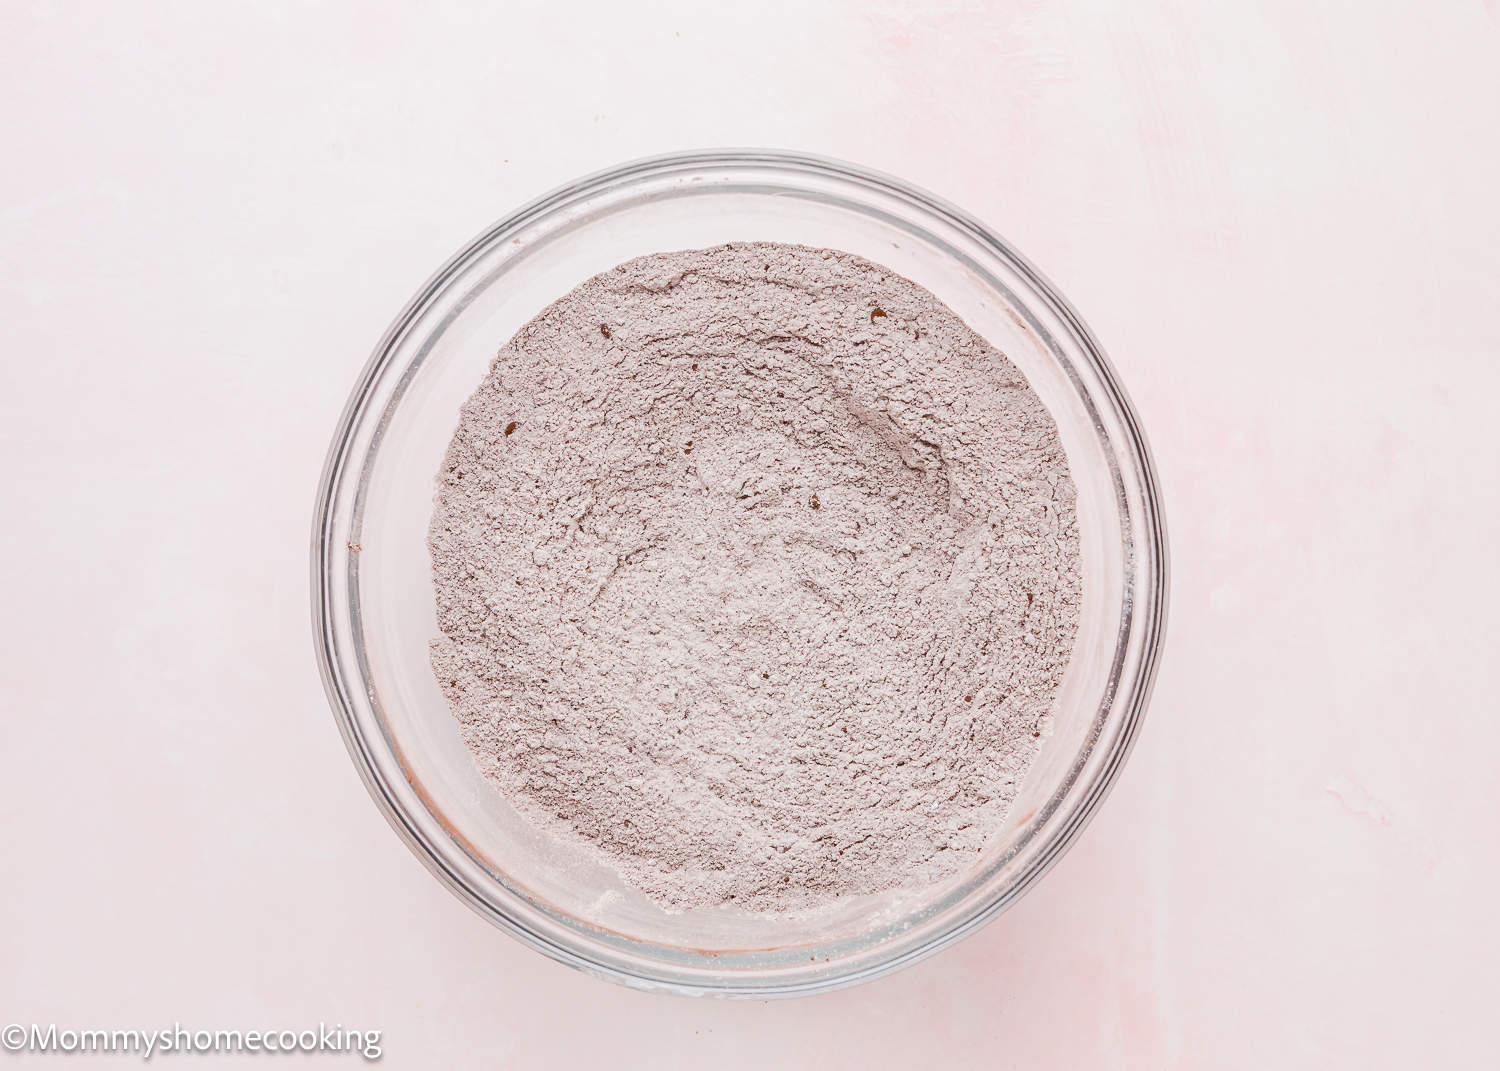
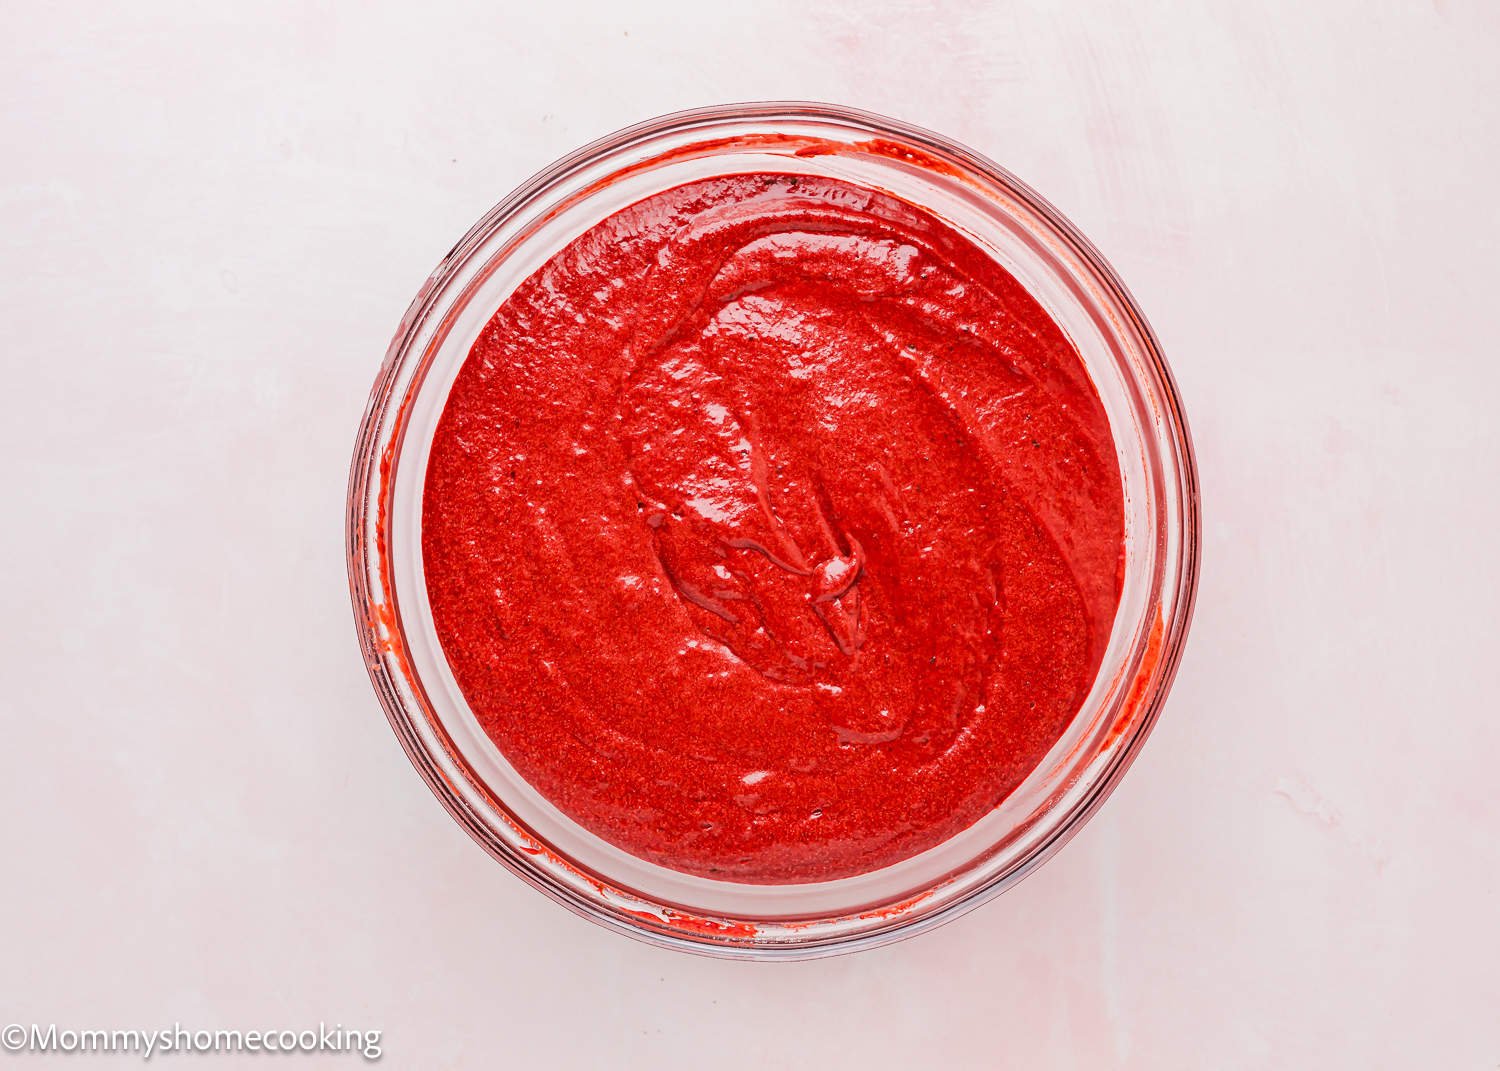
Step 1 – Mix Dry Ingredients
Combine the flour, cocoa powder, sugar, baking powder, baking soda, and salt in a medium bowl and stir using a balloon whisk to combine.
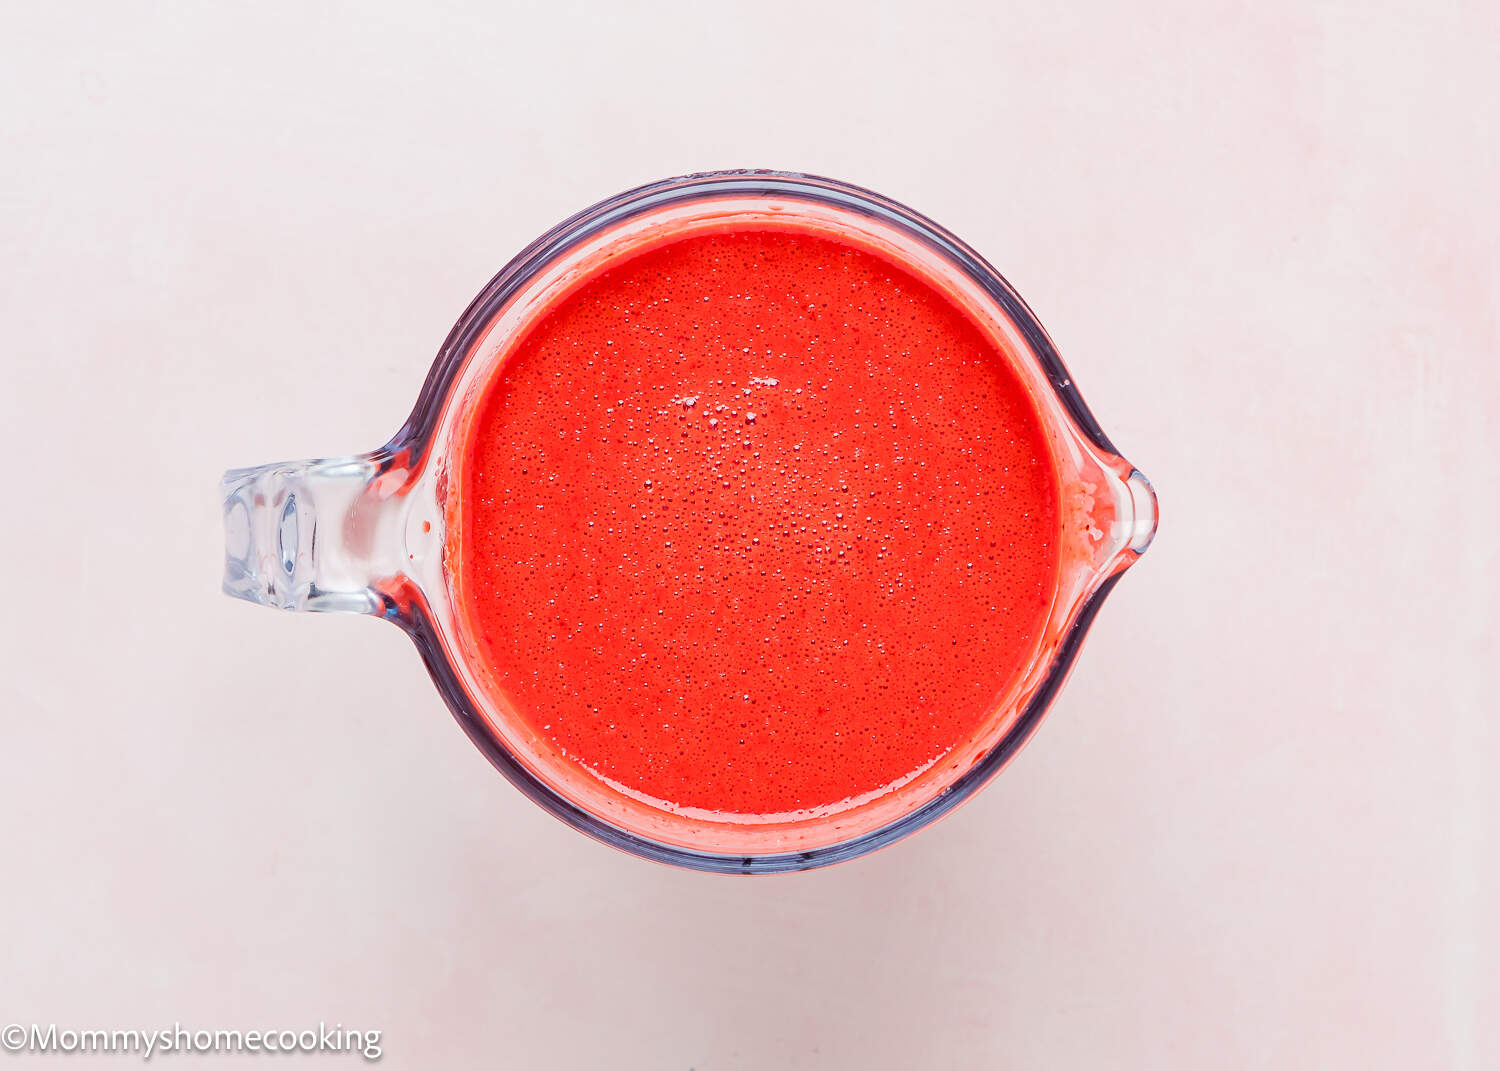
Step 2 – Stir Wet Ingredient
In another bowl, combine buttermilk, melted butter, vanilla, and red color; mix until smooth and the red color is evenly distributed.
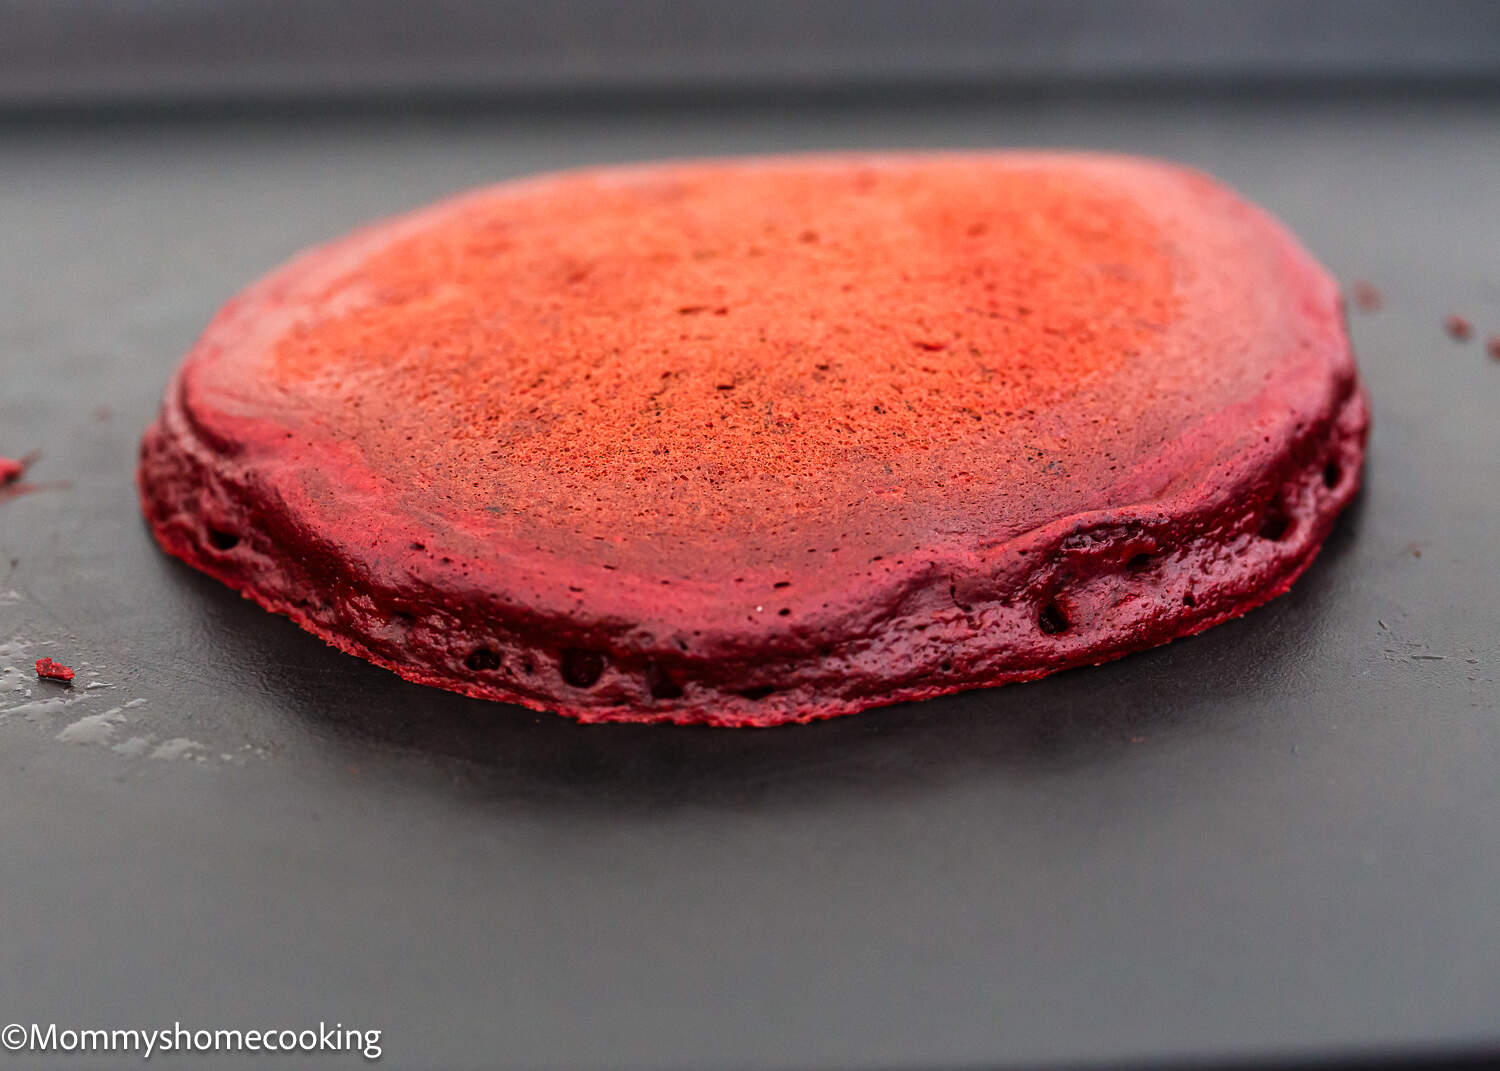
Step 4 – Cook and Enjoy!
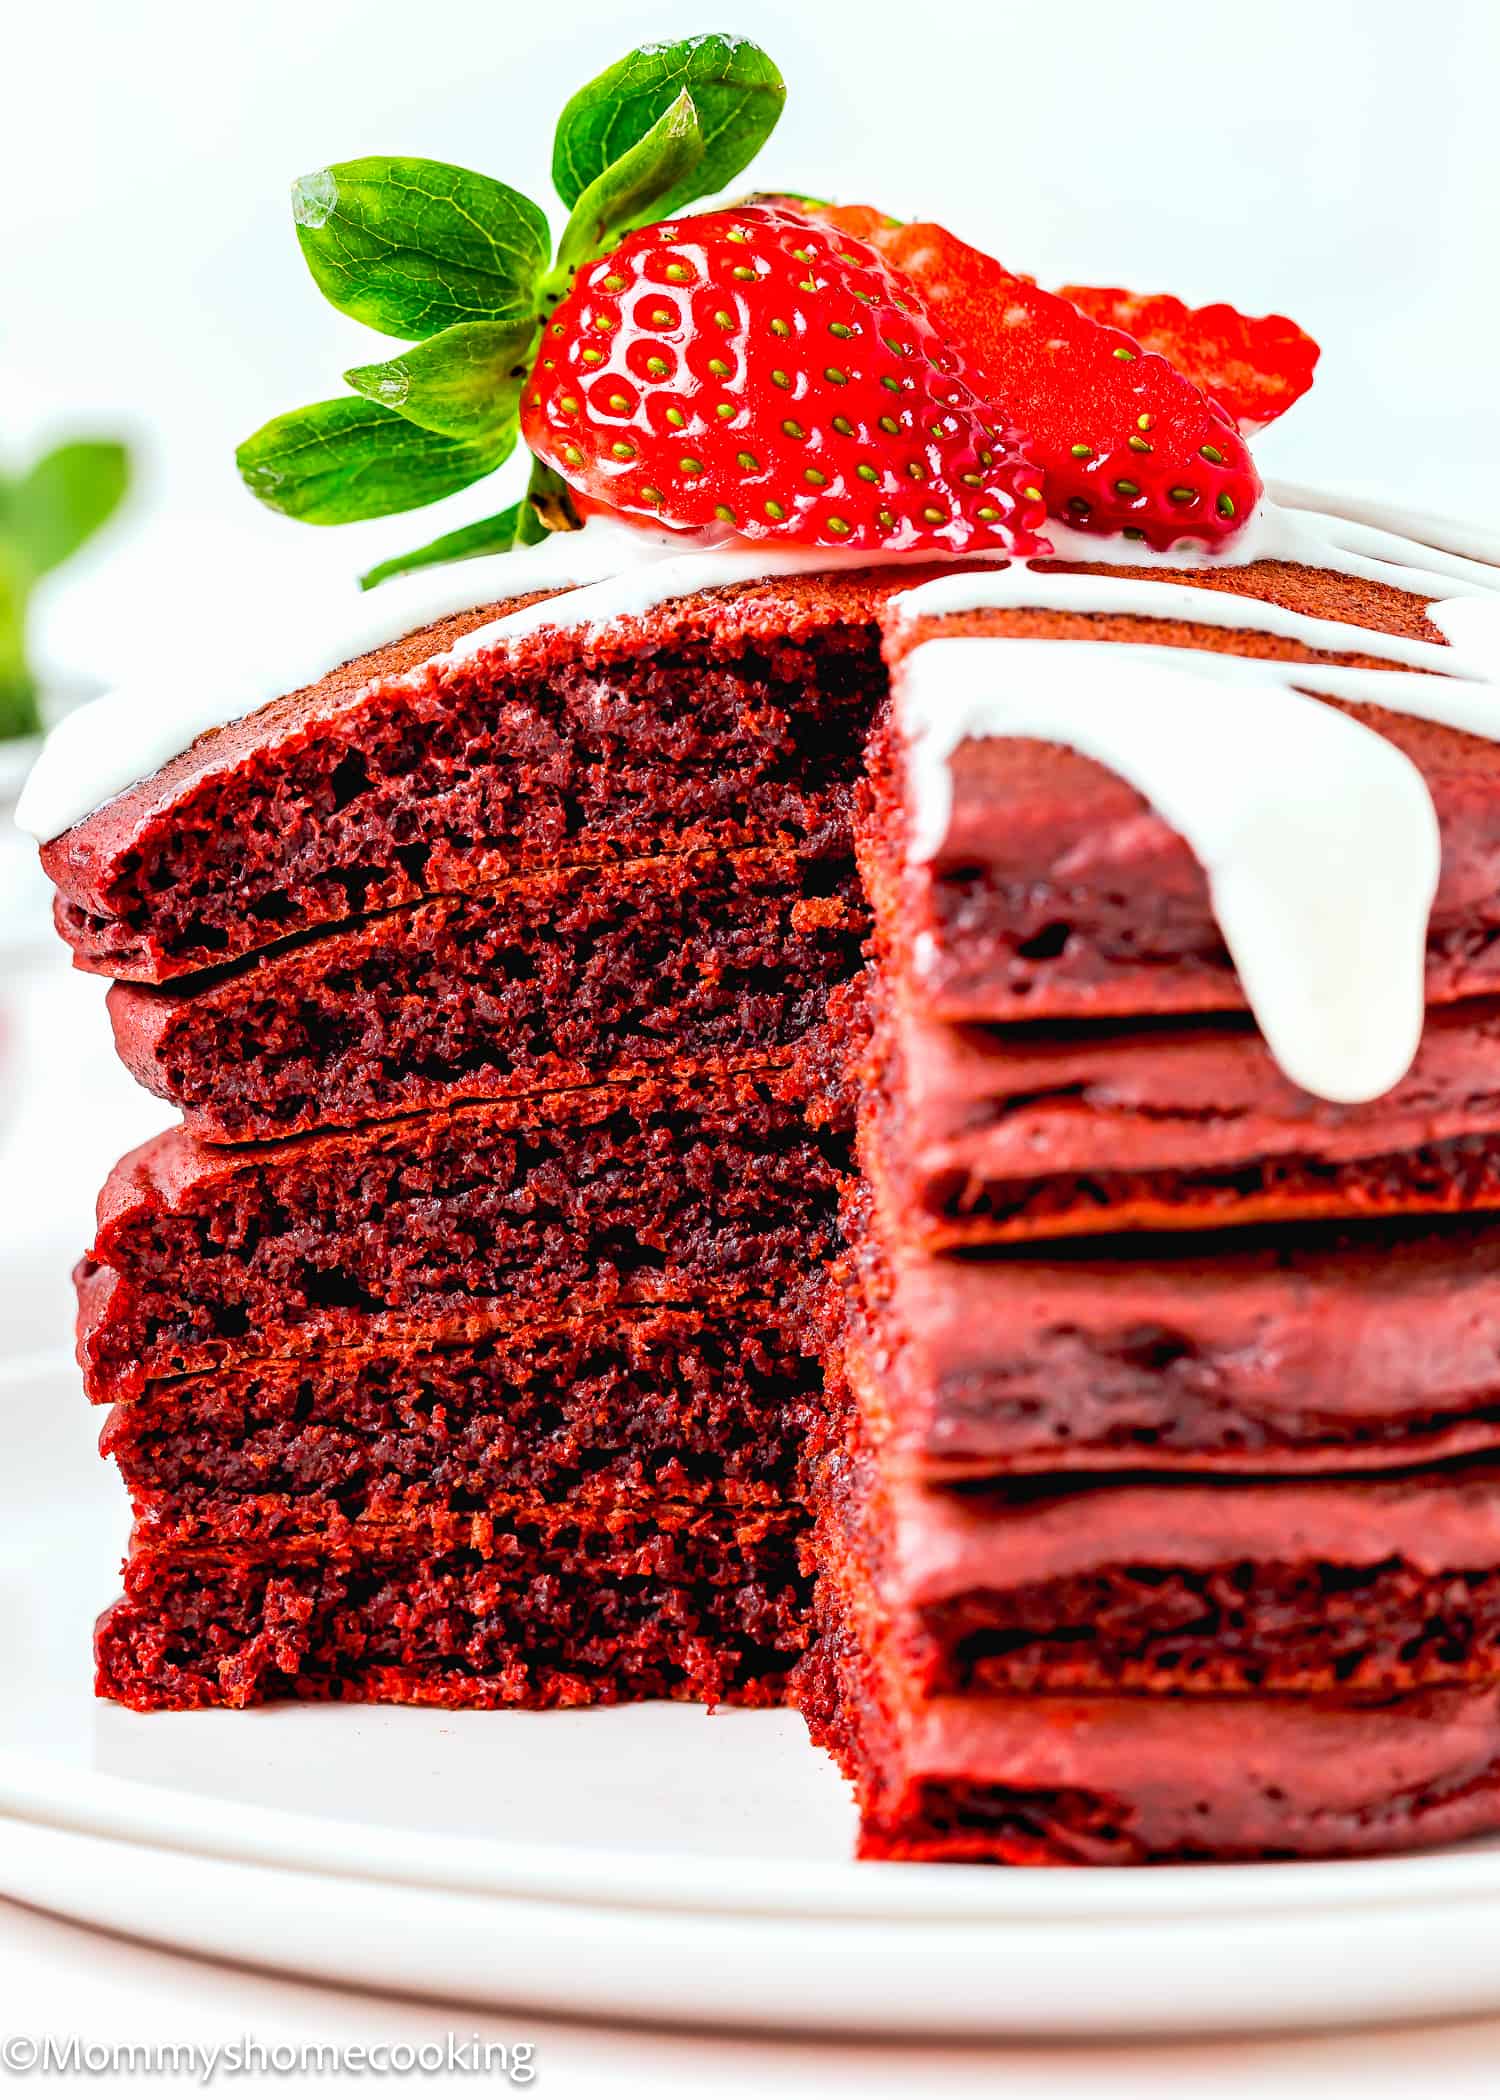
Heat a medium non-stick frying pan over medium-low heat. Lightly spray with butter. Pour a 1/4 cupful of batter into the pan. Cook for 1-2 minutes or until bubbles rise to the surface and the base is golden brown. Use a spatula to turn and cook the other side until golden brown and cooked through. Transfer to a plate and repeat with the remaining batter to make the rest of the pancakes.
More Pancakes Recipes You’ll Love!
Fluffy Eggless Pancakes [Video] Eggless Lemon Ricotta Pancakes Easy Eggless Sheet-Pan Pancakes Easy Eggless Blueberry Pancakes Easy Eggless Chocolate Chip Pancakes Browse more recipes…
Freeze: Wrap the cooled pancakes in wax paper and then stack them all in a gallon-size freezer bag. Close the bag and make sure to squeeze out as much air as possible to prevent freezer burn. Reheat: Remove the pancakes from the freezer and let them stand at room temperature for 5 minutes.
Oven: cover with tinfoil and heat in a preheated oven for 6-8 minutes or until warm. Microwave: Wrap a pancake in a damp paper towel and microwave for 30 -40 secs, turning once or until heated through.
Recipe Card 📖