Healthy-ish Eggless Smash Cake for 1-Year-Old
A birthday celebration is incomplete without a cake! And this easy-to-prepare, refined sugar-free, and Eggless Smash Cake will be perfect for your baby’s first birthday! I know how special our babies’ first birthday is, so I have created a tutorial to help you make their first cake, with all the goodness without the guilt! Many of you have expressed concern about your 1-year-old child filling up on lots of sugar and fat, and I totally understand, so I have created this healthy-ish cake version that is still delicious and fluffy.
What Is a Smash Cake?
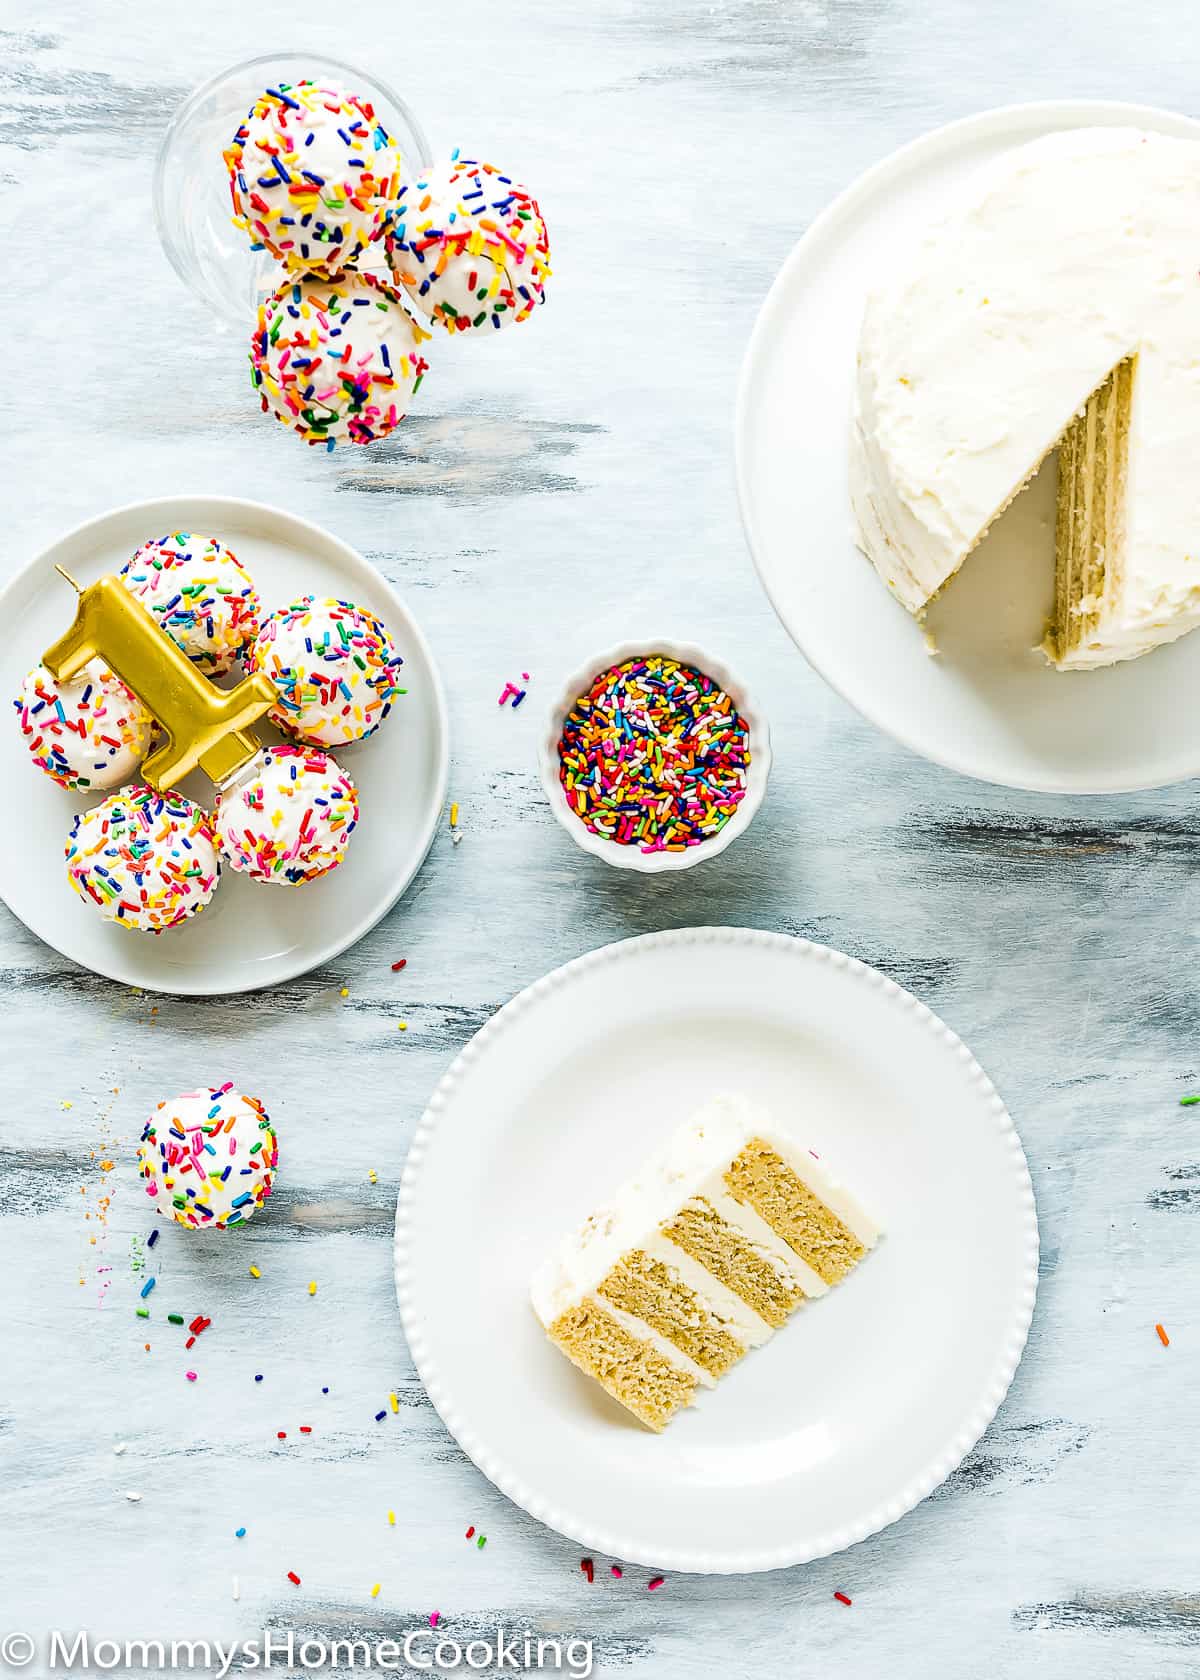
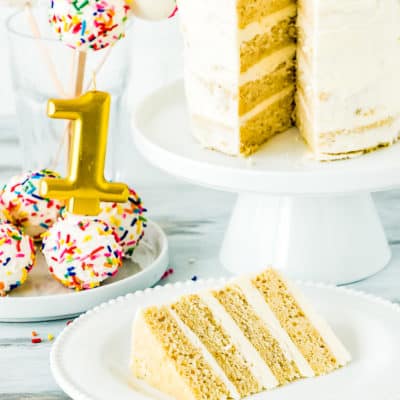
A smash cake is a small frosted cake made specifically for a baby’s first birthday. Parents usually let them dig into it with their hands and do whatever they want with it. Be warned that it gets messy, but it’s super cute. So get your camera ready to capture the cuteness.
Smash Cake Size
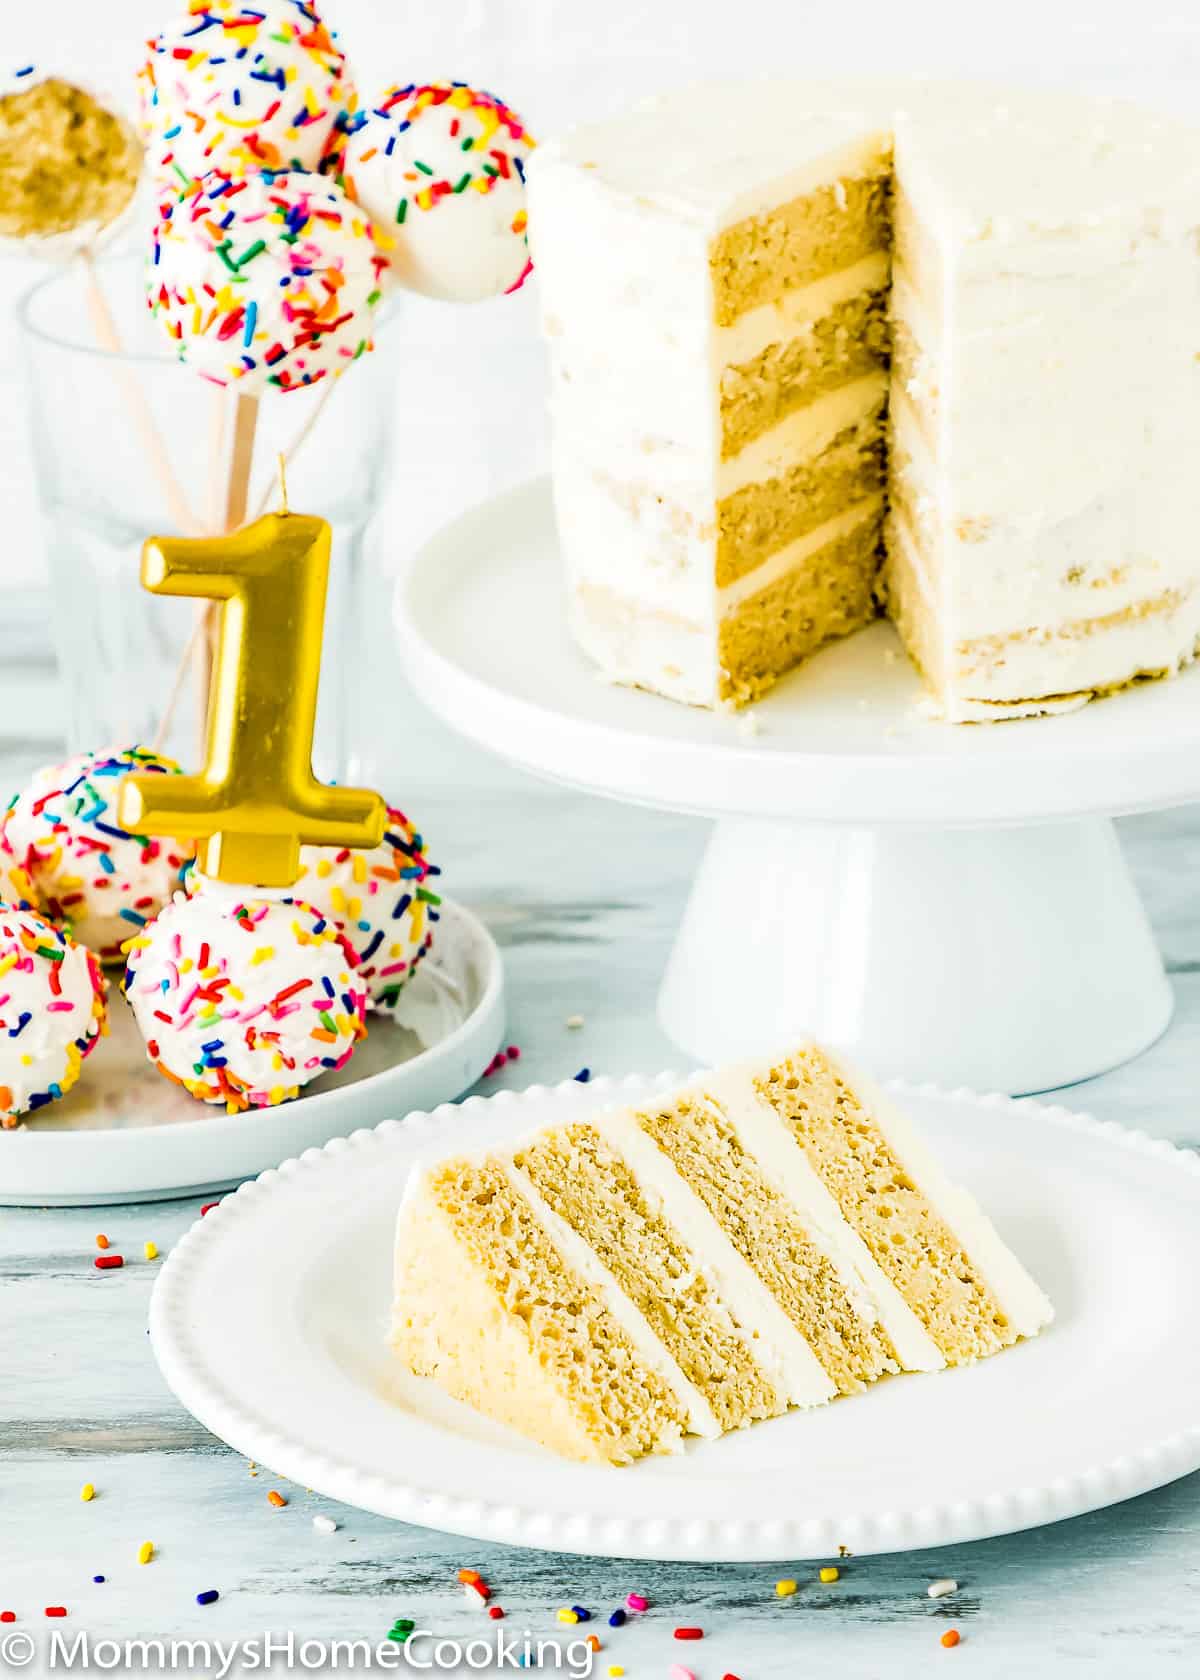
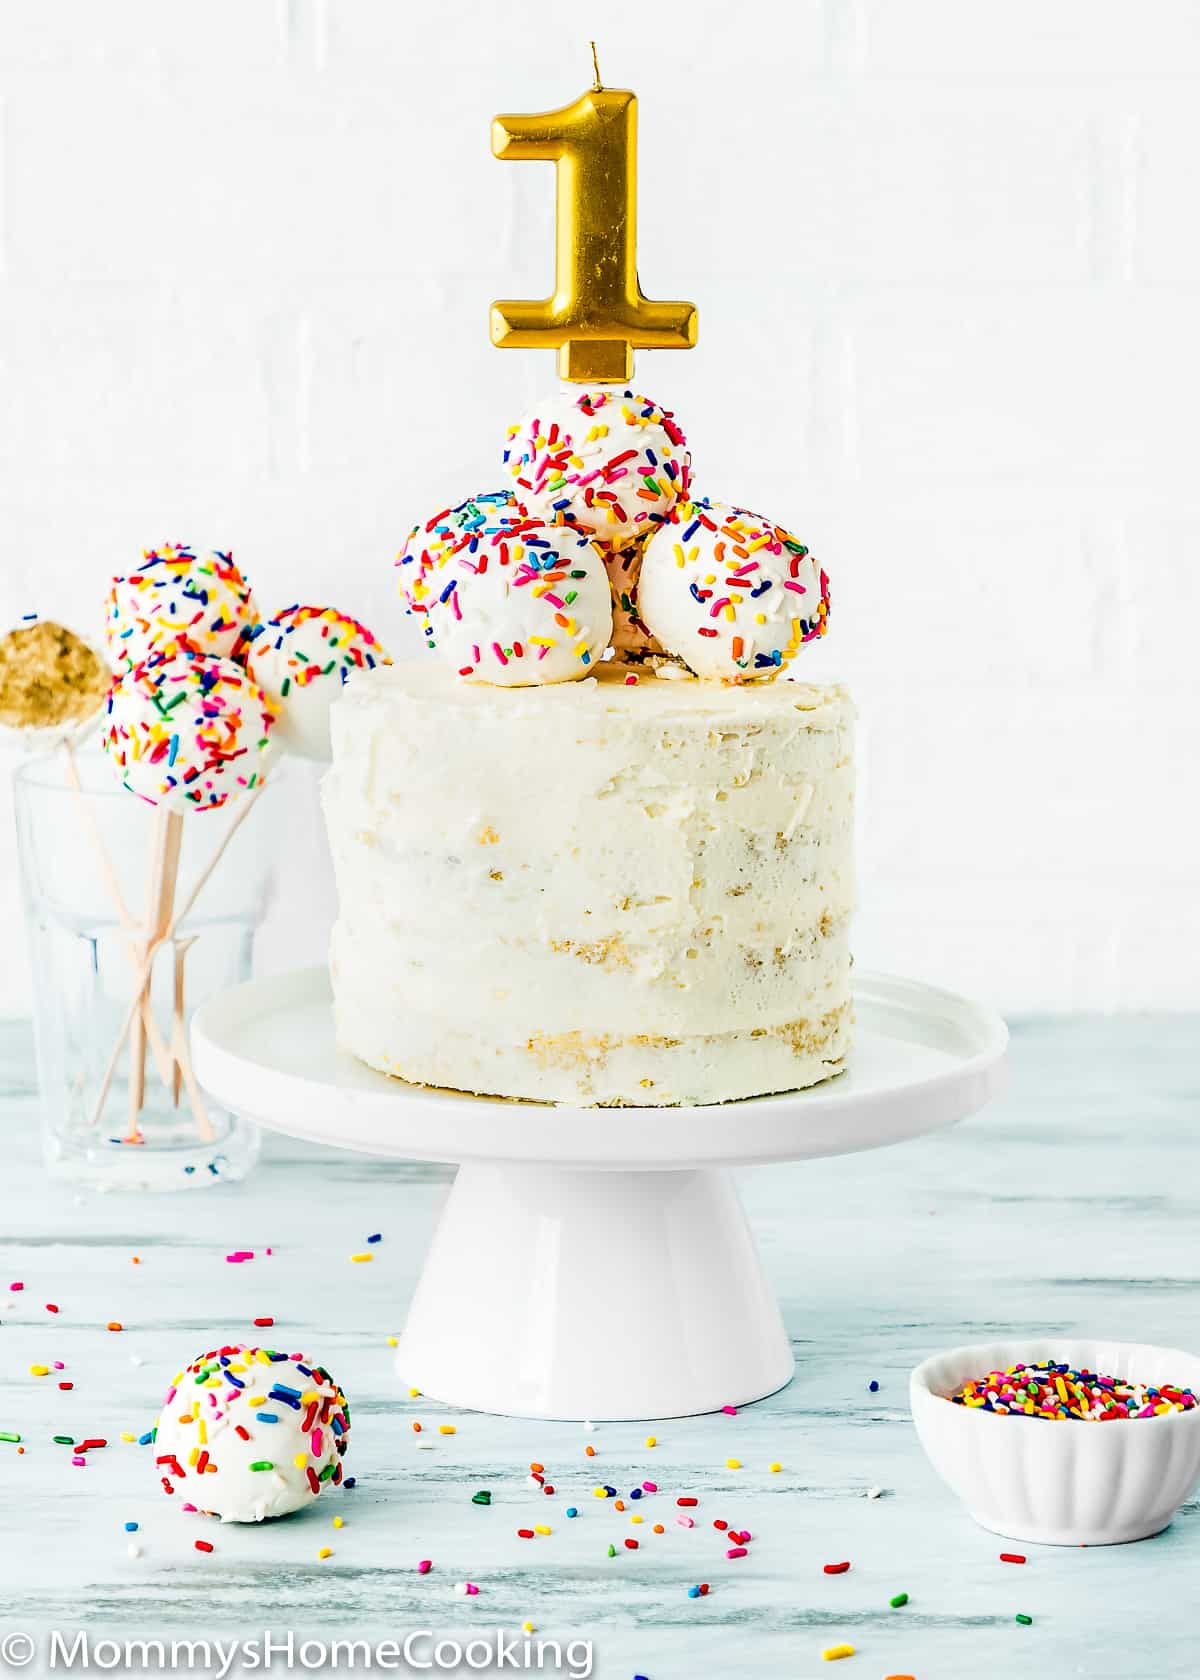
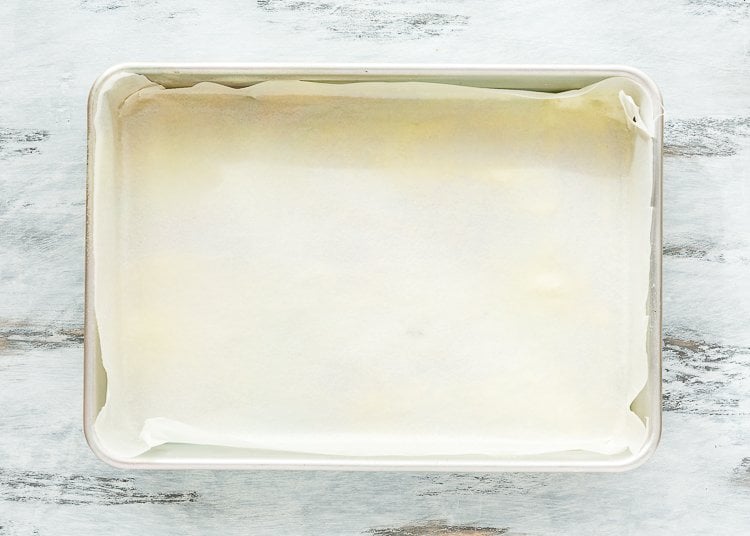
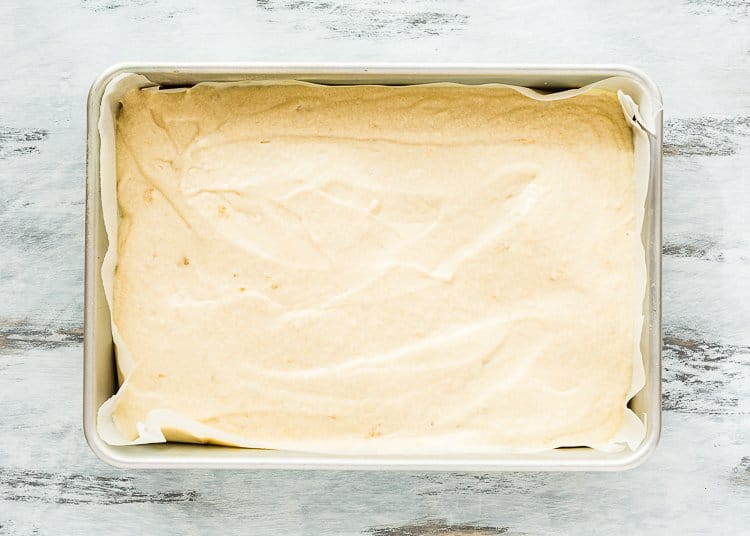
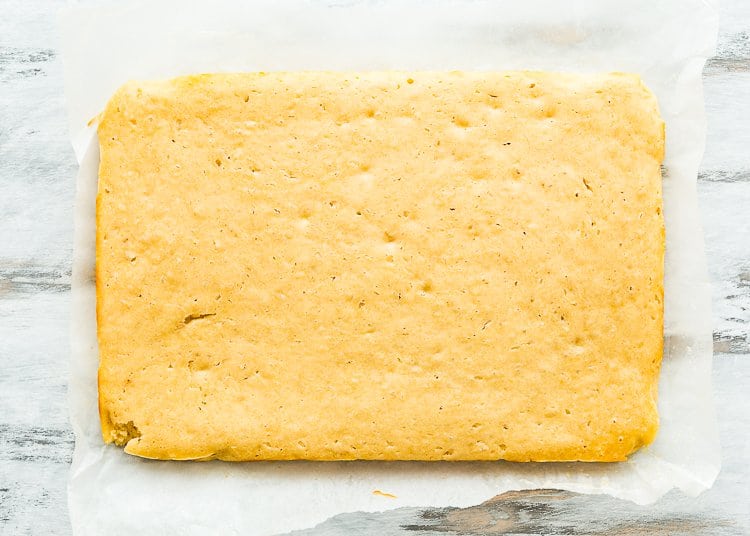
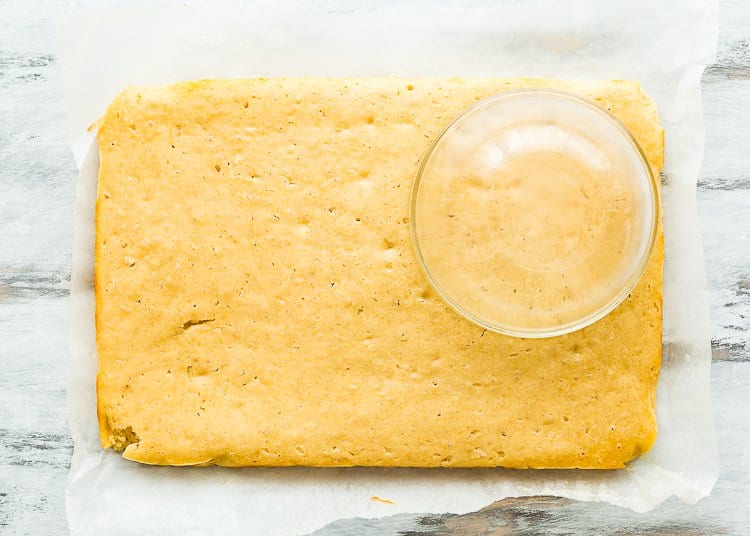
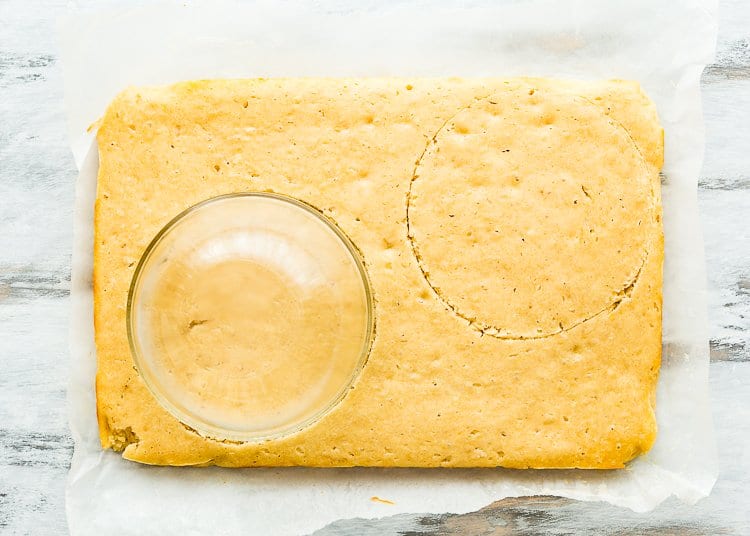
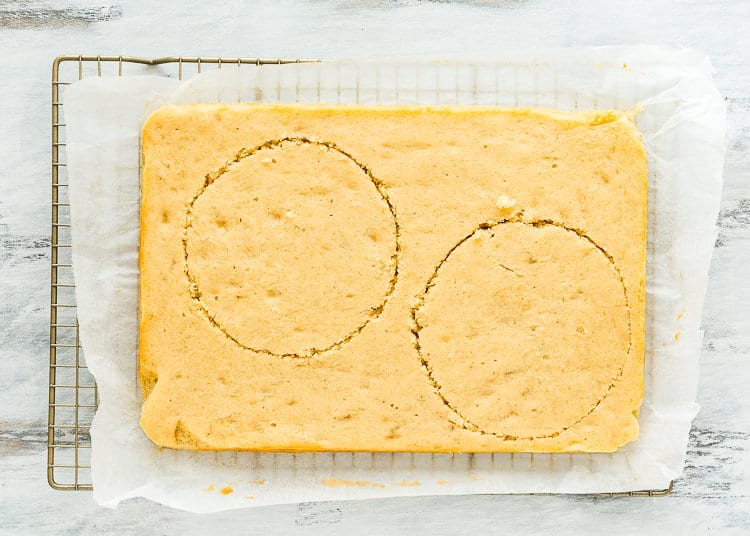
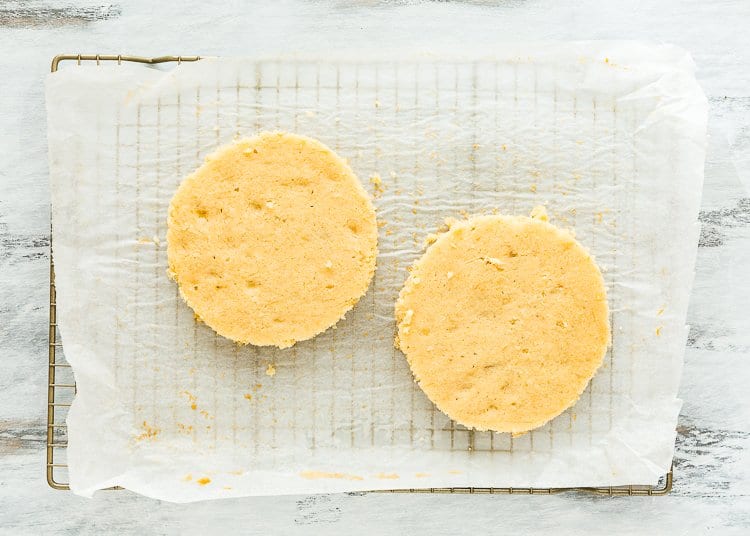
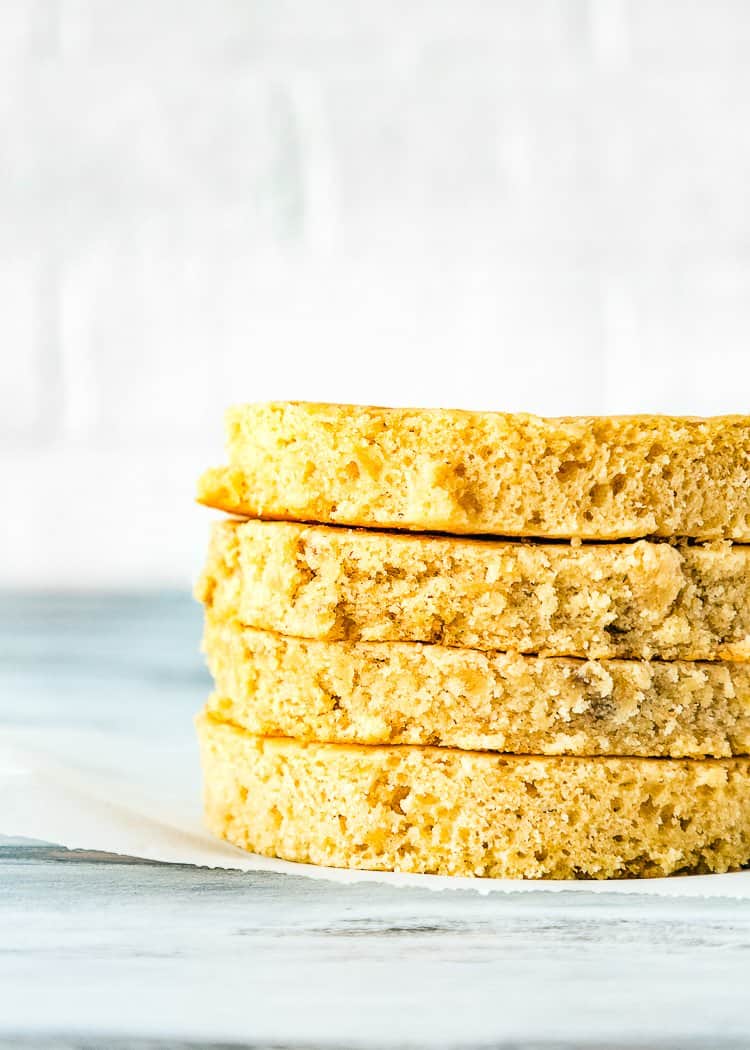
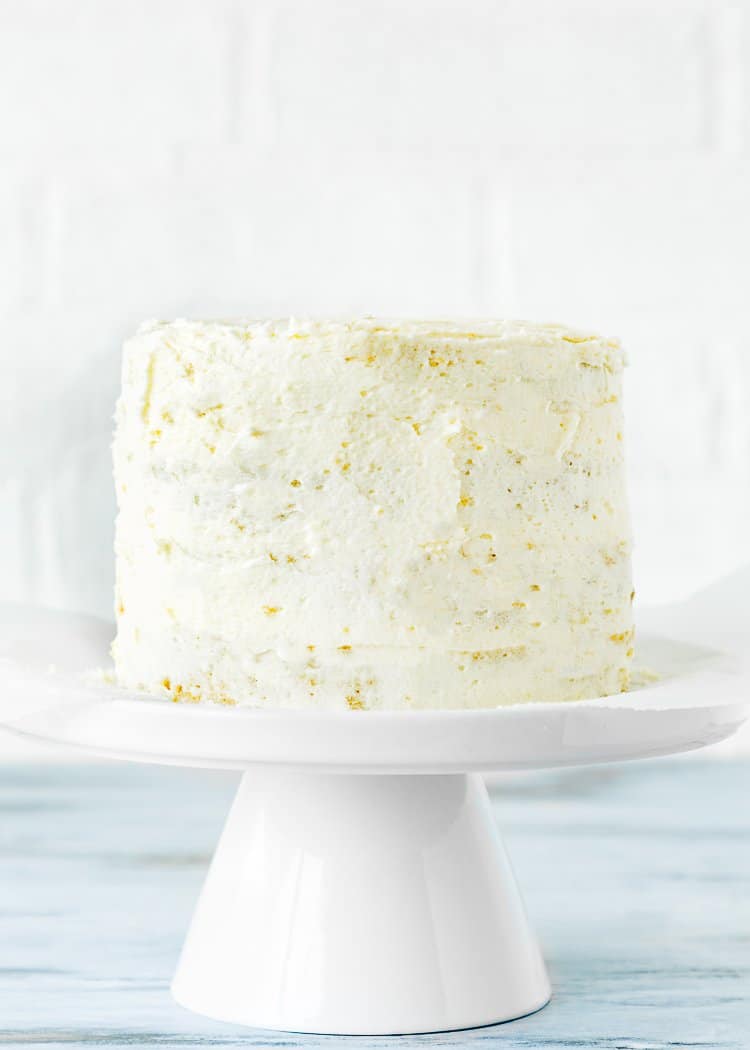
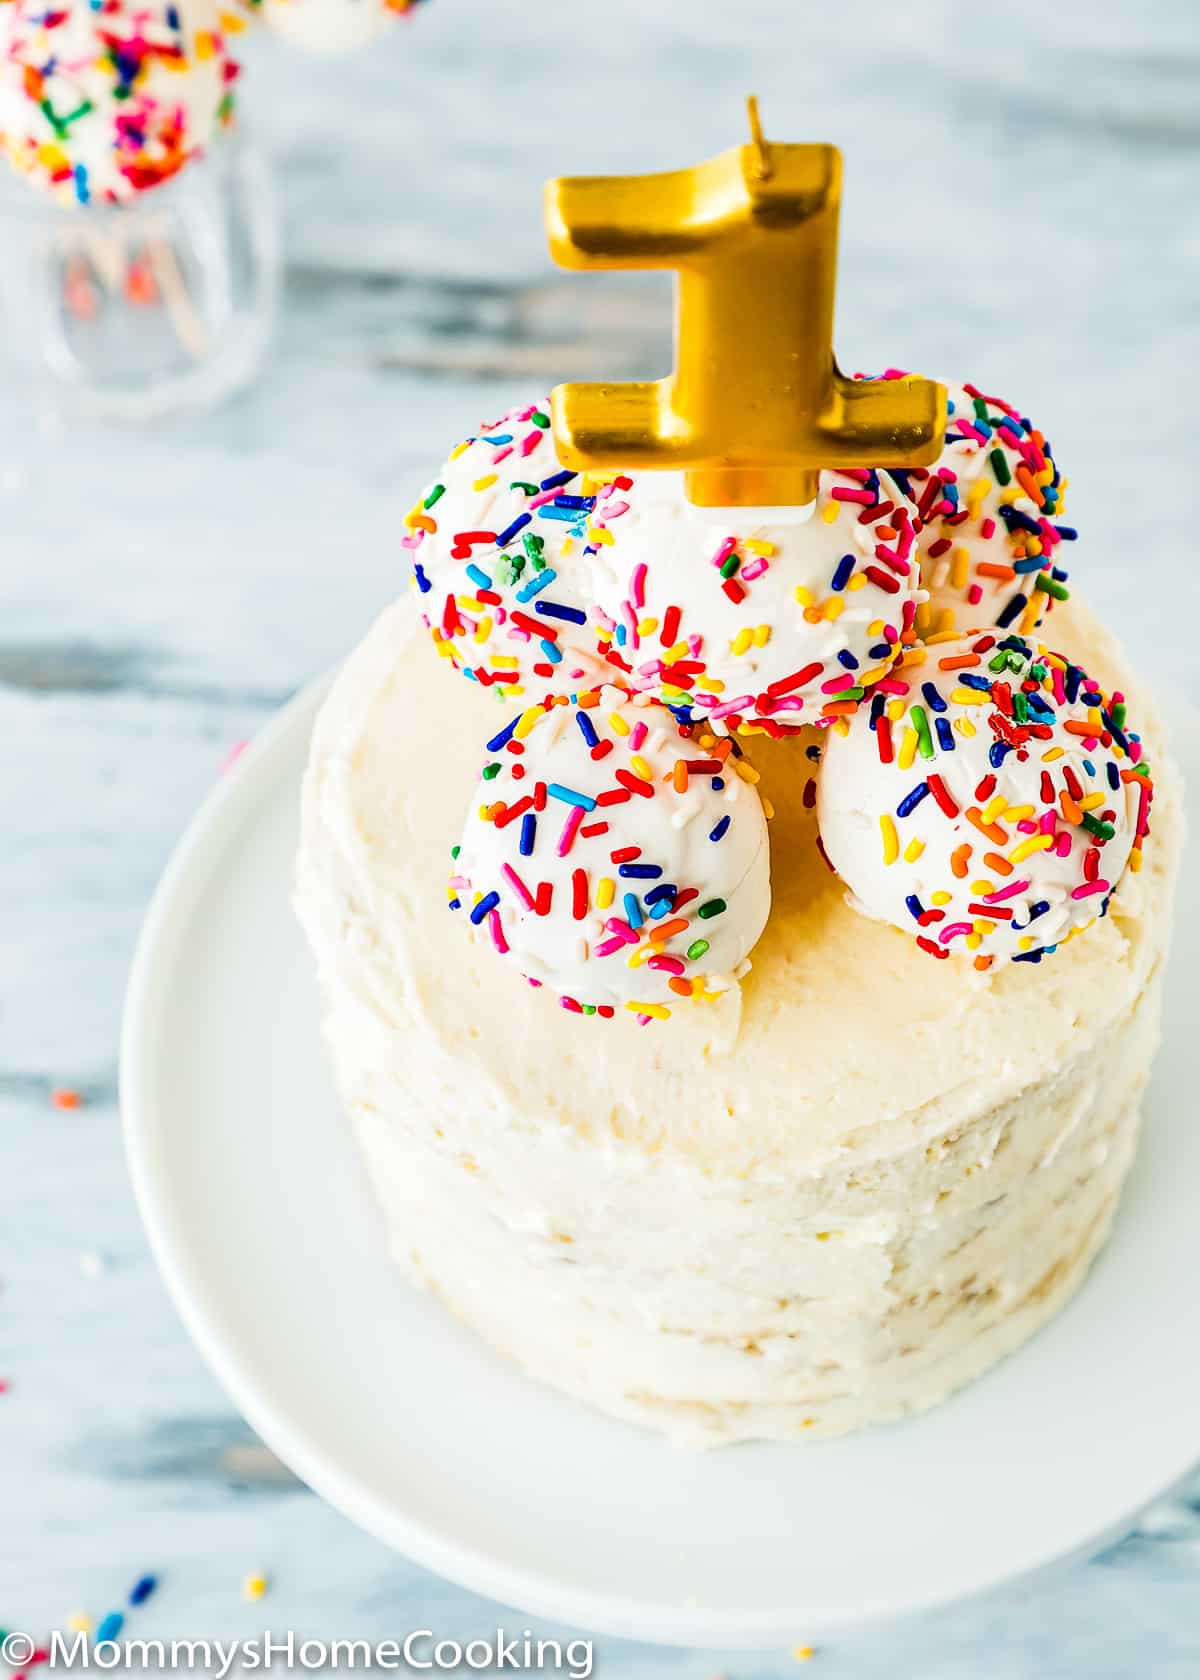
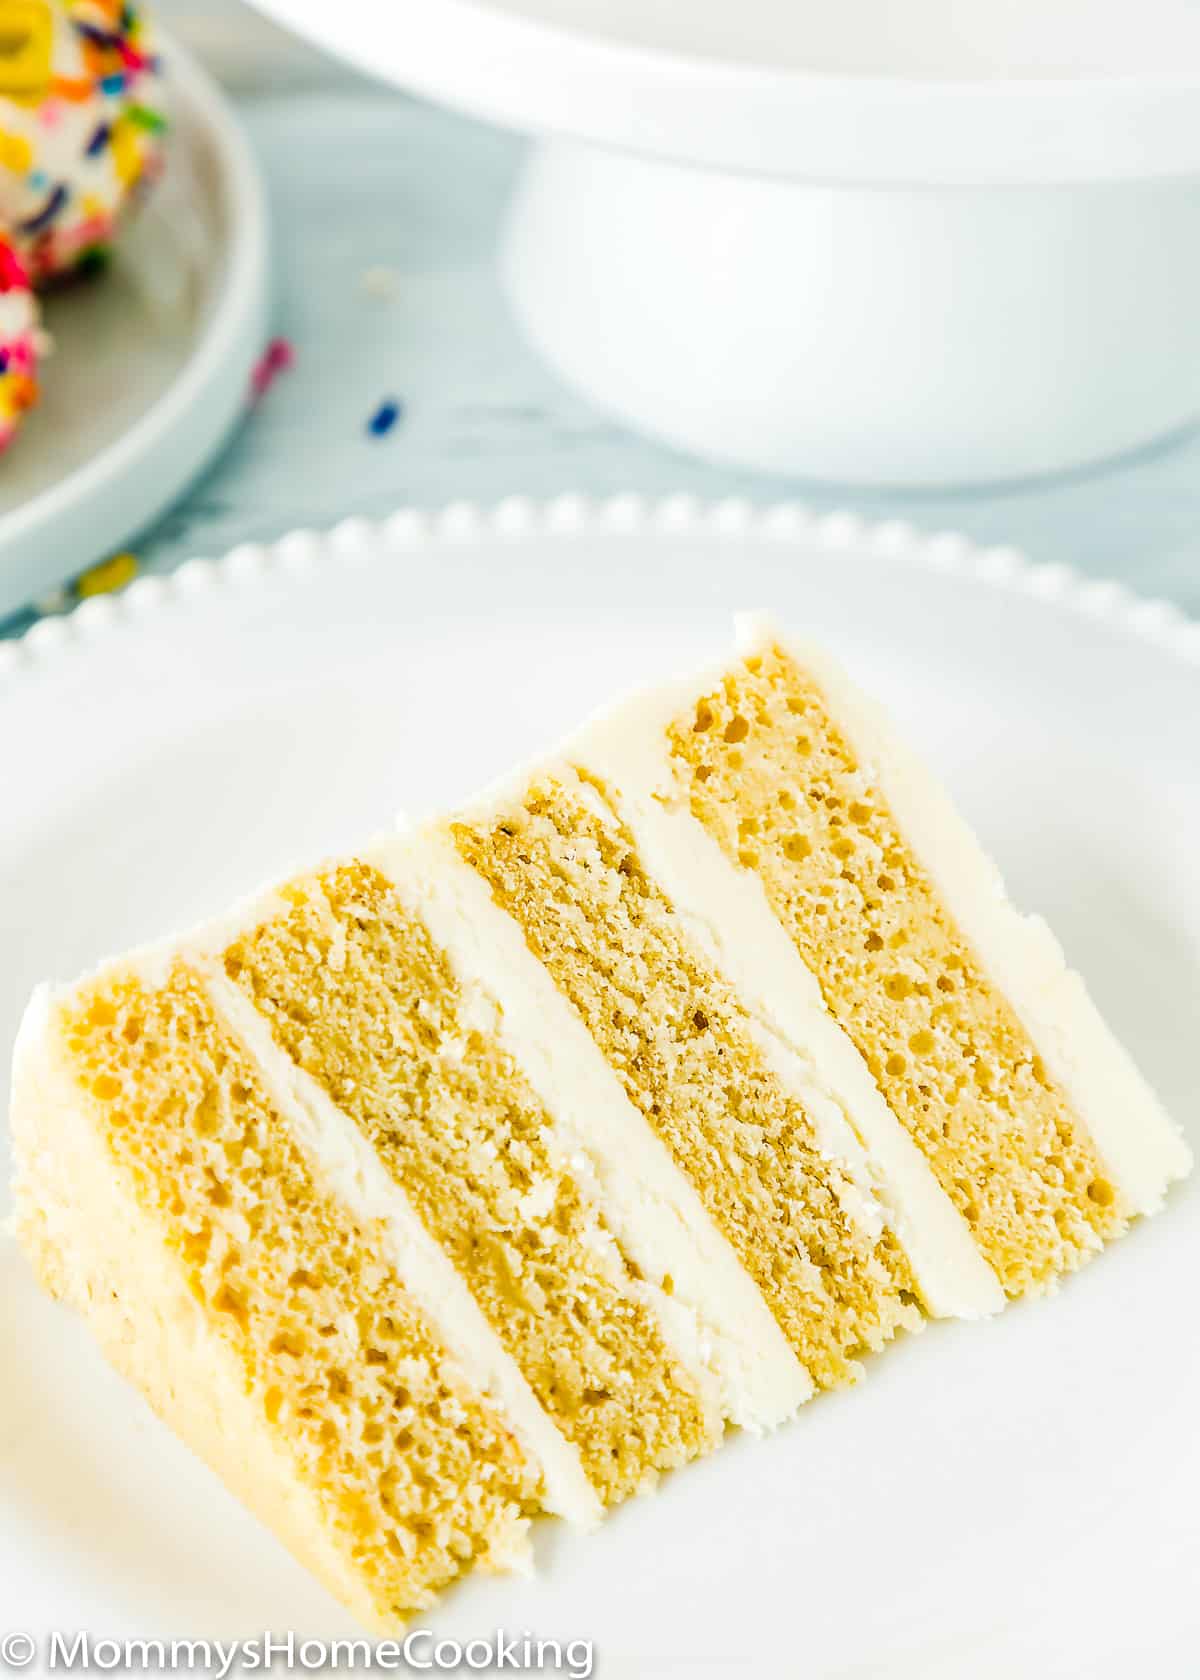
I personally like 5-inch diameter cakes, since it’s not too small and not too big. Other popular sizes are 4 and 6 inches. You can make a two, three, or four-layer cake…it’s totally up to you! I made a 5-inch four-layer cake. Since I didn’t have small cake pans, I baked the cakes in 9×13 pans and then cut the layers out. Then, I used the cake scraps to make cake pops and decorated the cake with vanilla buttercream.
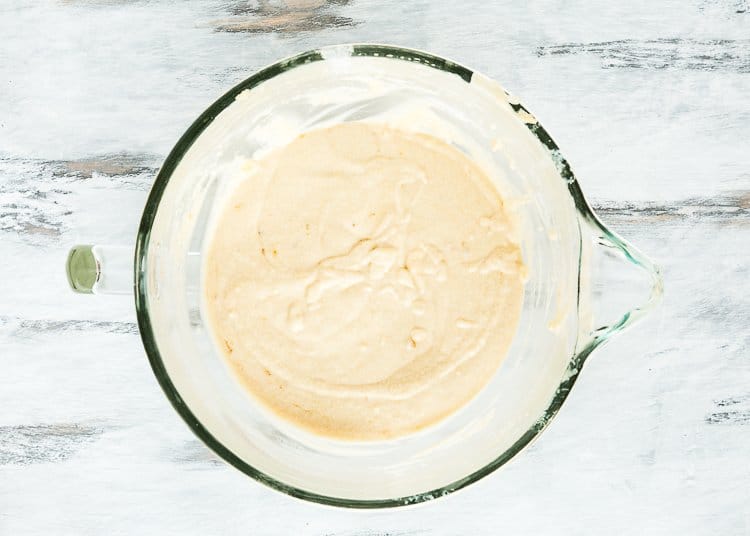
Beat butter until creamy on medium-high speed in a large bowl for about 3 minutes. Add maple syrup mashed banana, and vanilla; continue beating to combine. Add half of the flour mixture. Scrape down the mixing bowl with a spatula and turn the batter over several times to ensure all the ingredients are well incorporated. Add milk mixture; continue beating to incorporate. Add the remaining flour; beat just until combined. Do not overmix this batter.
Pour the cake mixture into the prepared pan(s).
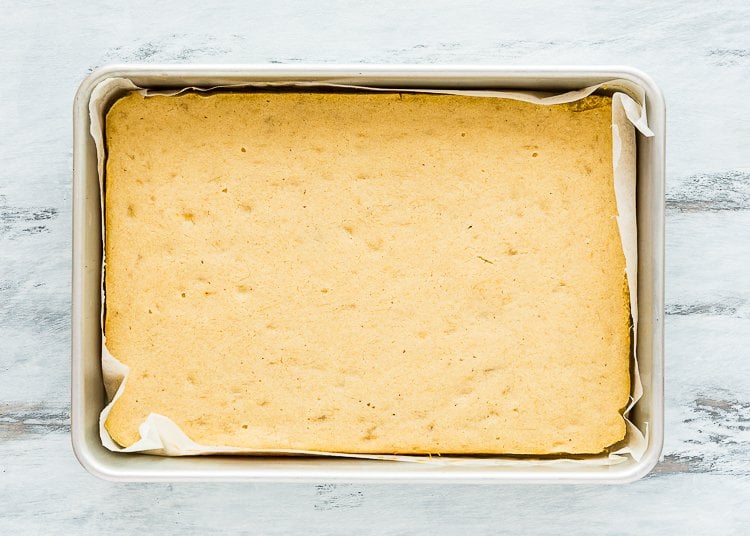
2 – Bake and Let it Cool
3 – Make the Frosting
So many frosting options!! You can use Vanilla Buttercream or Chocolate Frosting. Also, Strawberry or Oreos buttercream or even cream cheese frosting. However, If you are looking for a healthier buttercream alternative, I included a recipe below, make sure to check it out. I love most about this recipe because it only requires a few basic ingredients. You’ll need:
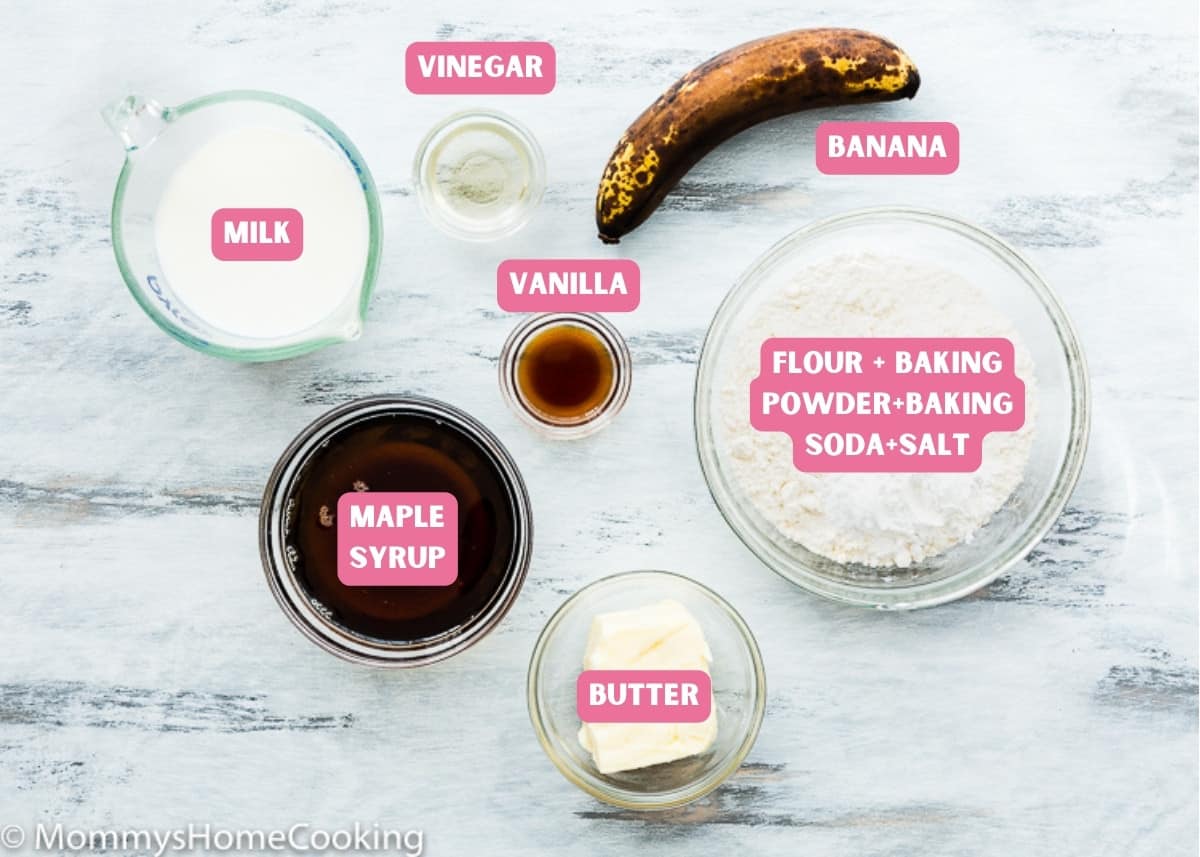
Flour: Standard all-purpose flour works best here, skip the cake flour, bread flour, and wheat flour. Baking powder & Baking soda: Make sure they’re not expired or too old. Salt: I prefer kosher or sea salt. If you only have table salt handy, I recommend reducing the amount to half. Milk: For baking, I like to use whole milk. However, you can use any milk you have handy, even plant-based milk. Vinegar: You can use apple cider vinegar or white vinegar. Butter: I prefer to use unsalted butter, but if you only have salted butter handy, you can use it. In this case, skip the salt called in the recipe. Pure maple syrup A ripe banana Vanilla Extract: For optimal flavor, reach for pure vanilla instead of imitation. Even better, try homemade vanilla extract!
1 – Make the Cake Batter
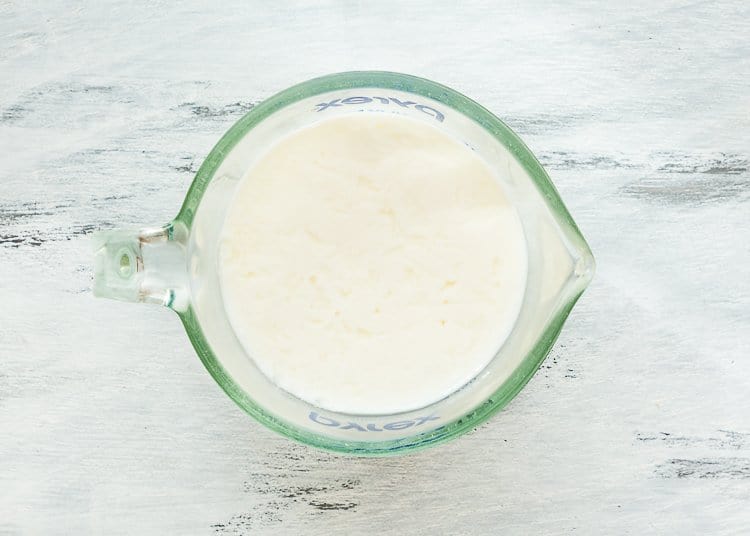
Whisk together flour, baking powder, baking soda, and salt in a large bowl. In a mixing bowl, combine milk and vinegar.
4 – Assemble
If you make your cakes in round cake pans: If you make your cakes in one or two 9×13 (rectangular) pans:
I decorated mine with vanilla buttercream and made some cake pops with the cake scraps. Then, I dipped them in candy melts and added lots of sprinkles. Preheat the oven for at least 15 minutes before starting the recipe, giving it plenty of time to reach the ideal temperature. Don’t overmix the batter. Instead, mix just until the ingredients are evenly distributed throughout. Bake the batter as soon as it is ready. Don’t open the oven door until your baked good has set. Leave the oven closed until the minimum time is stated in the recipe. Every oven is different, so baking times always have to be taken with a grain of salt. Oven thermostats can be wildly off, affecting baking time, so keep an eye on yours.
Healthy Buttercream Alternative
If you are looking for a less buttery and sweet buttercream, this might be a great option:
1 (14-ounce) can of coconut cream (chilled overnight) 1/4 – 3/4 cup icing/powdered sugar 1/2 tsp vanilla extract Pinch of salt
This recipe is egg- and nut-free, but you can adapt it to other food allergies.
Gluten-Free
Substitute all-purpose flour for 1-to-1 Gluten-Free flour mix. My favorite brand is Better Batter Original All Purpose Flour Blend. Cup4Cup will also work fine, but the texture will be slightly different.
Dairy-Free
Use your favorite plant-based, dairy-free, or vegan butter and milk. Make sure to use an unflavored, unsweetened variety of non-dairy milk. Soy and oat milk have the best consistency and very neutral flavors. My favorite dairy-free butter brands for baking are:
Miyoko’s Creamery Organic Vegan Butter. Earth Balance Vegan Buttery Sticks.
Vanilla Chocolate Banana Carrot Red Velvet Marble Pumpkin Lemon Gingerbread
Storing & Freezing Instructions
Store
Unfrosted cake layers can be stored at room temperature for up to 2 days or frozen for up to a month; defrost at room temperature before frosting and serving. Frosted cake can be stored at room temperature for up to 1- 2 days or in the refrigerator for up to 5 days. If your kitchen is too hot, I recommend storing it in the fridge. Take into consideration that the cakes will lose some of their fluffiness if refrigerated or frozen.
Freeze
Unfrosted and frosted cake can be frozen for up to two months; defrost at room temperature before frosting and/or serving. Frosted cake can be stored at room temperature for up to 1- 2 days or in the refrigerator for up to 5 days. If your kitchen is too hot, I recommend storing it in the fridge. Take into consideration that the cakes will lose some of their fluffiness if refrigerated or frozen. To freeze, wrap the cake tightly in several layers of plastic wrap to ensure it is tightly sealed. You can also add an extra layer of aluminum foil for additional protection against freezer burn. Thaw overnight in the refrigerator and bring to room temperature before decorating/serving.
You’ve asked, and I’ve answered! Read on for a handful of answers to the most frequently asked questions about eggless baking. Originally posted in March 2020, the post content was edited to add more helpful information, with no change to the recipe in May 2022.