Oriana’s Thoughts On The Recipe
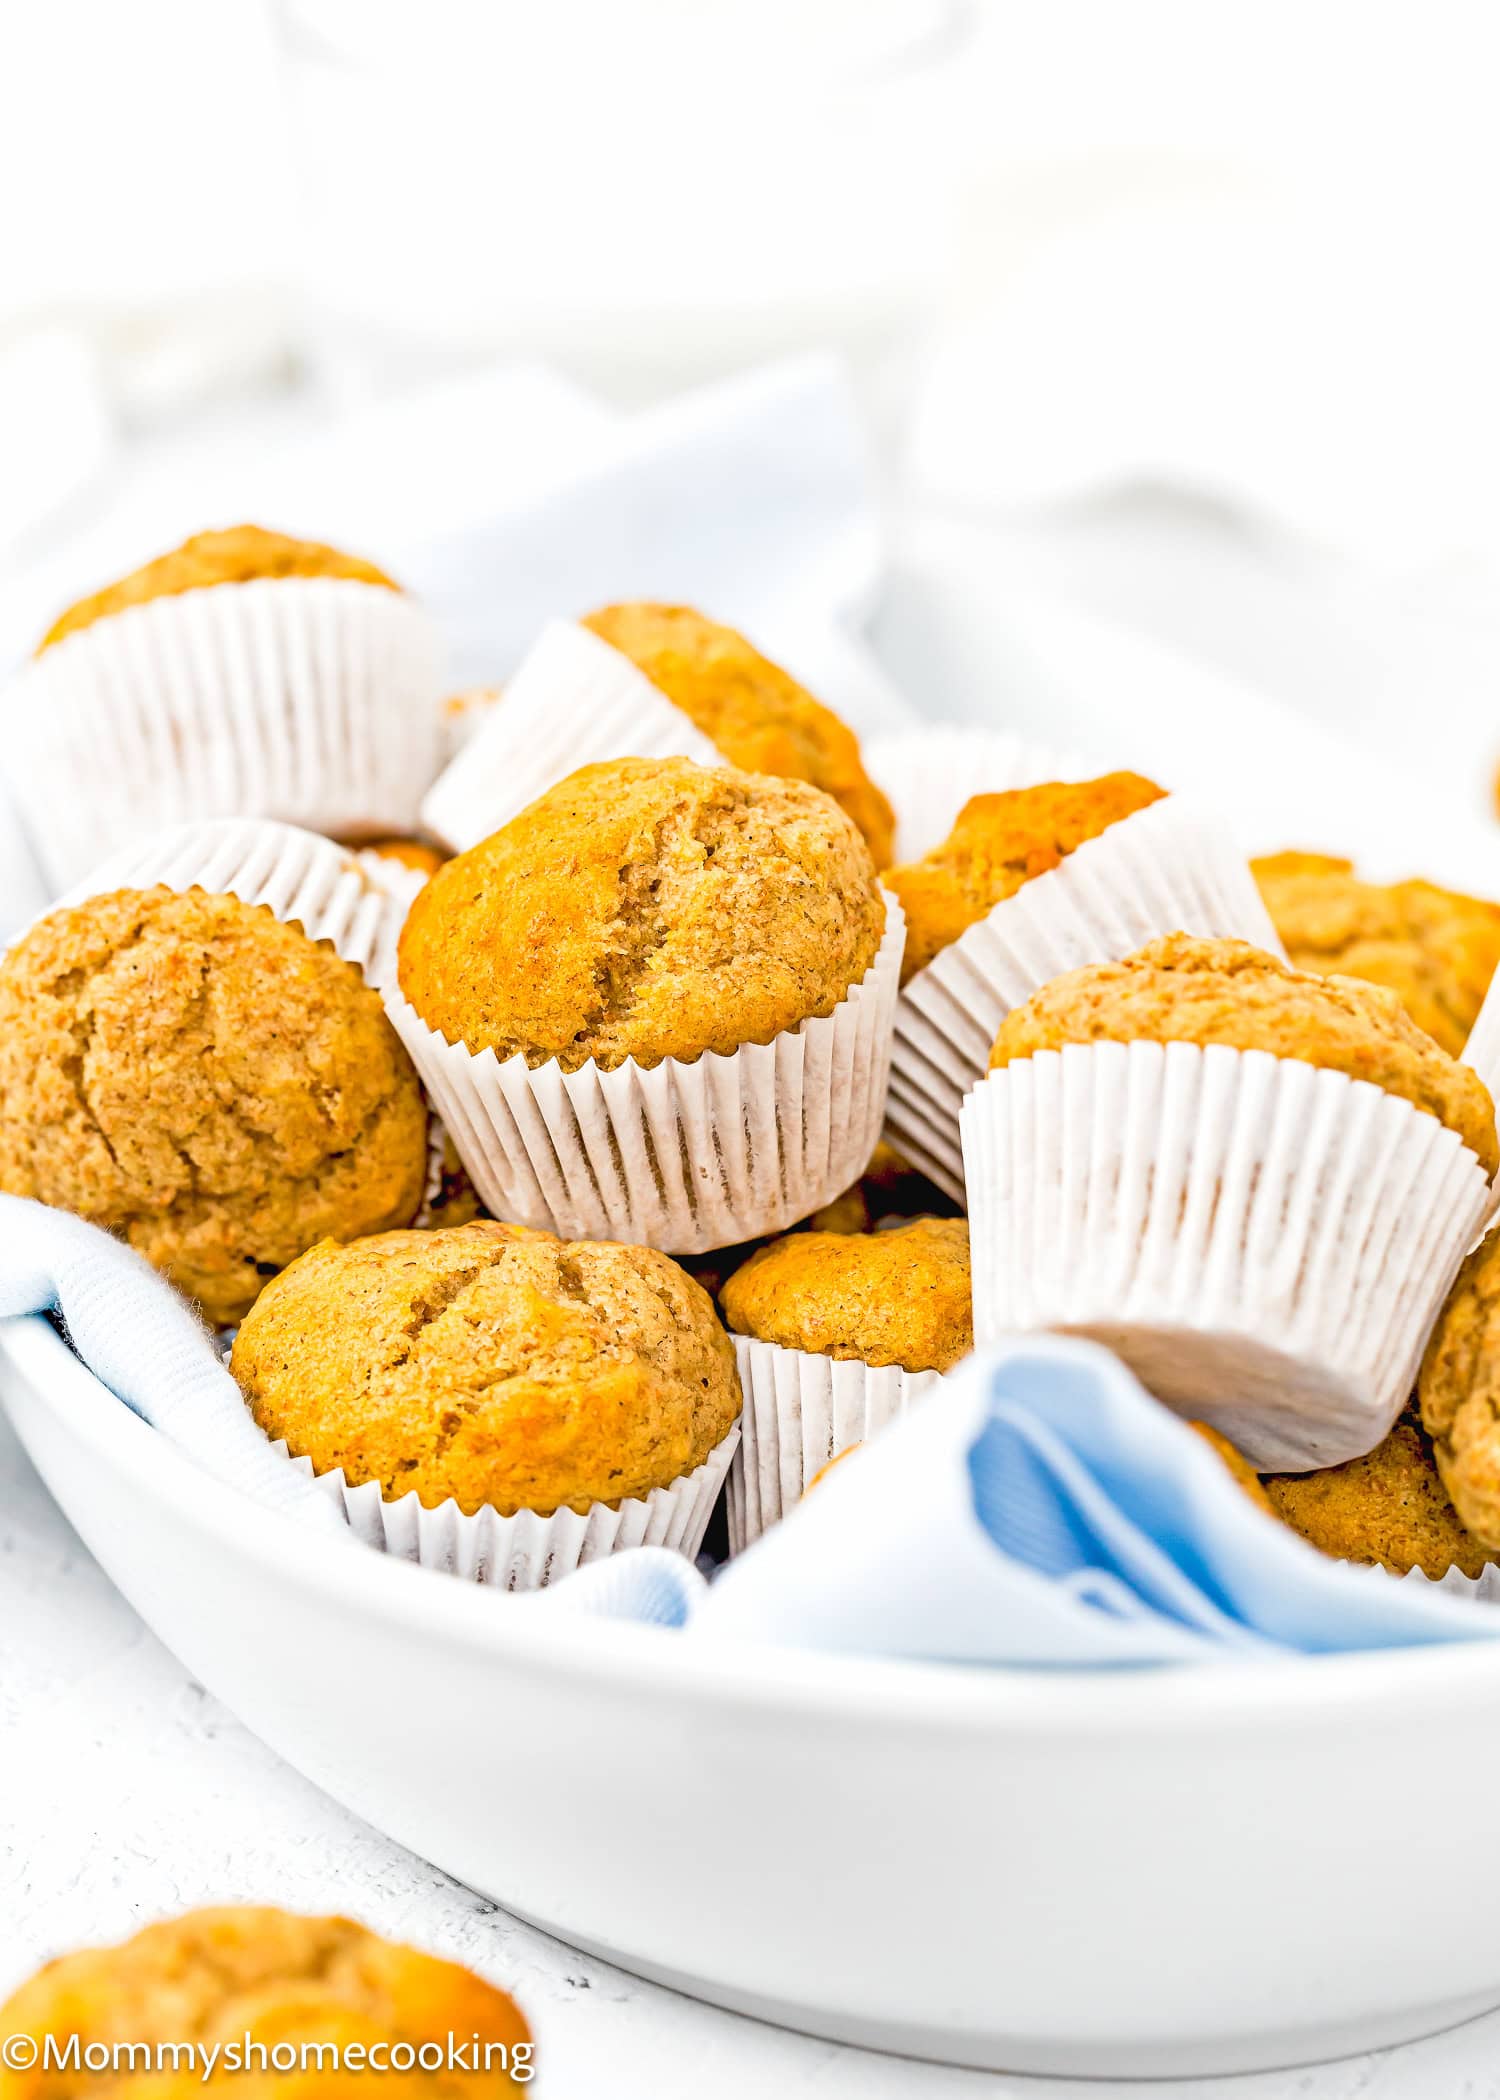
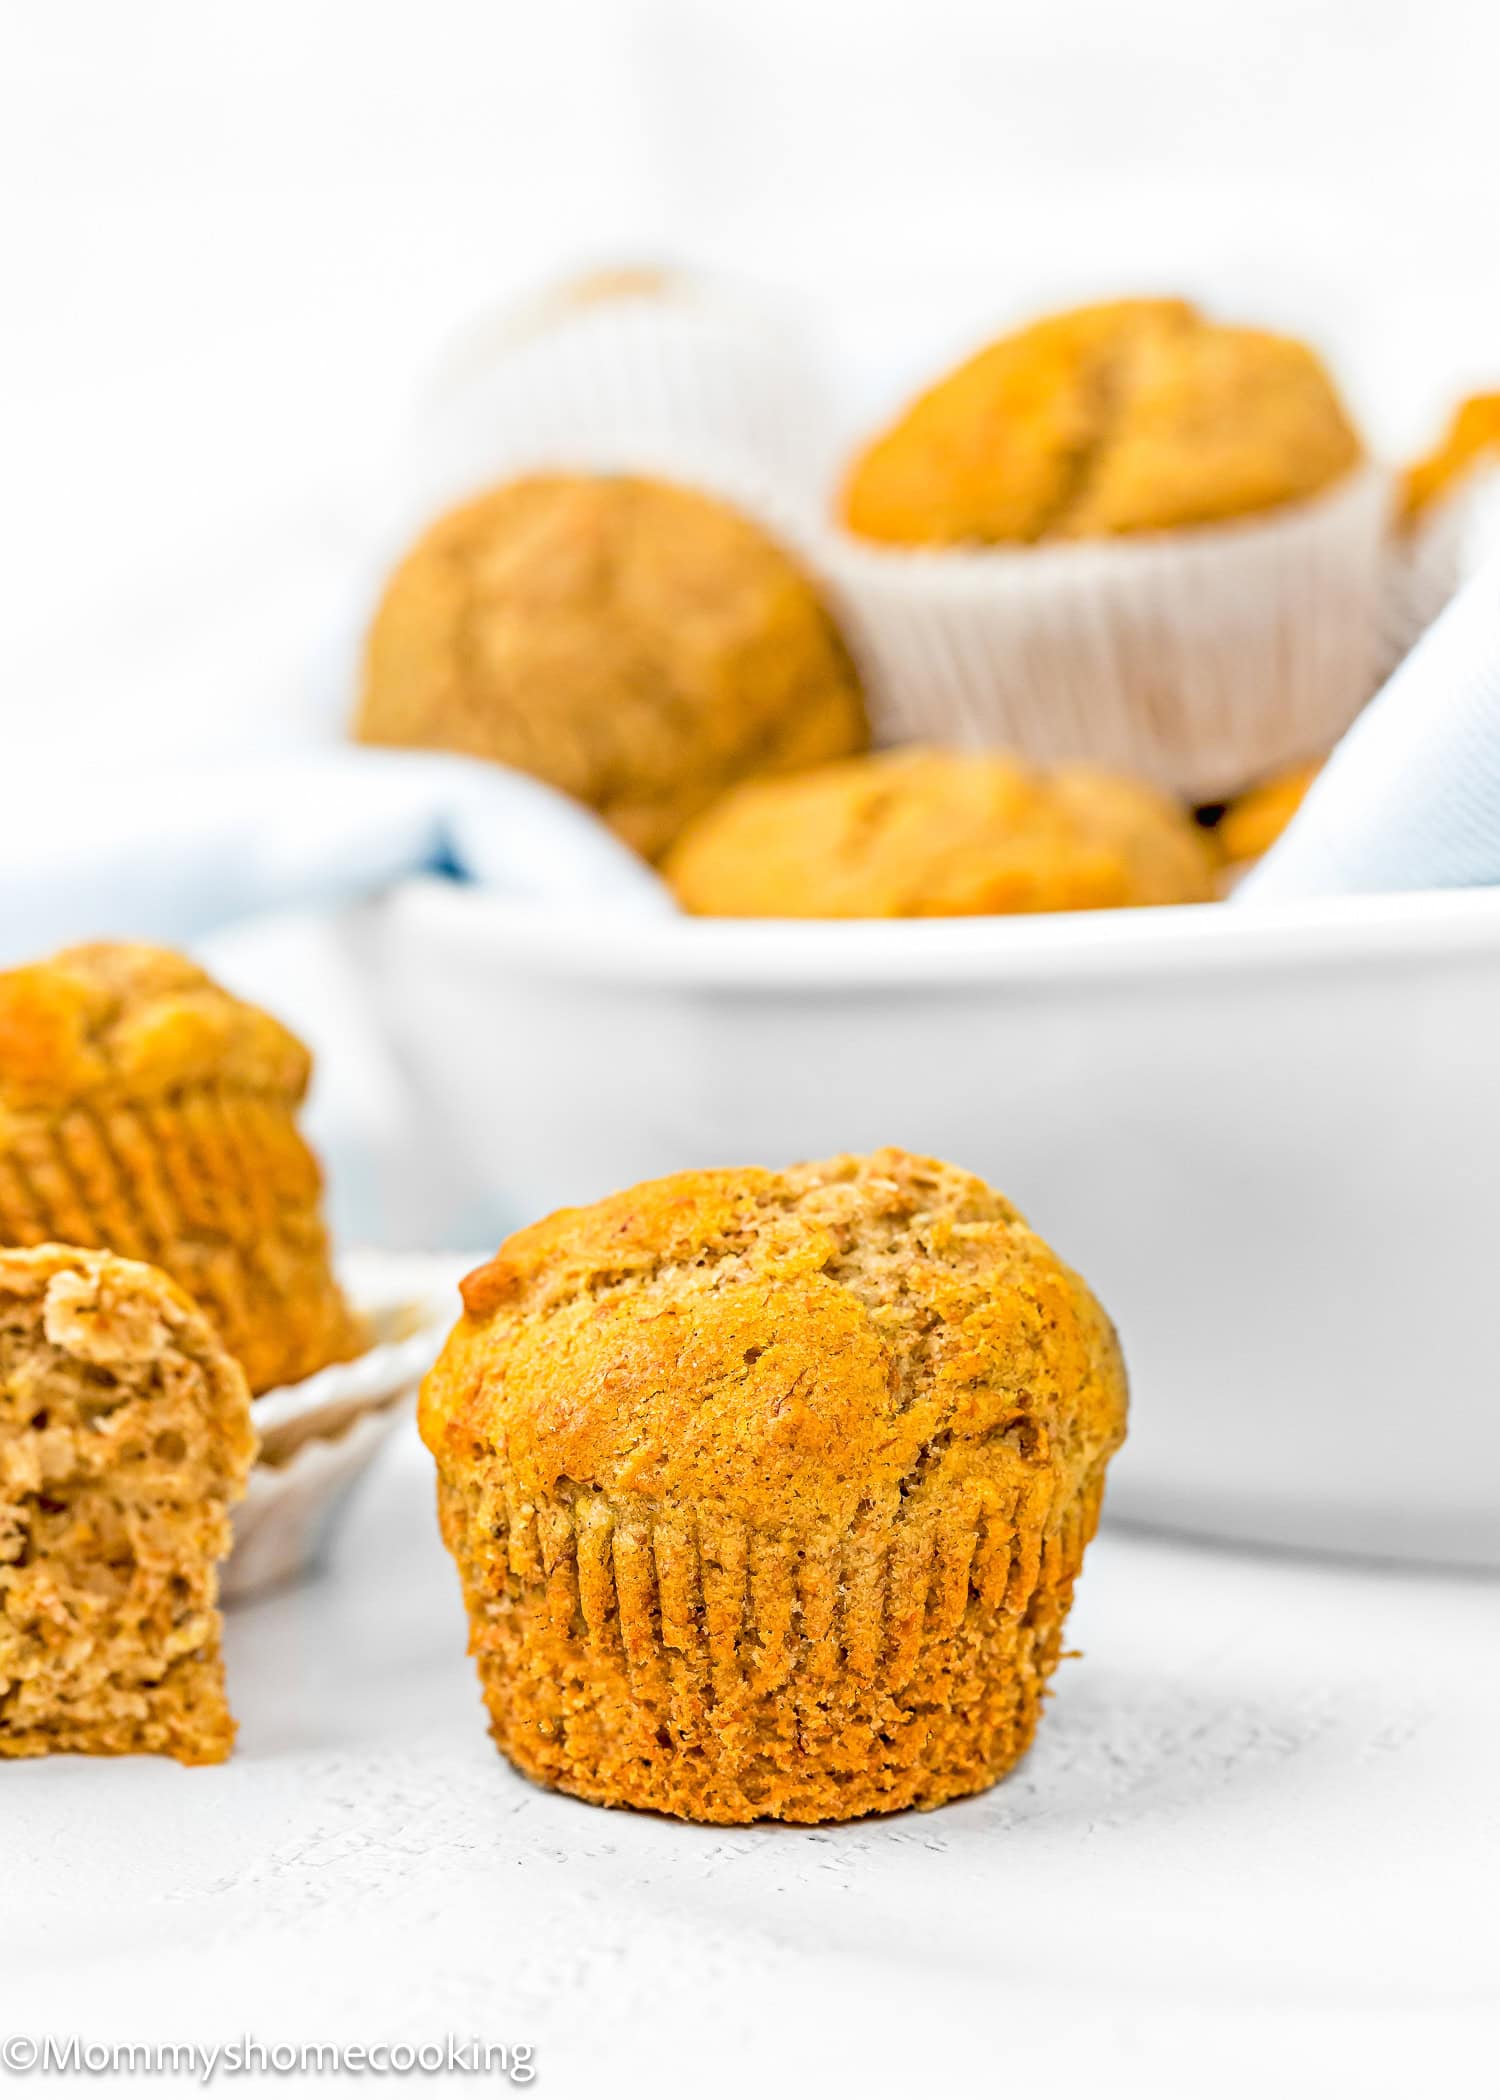
Oh, the joy of baking for loved ones! When my adorable baby grandson was diagnosed a few months ago with an egg allergy and developed a sensitivity to oats, I knew I had to get creative in the kitchen. You know how challenging food allergies can be, especially for a baby. So, I rolled up my sleeves and crafted this super easy, allergy-friendly banana muffin recipe. It’s been a hit in my house. I wanted these muffins to be tender, moist, and bursting with the delicious flavor of banana bread without eggs, dairy, or refined sugar. It was quite an adventure, but after several trials, I found the perfect balance. These mini muffins are not just for babies and toddlers; they’re a delightful treat for the whole family. I confess I can hardly resist them myself! The best part? These freezer-friendly muffins make them perfect for busy mornings or snack times. You can whip up a batch, freeze it, and have a healthy, homemade treat ready whenever you need it. Trust me, once you try them, you’ll understand why I keep going back for more.
Ingredients You’ll Need, Substitutions & Notes
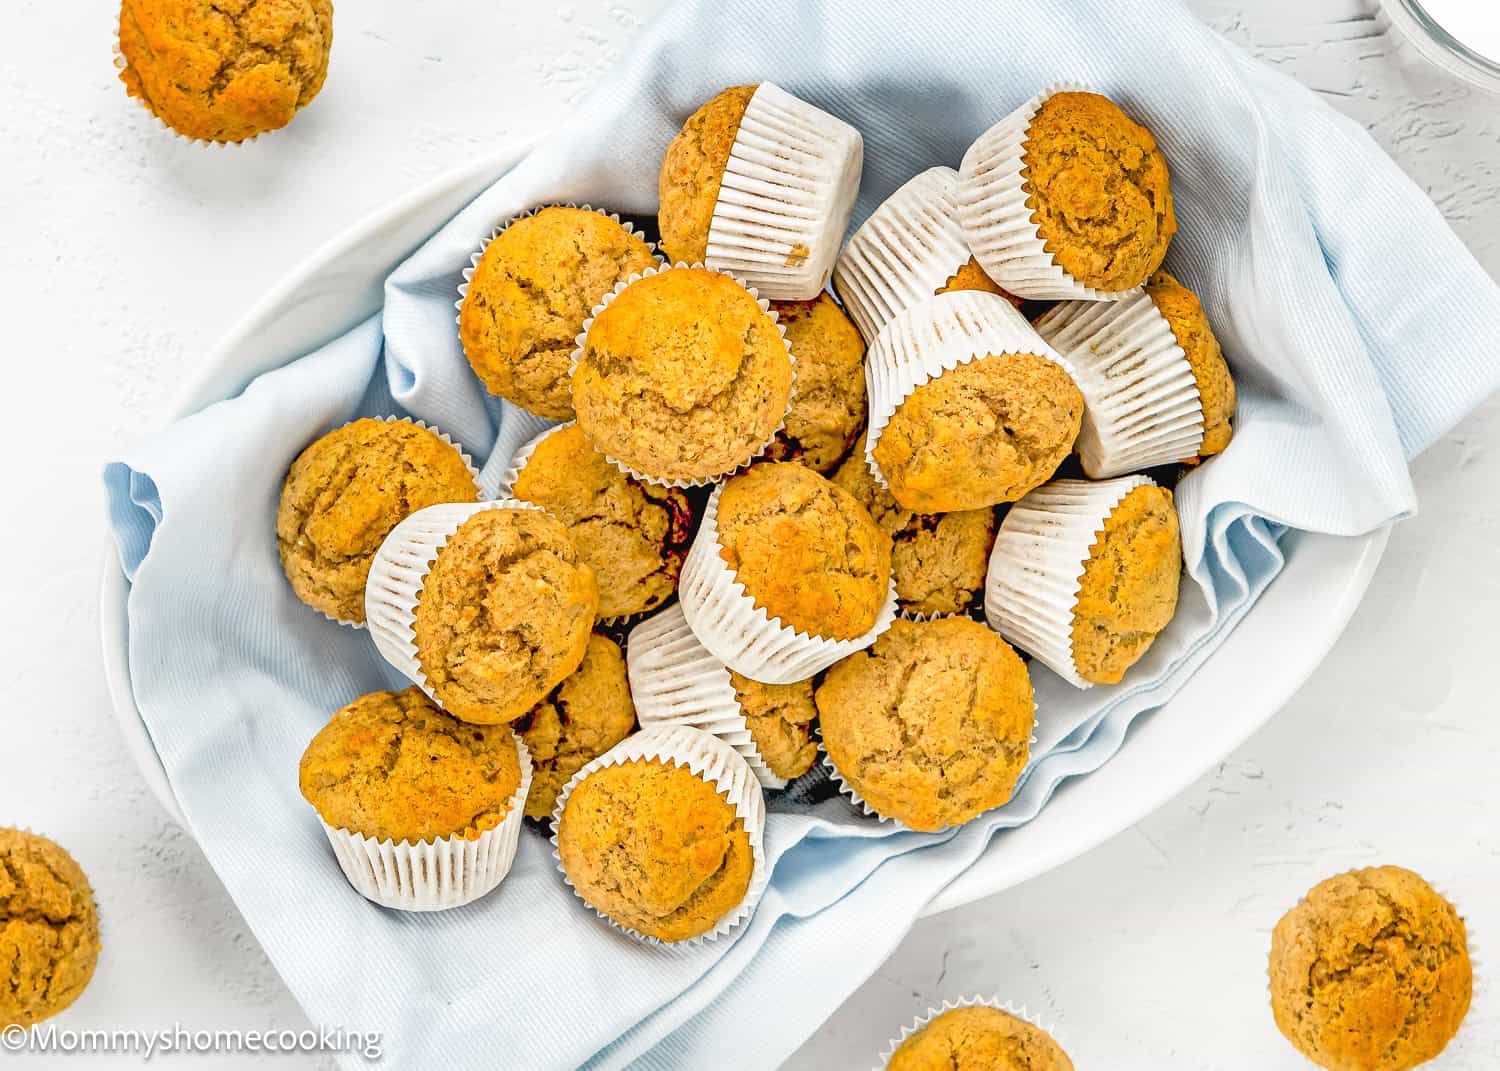
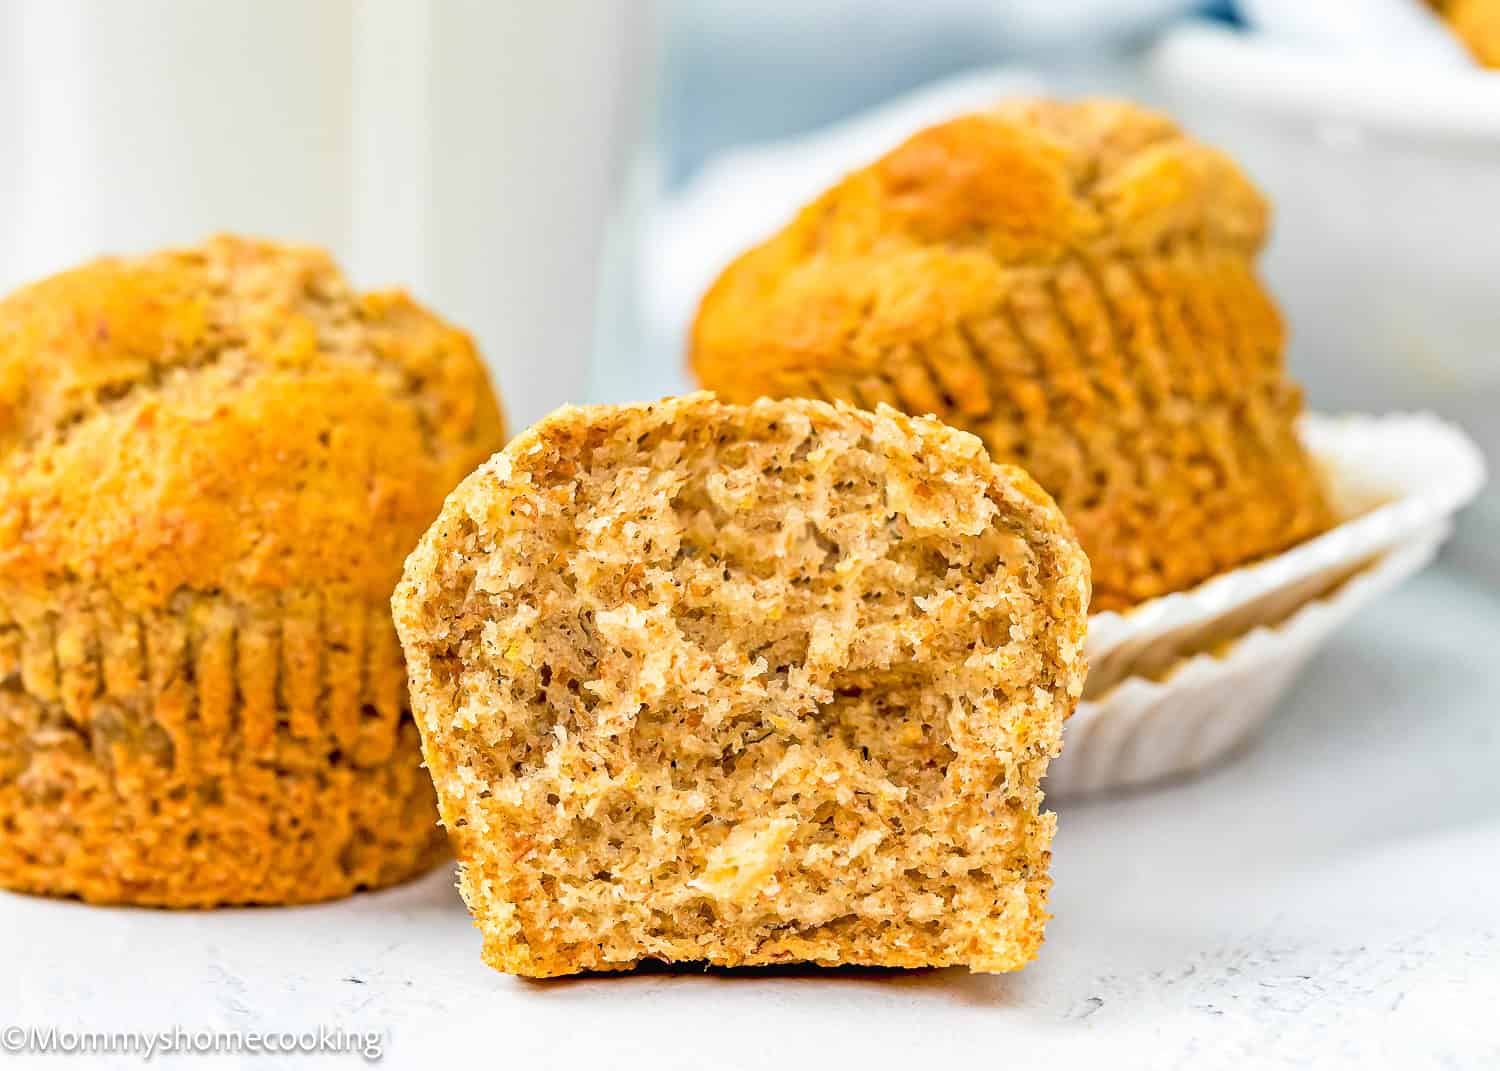
Please check the recipe card at the bottom of the post for exact quantities and detailed instructions (scroll down). Developed with Love: I created this recipe for my baby grandson after discovering his egg allergy and sensitivity to oats. Food allergies can be such a hassle, right? Knowing that my daughter has minimal time and patience for baking, I made sure this recipe was incredibly simple. Super Easy to Whip Up: This recipe is a breeze to put together, perfect for those days when you’re short on time. It’s all about minimal fuss and maximum flavor. Allergy-Friendly: These muffins are egg-free, dairy-free, and refined sugar-free. They’re perfect for anyone dealing with dietary restrictions or just looking for a healthier treat. Makes a Generous Batch: The recipe yields 24 mini muffins, ideal for meal prepping or sharing with friends and family. You’ll have plenty to go around! Banana Bread Delight: These muffins are tender and moist and have that classic banana bread taste we all love. They’re so flavorful you won’t miss the traditional ingredients at all. Freezer Friendly: Make a big batch and freeze some for later. These muffins thaw beautifully, making them perfect for quick breakfasts or snacks on the go. Family Favorite: While designed for babies and toddlers, these muffins are so delicious that everyone in the family will enjoy them. I often find myself reaching for another one—they’re just that good!
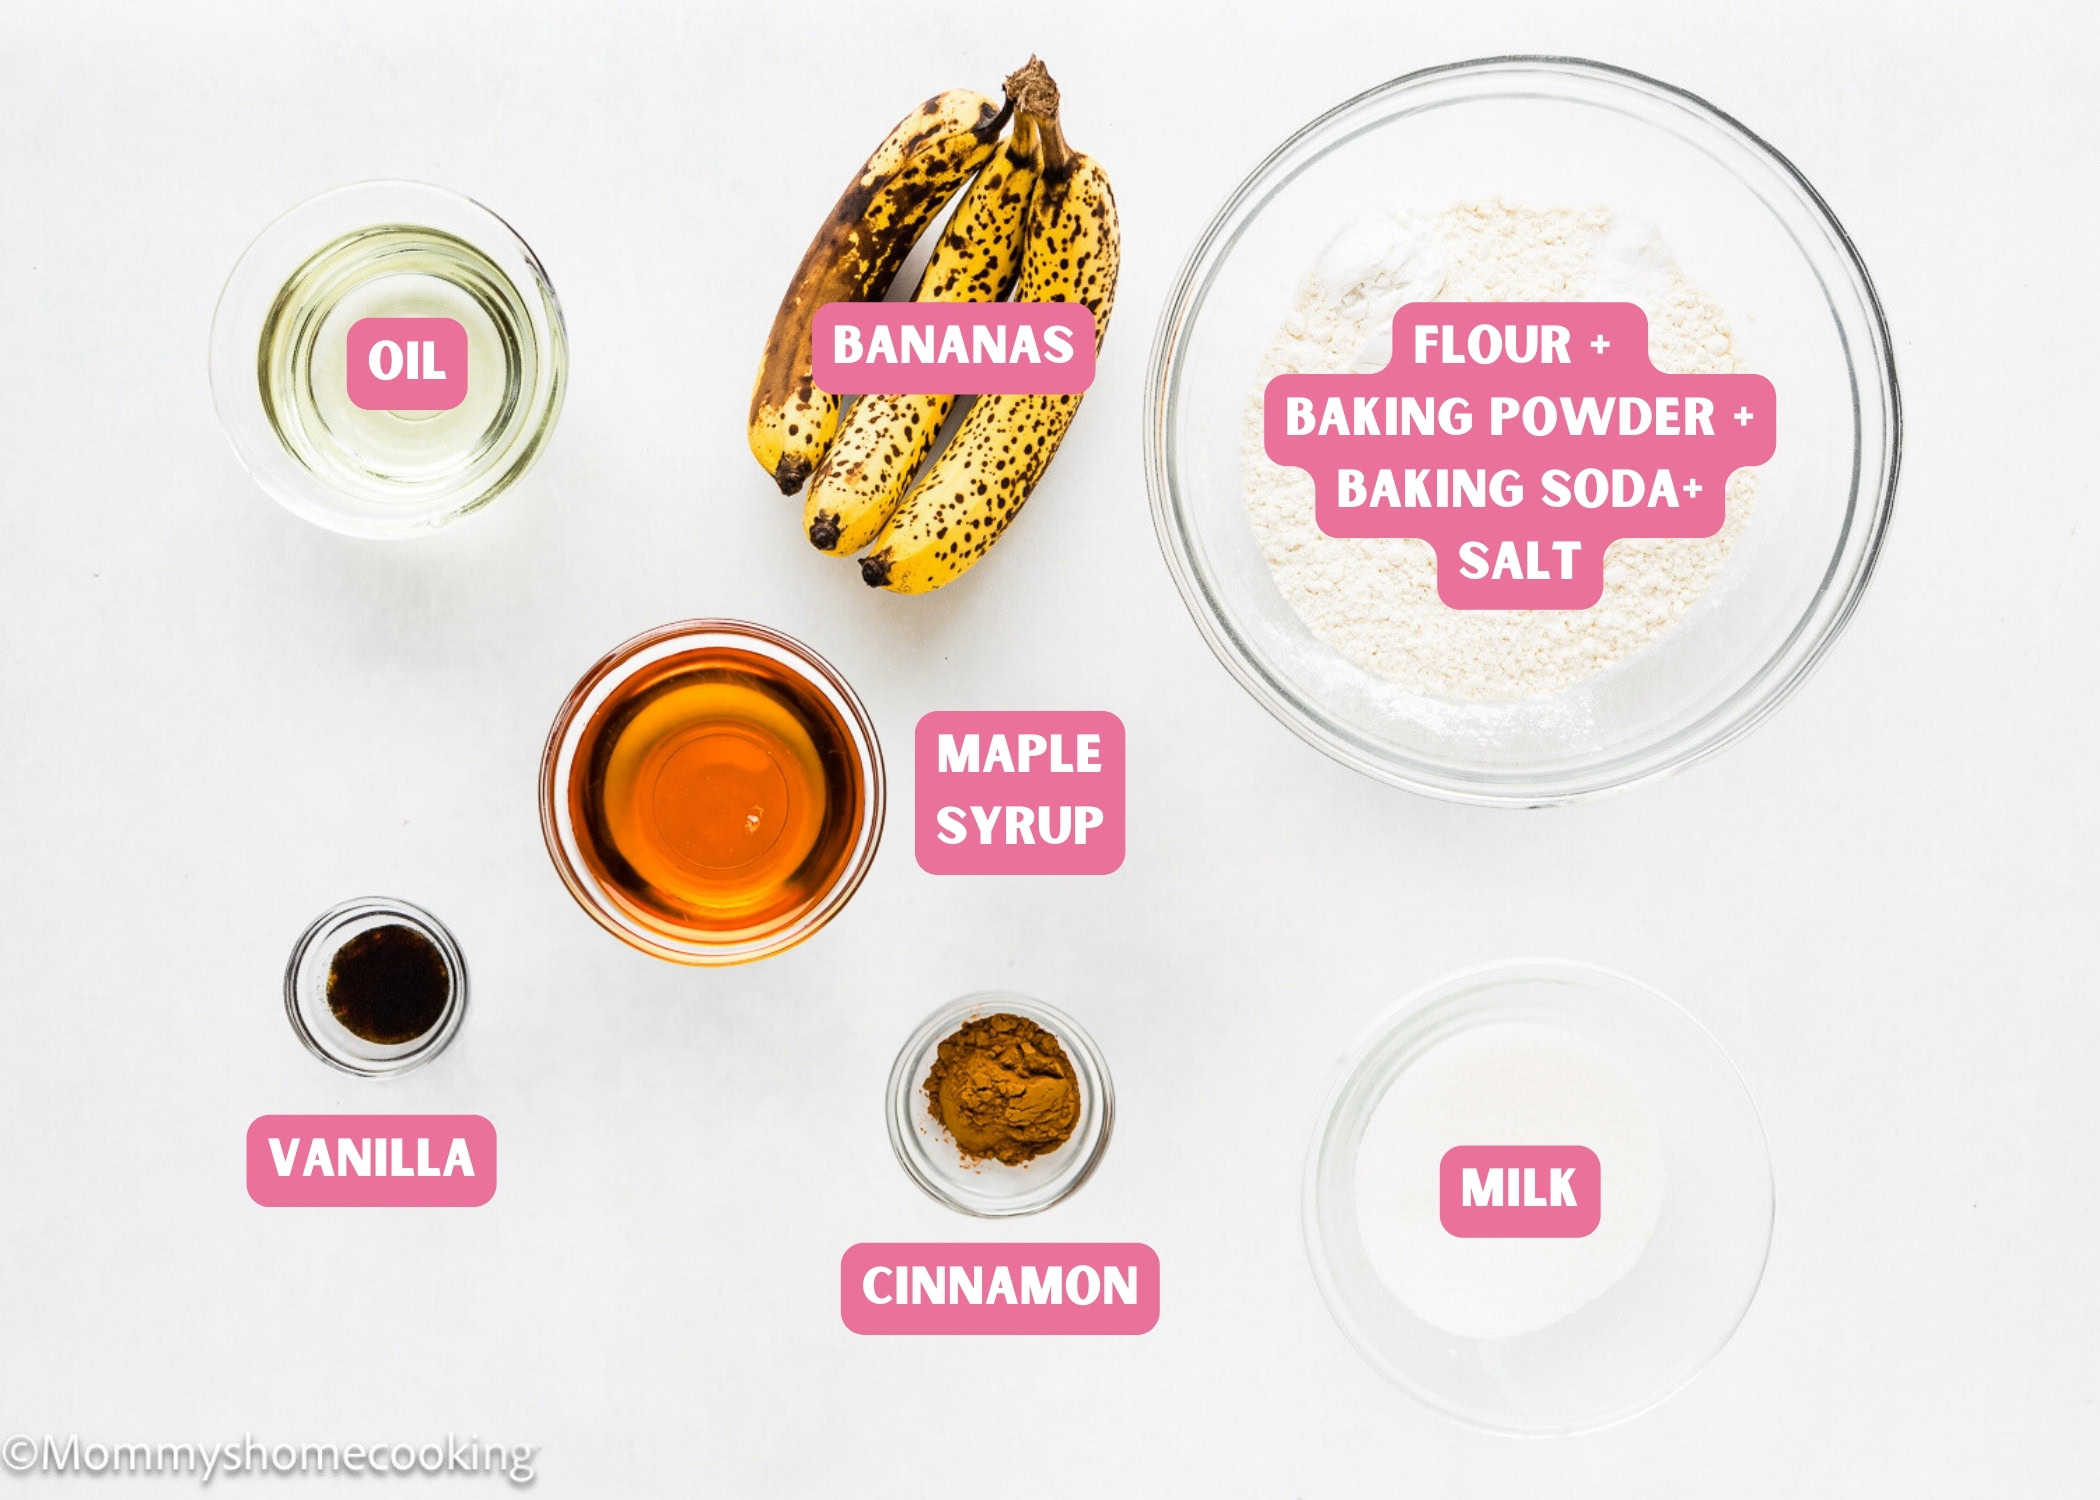
Whole Wheat Pastry Flour: Provides a tender crumb. Note: I prefer whole wheat pastry flour for this recipe. Alternatively, you can use a mix of half all-purpose flour and half whole wheat flour. After extensive testing, I’ve found that using only whole wheat flour results in dry muffins. Baking Powder & Baking Soda: Essential for leavening, giving the muffins a nice rise. Ground Cinnamon: Adds warmth and enhances the banana flavor. Salt: Balances the sweetness and enhances the overall flavor. Mashed Banana: Acts as a natural sweetener and binder. Note: The riper, the better for natural sweetness and flavor. Maple Syrup: Adds natural sweetness. Note: You can also use 1/3 cup (80 g) brown sugar. In that case, add 1 more tablespoon of milk. You can also use honey (1/4 cup – 60 ml), however, keep in mind that honey is slightly sweeter than maple syrup and might slightly alter the taste of your muffins. Neutral-Tasting Oil: Keeps the muffins moist. You can use vegetable, canola, or coconut oil. Milk: Use any plant-based milk to keep it dairy-free. Note: You can also use dairy milk. Pure Vanilla Extract: Adds depth and enhances the sweetness.
Process Overview: Step-by-Step Photos
Please check the recipe card at the bottom of the post for exact quantities and detailed instructions (scroll down).
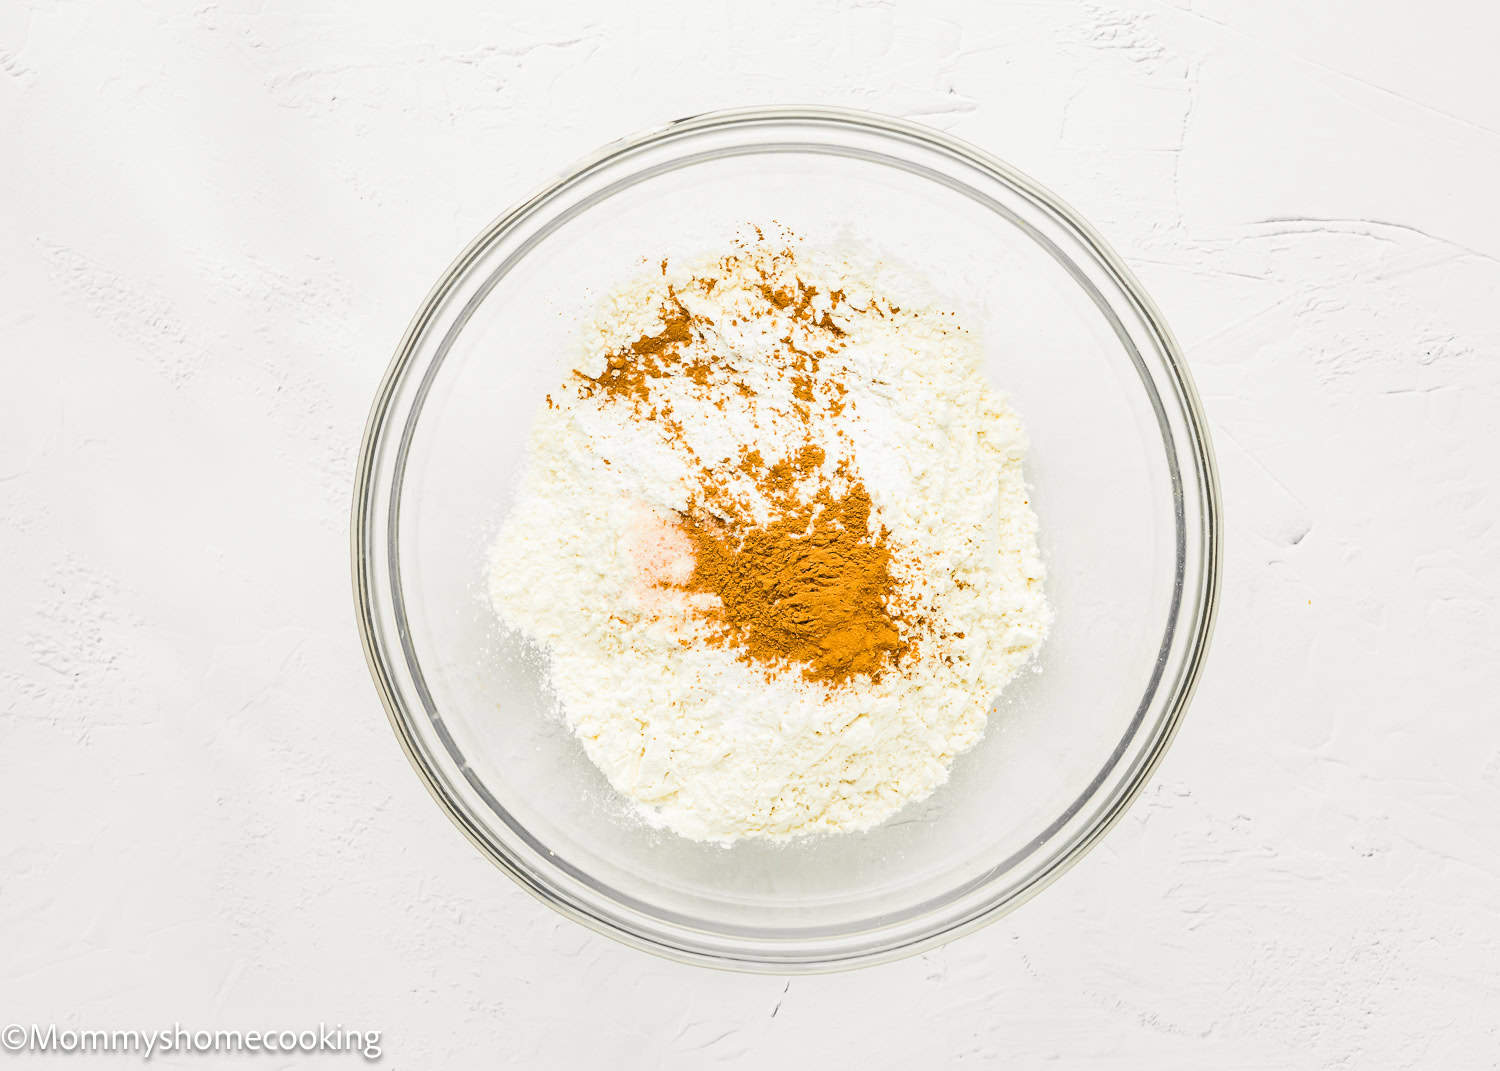
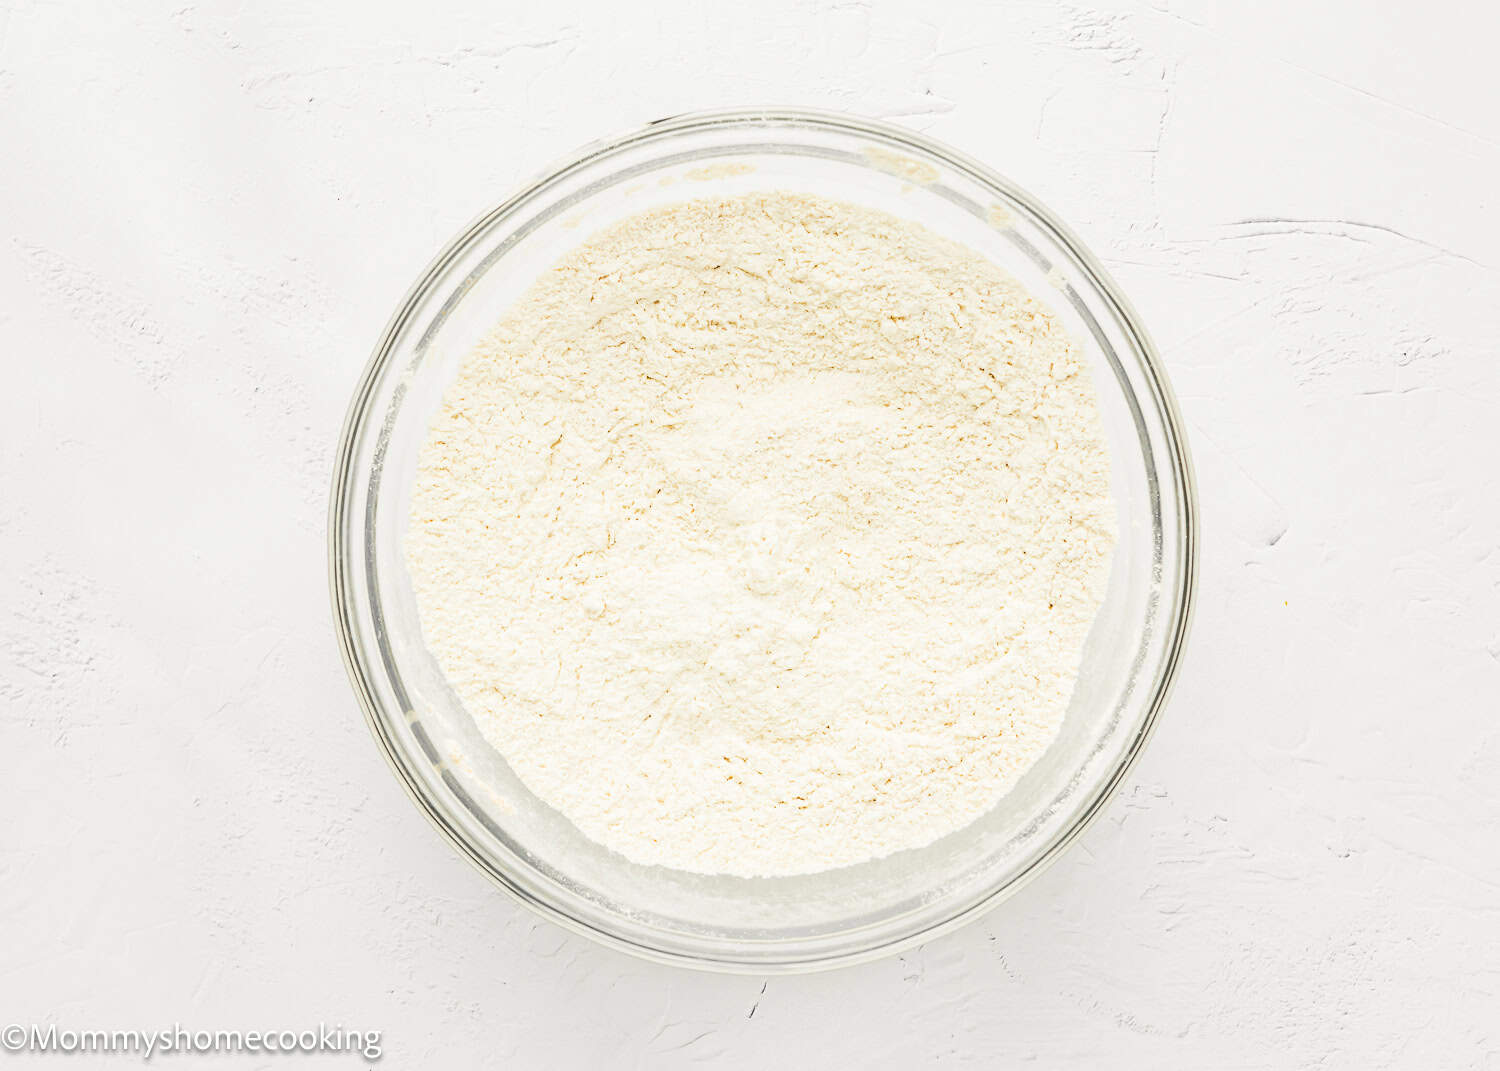
Step 1 – Mix Dry Ingredients
Whisk the flour, baking powder, baking soda, cinnamon, and salt together in a large bowl until combined.
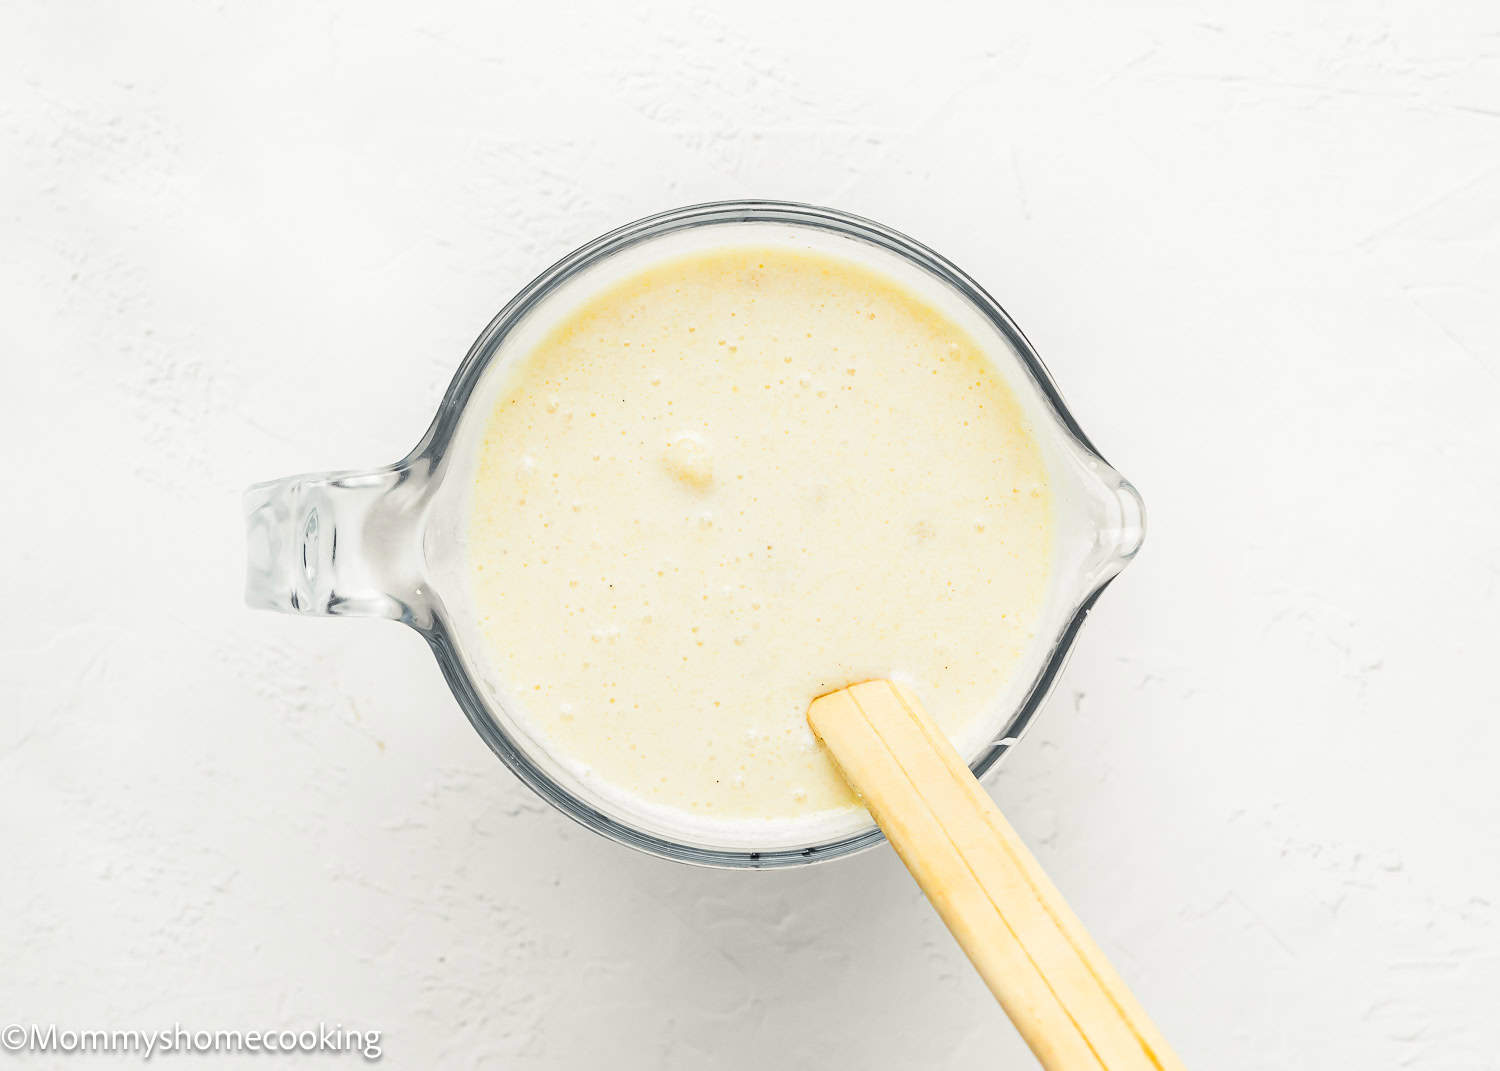
Step 2 – Combine Wet Ingredients
In a medium mixing bowl, mash the bananas with a fork. Add maple syrup, oil, milk, and vanilla; mix until well combined.
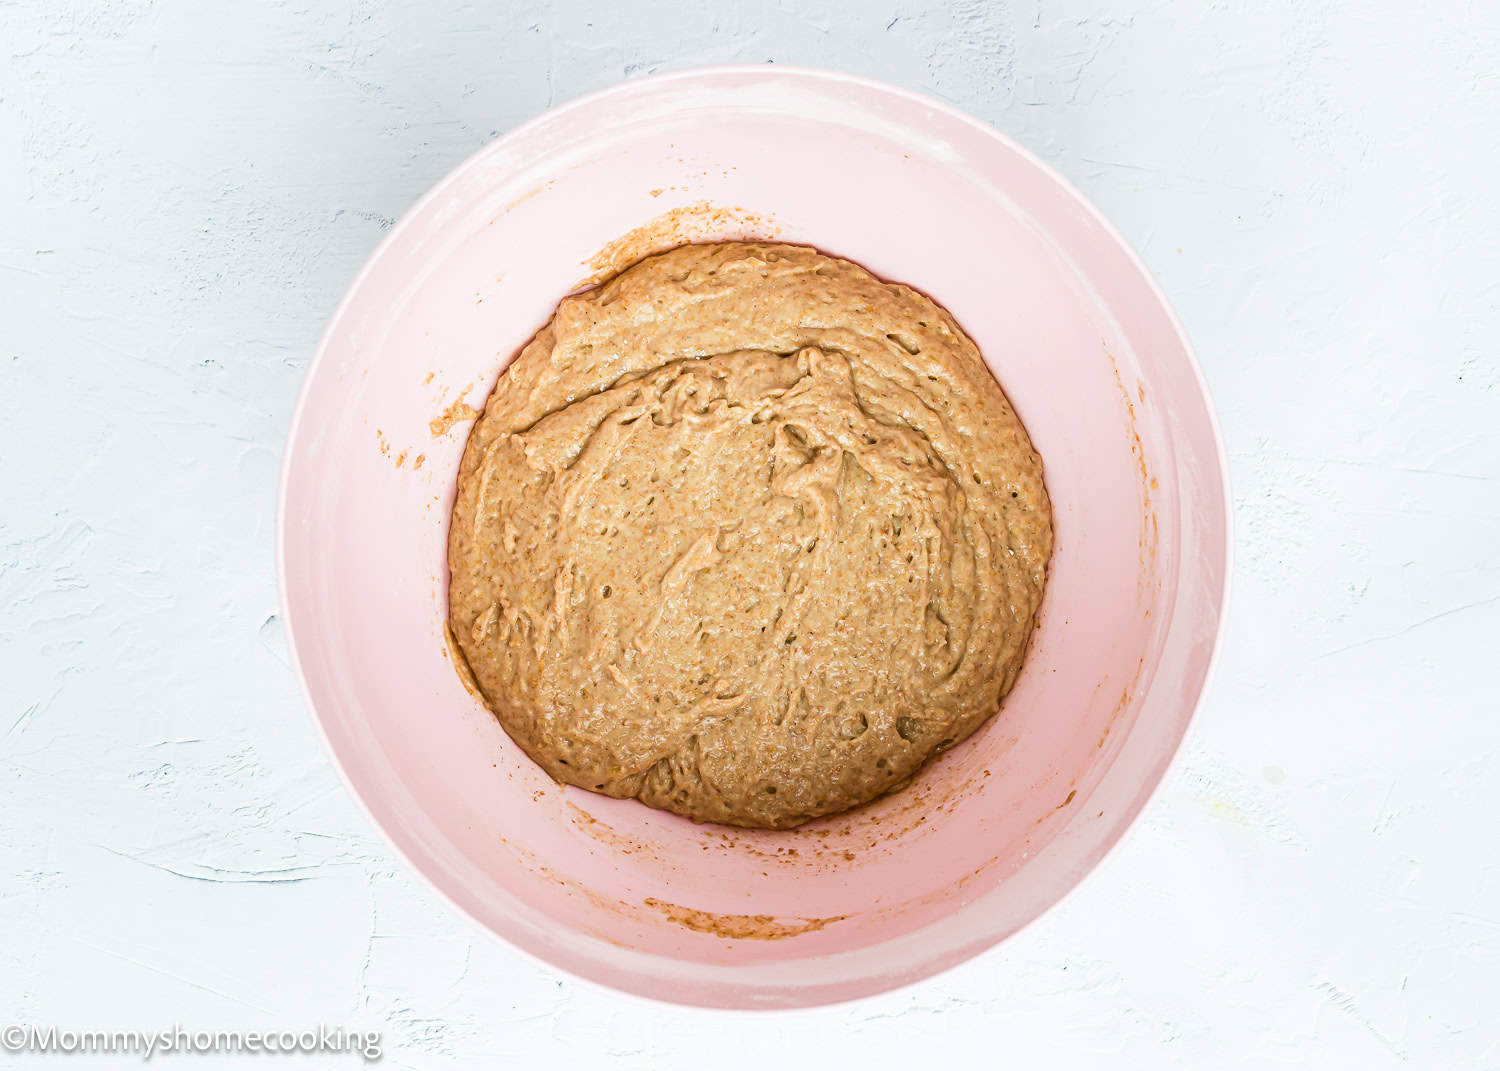
Step 3 – Mix Dry and Wet Ingredients
Add wet ingredients to the dry ingredients, then whisk until combined. The batter will be thick. Cover the bowl and let the batter rest for 15 – 20 minutes.
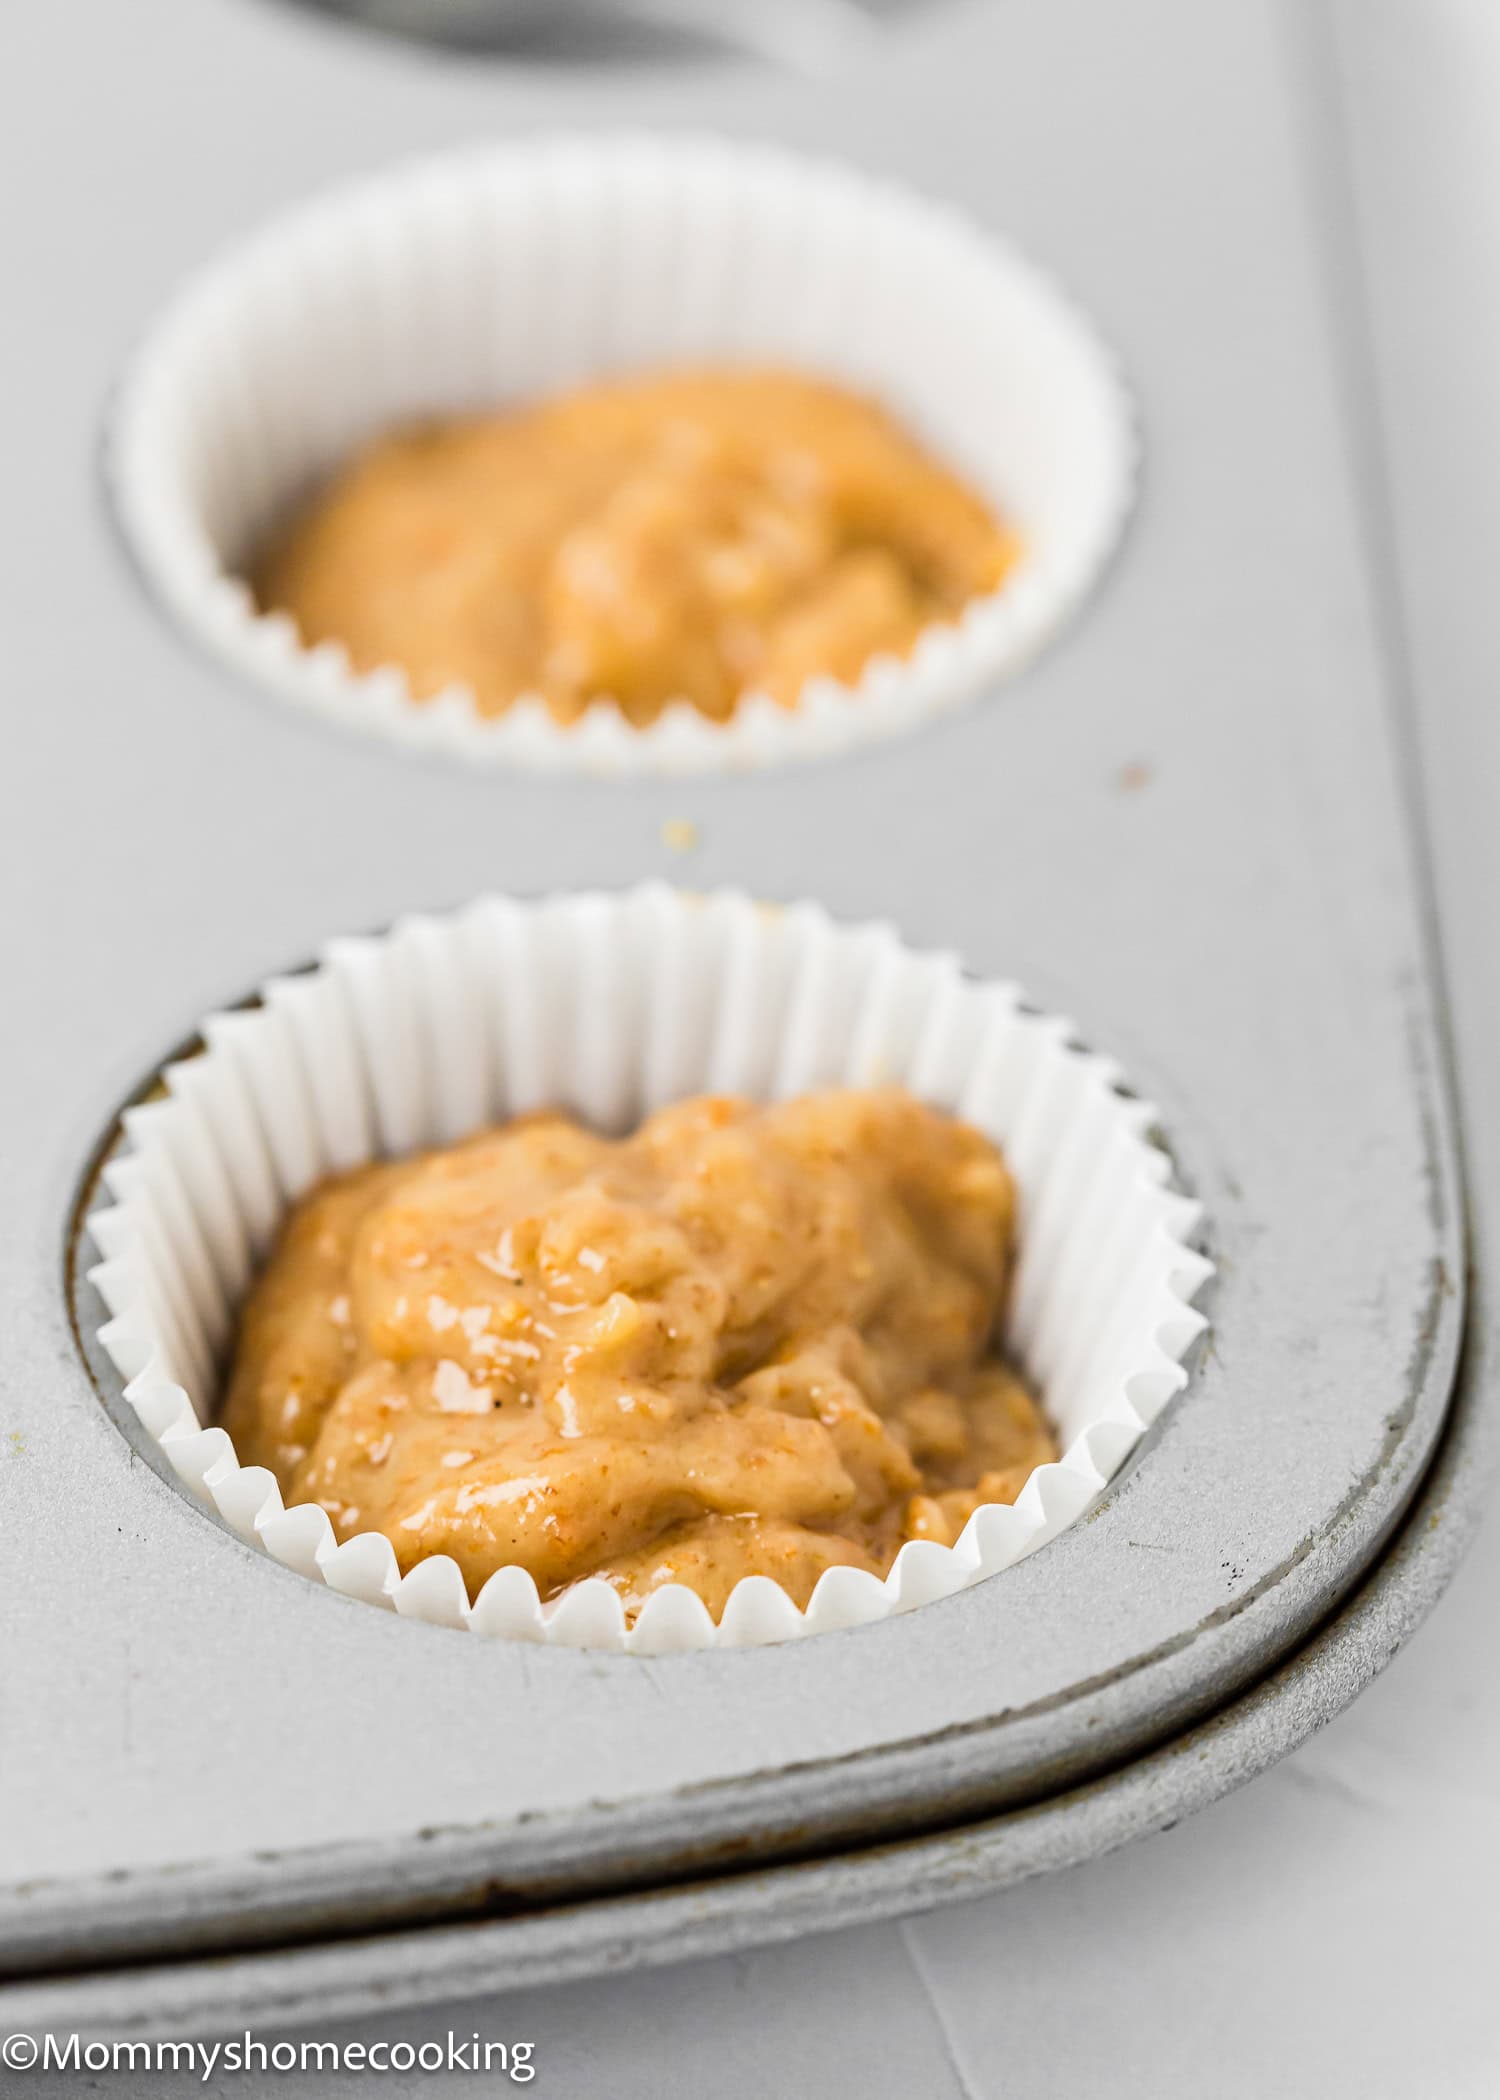
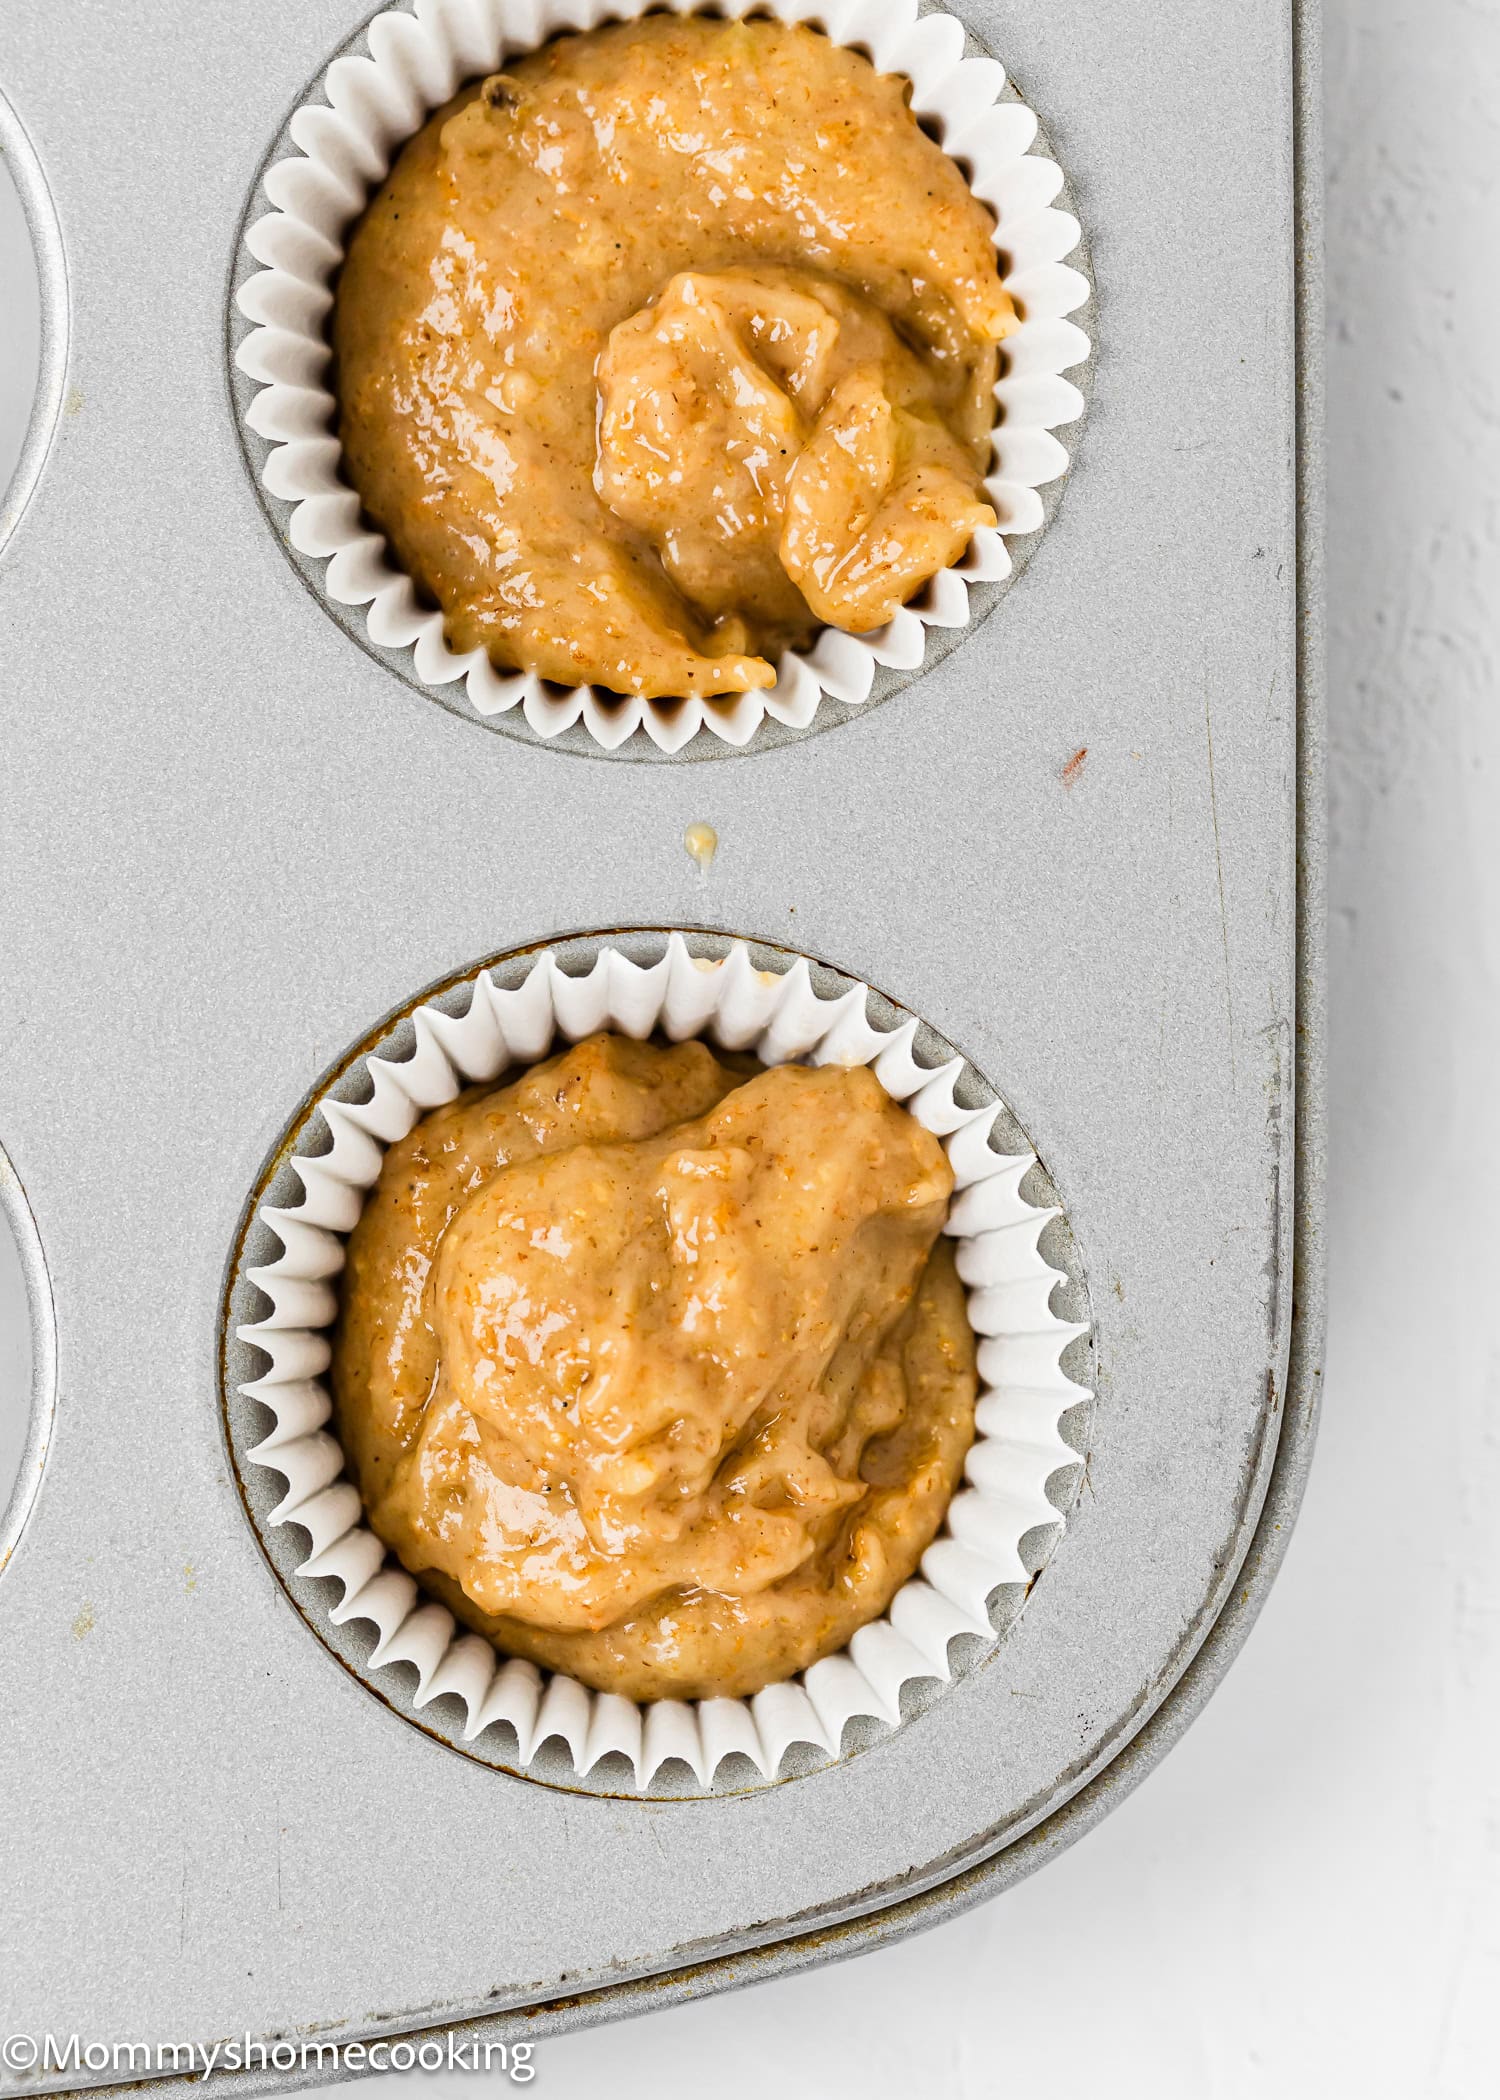
Step 4 – Spoon The Batter
Spoon the batter evenly into the muffin cups or liners, about one tablespoon each. I like to use this cookie scoop.
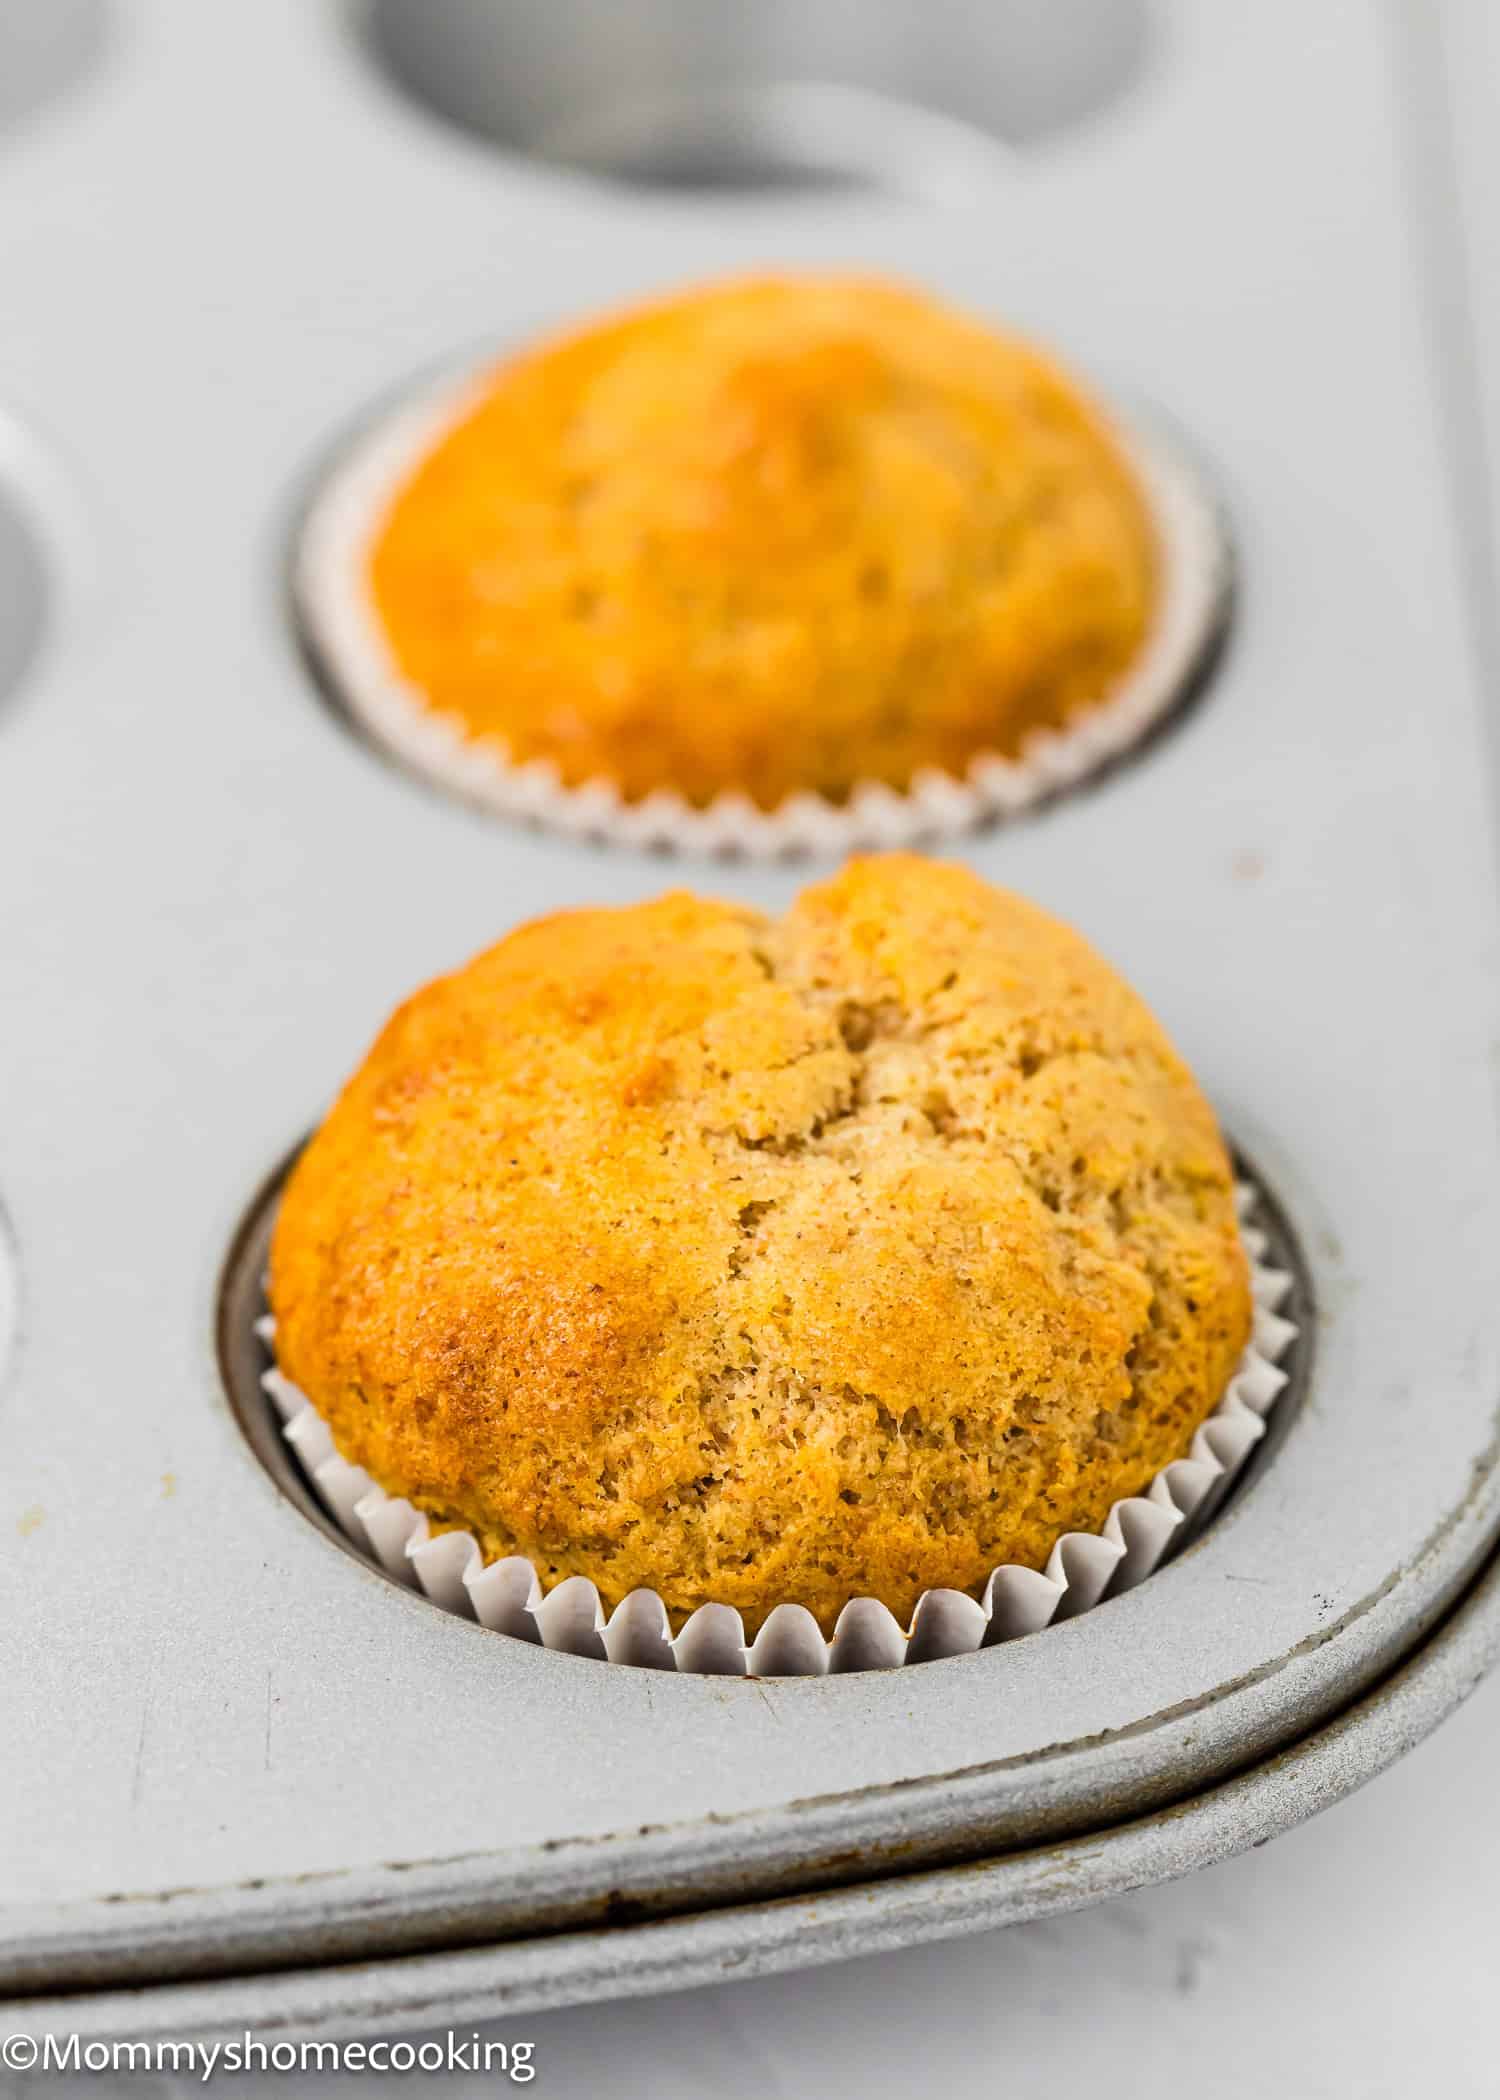
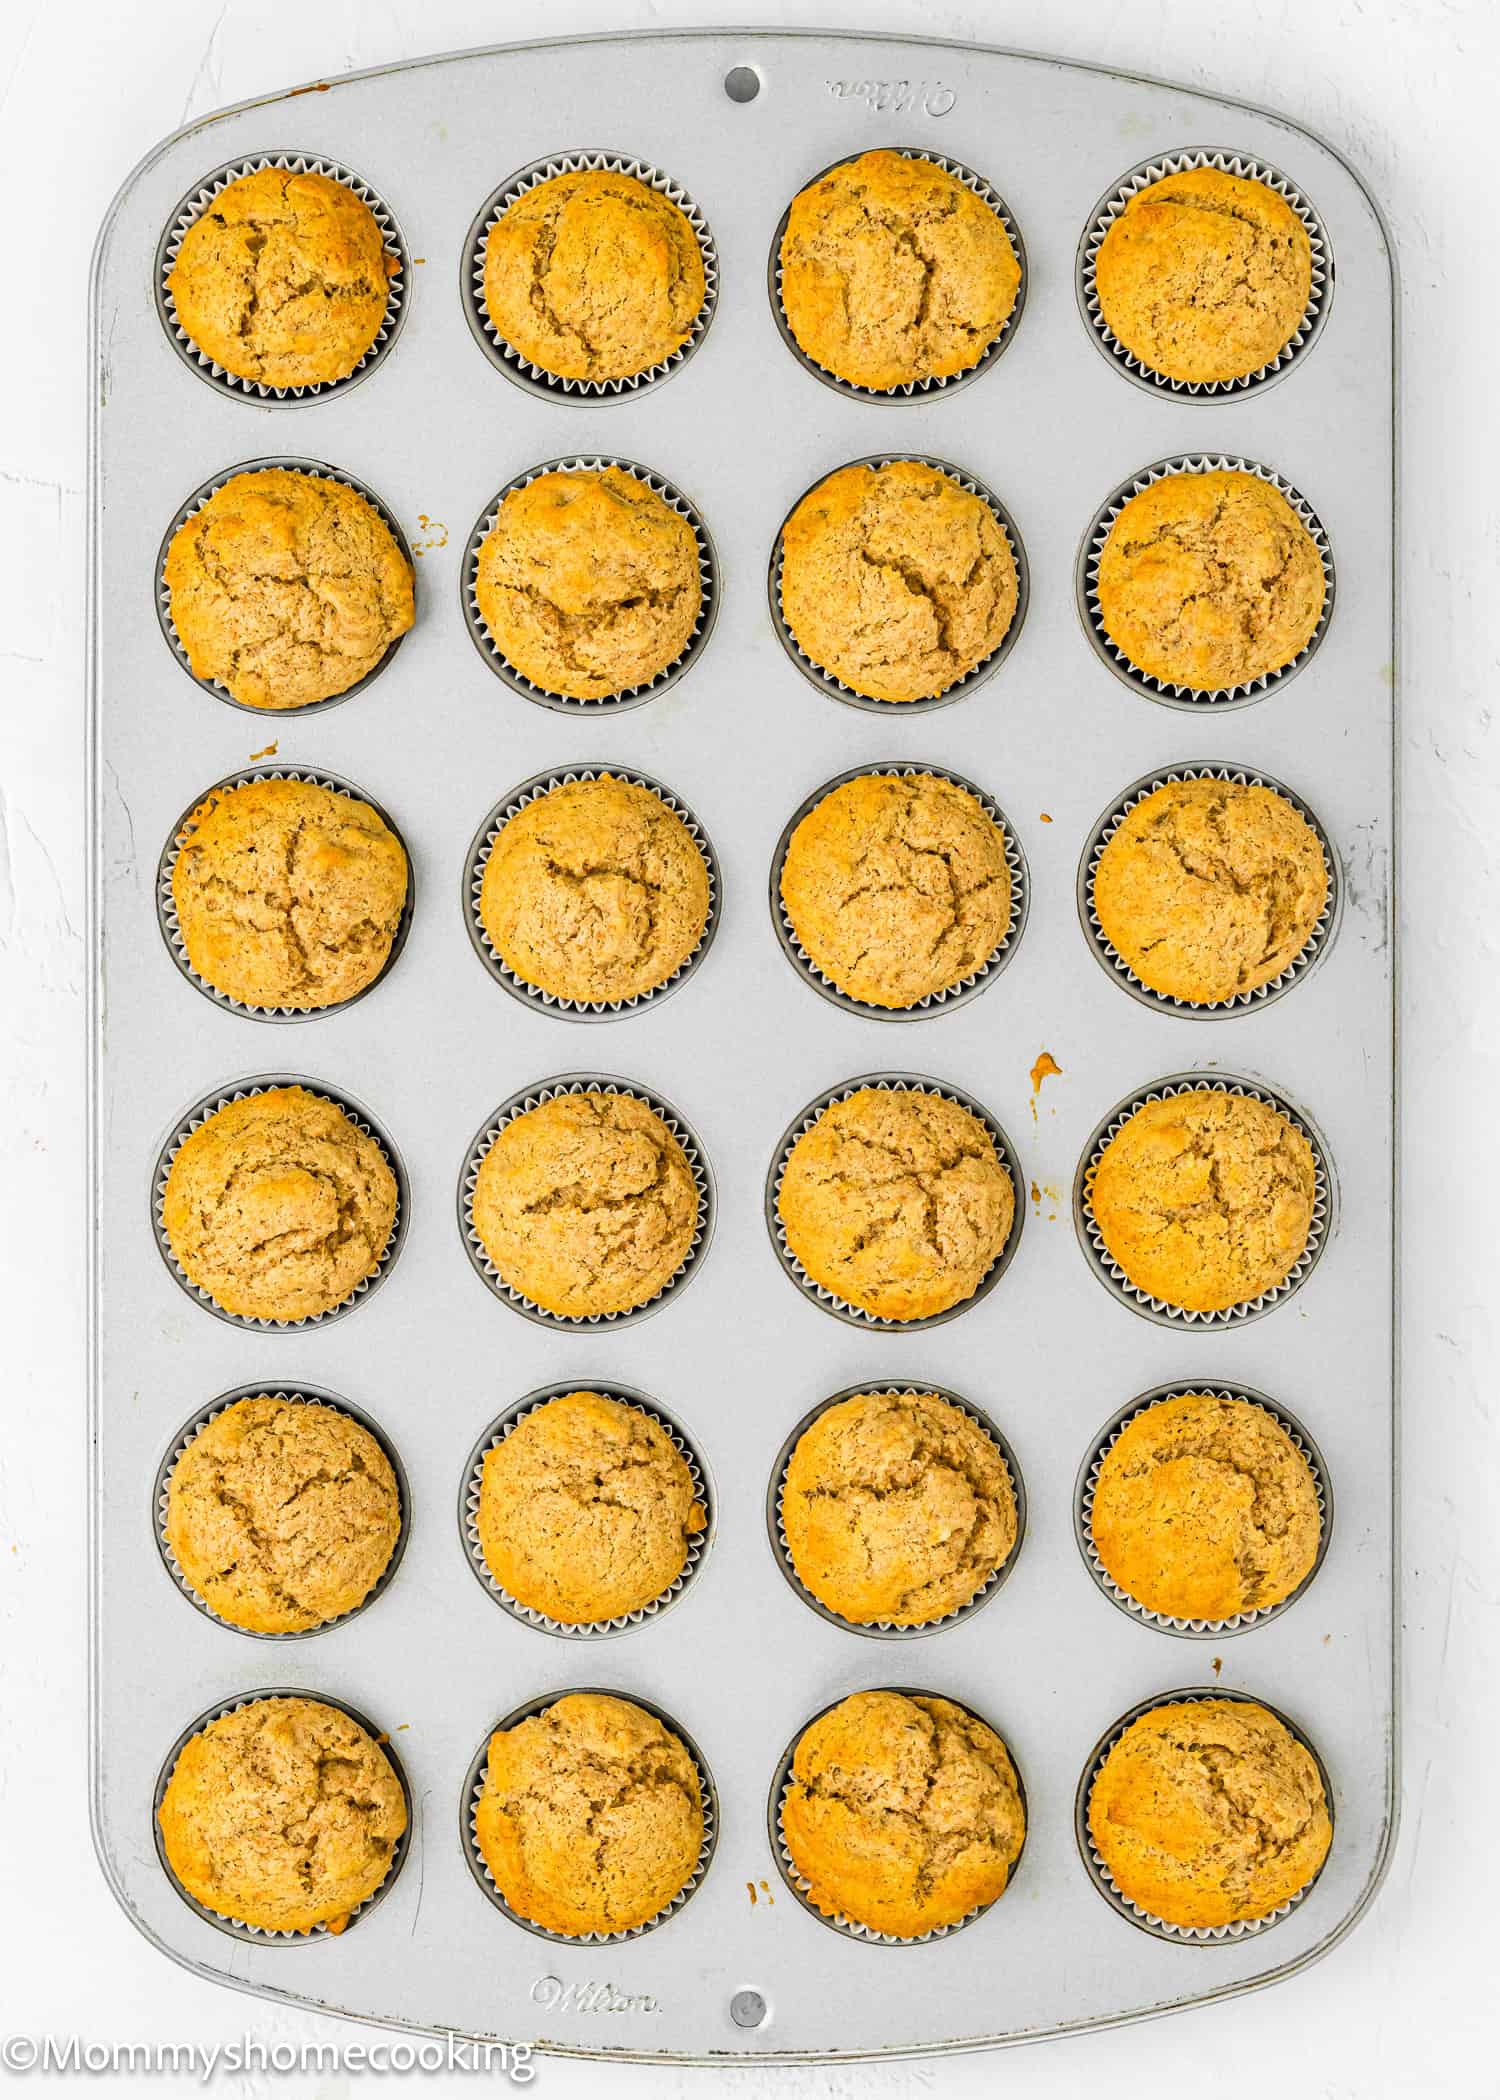
Step 5 – Bake
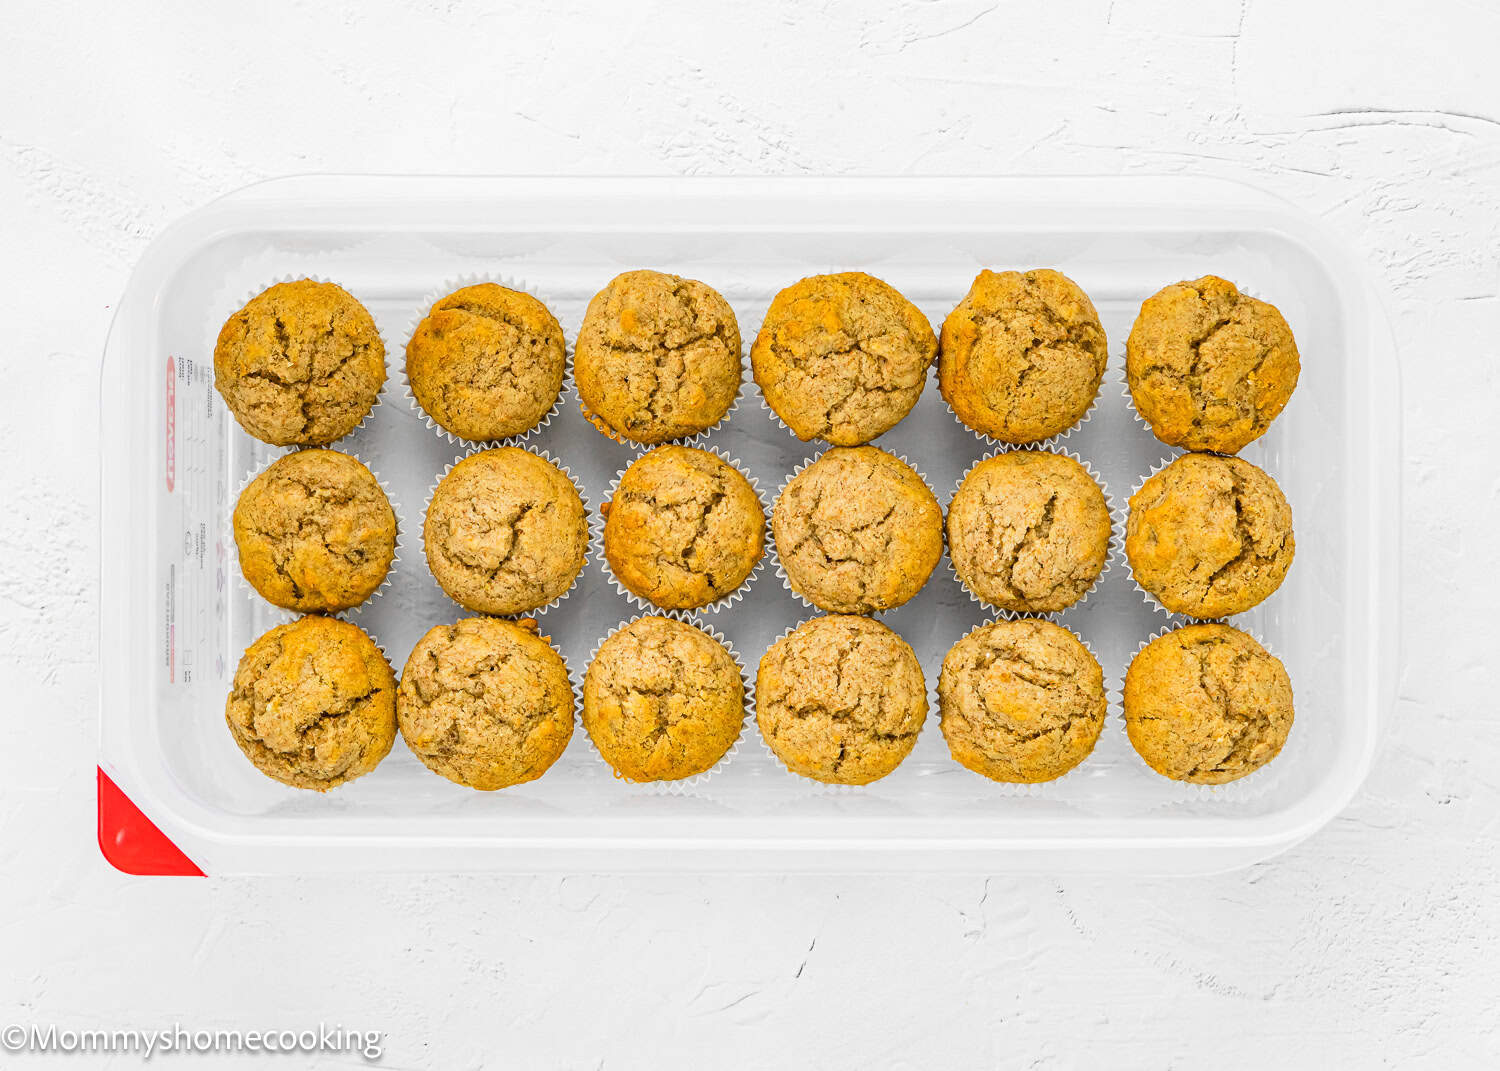
Bake for 10 – 12 minutes, or until golden brown and a toothpick inserted in the center comes out clean. Carefully remove the mini muffins from the oven. Allow the muffins to cool for 5 minutes in the muffin pan, then transfer to a wire rack to continue cooling.
Food Allergy Swaps
Gluten-Free: Use a gluten-free, all-purpose flour blend, such as Cup4Cup Wholesome Flour gluten-free flour blend, but the results may vary. Nut-Free: Ensure your milk and any additional mix-ins are nut-free.
Variations & Additions
Add-Ins: Mix in chocolate chips, nuts, or dried fruit for extra flavor and texture. Spices: Add nutmeg or cardamom for a different flavor profile. Full-Size Muffins: For bigger muffins, please follow my Healthy Easy Banana Muffins (No Eggs, Dairy, or Sugar) recipe.
Storing and Freezing Instructions
Store: store at room temperature for up to 3 days, then transfer to the refrigerator for up to 1 week.
Measure the ingredients correctly. I highly recommend using a kitchen scale. Preheat the oven for at least 15 minutes before starting, giving it plenty of time to reach the ideal recipe temperature. Don’t overmix the batter. Use a light hand to avoid overworking it, which can result in dense muffins. Mix just until the ingredients are evenly distributed throughout the batter. Let the batter rest! When your batter is ready, cover and let it rest for 15-20 minutes. Resting the batter allows the flour to hydrate fully. For evenly sized muffins, consider using an ice cream scoop or measuring cup to portion out the batter into the muffin cups. For mini muffins, use a small cookie scoop. Don’t open the oven door until the muffins have set. Leave the oven closed until the minimum time is stated in the recipe. Know your oven! Every oven is different, so baking times must always be taken with a grain of salt. Oven thermostats can be wildly off, affecting baking time, so keep an eye on yours. The muffins are done when a toothpick inserted in the center comes out clean.
Freeze: For longer storage, let the muffins cold completely and then freeze them for up to 3 months. Thaw overnight in the refrigerator, then bring to room temperature or warm up in the microwave if desired.
More Muffin Recipes You’ll Love!
Simple Vegan Zucchini Muffins Bakery-Style Vegan Double Chocolate Muffins Easy Healthy Oat Muffins (no eggs, dairy, or sugar) Easy Eggless Strawberry Muffins Eggless Blueberry Muffins [Video] Browse more recipes…
Recipe Card 📖