Caramelized onions are one of my favourite things to add to a meal to take it to the next level. Unfortunately, a lot of recipes have you rushing the process—and let’s be honest here, you’re not going to caramelize onions by cooking them over medium-high heat for 10 minutes. Sautéed onions are just fine, but caramelized onions? Well, they’re pretty much magical.
What’s the Secret to Caramelized Onions?
Caramelized onions take patience and time, but luckily, you’ll be rewarded in the end with sweet, jammy onions to add to ALL THE THINGS. As you slowly cook the onions, they soften and sweeten; the colour darkens and the flavour becomes more complex. Basically, once you know how to caramelize onions, the world is your oyster. Now, not everyone has 45 minutes to make caramelized onions for a weeknight dinner. I get it! The good news is that you can make a big batch of caramelized onions and keep them in the fridge to use throughout the week. You can also freeze caramelized onions and they’re just as delicious when thawed and reheated.
Notes on Ingredients
Please note that this is important information on the ingredients and instructions and the FULL recipe with amounts and details can be found DOWN BELOW (scroll to it) in the recipe card.
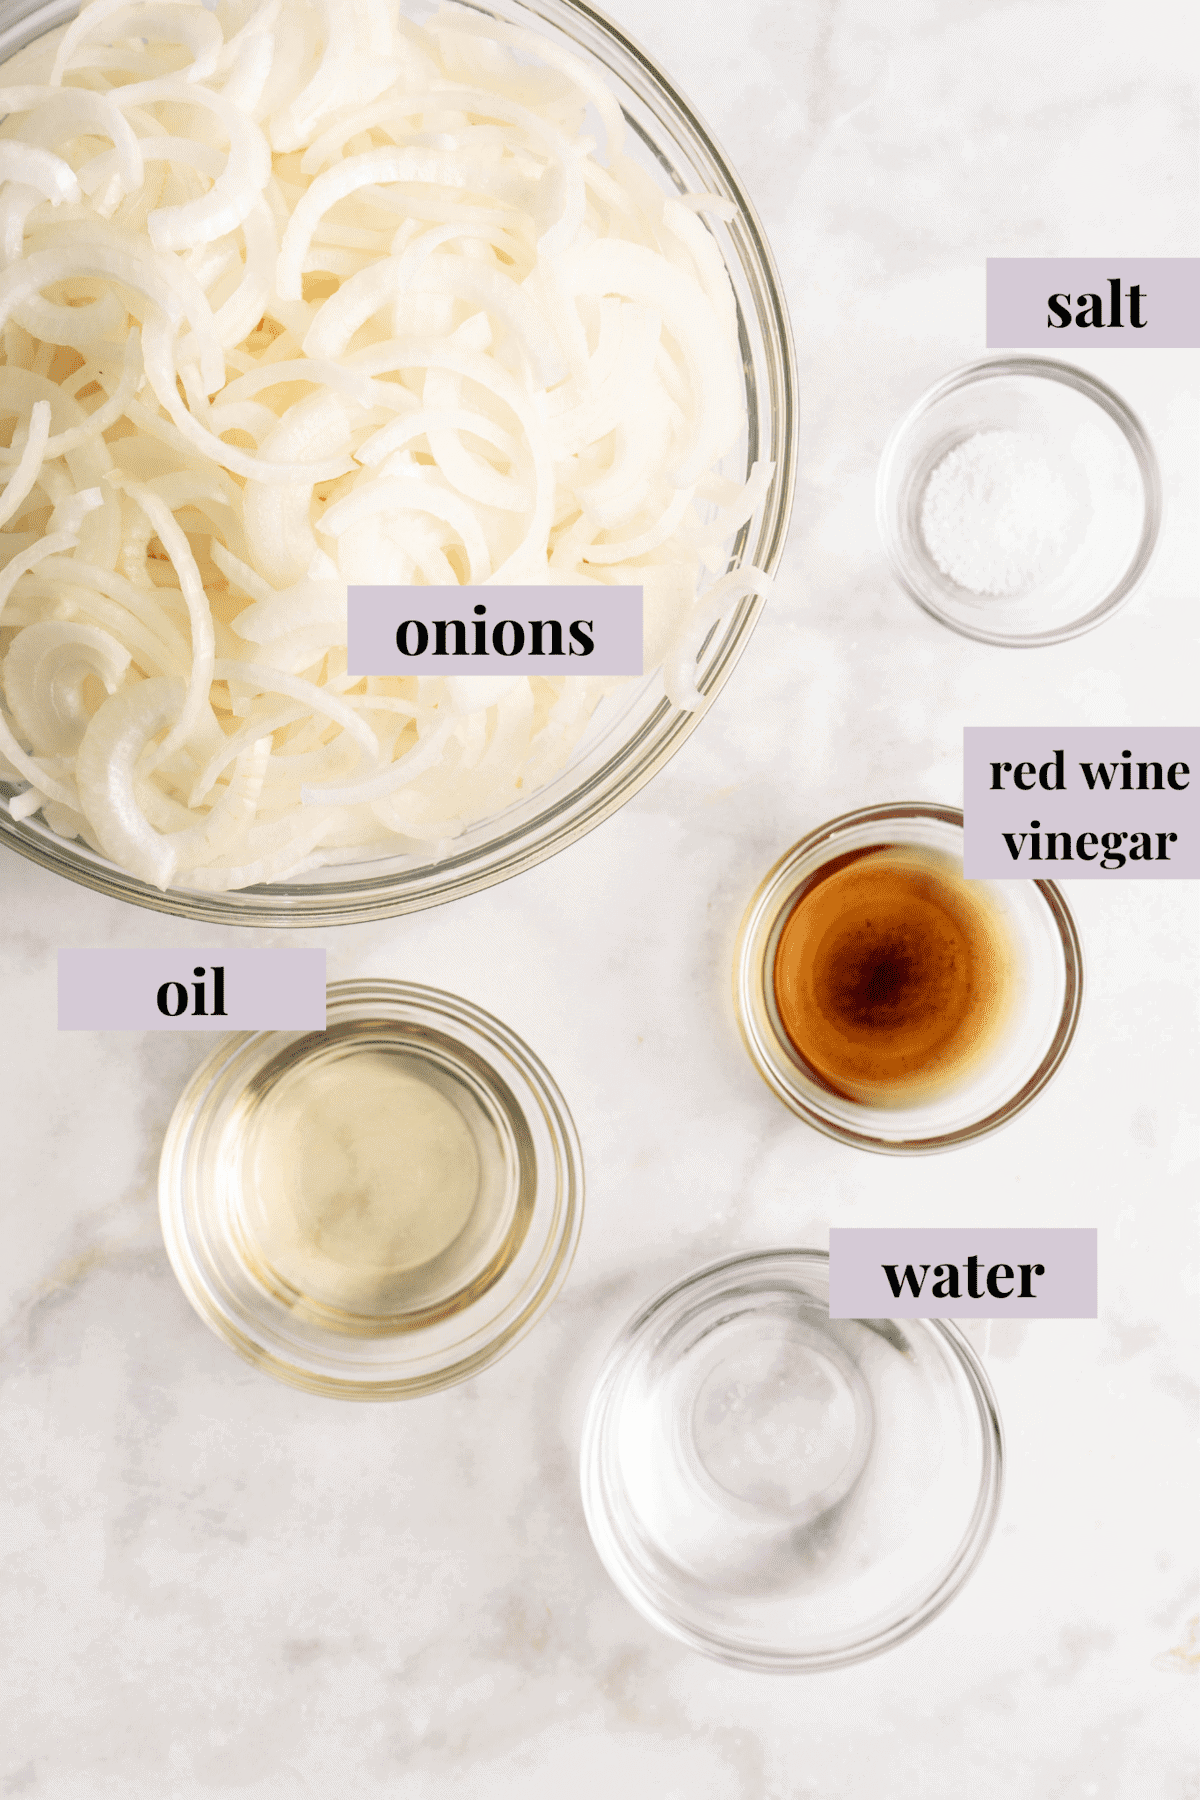
Oil – I usually use olive oil, but another neutral-flavored cooking oil will work.OnionsSea saltWaterRed wine vinegar or red wine – These are optional.
What Kind of Onions Caramelize?
Yellow onions are the most common choice for caramelized onions and they’re what I used in this recipe, but you can also caramelize white, red, and sweet onions, and shallots too.
How to Caramelize Onions
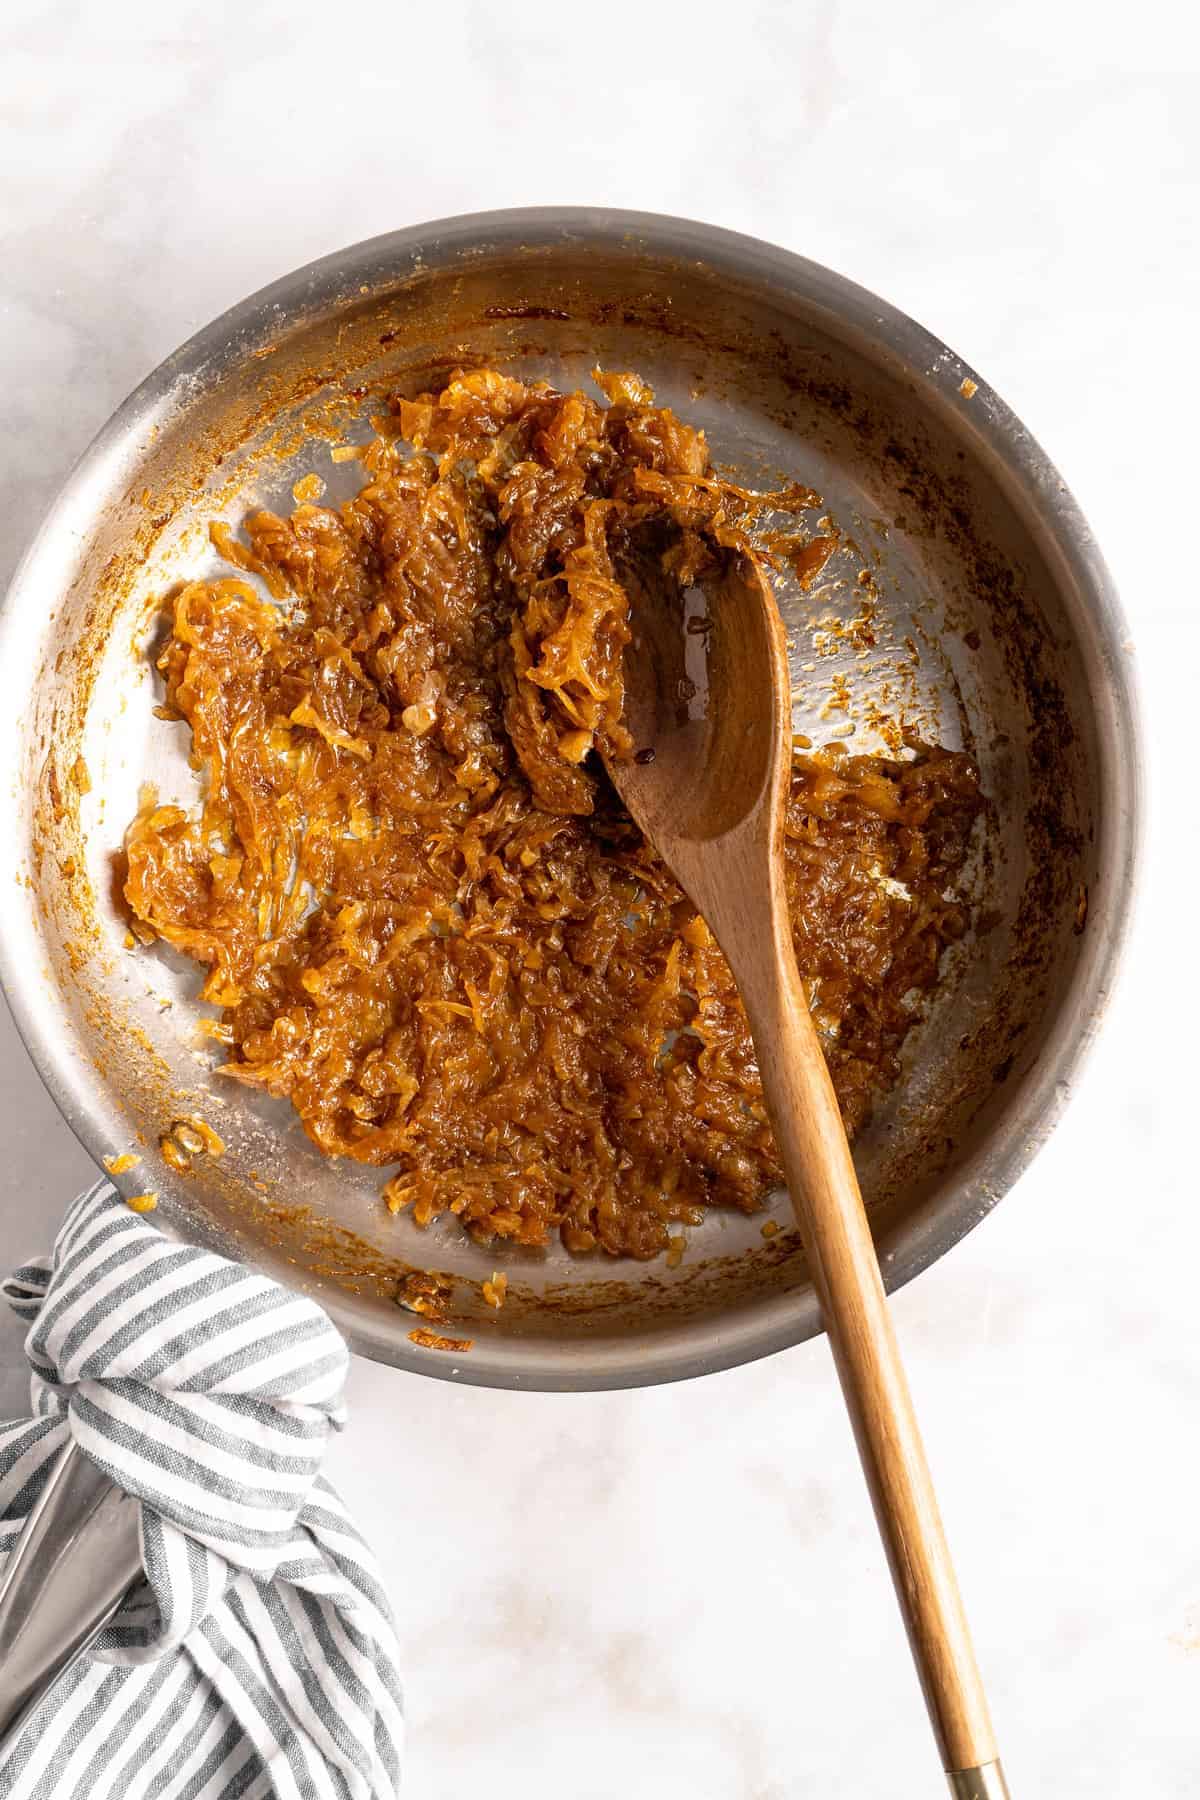
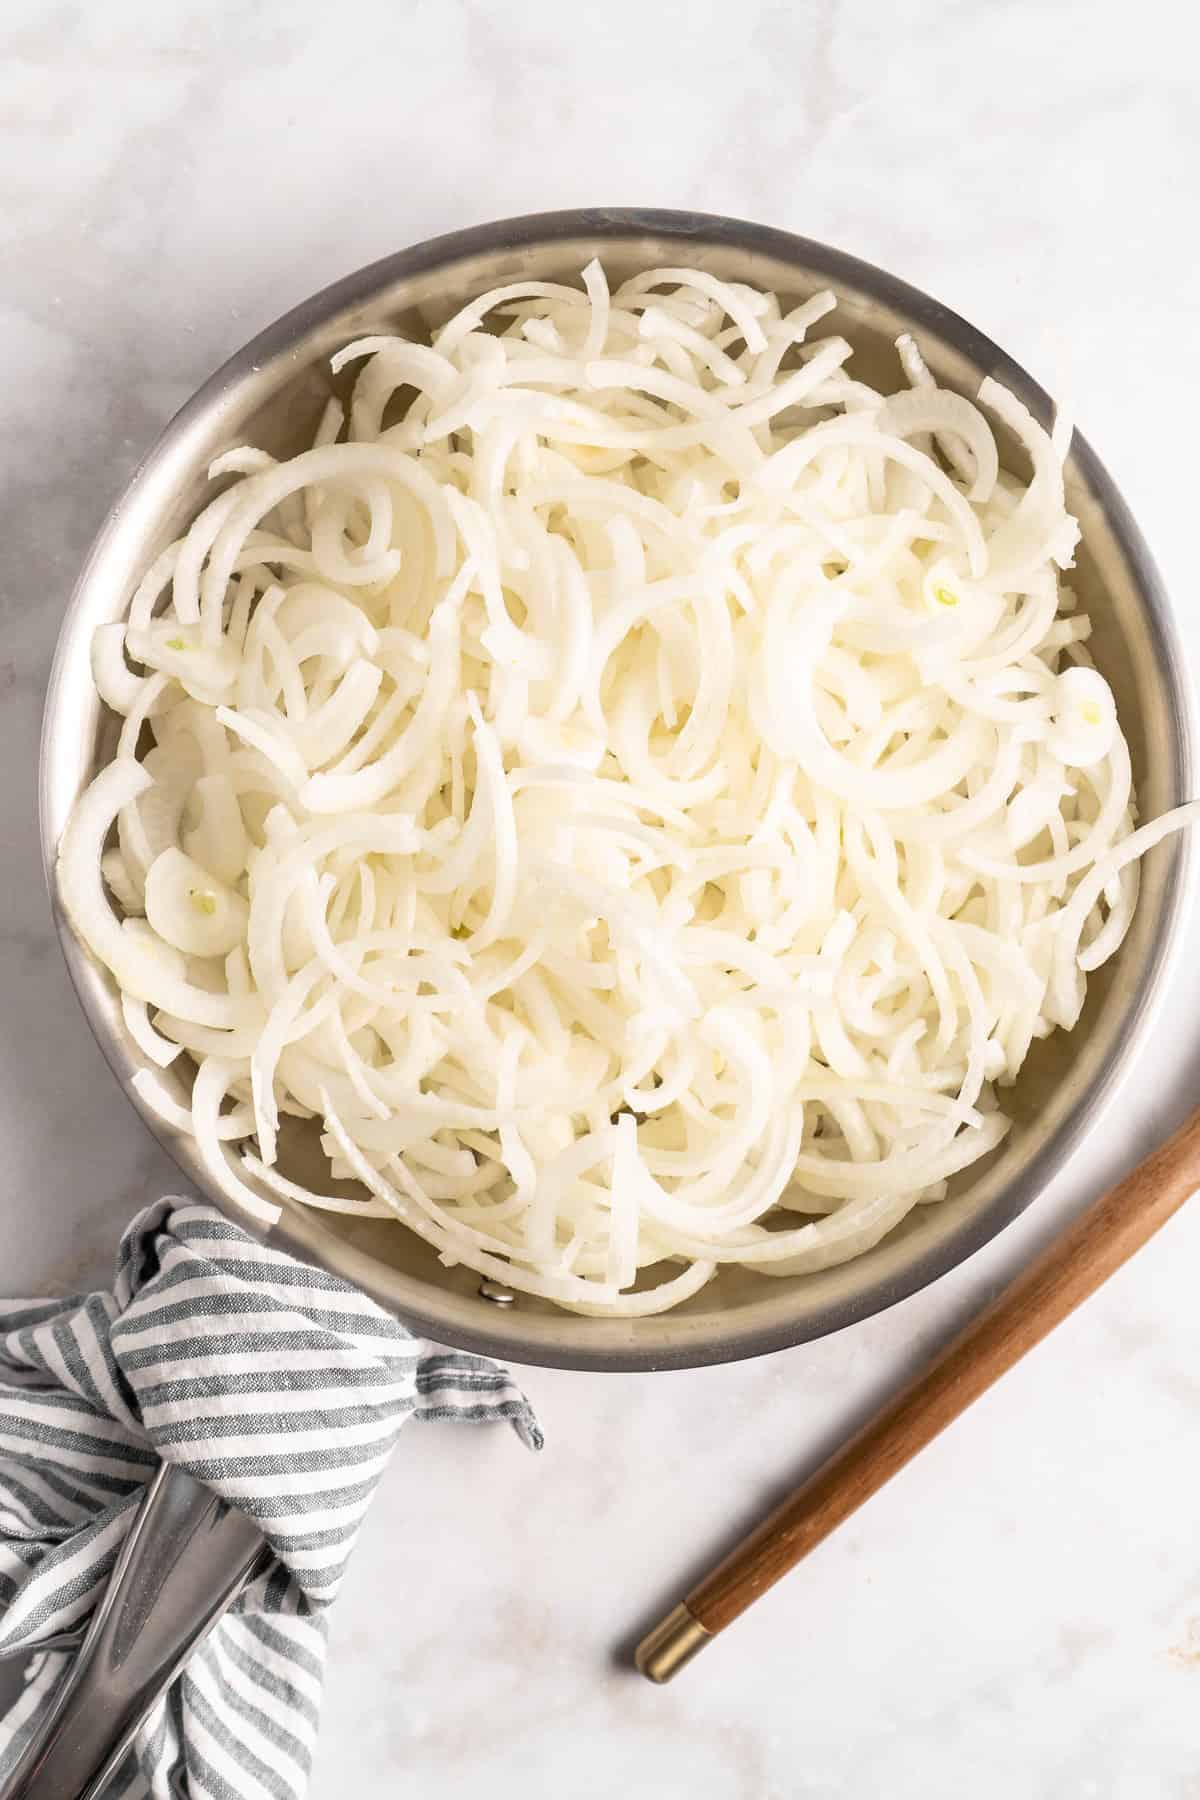
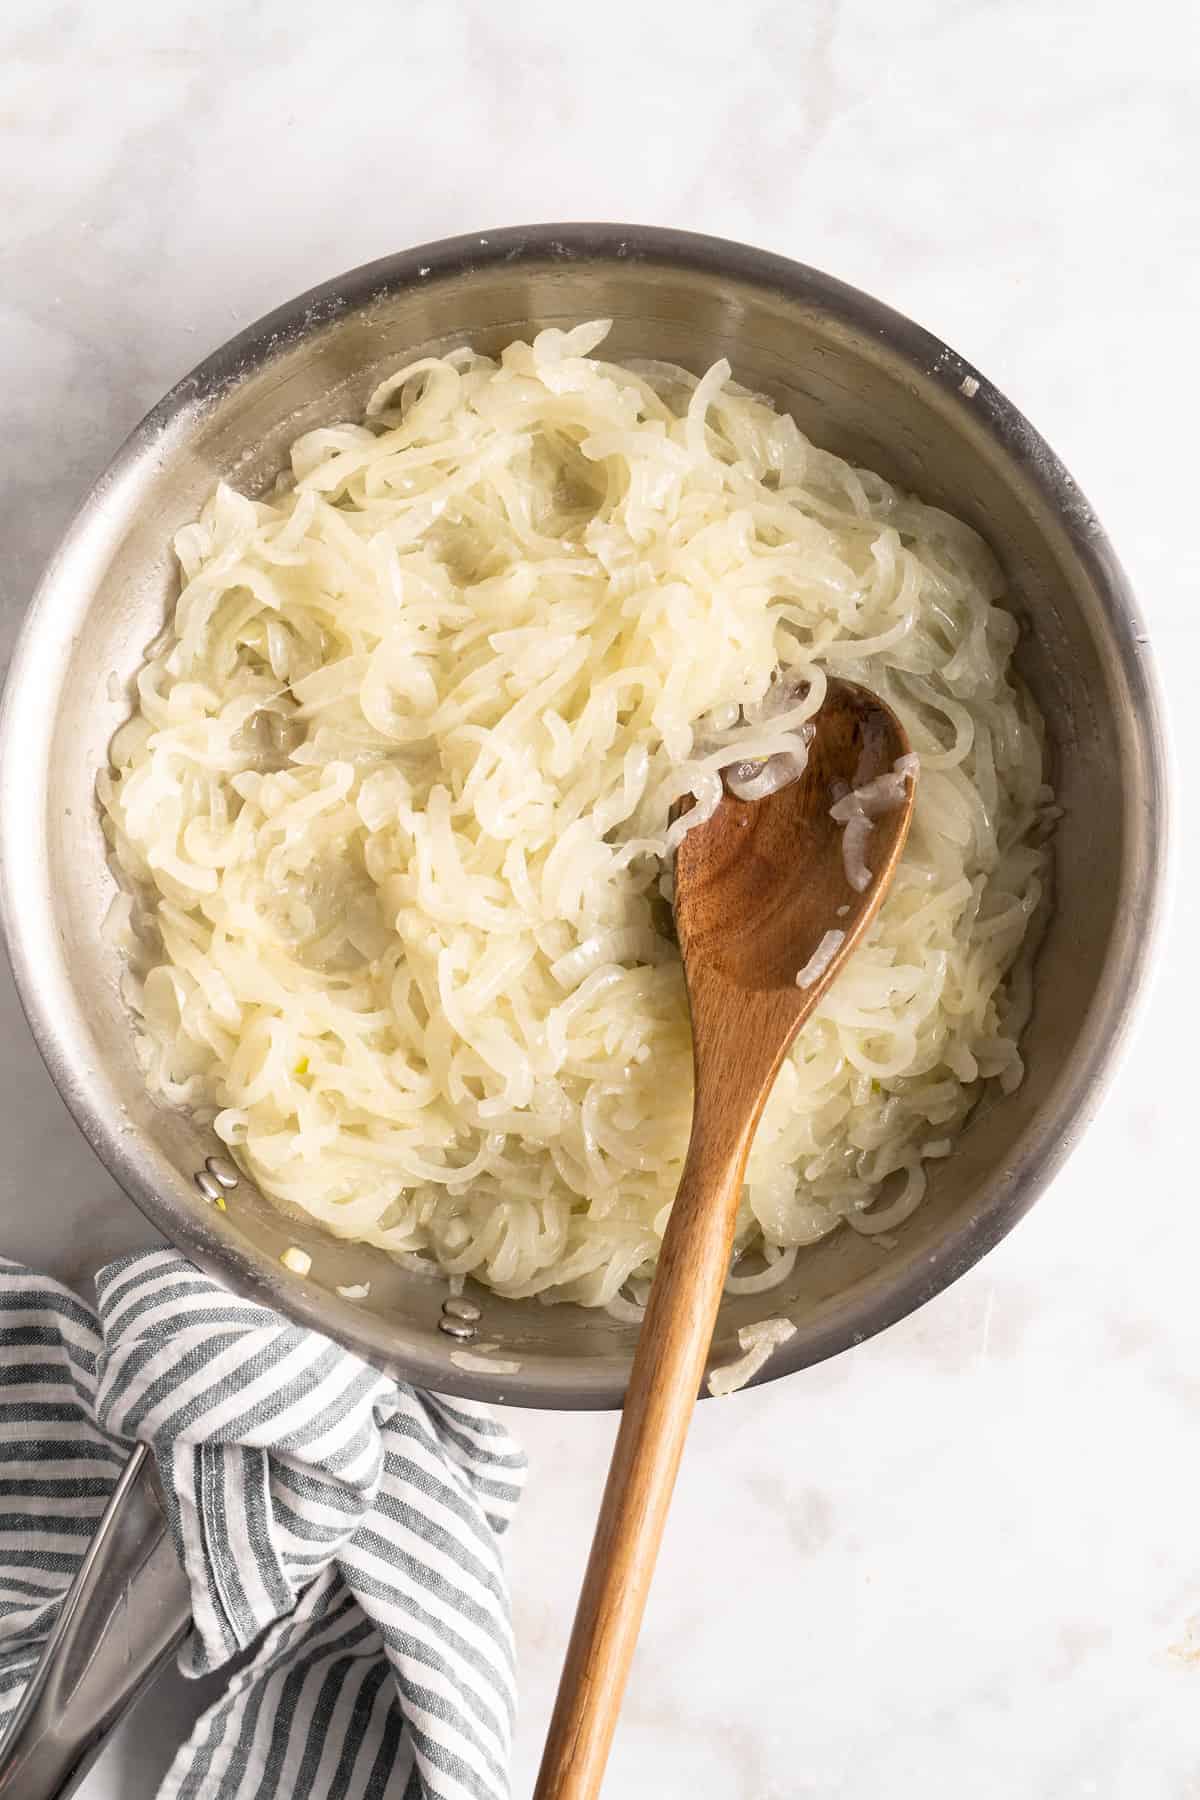
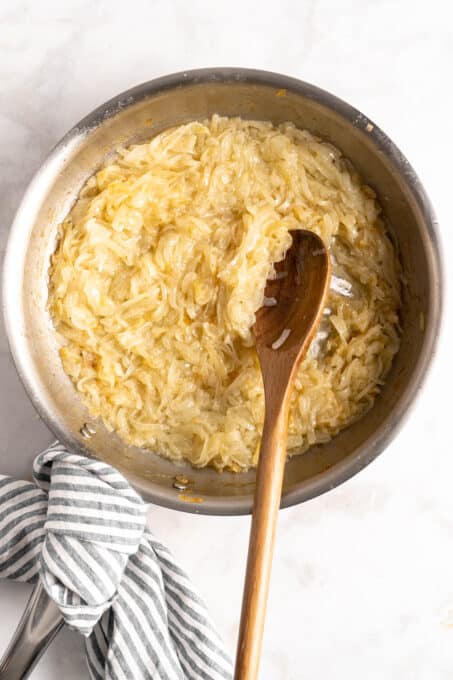
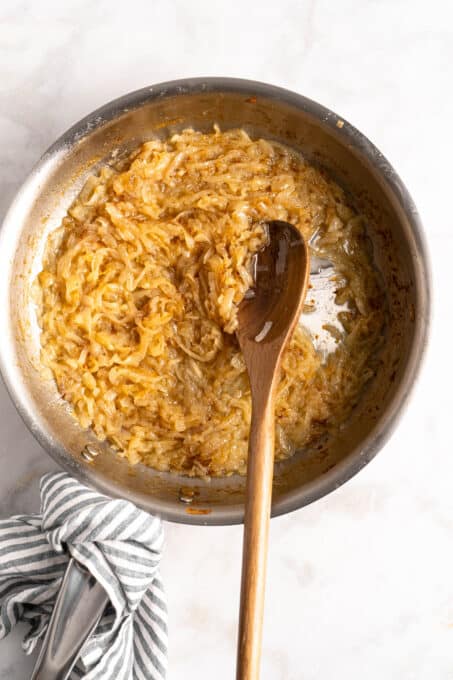
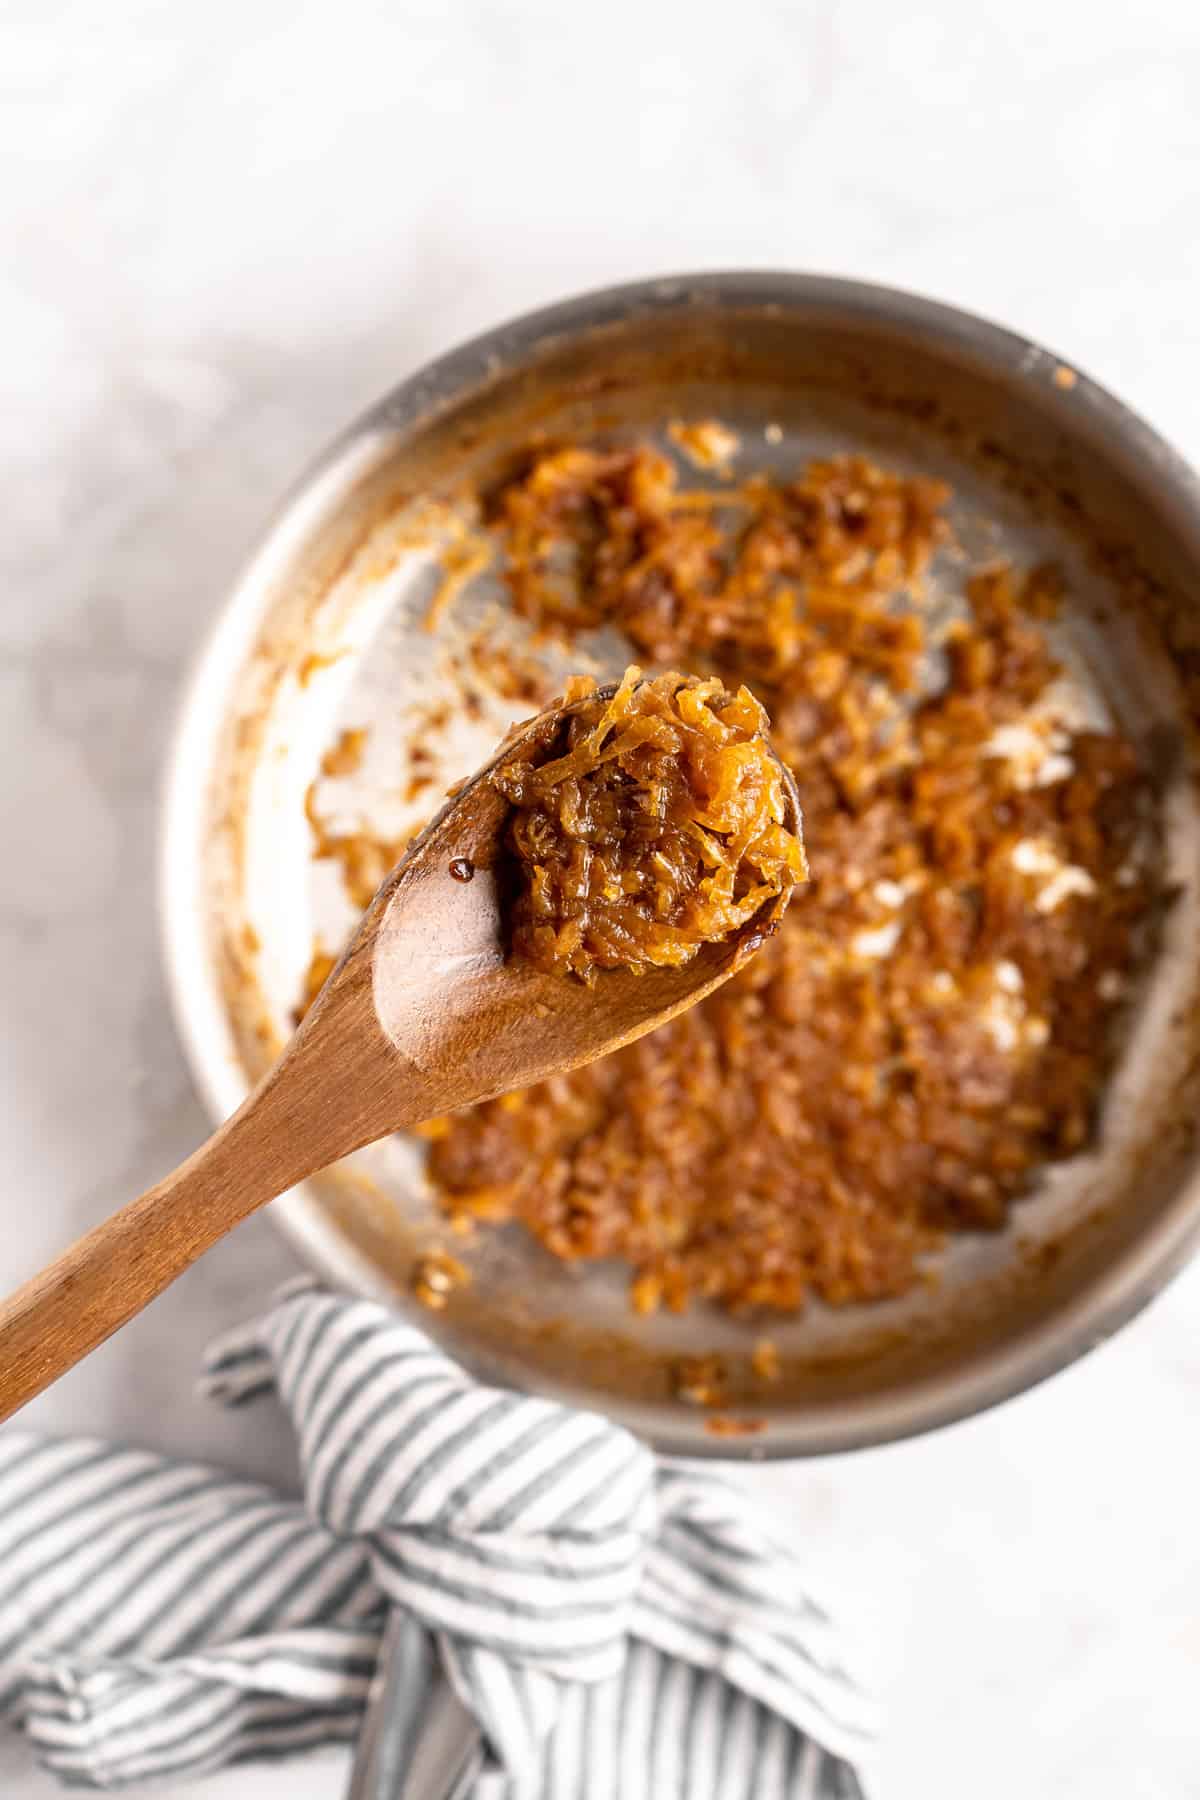
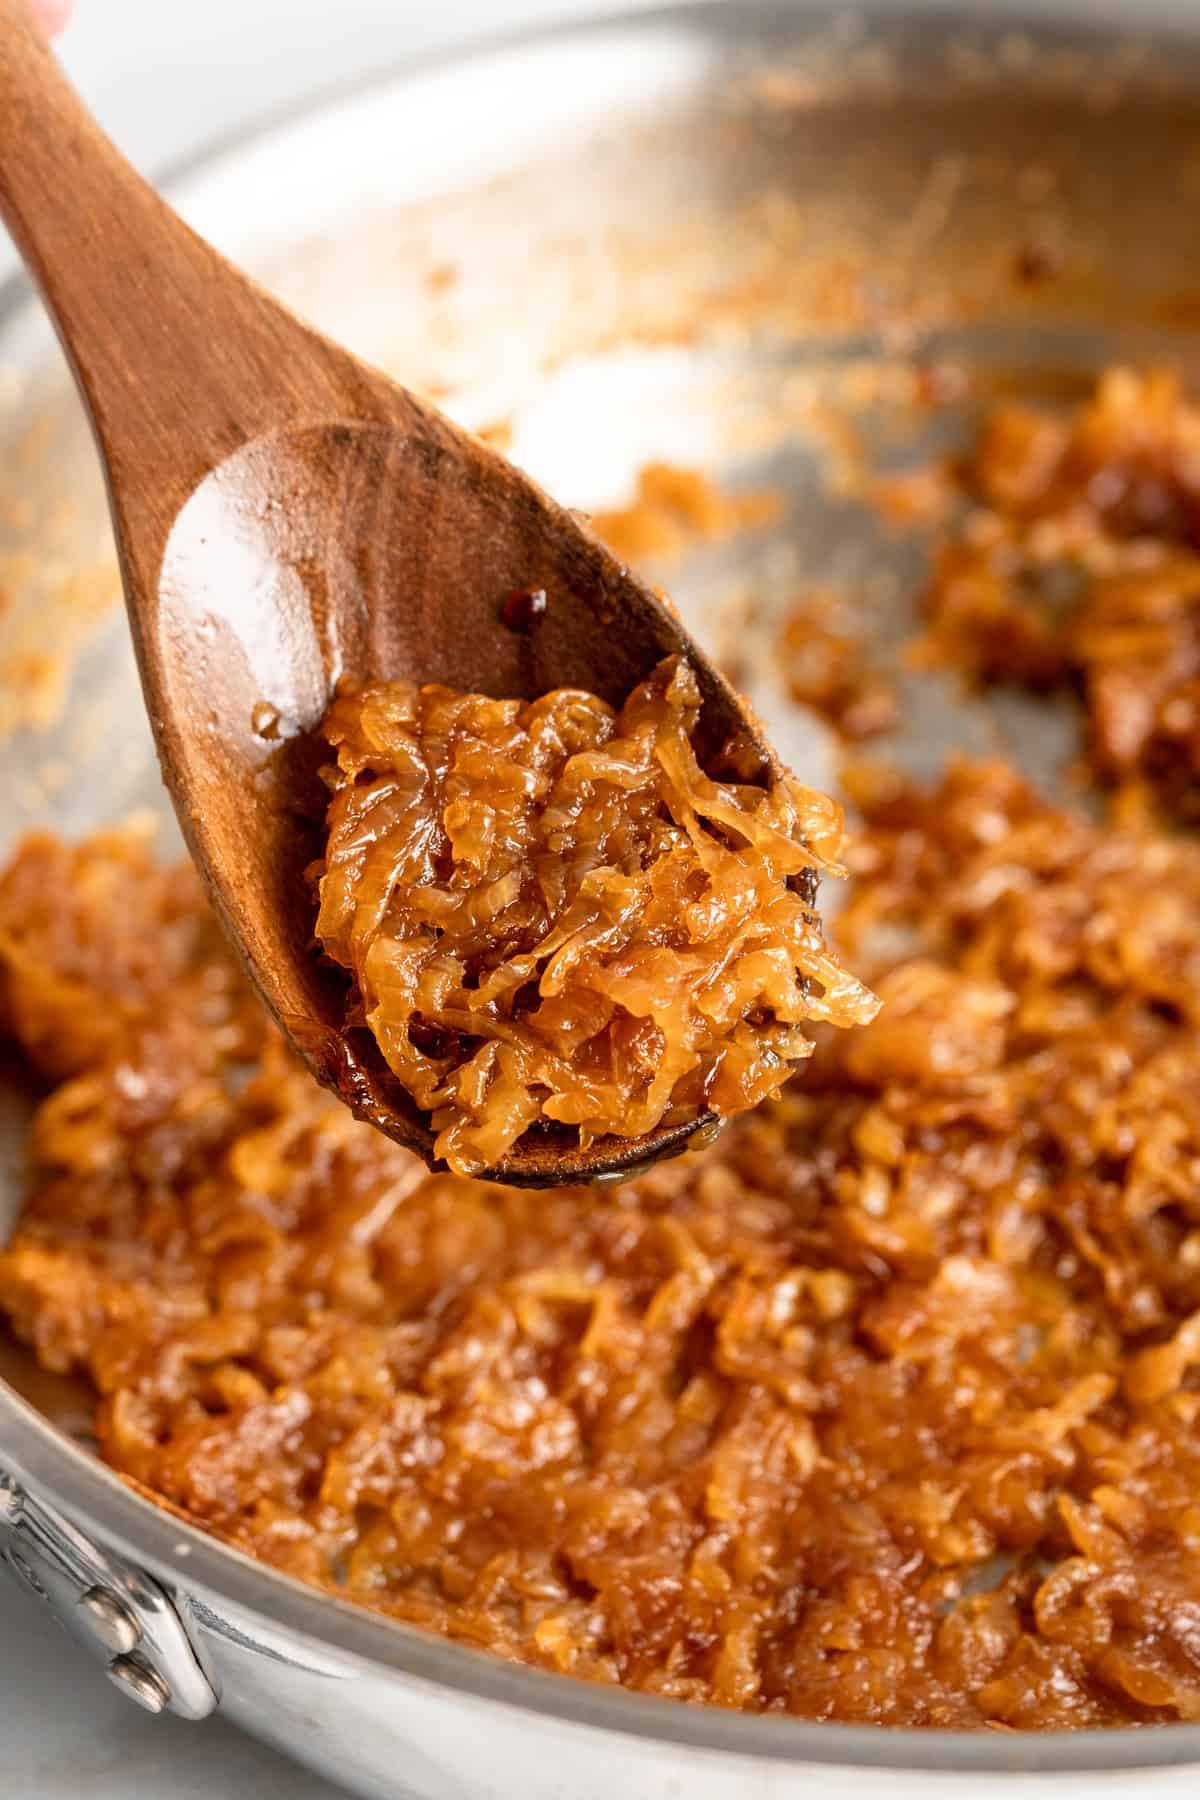
Once you have the time and the ingredients listed above, you’re ready to make caramelized onions! Heat the oil. Set a large, heavy skillet over medium heat and add the oil. Add the onions. Place the onions in the skillet and stir them to ensure they’re all coated with the oil. Stir in a pinch of salt. Sauté. Cook the onions over medium heat for 5 to 8 minutes, or until they’re translucent. Reduce the heat to medium-low. Wait. Or, wait and stir. Let the onions cook until they reach your desired depth of colour—this should take about 30 minutes, but it can vary depending on your stove and the colour or texture you’re after. Stir occasionally and if the onions begin to get dry, add a splash of water to keep them moist and deglaze the pan. Finish. Just before the onions are done, add a splash of red wine vinegar to deglaze the pan and add flavour. Remove the pan from the stovetop and use the onions immediately or let them cool before storing.
Tips for Success
As you can see, this tutorial on how to caramelize onions is pretty straight-forward, but these tips will help:
Cut the onions evenly. If your onion slices vary in thickness, they won’t cook evenly or be done at the same time.Scrape and deglaze the pan. When the onions begin to brown, they’ll start to leave a fond (the technical term for the little browned bits) on the bottom of the pan. Scrape this fond when it forms (a splash of water will help release it) and swirl it back into the onions. This helps give your onions that deep, dark colour and adds so much flavour!Use a large, wide pan. This allows the onions to spread out and cook evenly.
How to Store
You can store caramelized onions in an airtight container in the refrigerator for up to a week.
Can You Freeze Caramelized Onions?
Yes, you can freeze caramelized onions for up to 3 months. Freeze them flat in a freezer bag or place them in an airtight container. Let them thaw in the refrigerator before using.
How to Use Caramelized Onions
Here are my favourite ways to put caramelized onions to use:
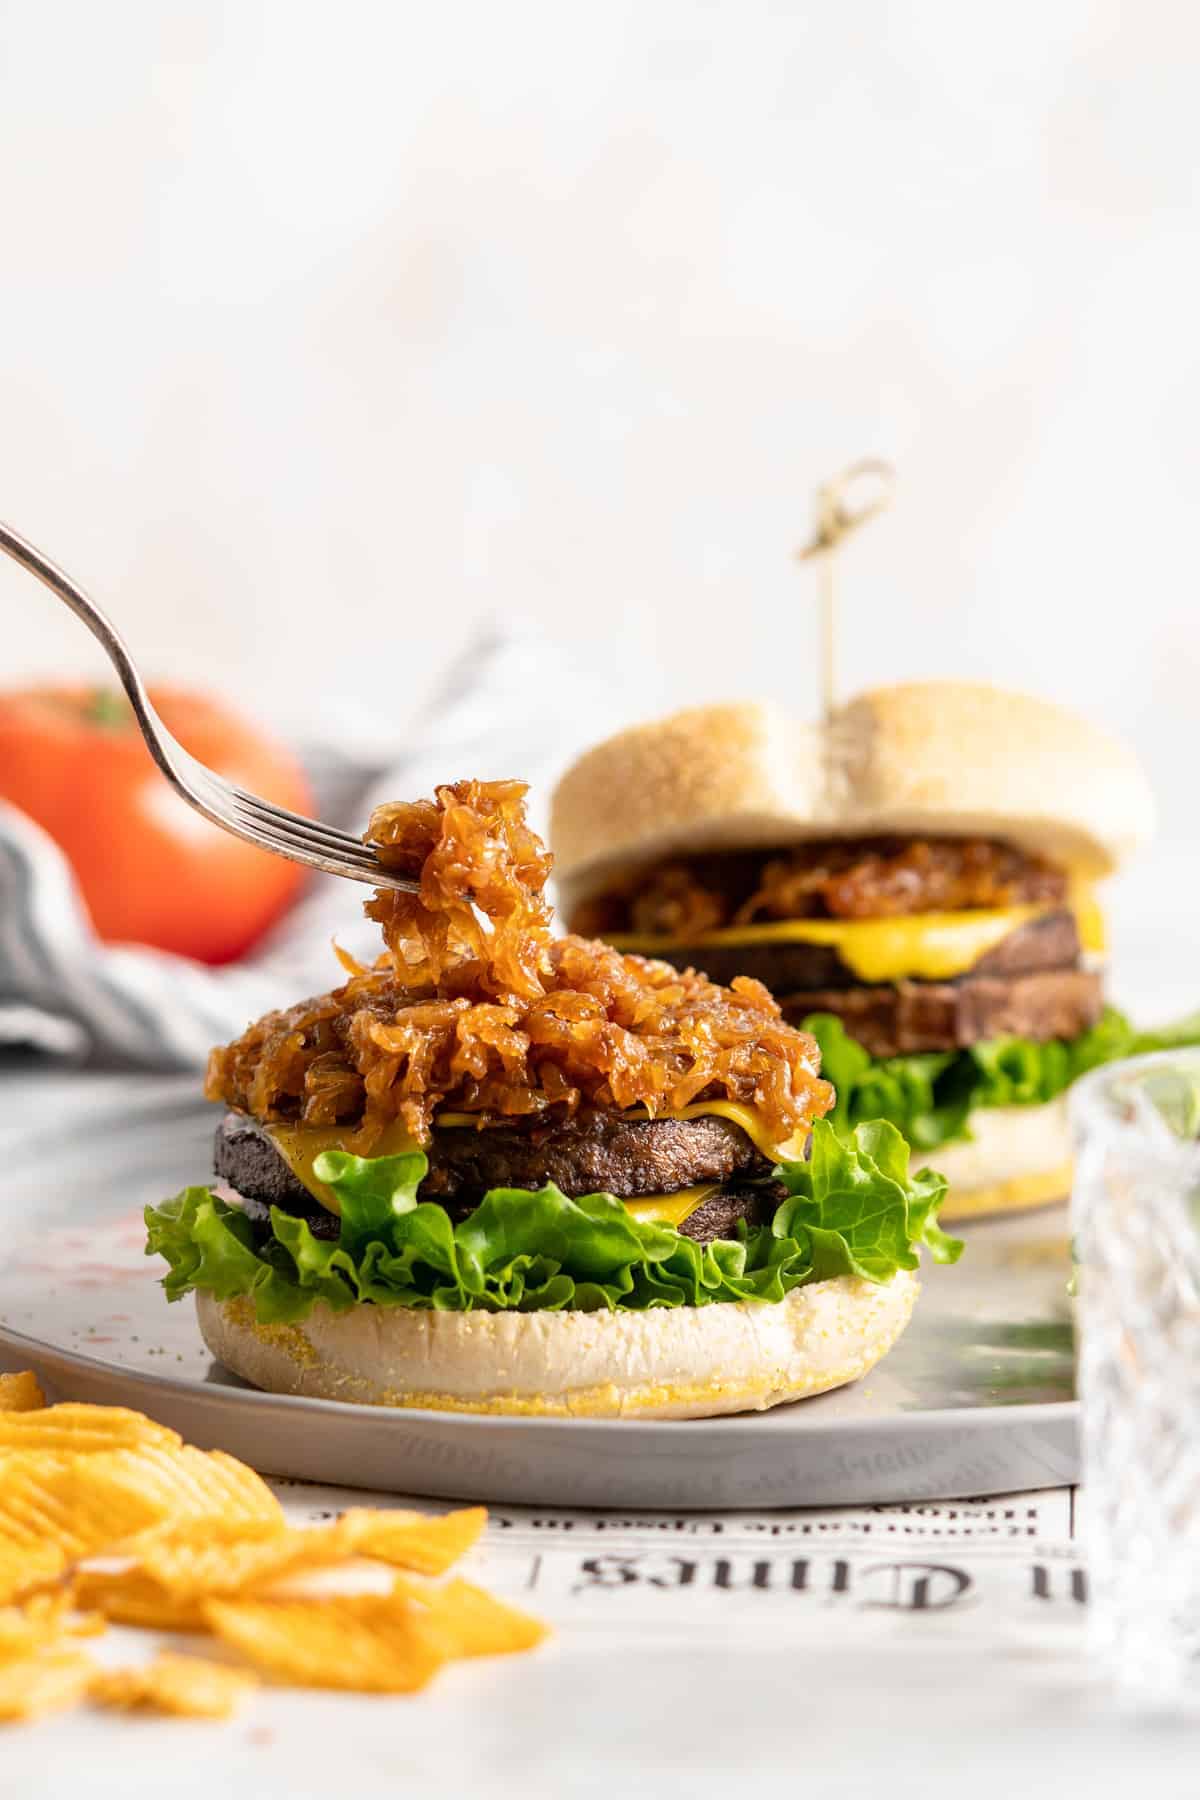
Add them to veggie burgers. Make them into caramelized onion dip. Use them to add flavour to pasta sauce. Add a spoonful to hummus before serving. Layer them with vegan cheese and bread for an epic grilled cheese sandwich. Top BBQ Chickpea Tacos with a spoonful of caramelized onions. Spread them onto pieces of toasted baguette.
Enjoy friends! If you make this caramelized onion recipe, please snap a photo and tag #jessicainthekitchen on Instagram! We’d also love it if you would leave a comment below, and give the recipe a rating! Thanks so much!