Oriana’s Thoughts On The Recipe
Okay, I’ll admit it—I love the process of making pie crust from scratch, but let’s be real, sometimes life just gets busy, and I’m left with zero time (or energy!) to whip up a traditional pie dough. That’s when this No-Fuss Press-In Pie Crust comes to the rescue. It’s for those of us who crave a delicious, homemade crust but could definitely skip the fuss of rolling, chilling, and re-rolling! And no, there’s no need to settle for store-bought. This recipe is as simple as mixing, pressing, and baking—with no rolling pin in sight! It’s a lifesaver for weeknights or last-minute dessert cravings, plus it’s practically foolproof—perfect for beginners or anyone just looking to save a little time. Just grab your ingredients, mix them up, and use your hands to press the dough into the pan. The result? A perfectly crisp crust that doesn’t go soggy or doughy (isn’t that the worst?). It’s thin and bakes up golden, just the way a pie crust should. This press-in recipe is so good that I almost forget about traditional pie-making altogether! If you prefer the traditional pastry pie crust, check out my How to Make Pie Crust from Scratch recipe.
Ingredients You’ll Need, Substitutions & Notes
Please check the recipe card at the bottom of the post for exact quantities and detailed instructions (scroll down).
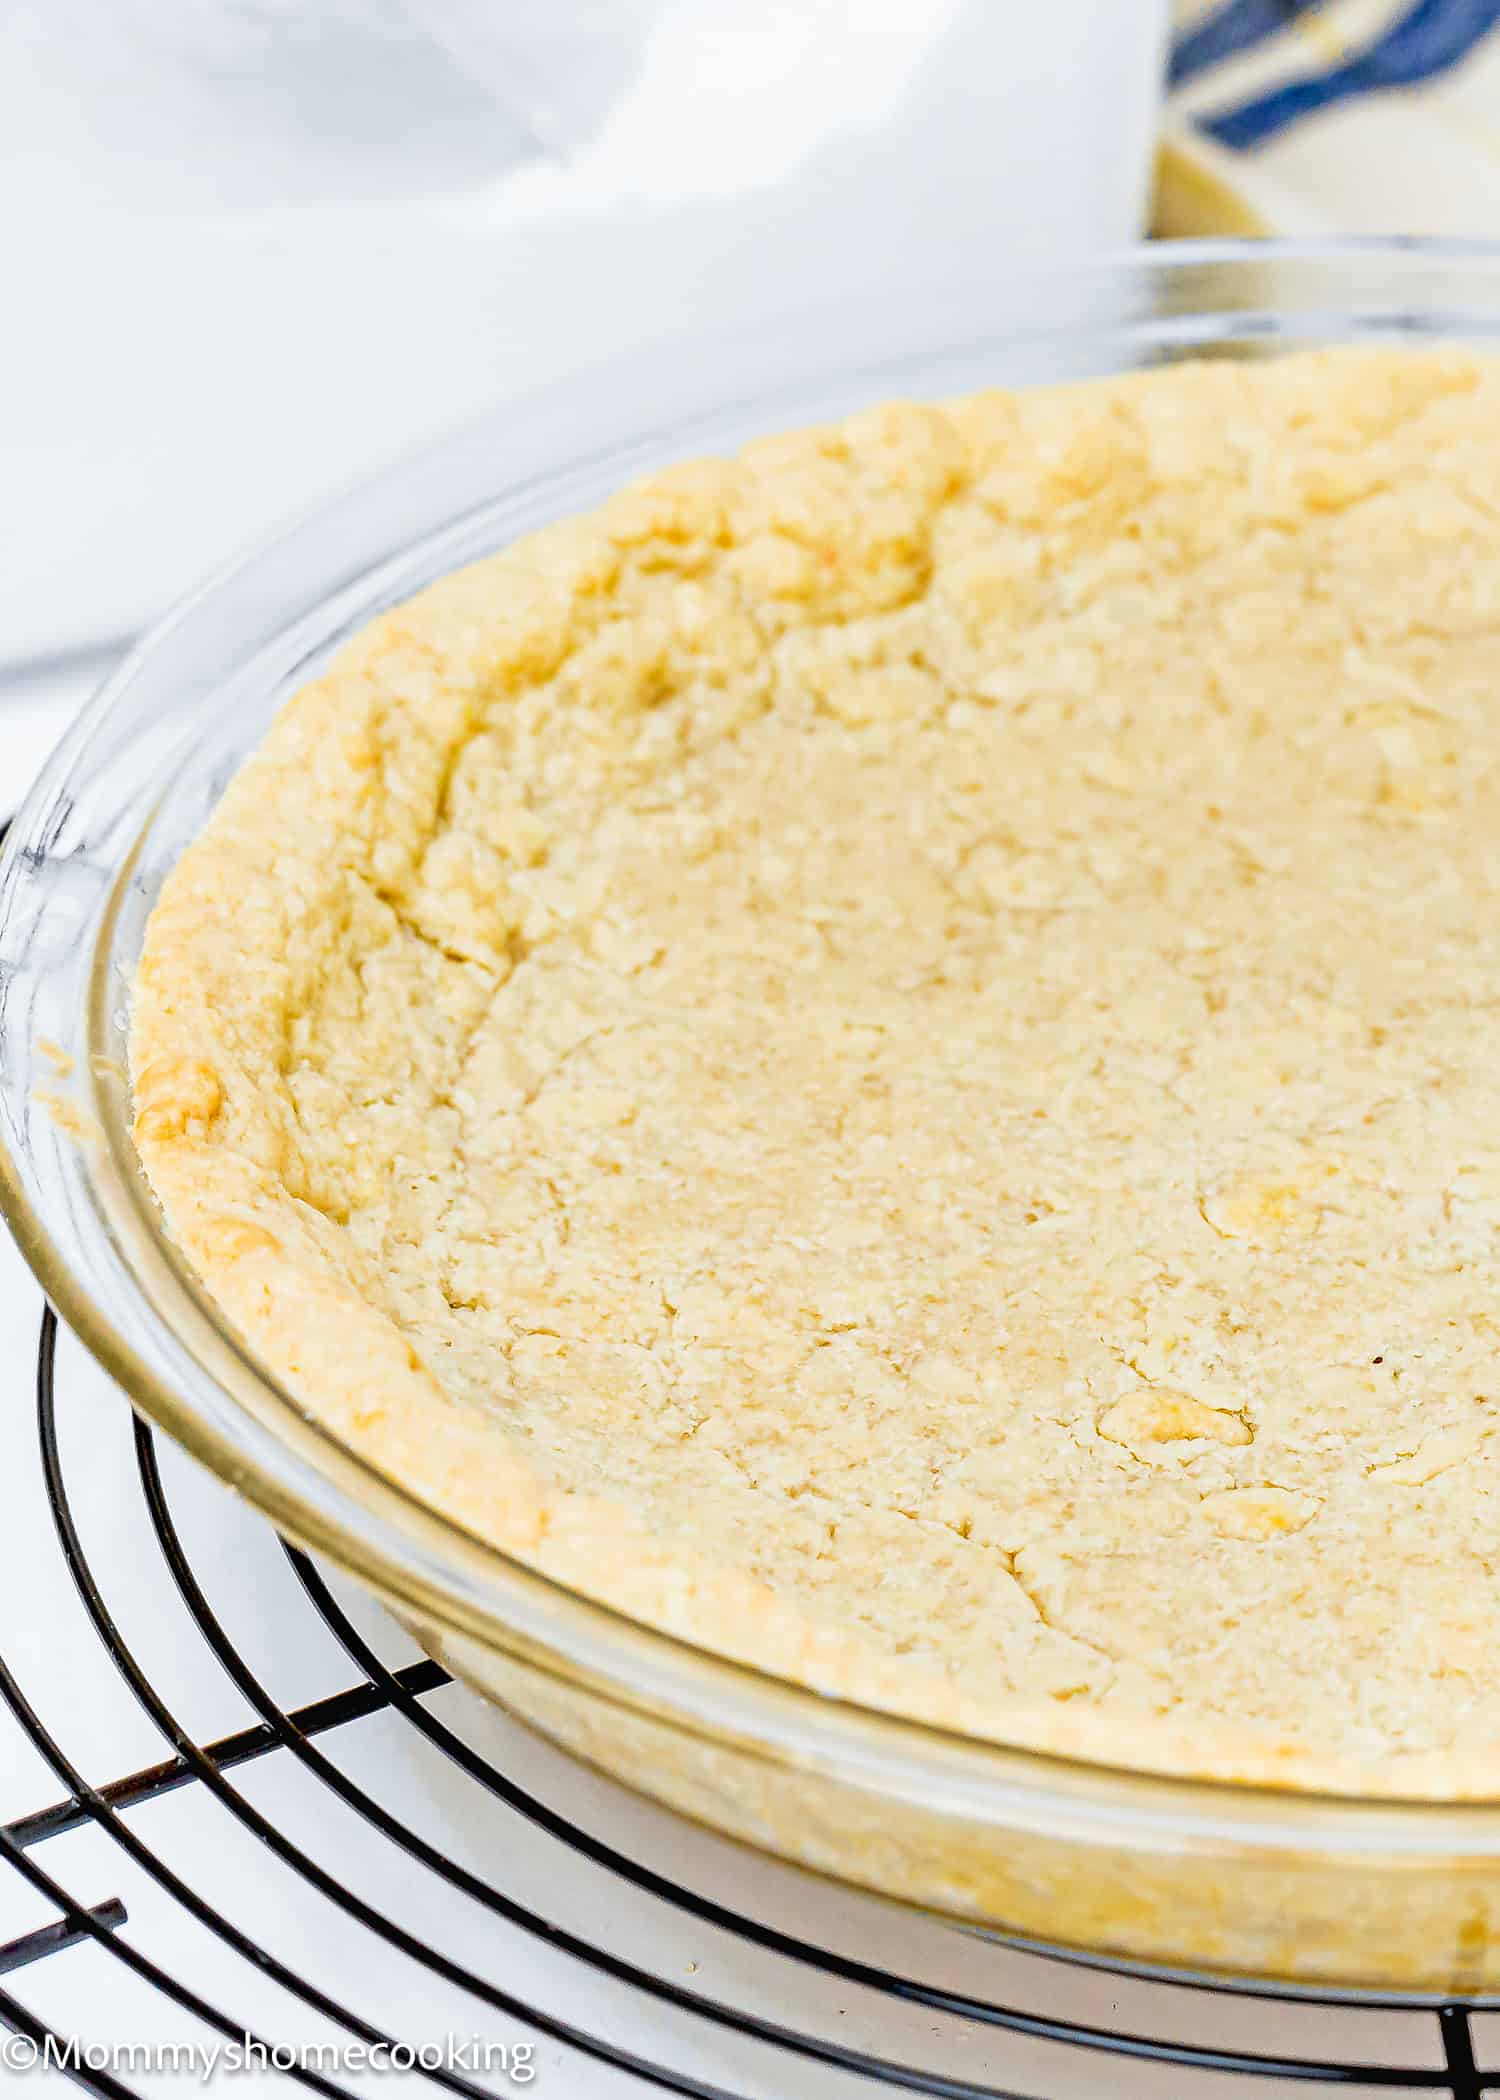
Time-Saver Magic: Much as I love a traditional pastry, sometimes life just doesn’t allow for the extra steps of rolling, chilling, and all that jazz. This recipe takes a fraction of the time without sacrificing flavor, making it a perfect go-to for busy days. Ready in Minutes: With a handful of pantry staples and a bit of mixing, this crust comes together in no time. It’s a quick fix for when you need a crust that’s as delicious as it is easy to make. Perfectly Thin and Crisp: A raw, doughy crust can ruin a pie, but this crust bakes up thin and beautifully crisp, just like a pie crust should. Say goodbye to that disappointing, undercooked, doughy bottom! Foolproof Baking: If you’ve been intimidated by pie crusts in the past, this is a recipe to make your baking life a whole lot easier.
Evenly Pressing the Dough: It’s easy to end up with some areas too thick and others too thin. Pro Tip: Use the bottom of a glass or measuring cup to help press and evenly distribute the dough across the pan. Browning Too Quickly: Depending on your oven, the edges may start to brown too fast. Pro Tip: If this happens, cover the edges with foil during baking to avoid over-browning while allowing the crust to bake fully.
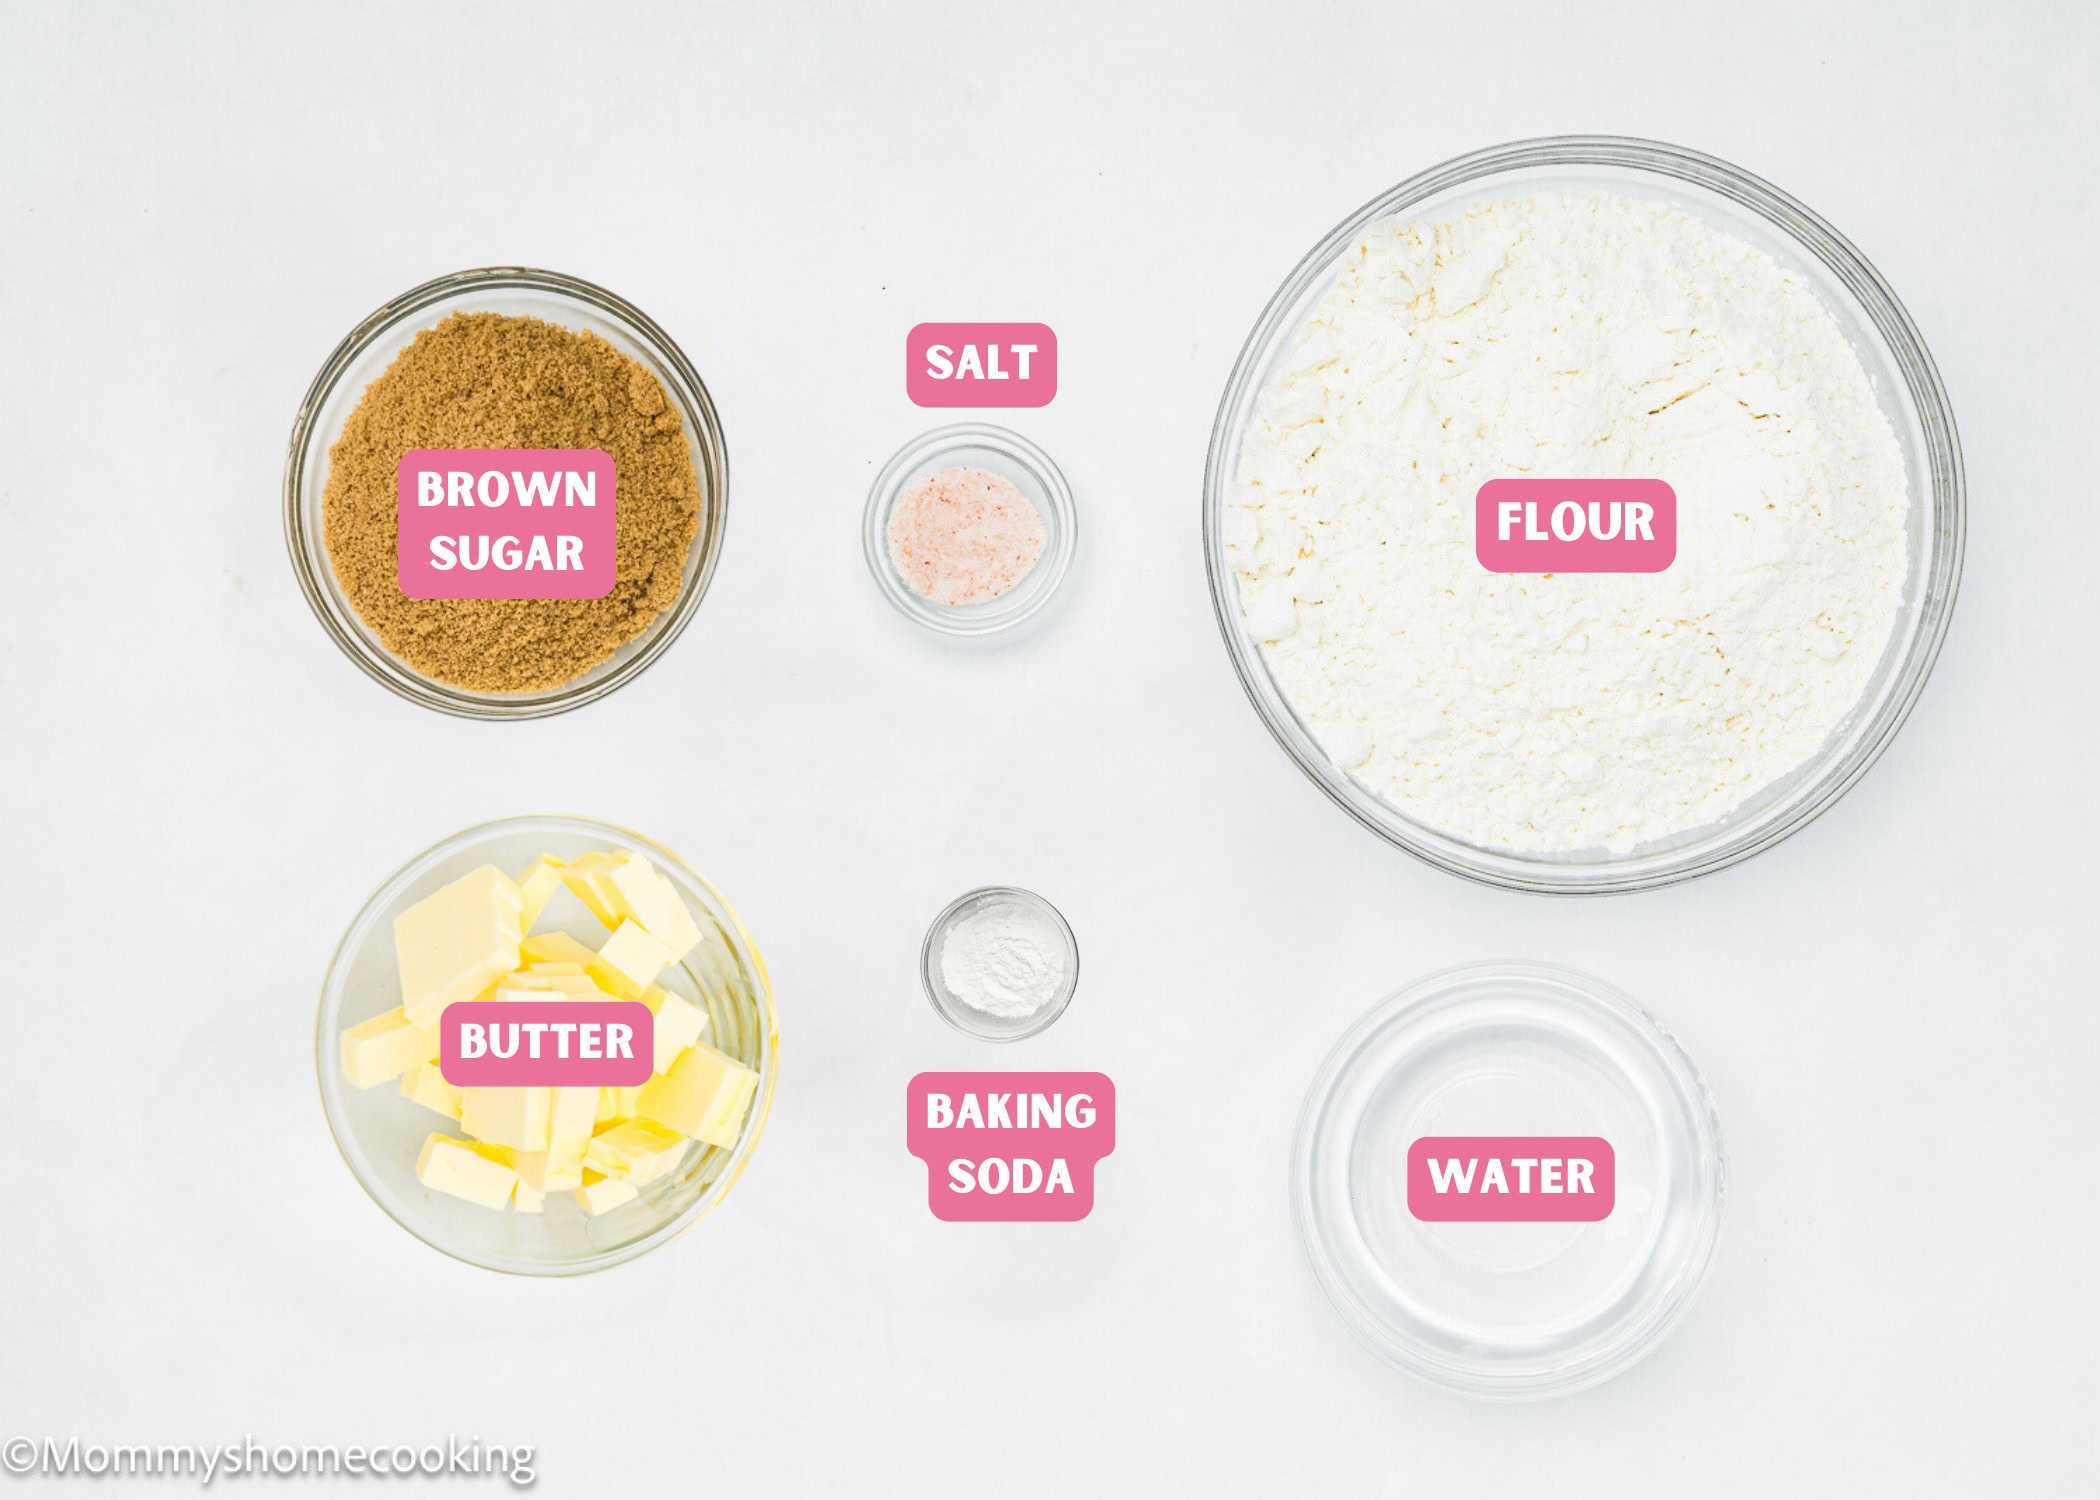
All-Purpose Flour: This forms the base of the crust, giving it structure. Light Brown Sugar: Adds a hint of sweetness and a soft, caramel undertone to the crust. Salt: Enhances the flavor, balancing the sweetness. Baking Soda: This helps the crust achieve a light, airy texture as it bakes. Butter: Adds richness and flavor to the crust while also helping it crisp up in the oven. Water: Brings the ingredients together, binding the dough so you can press it into the pan.
Process Overview: Step-by-Step Photos
Please check the recipe card at the bottom of the post for exact quantities and detailed instructions (scroll down).
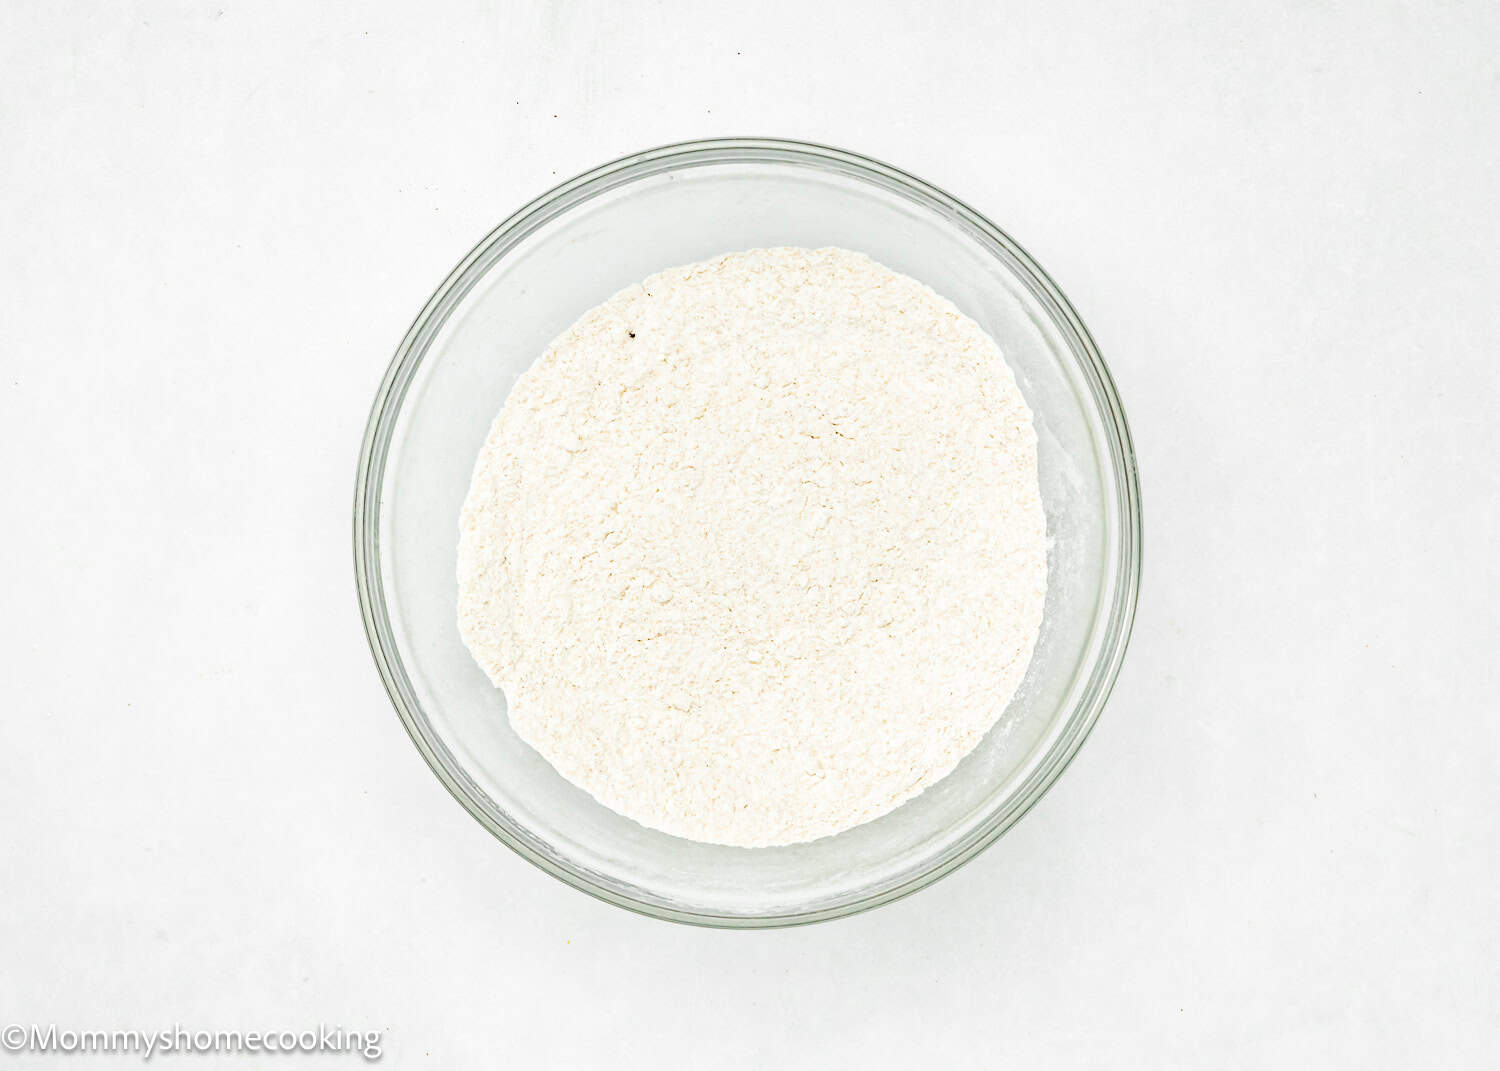
Step 1 – Mix Dry Ingredients
Place flour, brown sugar, salt, and baking soda in a medium bowl and whisk to blend. Press out any lumps of brown sugar. Alternatively, you can pulse in a food processor.
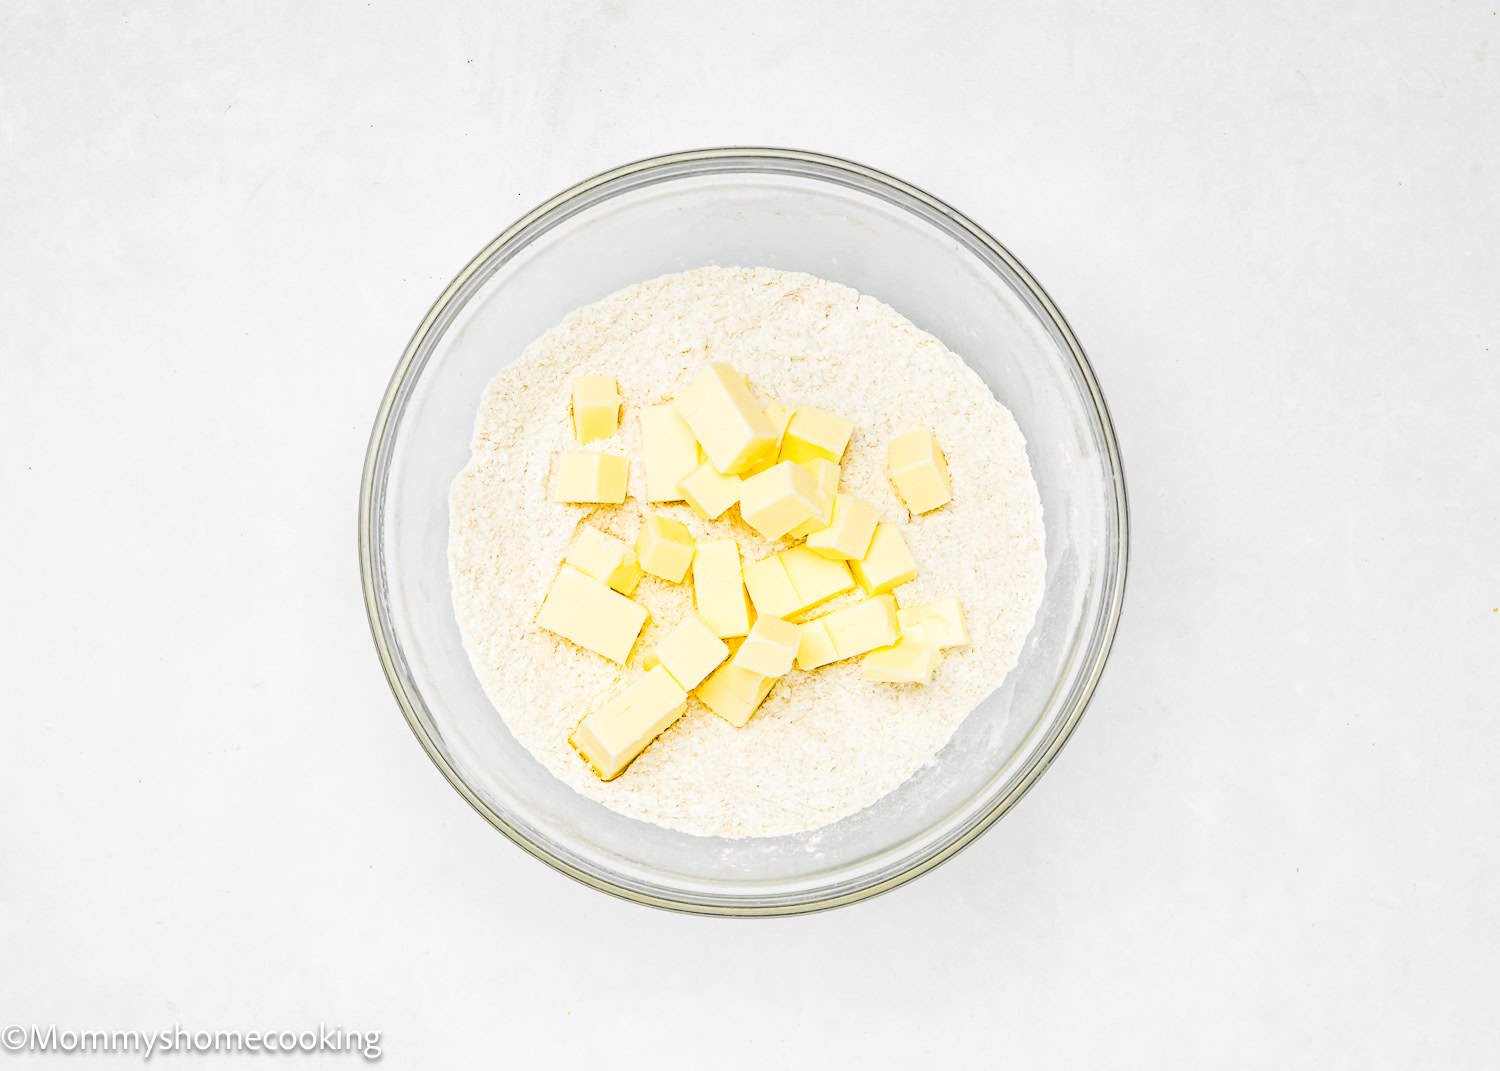
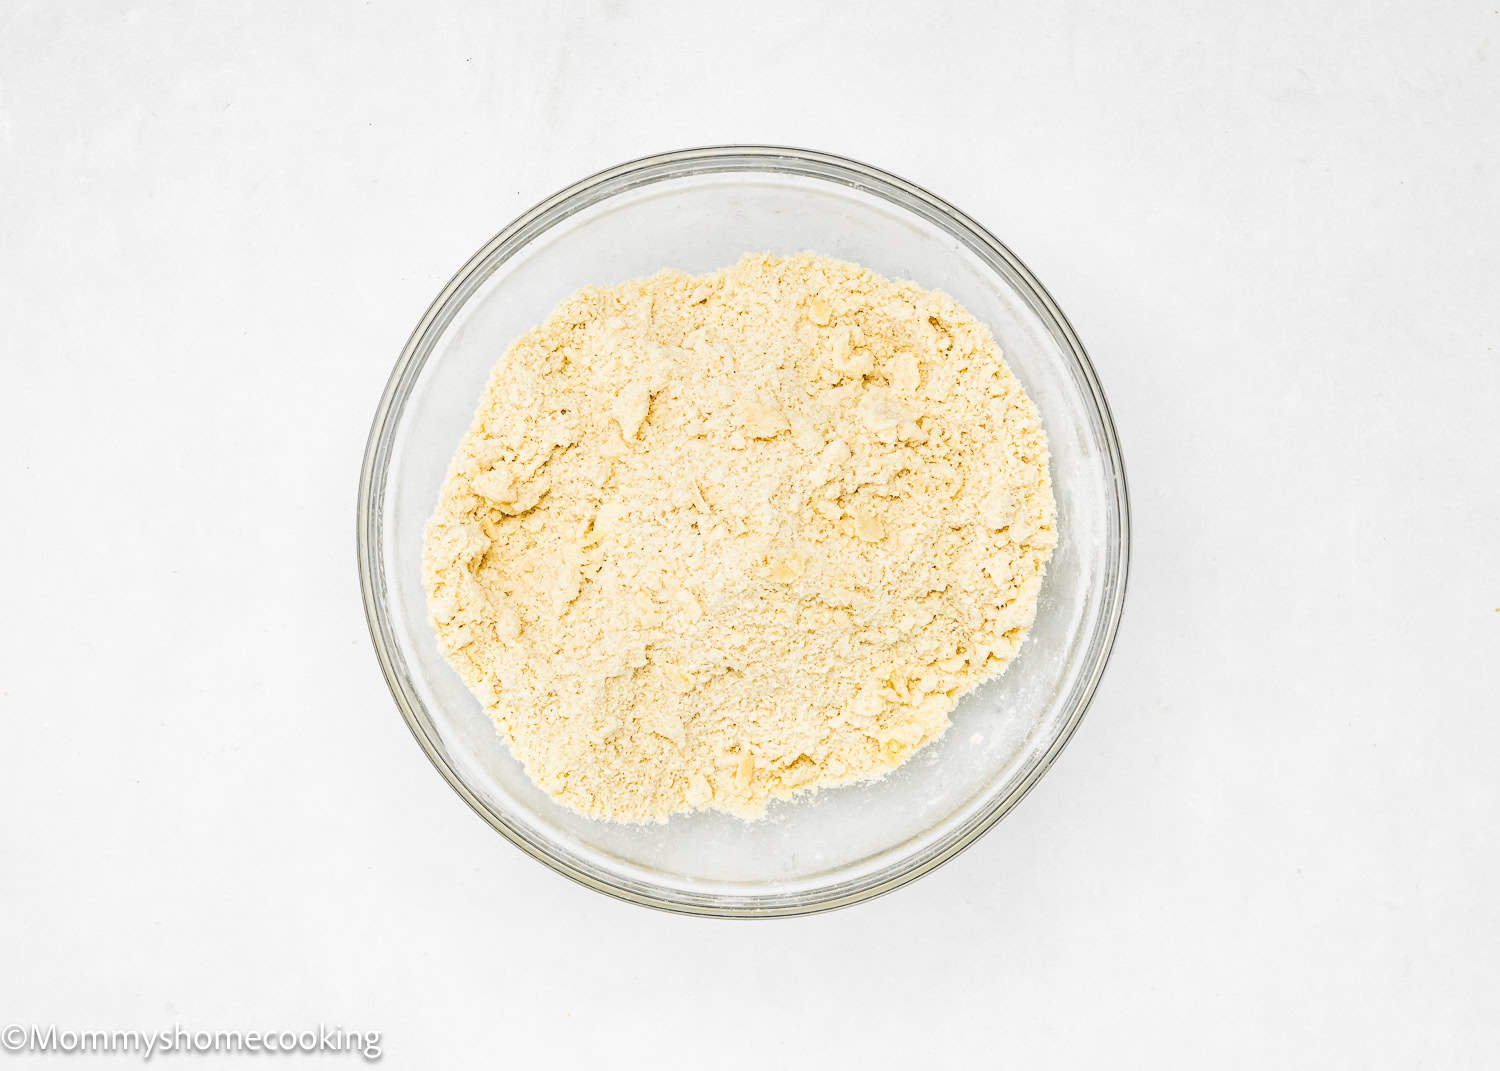
Step 2 – Add Butter
Add soft butter and rub it in with your fingertips (or pulse in short bursts) until it resembles coarse crumbs. Note: The butter needs to be evenly mixed in, and there shouldn’t be any dusty flour remaining in the bowl.
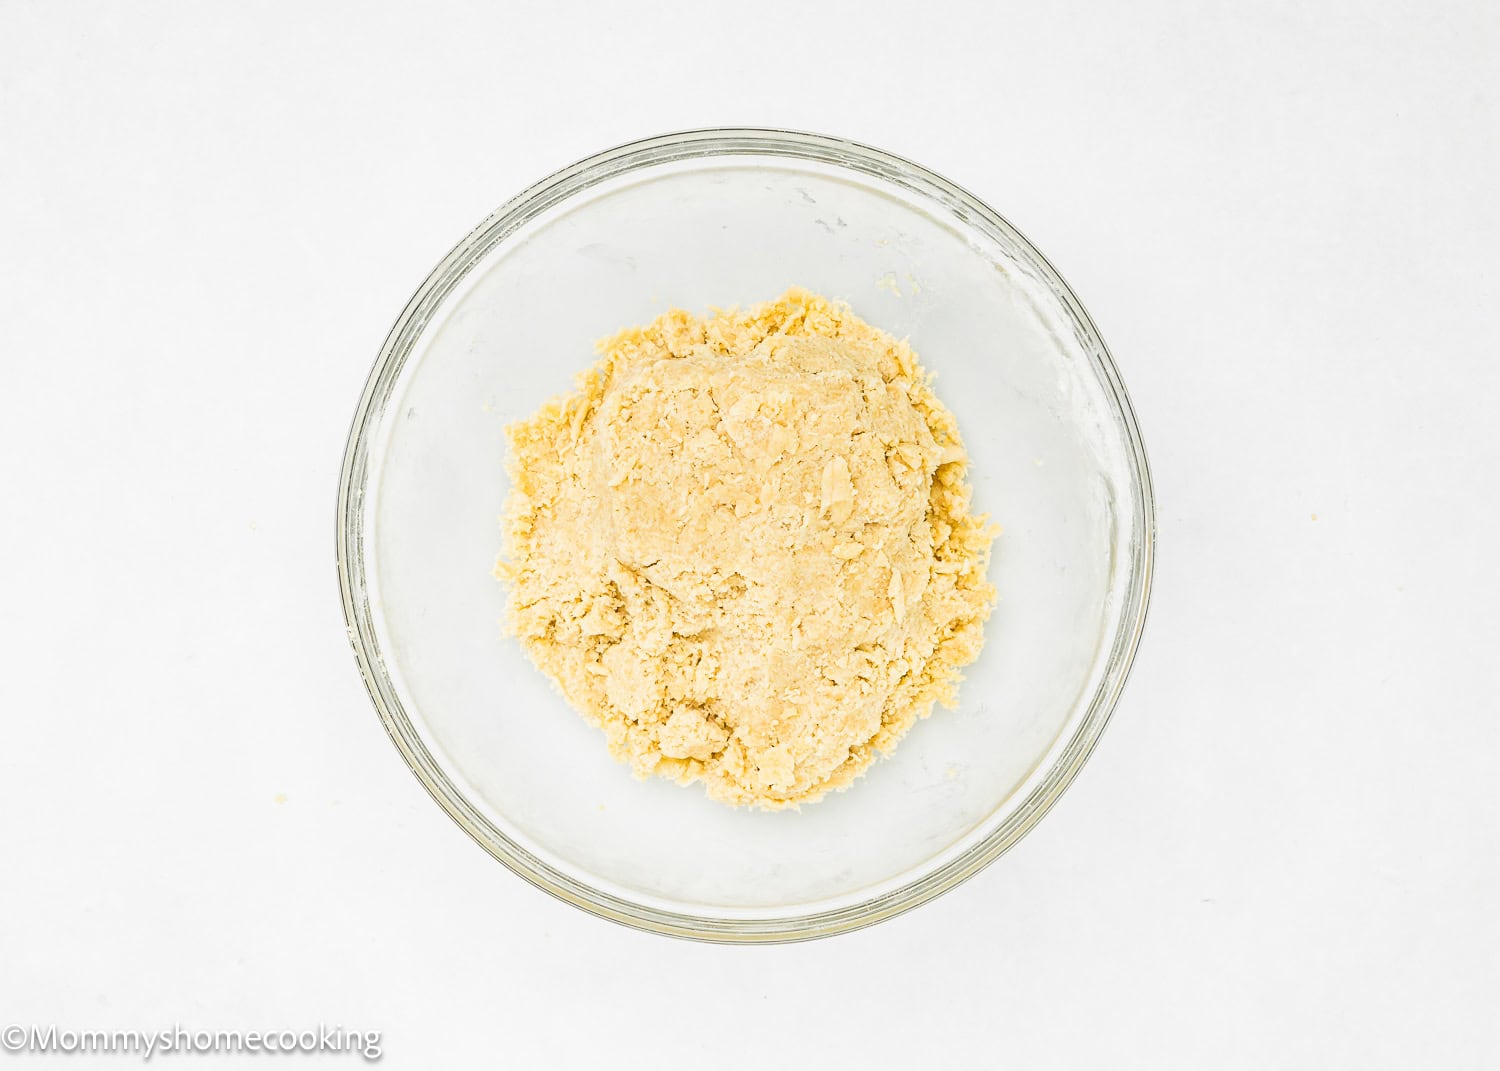
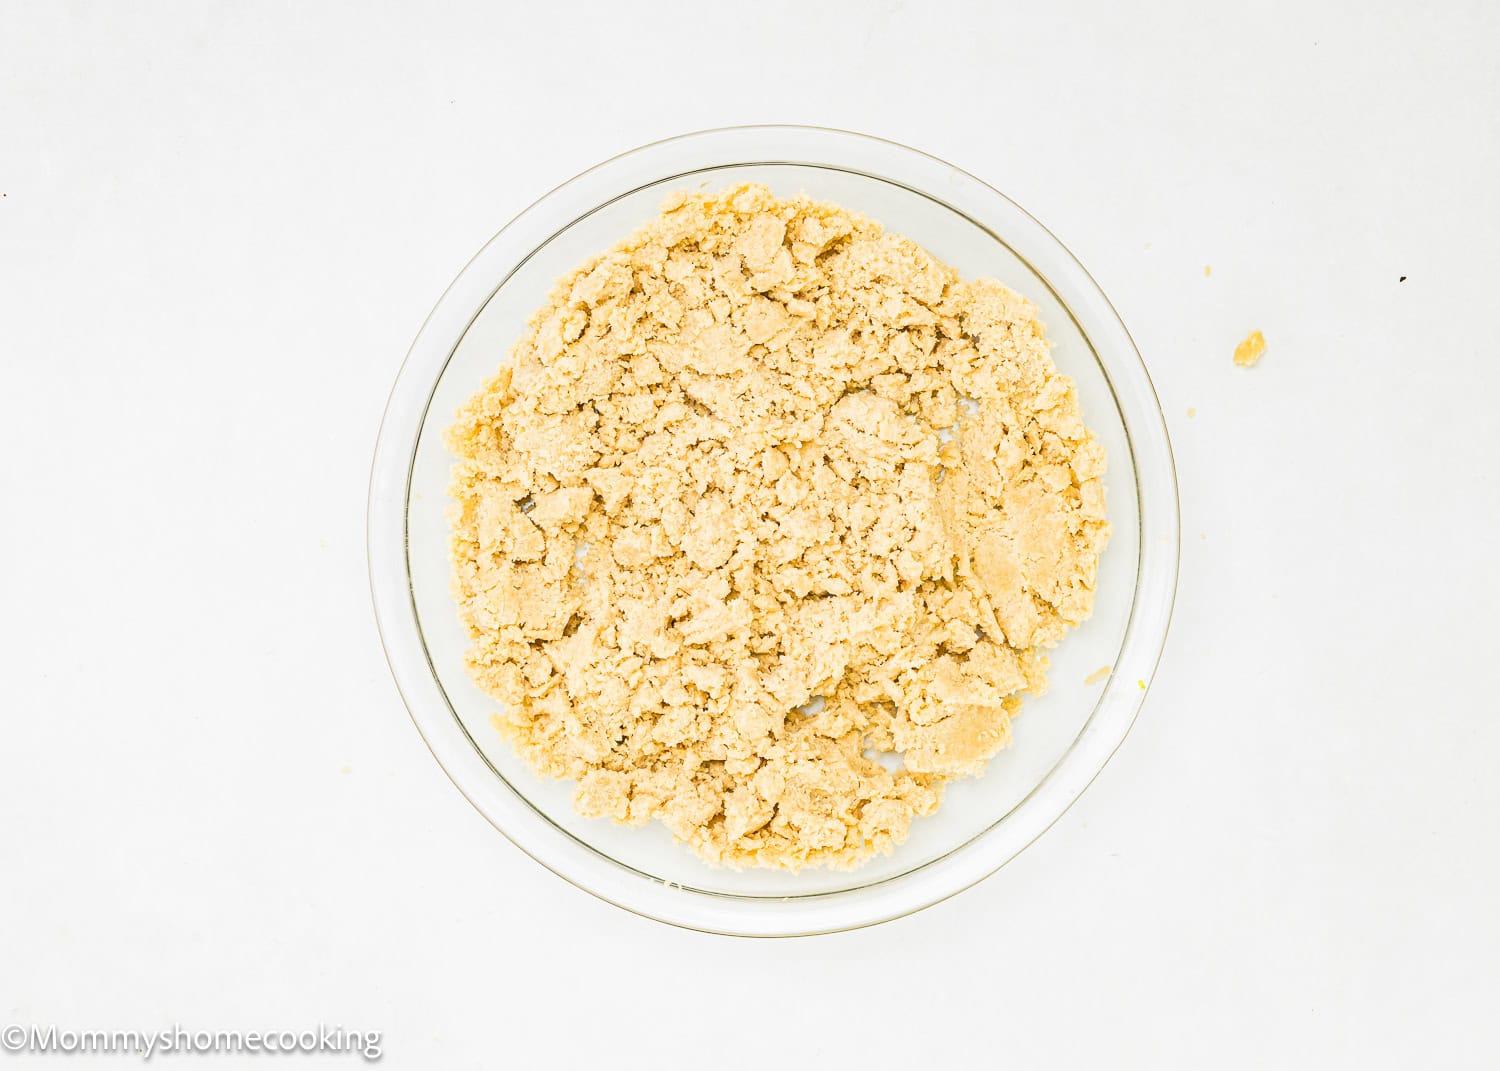
Step 3 – Add Water
Then, sprinkle in 2 teaspoons of water and mix it in with your fingers until it clumps together. If it needs a bit more moisture, add another teaspoon of water. You’re looking for a texture that resembles damp crumbs or clusters that hold together when you squeeze them.
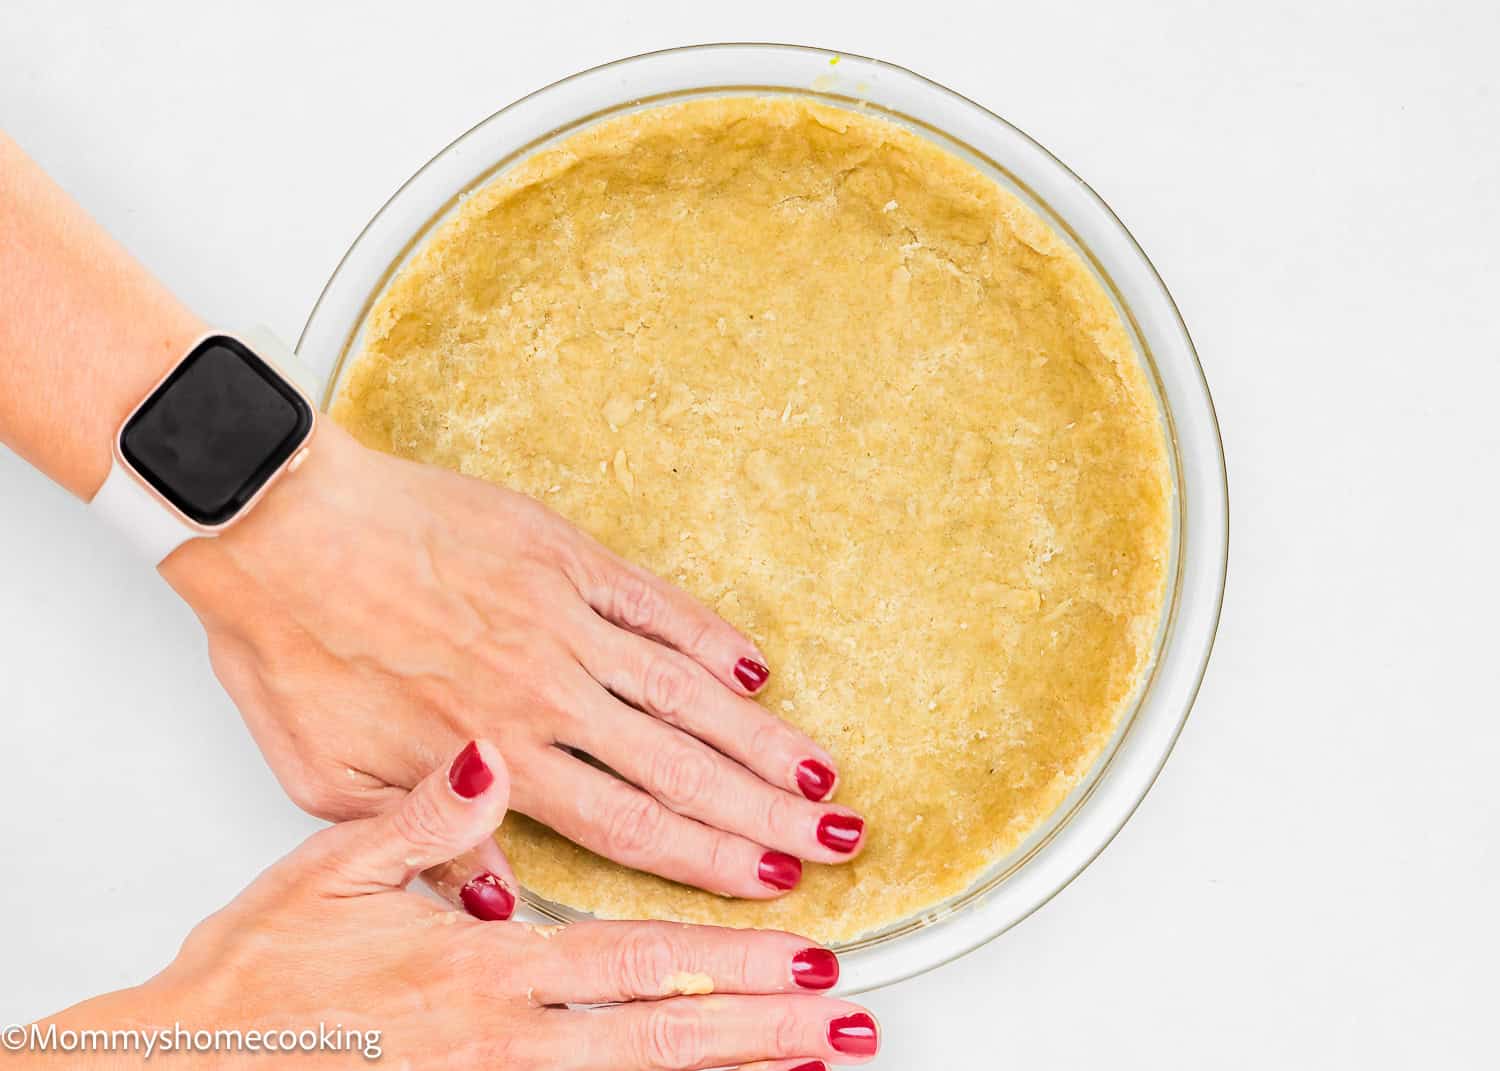
Step 4 – Press-In To The Baking Dish
Add the crumbs into the baking dish and press them up the sides and evenly across the base.
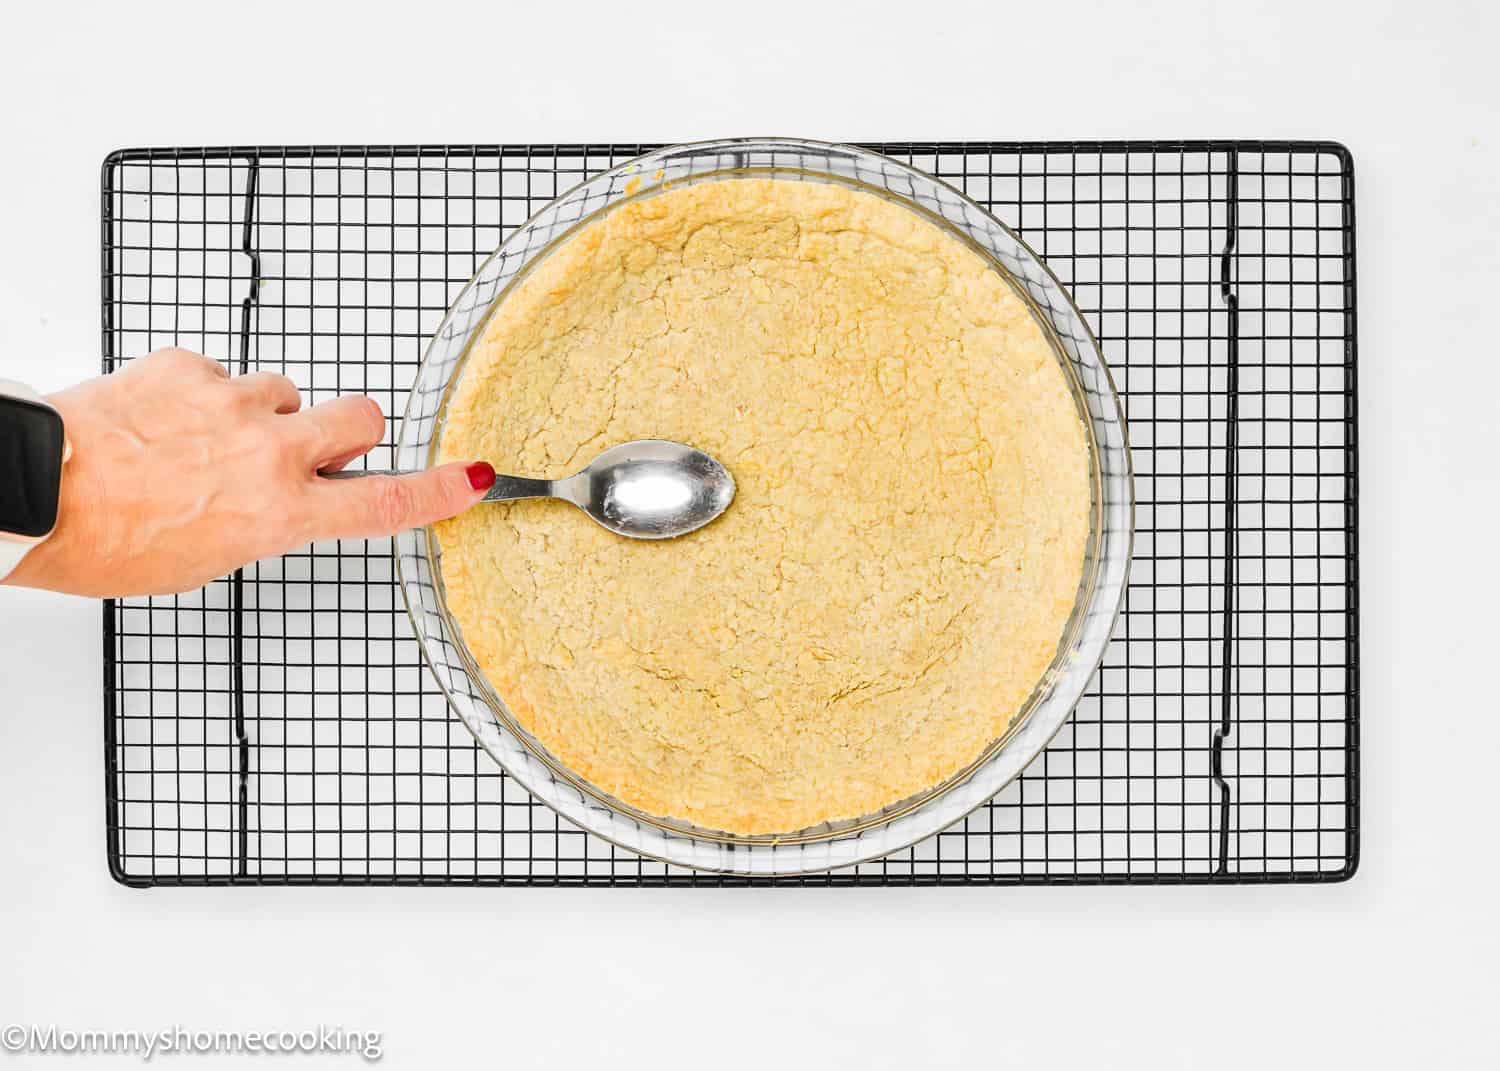
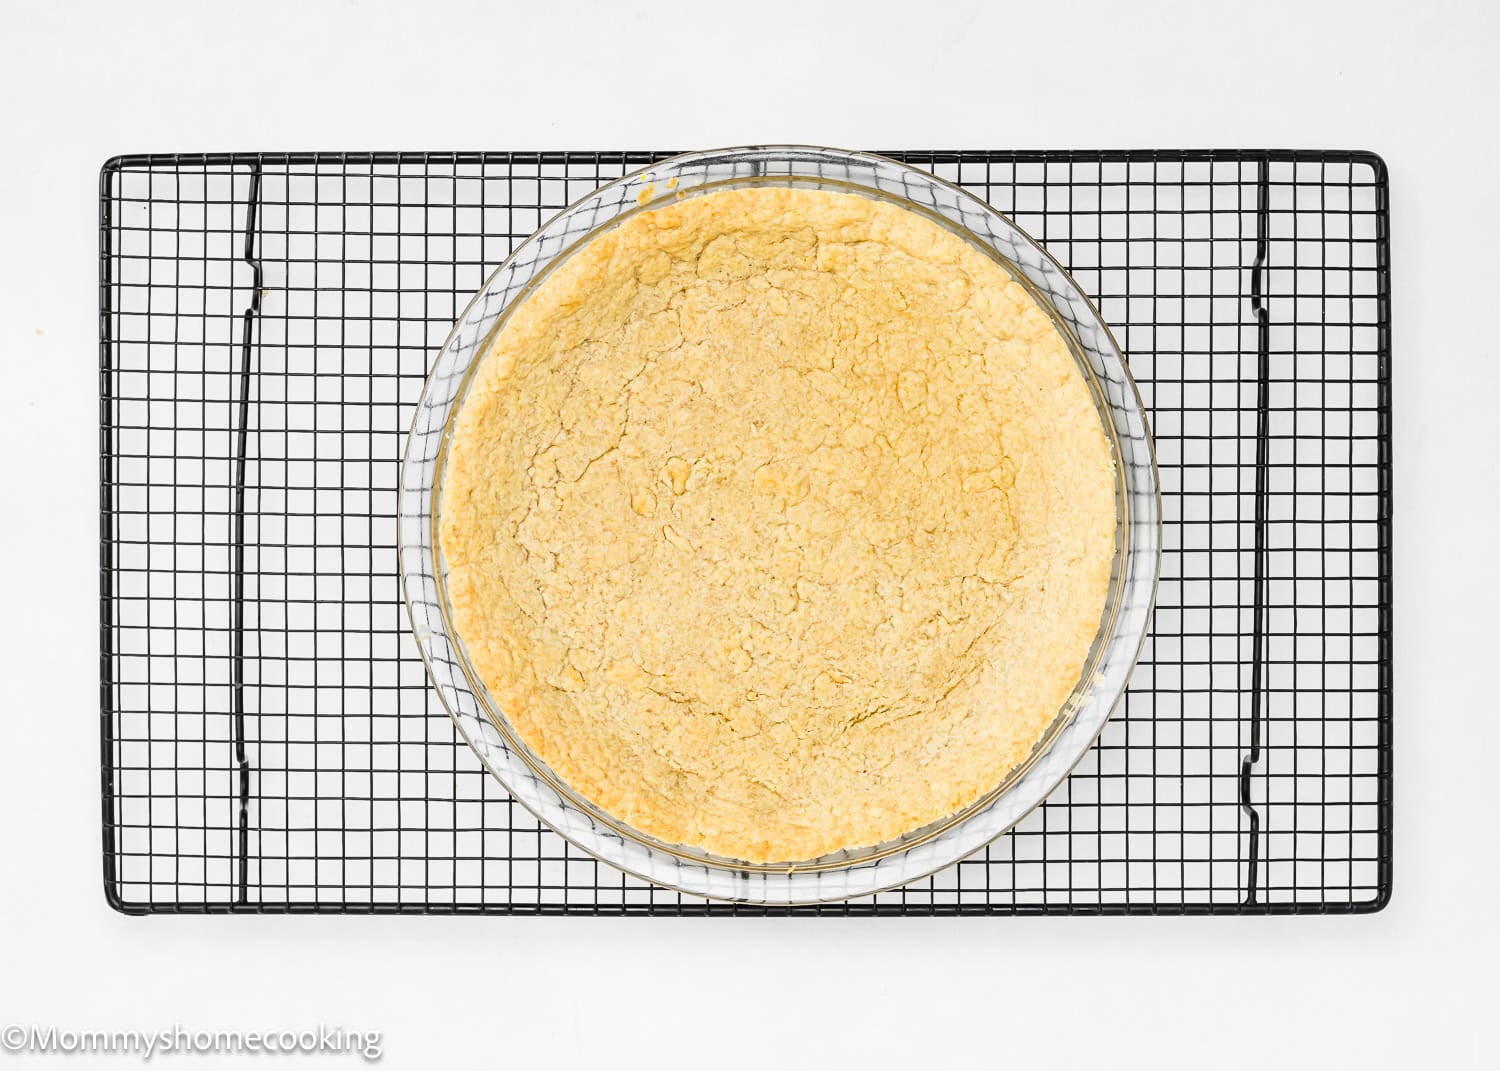
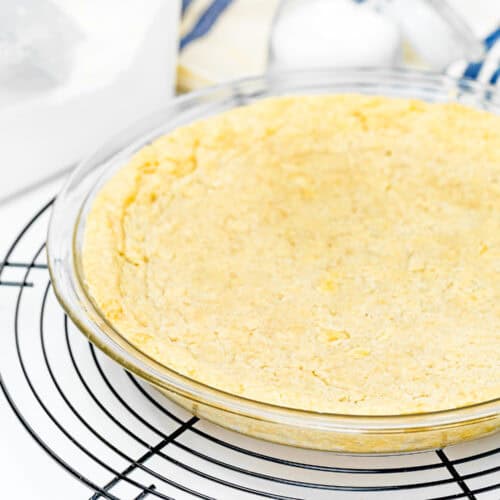
Step 5 – Par – Bake
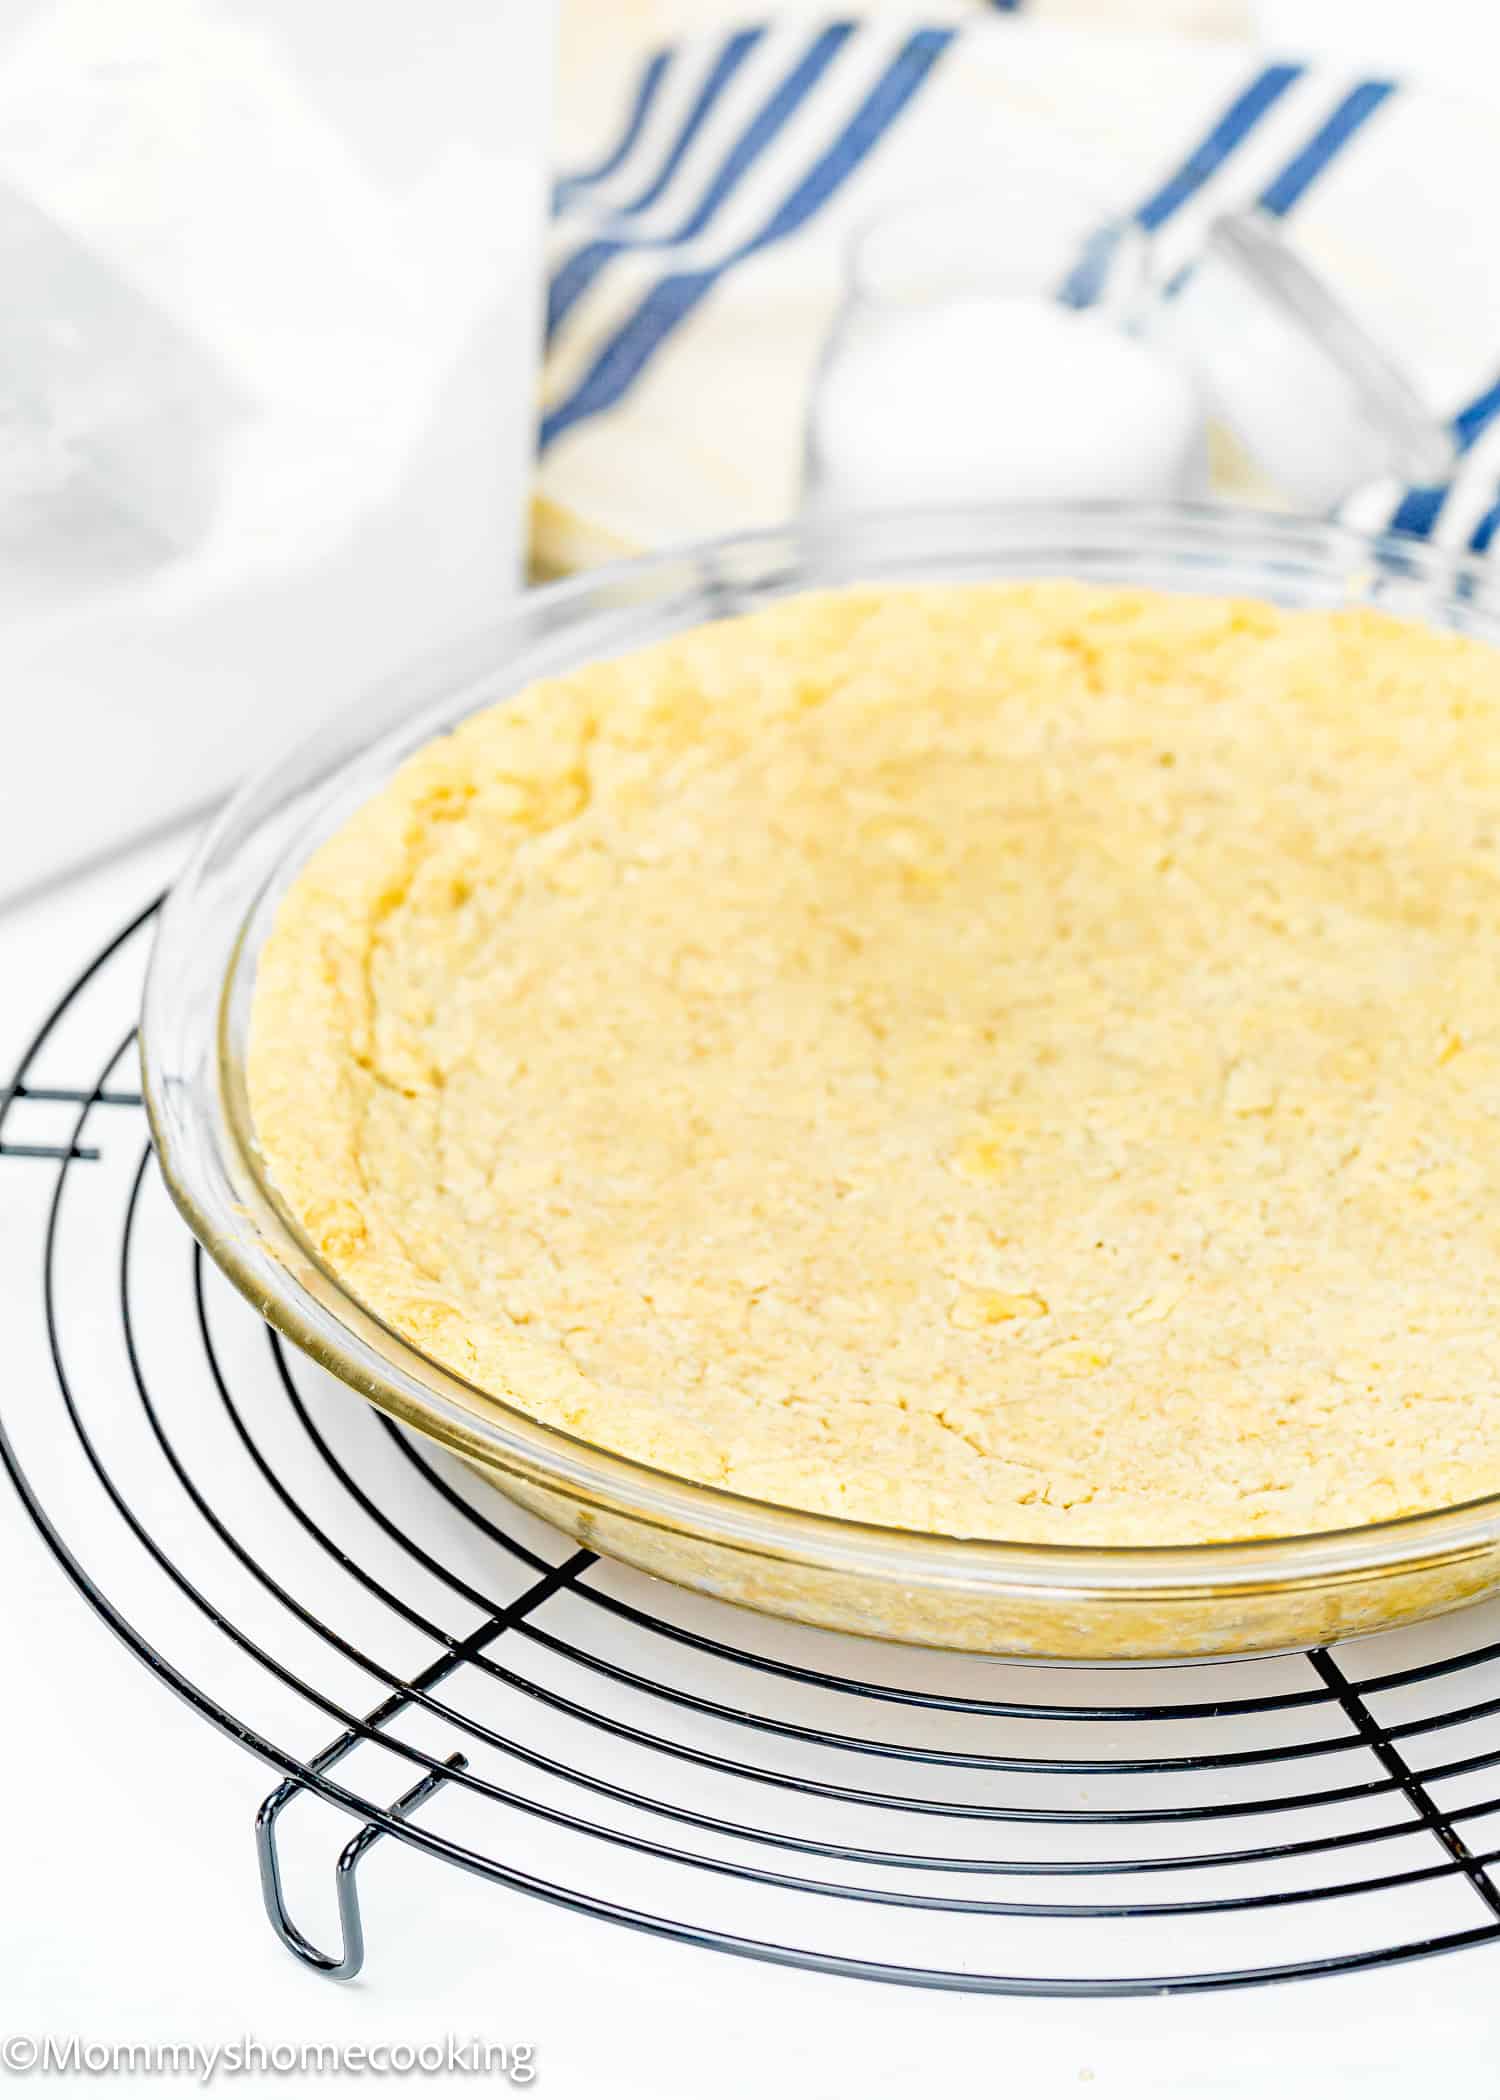
Bake for 10 minutes until lightly golden, dry, and firm. The crust will puff up a little after par-baking, so as soon as it comes out of the oven, use the back of a spoon to gently even out the surface of the crust, bottom, and sides. Set aside to cool.
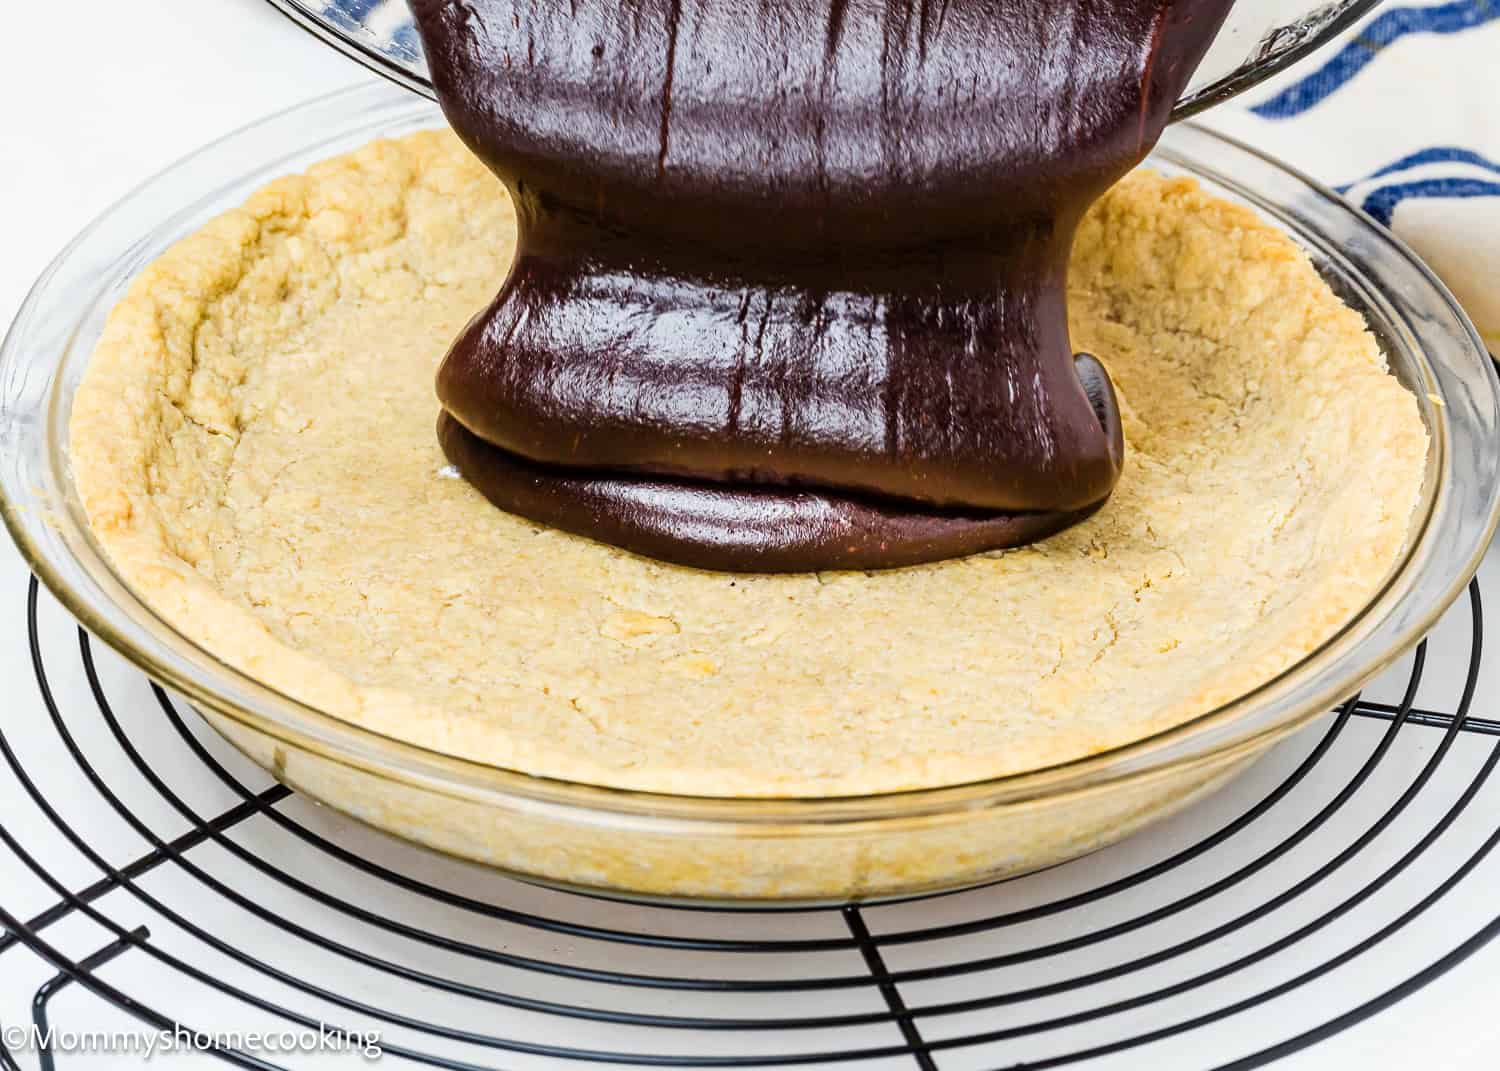
Step 6 – Continue Your Recipe’s Instructions
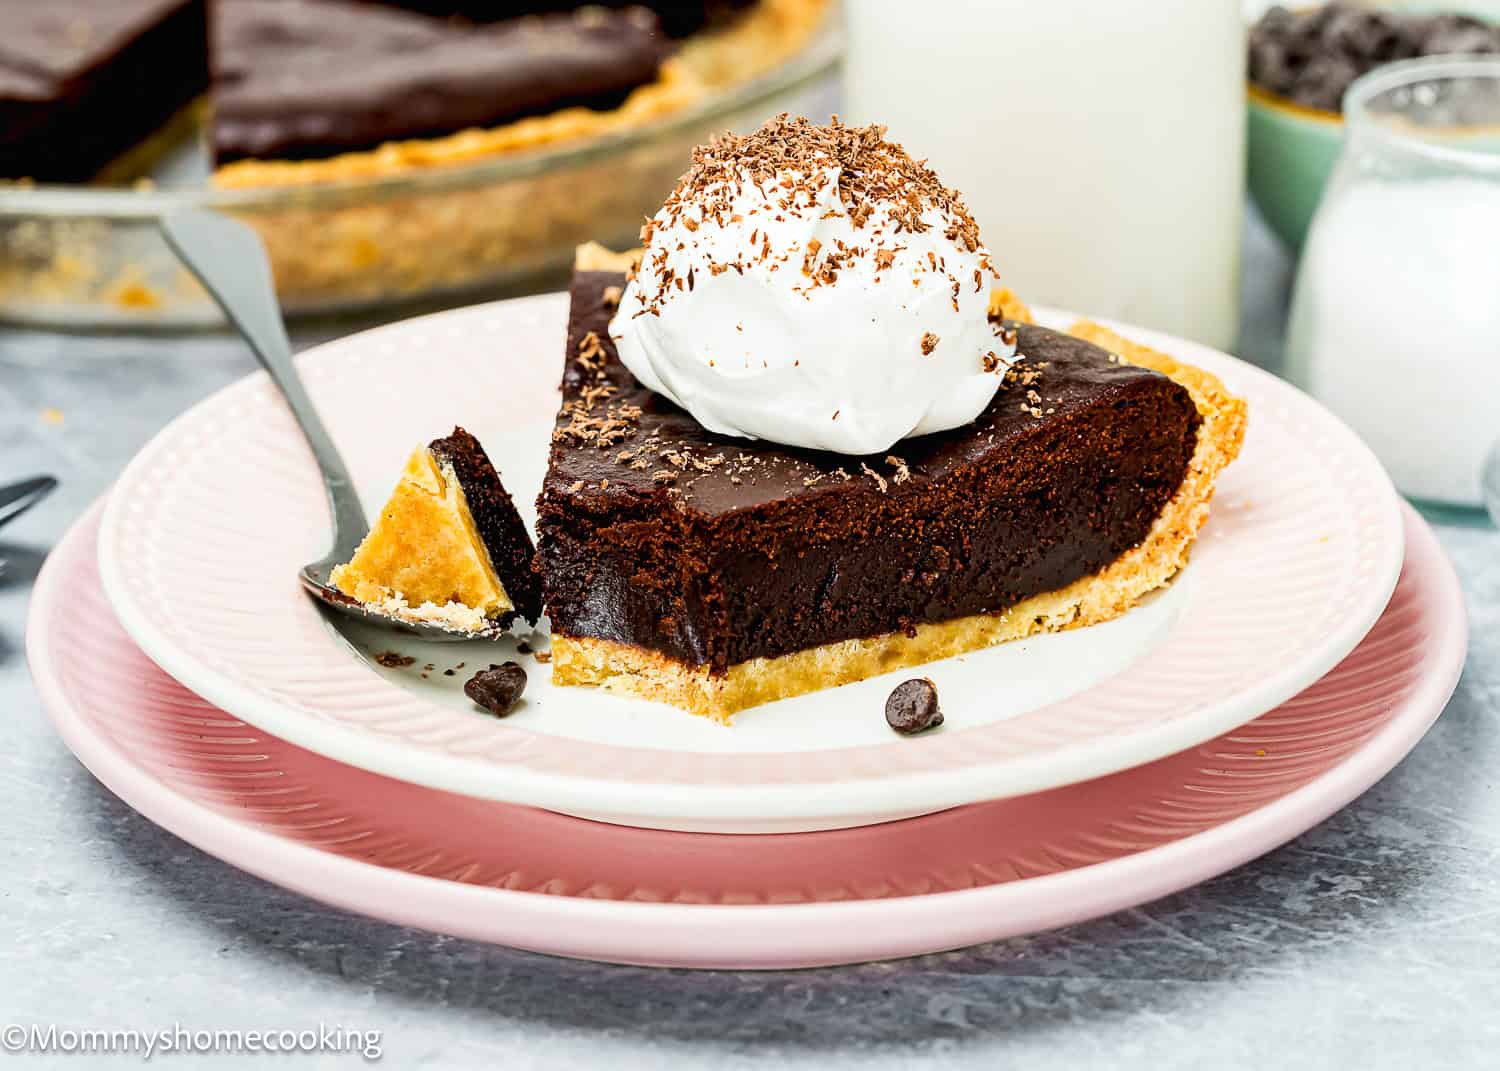
Proceed with the pie per your recipe’s instructions. I used this crust to make Eggless Easy Brownie Pie.
Variations & Additions
Spiced Crust: For a bit of warmth, add a dash of cinnamon or nutmeg to the flour mixture—perfect for apple or pumpkin pies. Nutty Crunch: Mix in a tablespoon of finely chopped nuts like almonds or pecans for an extra bit of crunch and flavor.
Storing and Freezing Instructions
To Store: Once baked, the crust can be stored covered at room temperature for up to 2 days or in the fridge for up to 5 days.
Measure Carefully: Especially with baking, precise measurements ensure the best results. I highly recommend using a kitchen scale. Preheat the oven for at least 15 minutes before you start, giving it plenty of time to reach the ideal recipe temperature. Try not to overwork the dough. Overmixing can make the crust tough, so just mix until everything comes together. Know your oven! Every oven is different, so baking times must always be taken with a grain of salt. Oven thermostats can be wildly off, affecting baking time, so keep an eye on yours.
To Freeze: You can freeze the unbaked crust by wrapping it tightly in plastic wrap and storing it in a freezer-safe bag for up to 3 months. When ready to use, let it thaw for about 30 minutes before baking.
More Easy Crusts for Pie Recipes You’ll Love!
How to Make Pie Crust from Scratch Easy Oreo Pie Crust (2 ingredients) How to Make Easy Graham Cracker Crust Perfect Eggless Tart Crust Browse more recipes…
Recipe Card