This might be a very long post as lot of tips and elaborate description is given since the beginning – so sit back , sip up some coffee and enjoy reading it. Birthday without a cake is incomplete and whats more satisfying than baking and decorating it all by yourself for your loved ones. This cake is special to me because I made it for my Husband’s birthday last week .
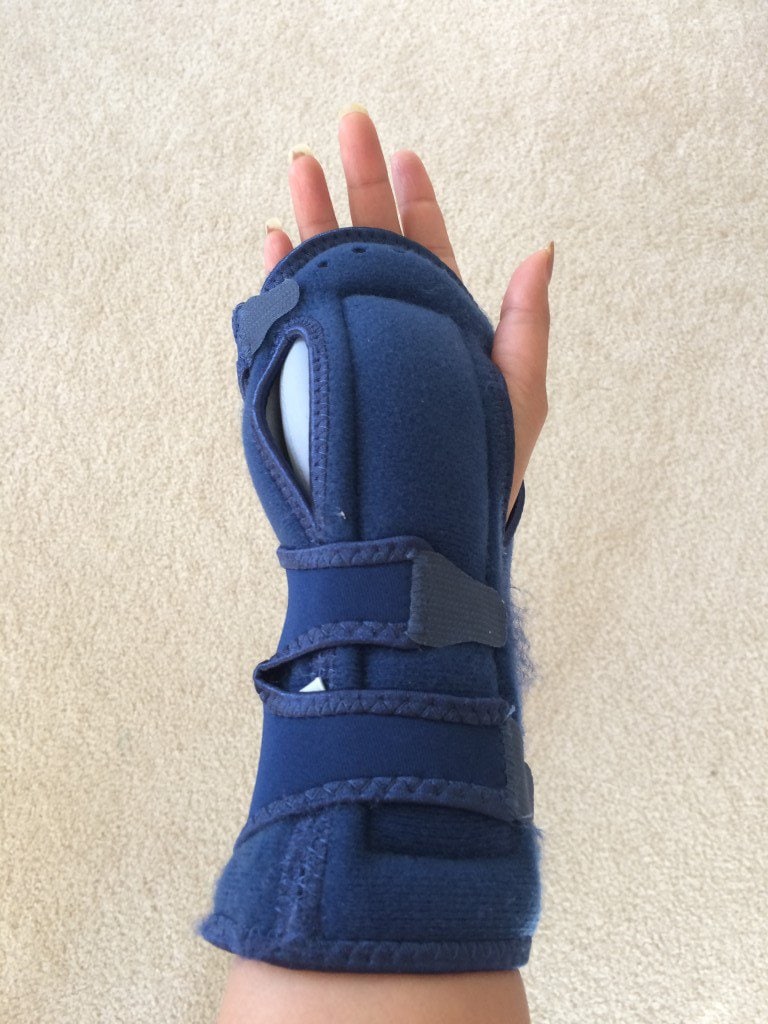
Truly speaking this wasn’t what I had planned for . I had planned to make two tier cake with elaborate decorations and filling but just 2 days before his birthday I badly sprained my wrist . It was so bad that I couldn’t even hold a spoon with my right hand 🙁
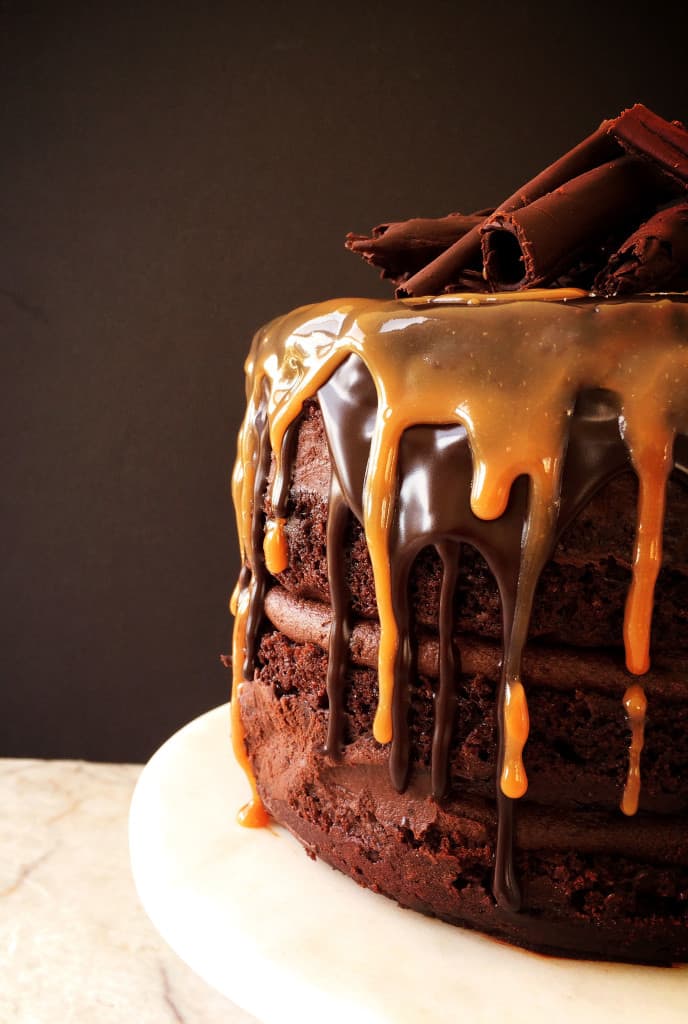
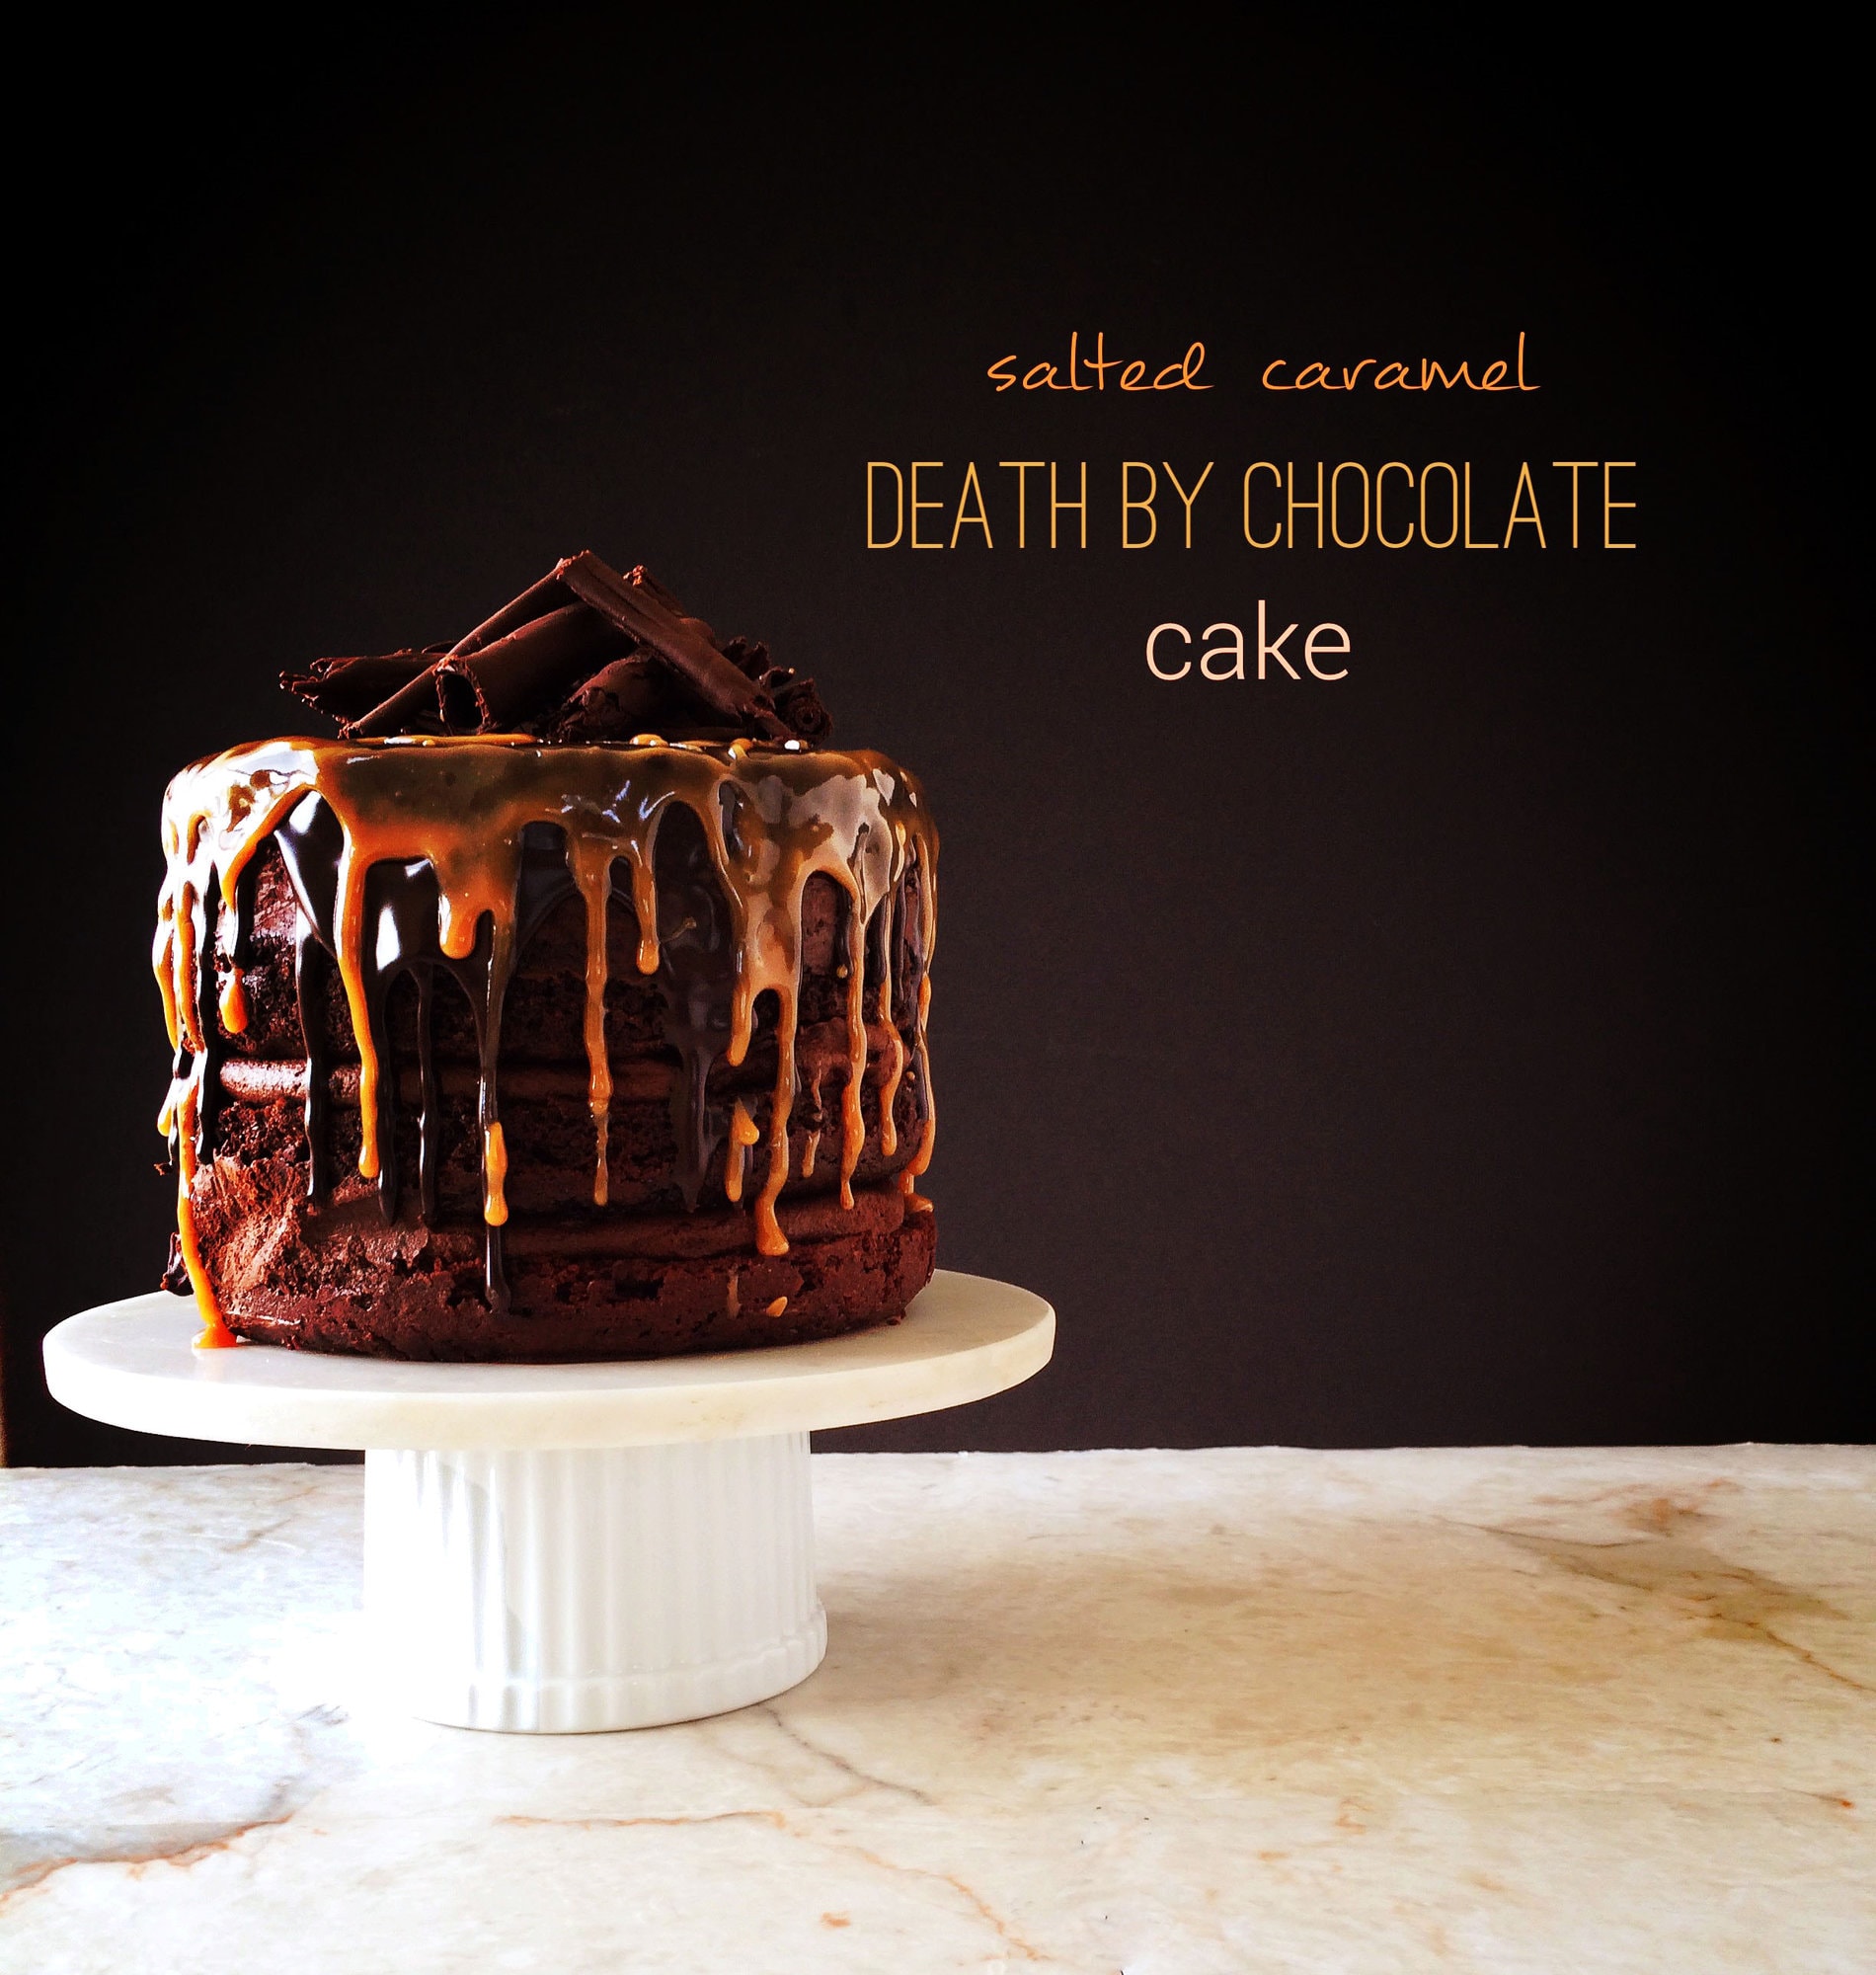
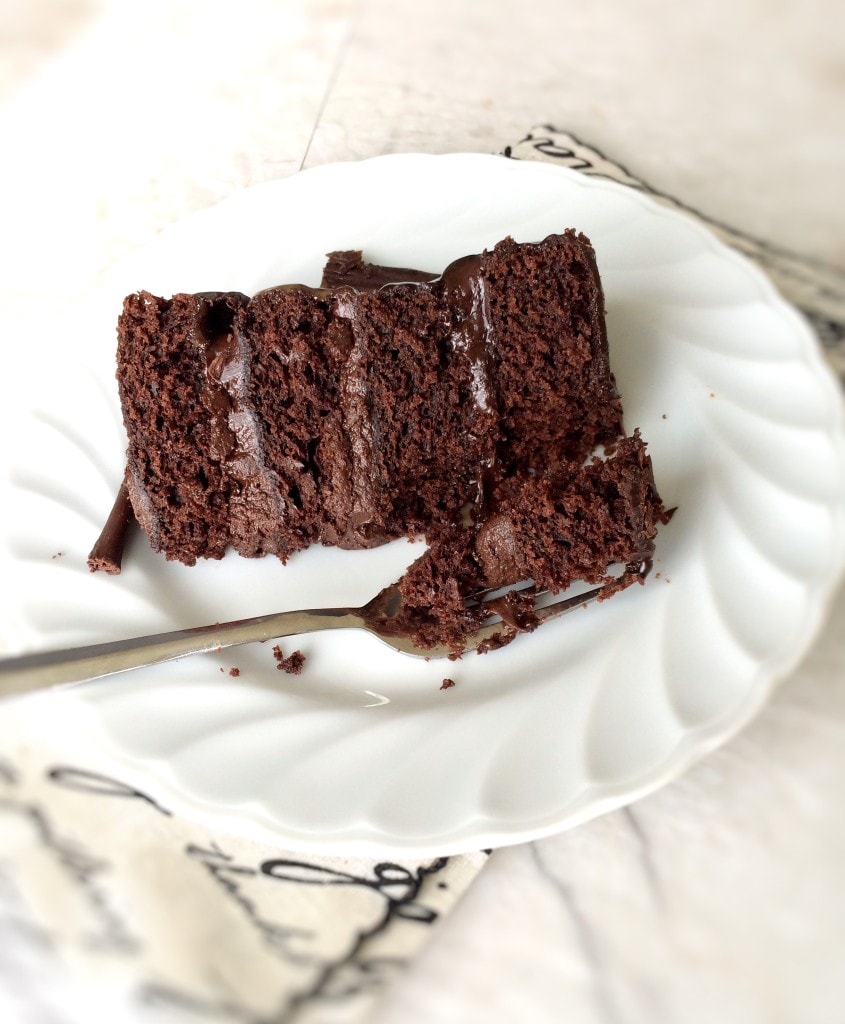
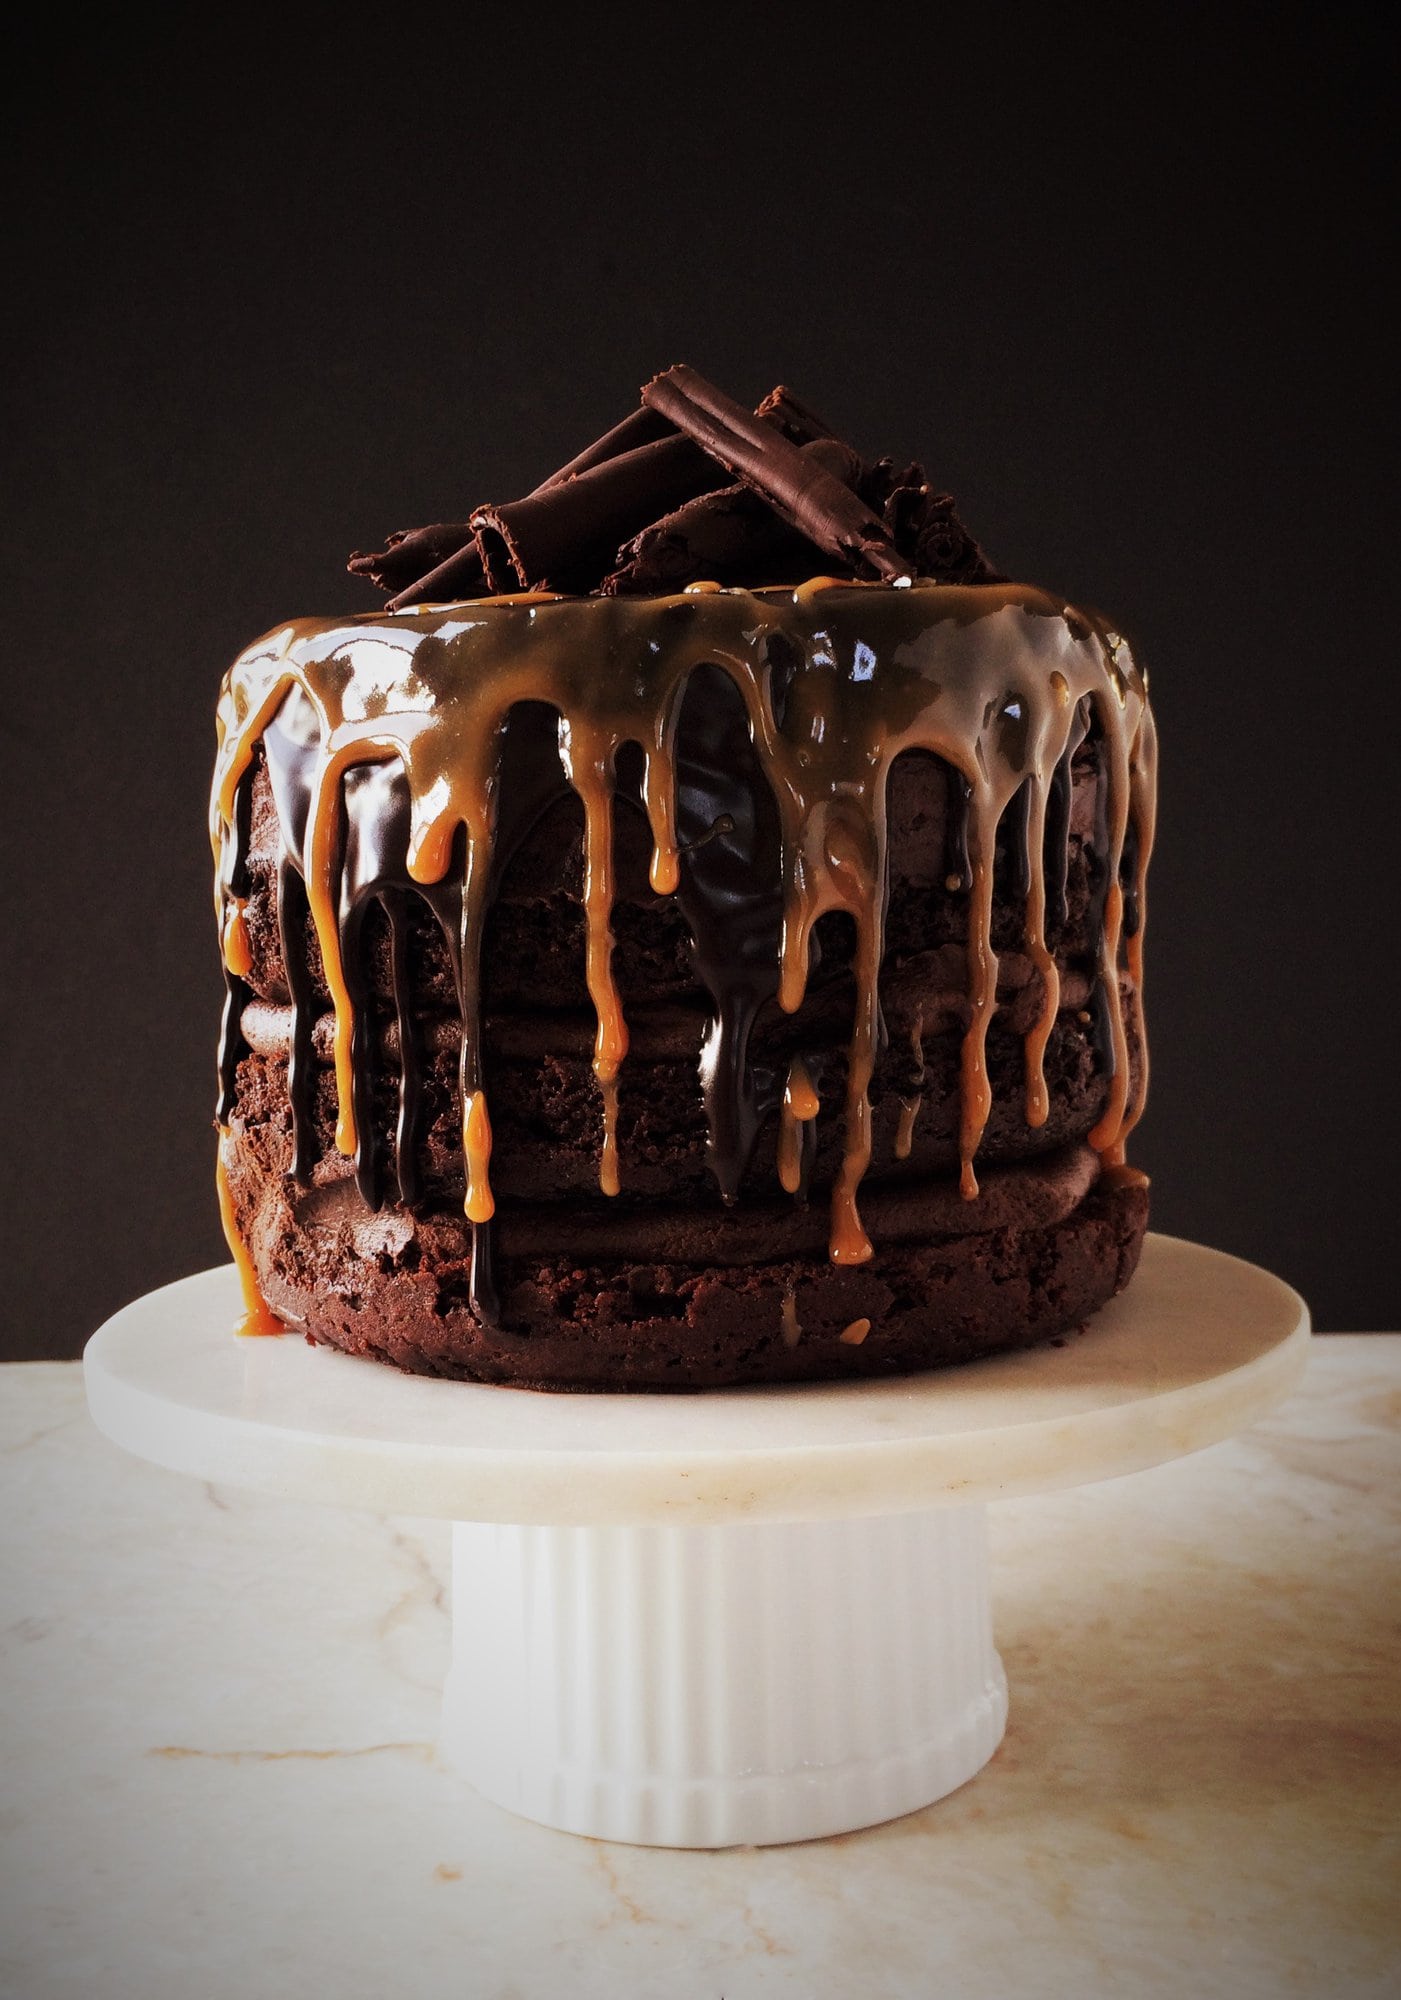
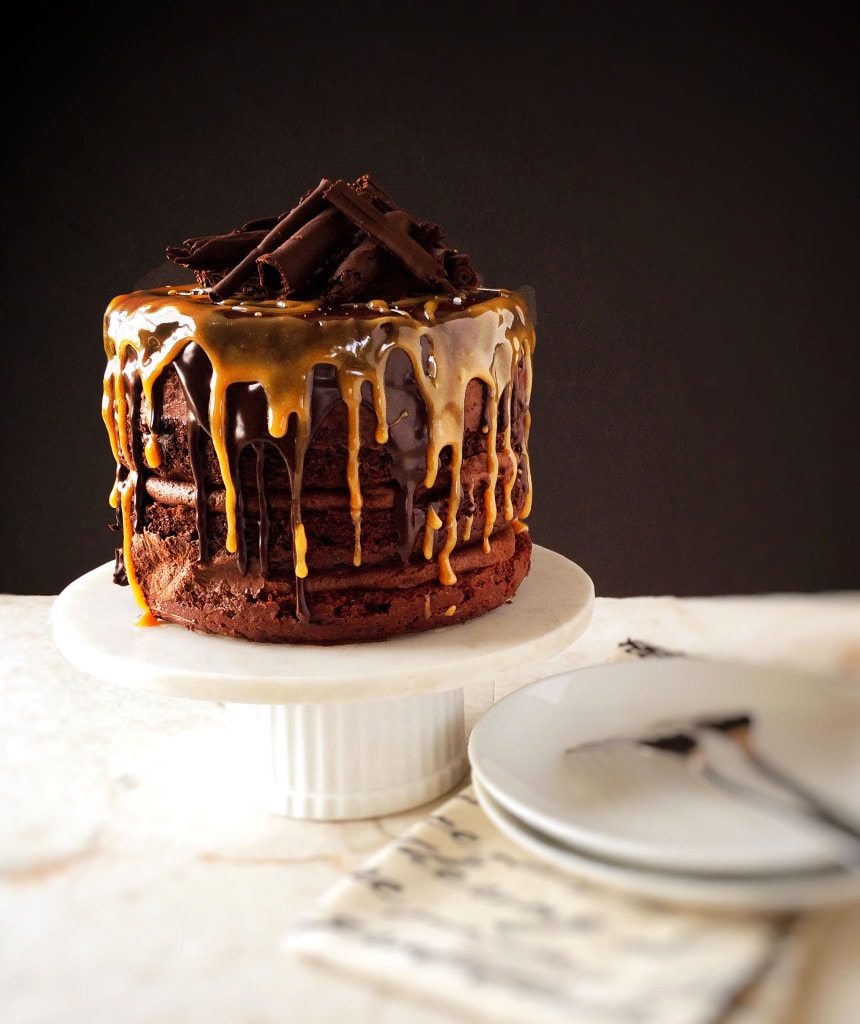
Why oh why it has to happen with me always 🙁 I had a special dinner planned too , but all this seemed broken . So I gave up the idea of preparing a meal , we went out for dinner . But birthday without a cake is unacceptable . I know I could have just ordered a cake but no one bakes an egg less cake at such short notice and I have been baking cakes myself on all special occasion so how could I let this go. I re thought everything and sorted with what I could make that is super-duper easy to do but tasted as good as an elaborate one . I split the work in two days , took it slow and the result was moist chocolate cake with ooyey gooey chocolate mousse filling, ganache glaze and subtle hint of salted caramel . This cake will just put you in chocolate coma where you wish to never come back from.
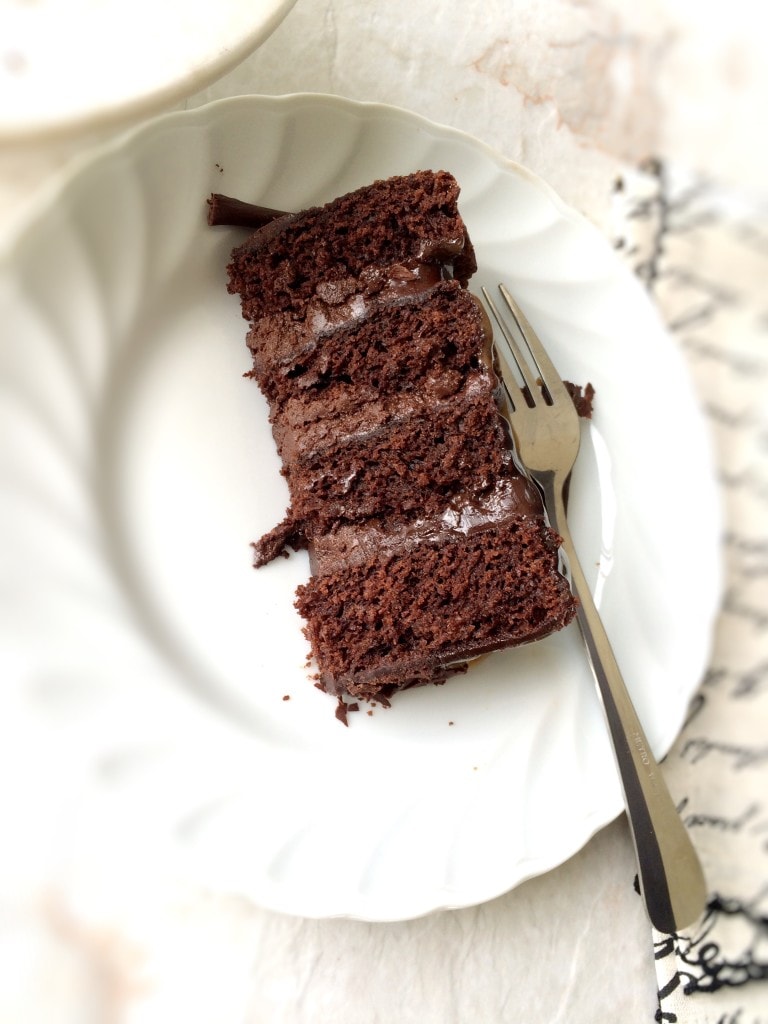
So finally decided to make this rustic chocolate cake – with my trusted no fail chocolate cake recipe which I have baked 100 times , with no special trip to the grocery store . All ingredients were there at home. You can find its recipe here. Frosting – Chocolate mousse filling with ridiculously easy , decadent and heavenly – the chocolate ganache – with just two ingredients. Recipe can be found here for chocolate ganache -3 ways. Standard ratio of chocolate to heavy cream is 2:1 but – This time I have used 1.5 : 1 chocolate : heavy cream ratio – used 3 cups roughly chopped semi sweet chocolate and 2 cups heavy cream plus stirred in 1 tablespoon room temperature butter after chocolate and cream was mixed well and smooth. Kept aside ¼ cup of set ganache and whipped the rest. This was enough to whip and pipe 3 layers of 6″ cake with a bit left for later use . Chocolate mousse as a filling for cake has to be airy but pretty sturdy , hence it is nothing but lightly whipped ganache. See how light and fluffy it looks. Whip until the chocolate ganache turns lighter in color , do not over whip or else cream will separate.
And decided at the last moment to go for Salted caramel drizzle – as we both are a fan of caramel . With a badly sprained wrist , I could not think of making the traditional caramel sauce . No doubt its super simple but needs really quick action. So made this wonderful 3 ingredient caramel sauce – no cream added , super simple and works like a charm – I love using cheat / shortcut recipes , they really work well too. When I started imagining the cake , something was missing .. hmmmmmm .. some simple decoration is needed at least . So decided to melt some chocolate in microwave and make chocolate curls – yes I didn’t temper the chocolate this time and it worked like magic. Inside out totally chocolaty with a hint salted caramel – hence named it salted caramel death by chocolate cake I felt a sense of accomplishment when I successfully put together the entire cake – got emotional too.
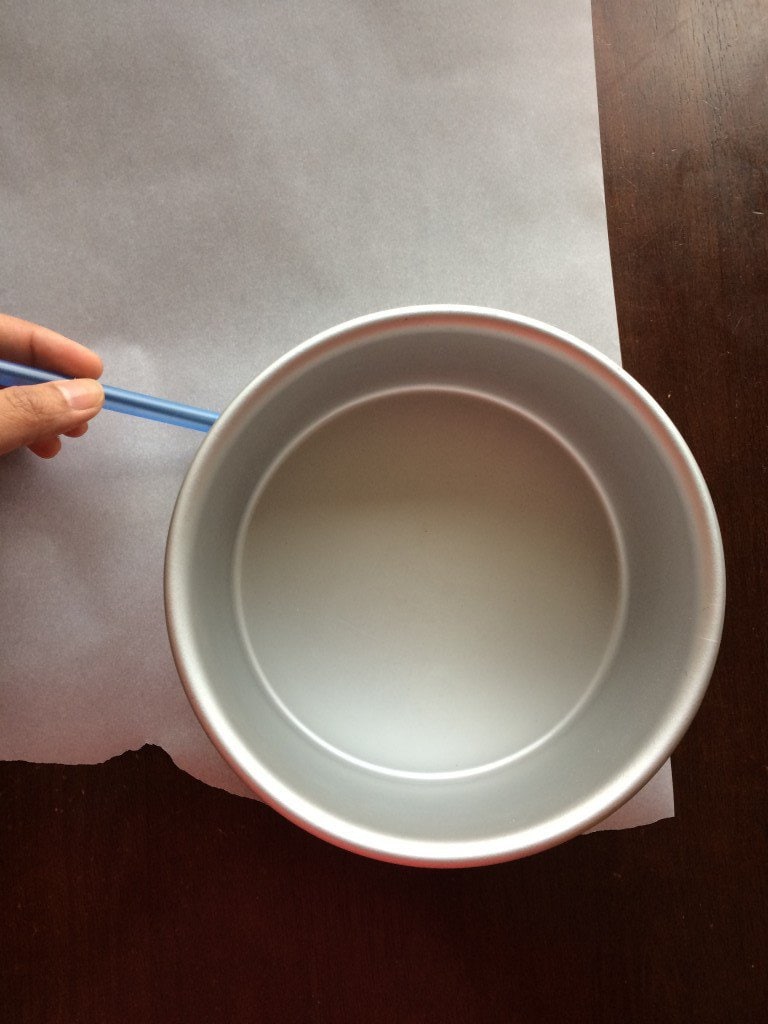
I am so glad to share this one with you as I will never ever forget making it. All pictures on this post are clicked by my phone as I could not handle the camera. I have tried to cover every step – In reality the cake decoration after cooling down comes together under 2 hours . I took way more time as I worked really slow . Let me walk you through a step by step pictorial tutorial below – Firstly started with – taking a pain killer ( you don’t have to do this 🙂 ) baked the cake previous day – click here for the recipe and pictorial instructions – chocolate cake recipe and pictorial instructions . I love making tall cakes so split the batter into two 6″ pans and baked for 34 minutes . Start by pre heating the oven – atleast 20 minutes of pre heating. Now prepare the pans – preparing the pan is one of the most important steps of baking which is often overlooked brush the bottom and sides of pan with oil , then dust the pan with flour .
cut parchment for lining the base of the pan .
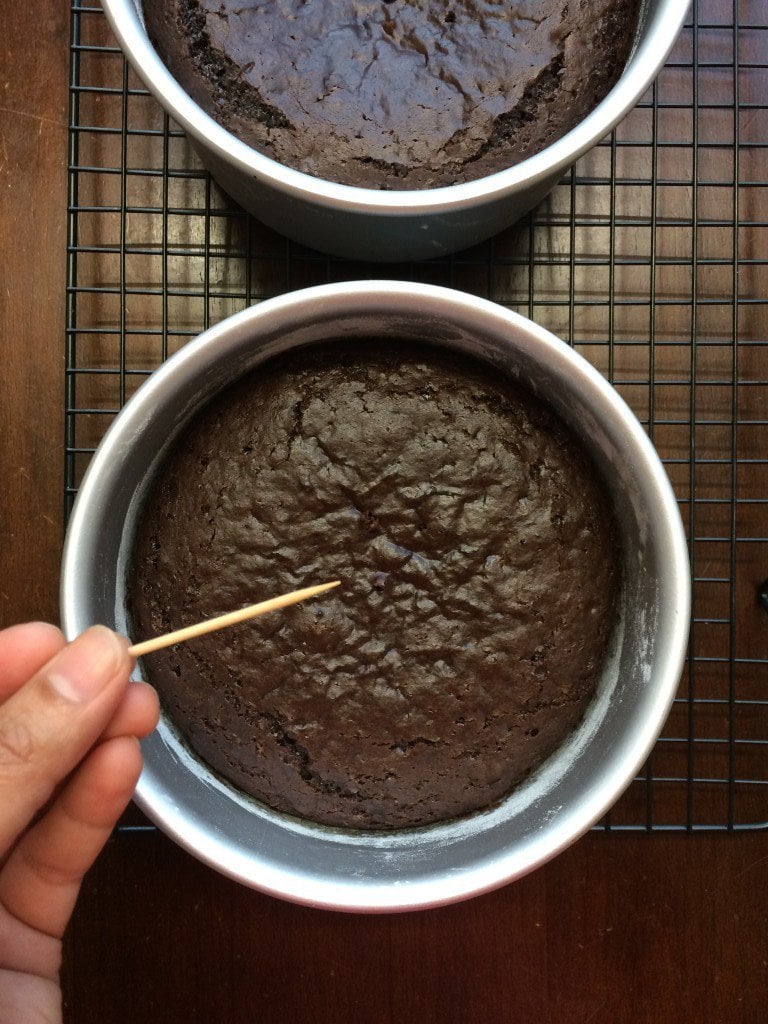
Bake until toothpick comes out clean or with few crumbs , not with batter.
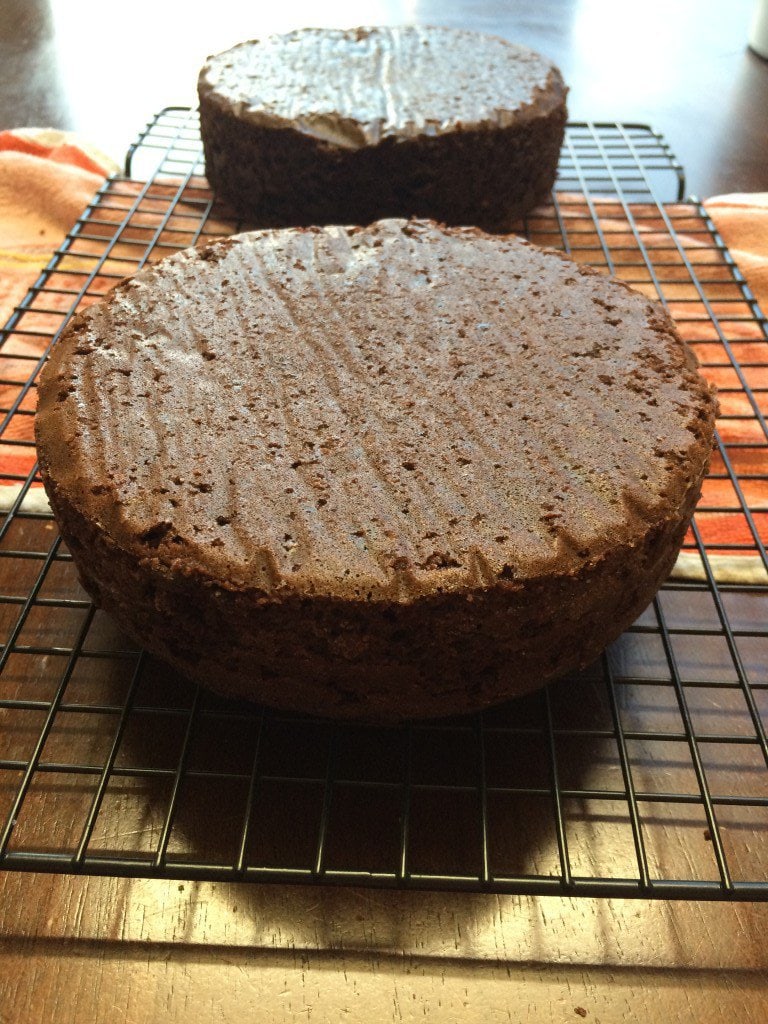
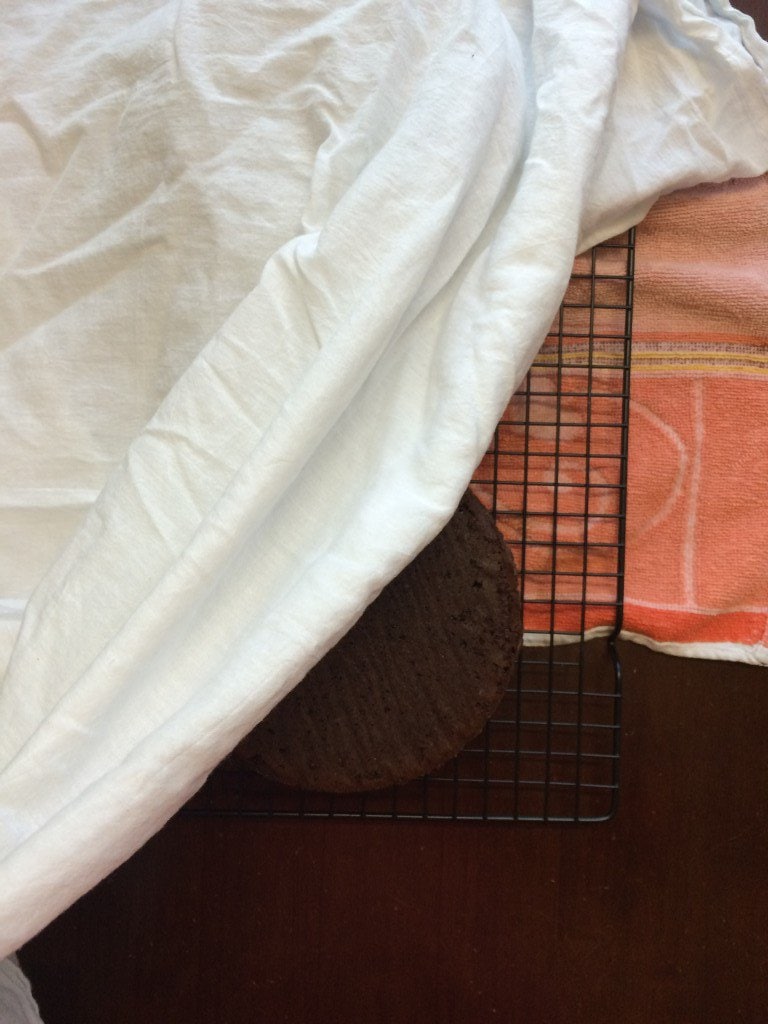
and then transfer on cooling rack to let it cool completely .
Cover it with kitchen cloth to prevent drying.
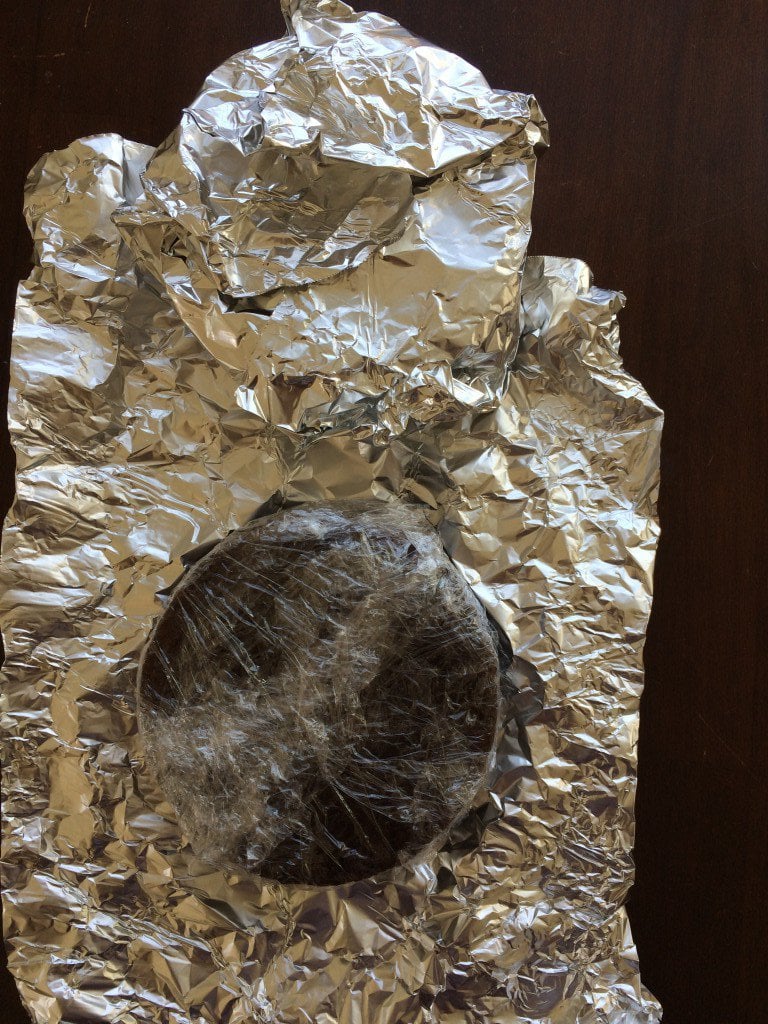
Once cooled completely , carefully wrap each one in plastic wrap and then foil .
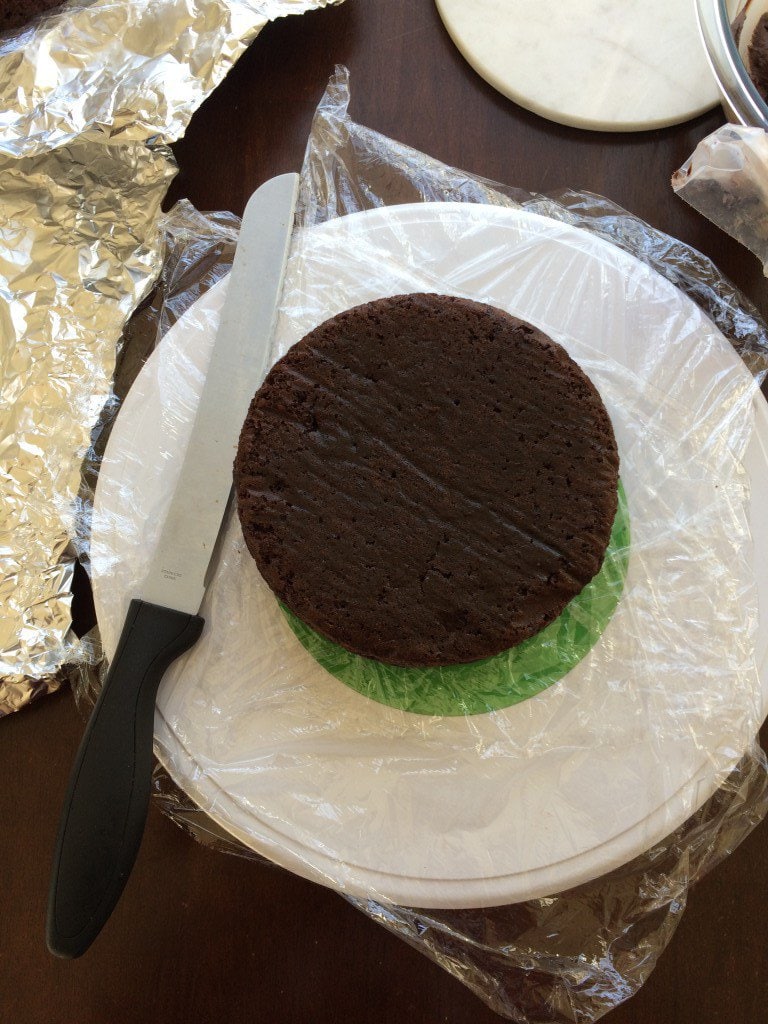
At this point you can freeze the sponge / cake base for later use – freeze upto 3 months or place it in the fridge for upto 5 days . I had placed it in the fridge as I was going to use it the very next day. I always bake a day before frosting as it gives the cake enough time to settle down . Refrigerating cakes help smooth slicing and leveling with very less dry crumbs . Lets talk slicing and leveling the cake like a pro. Tools needed – long serrated knife , turn table – do invest in them to make your life easier.
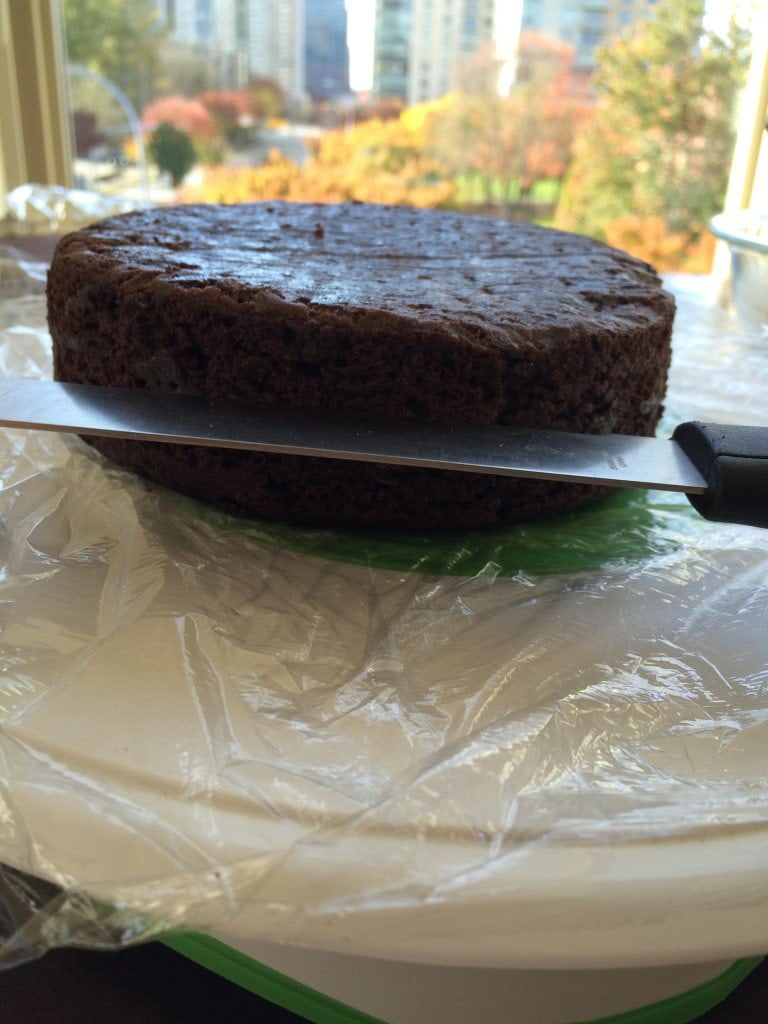
Place the cake on the turn table and always keep the cake at eye level . With one hand gently on the top of the cake Slowly start slicing the cake in half while rotating the turn table . You can find various tutorials on the same on Youtube.
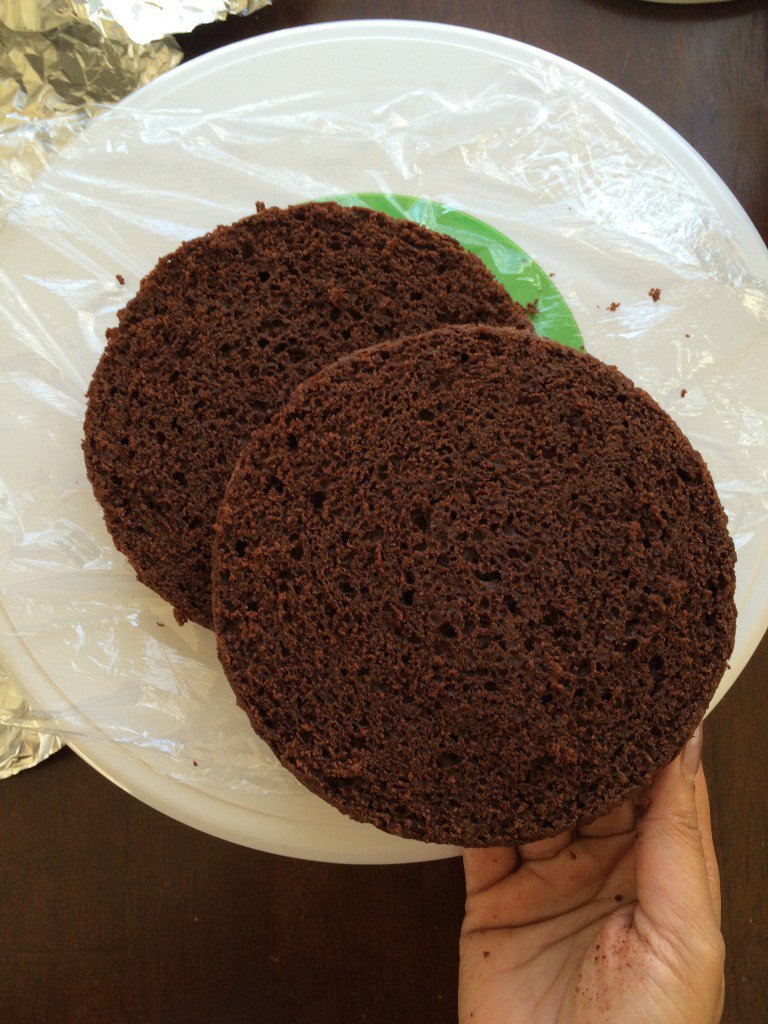
I did not feel the need to level the top as luckily I always get pretty flat top cakes . If you have domed up cakes , just trim off the top to level it. Split neatly into two .
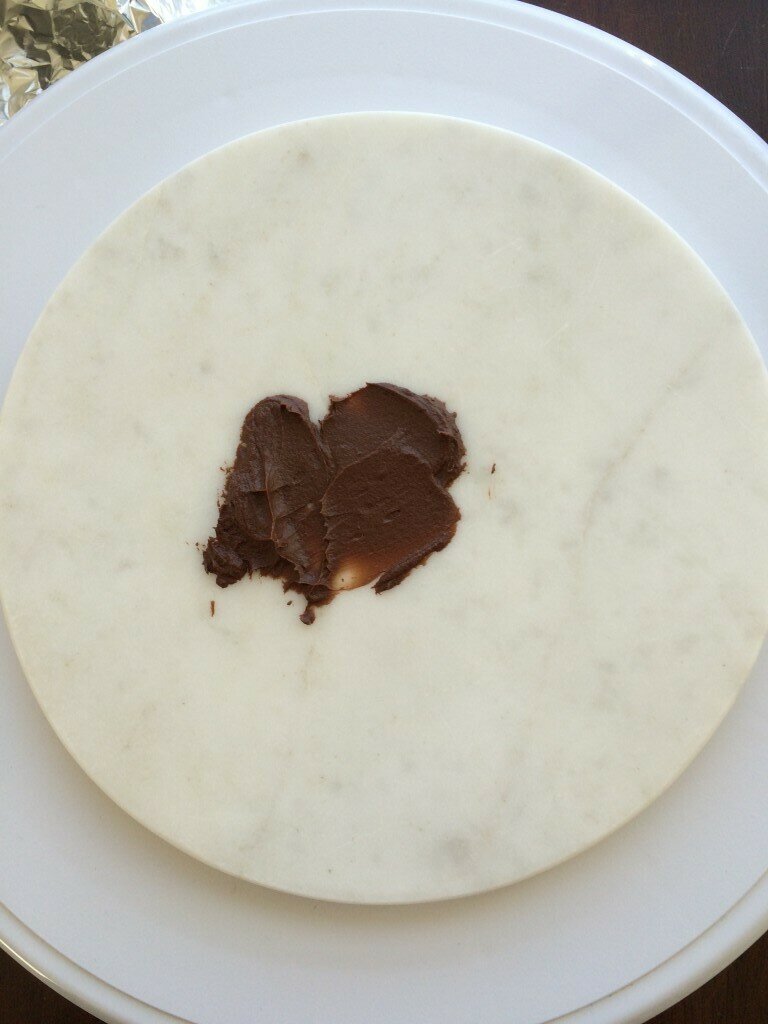
I have used a marble round as a base , you can use a cake board of same size as the cake . Just smear some frosting on it before placing the first layer so that the base of the cake remains intact .
Now all set for the filling
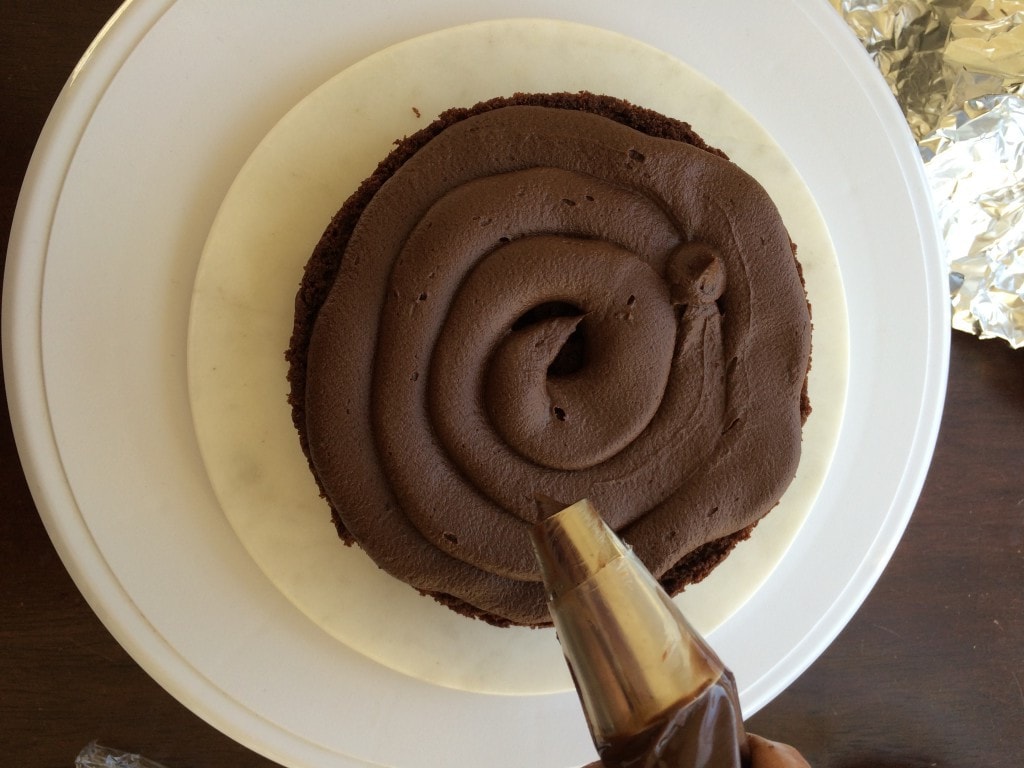
tools used – piping bag or offset spatula
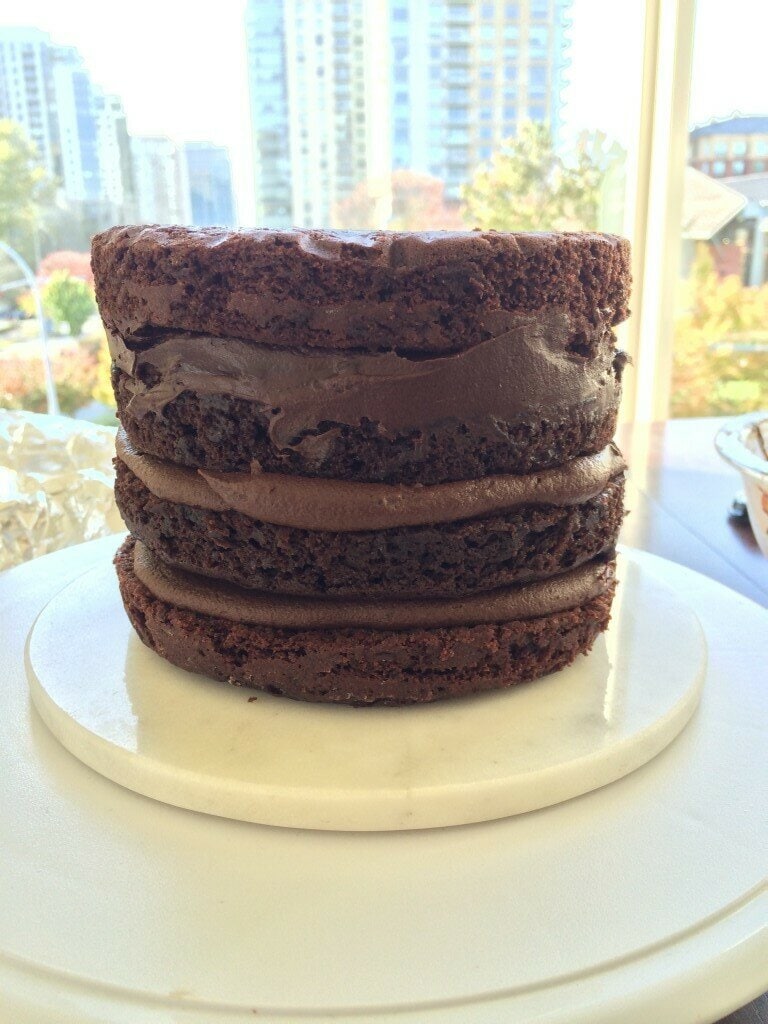
Piping bag gives a neat filling especially when you are making a naked cake meaning rustic and you won’t be covering it with frosting . Alternately an offset spatula can be used . Fill and stack up the layers
press firmly but gently on the top so that the layers stay intact place the cake in a cake box or cover it with plastic wrap or foil and place it in the fridge to rest and firm up a bit . Meanwhile I made chocolate decorations
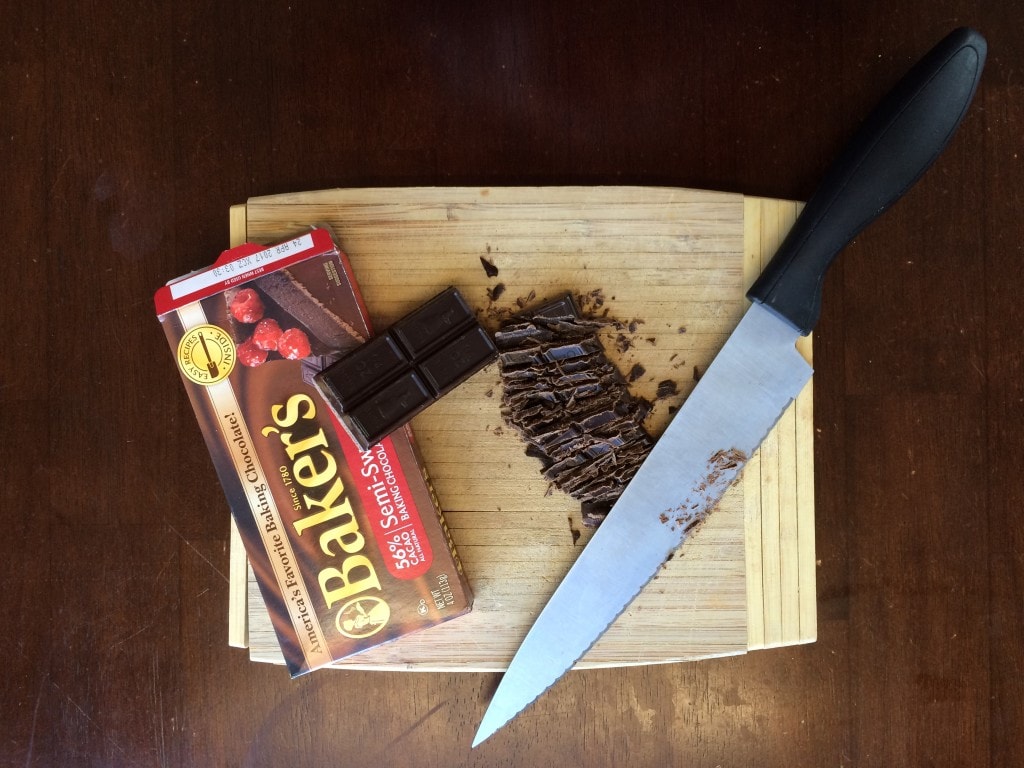
I always temper chocolate , but this time I didn’t . Tempering gives a nice shine and snap to your chocolate and your decorations wont melt at room temperature . Off late Seattle is getting cooler so I knew untempered curls won’t melt and I didn’t have to carry the cake elsewhere , so didn’t temper the chocolate , but I strongly suggest you do or use candy melts- artificial chocolates . But let me tell you these curls were sitting on the cake at room temperature for 6 hours in a cool dry place away from sunlight and it didn’t melt. I will be doing elaborate posts on chocolate making in future , meanwhile you can refer to youtube tutorials for tempering chocolate. Tempering chocolate is a pretty standard process. Making chocolate curls is pretty easy , however with a sprained wrist it was a bit challenging and uncomfortable for me . I could barely manage to scrape the chocolate , hence not very smooth curls , but worked well on the cake.Managed to chop chocolate with one hand and using elbow support of another – believe me was so tricky . Lets start with the process tools and ingredients needed – a pan/ plate , chocolate , butter , offset spatula , knife , bench scraper
Chop the chocolate – I have used 2 oz semi sweet chocolate
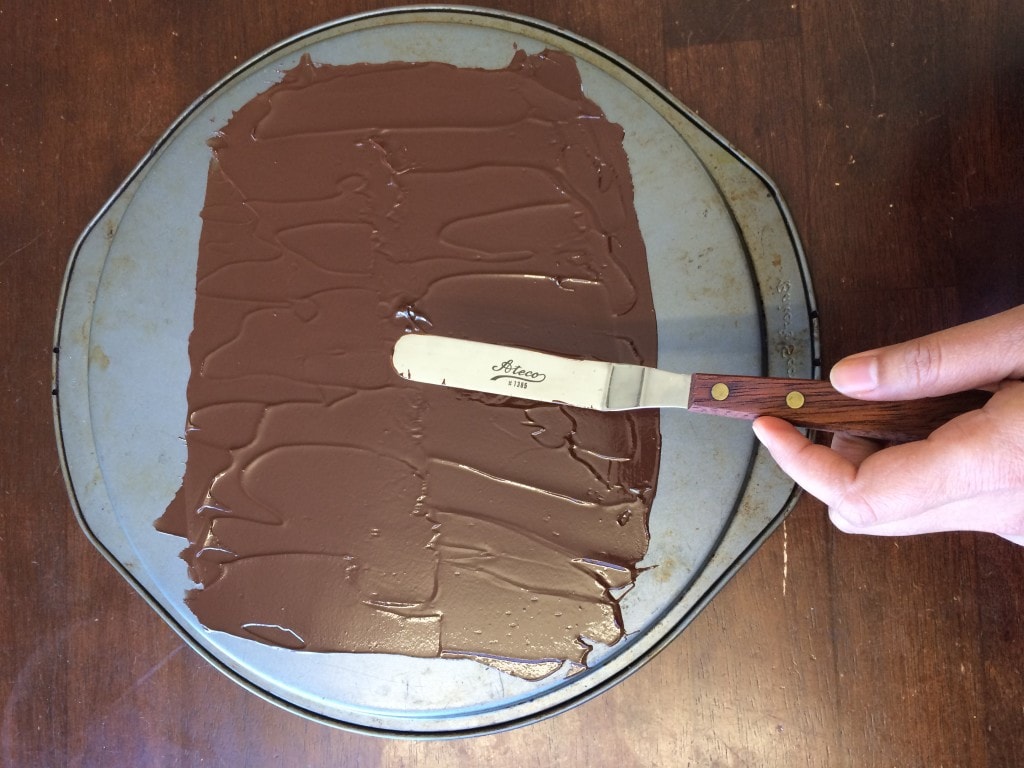
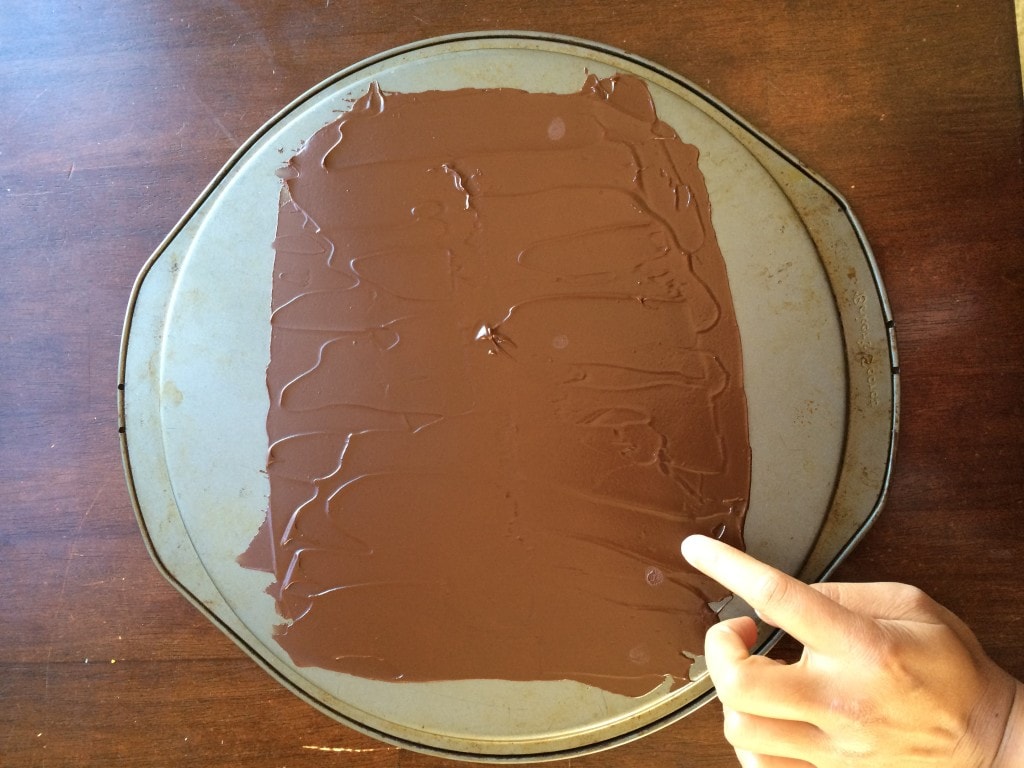
Place a baking sheet or a flat dish which you will be using to make curls on , in the freezer for 5 minutes. In the mean time melt chocolate on a double boiler or in the microwave on 50 percent power stirring every 20 seconds until the chocolate have melted. Now add 1 teaspoon of butter to the warm melted chocolate and stir well to incorporate – butter makes it sturdy and won’t let it melt at room temperature . Alternatively you can use vegetable shortening/ margarine too. Now remove the pan from the freezer and wipe it clean . Spread melted chocolate as thin as possible on the pan .
Now pop it in the freezer again for 3-5 minutes . It shouldn’t set completely or else you won’t get curls . The chocolate should lose shine but when you press on it , should feel a bit soft . You will get a hang of it once you start making them.
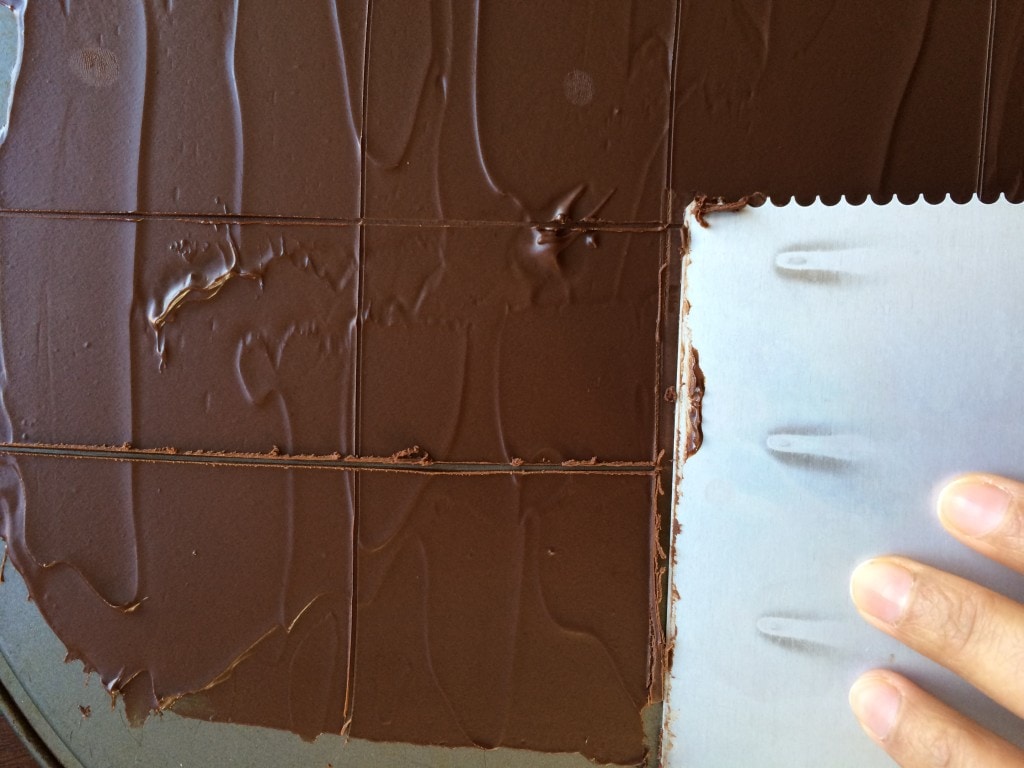
Start with marking squares – markings as in how long you want the curls . Then start scraping , firmly holding the sheet with one hand and scraping by another.
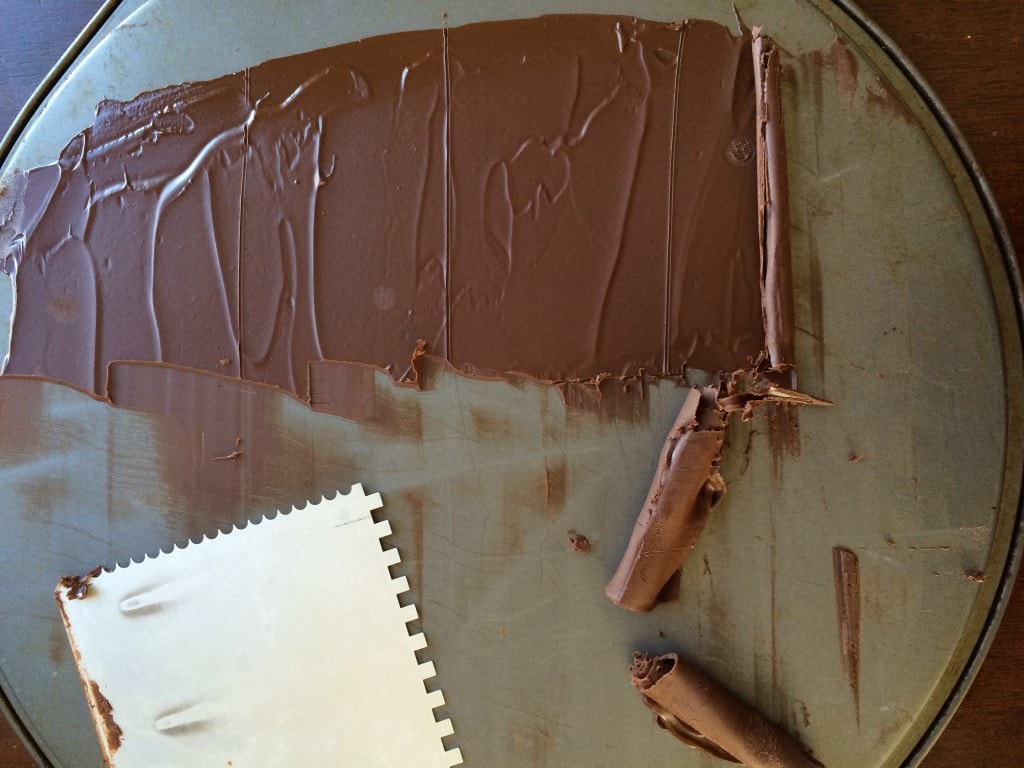
Soon you will get lovely curls. If the curls aren’t forming chocolate too soft – pop it back in the freezer for a minute curls are breaking – chocolate too hard – just let sit at room temperature to soften a bit.
Immediately place it in a container lined with wax or parchment paper . these can be made weeks ahead of time and stored in the freezer in an air tight container .
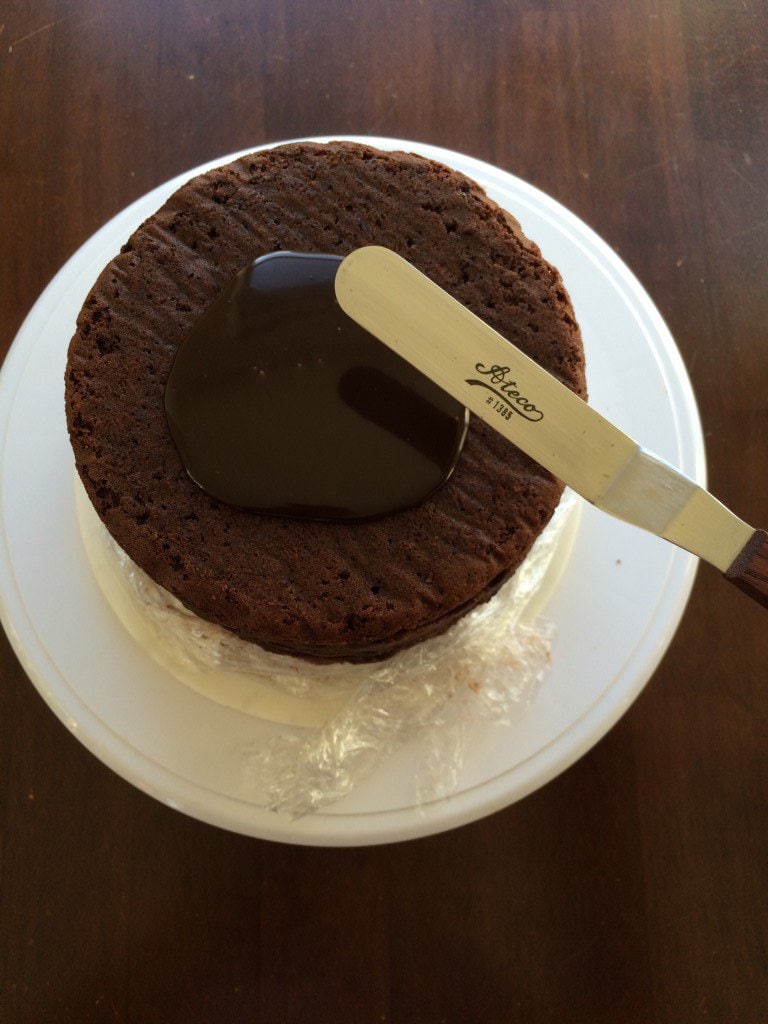
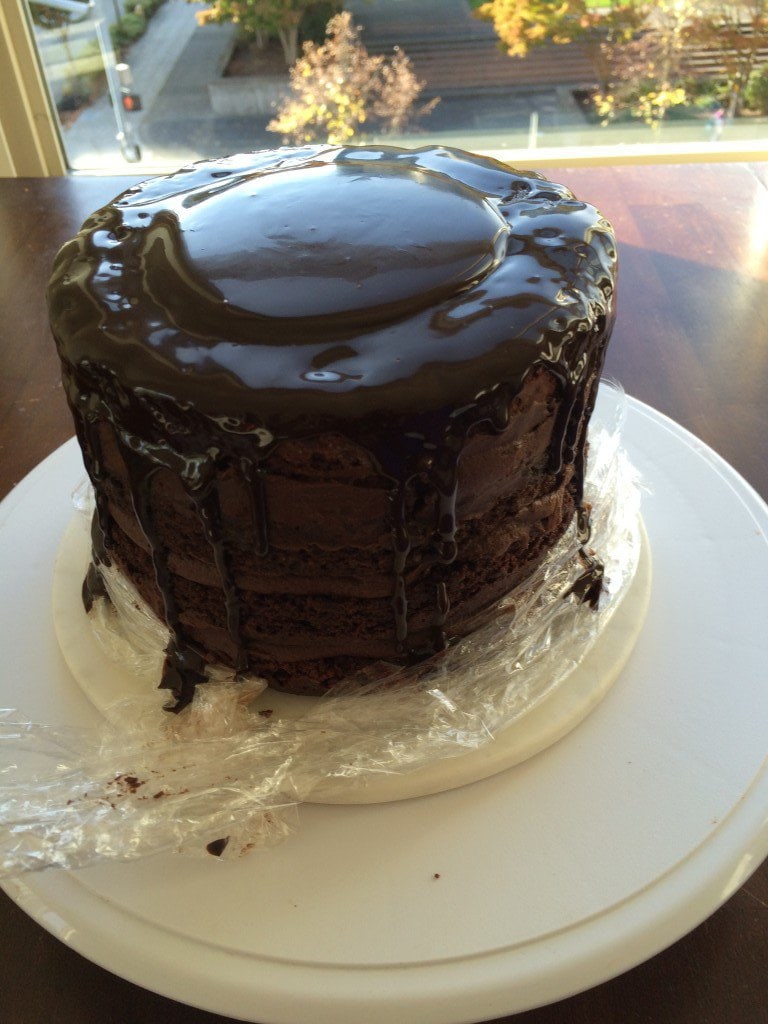
Now for the final touches – ganache glaze and Salted caramel drizzle . time to make ganache glaze . I simply melted ¼ cup thick ganache in the microwave on 50% power for 20 seconds , stirring once in between . Viola , the ganache was ready for glaze and drizzle. placed plastic wrap all around the edges of the cake to catch any spilled ganache or caramel sauce . scooped ganache in the center .
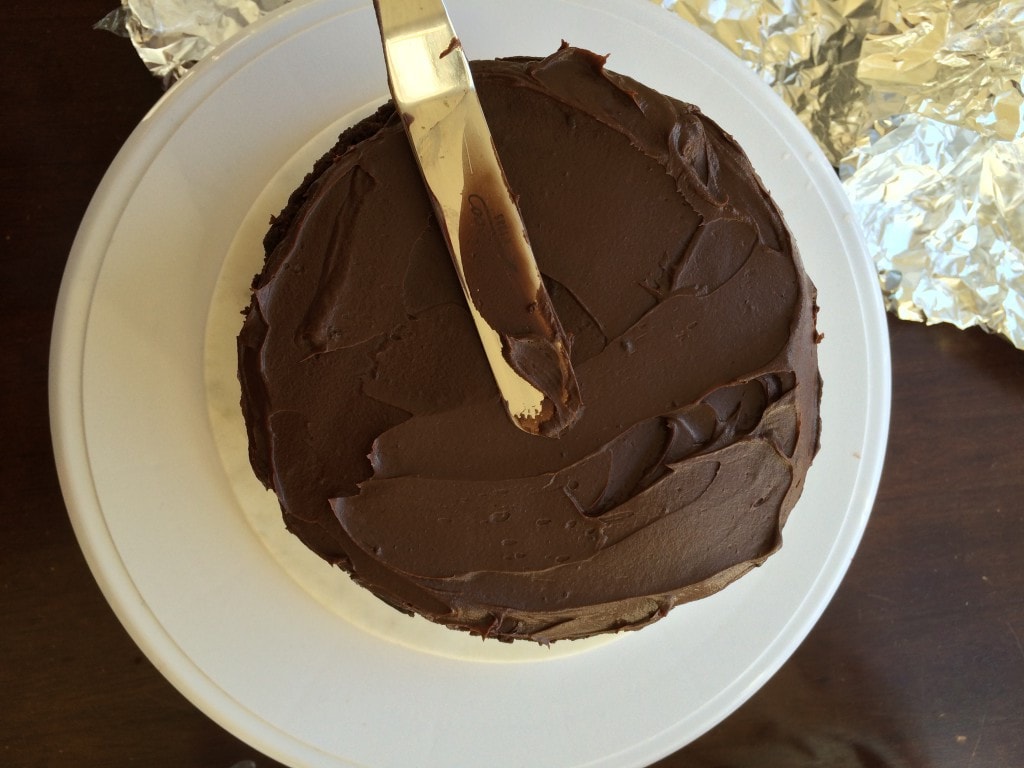
and gently spread it with an offset spatula and let it drip along the sides unevenly .
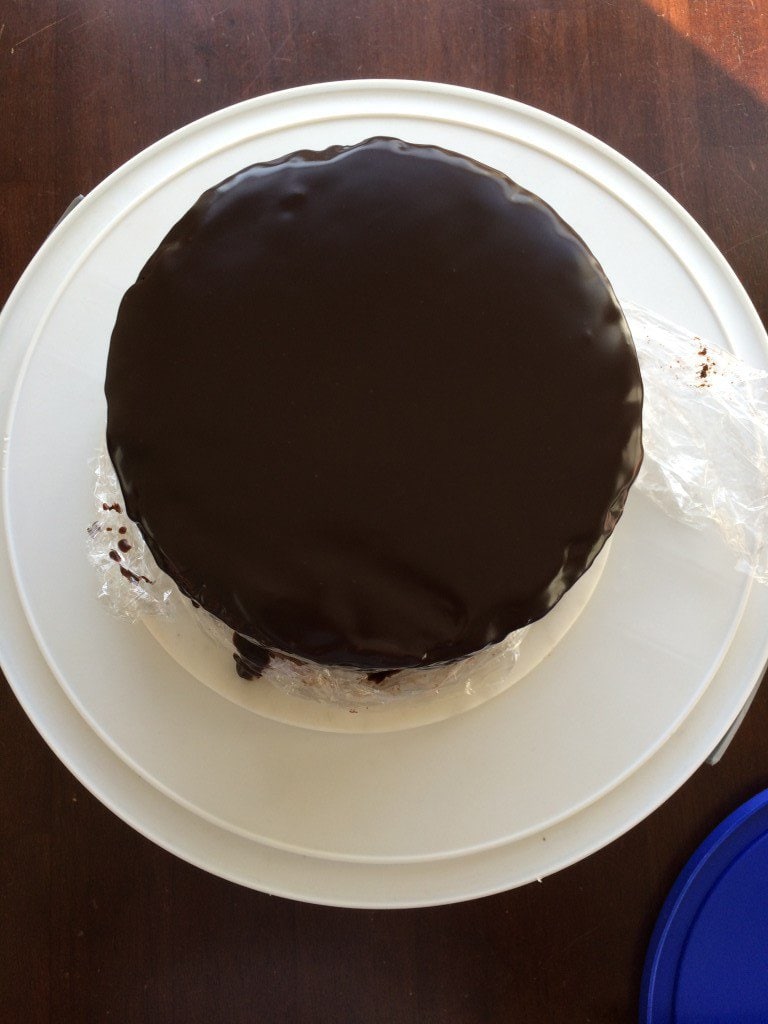
See how shiny and lovely it looks
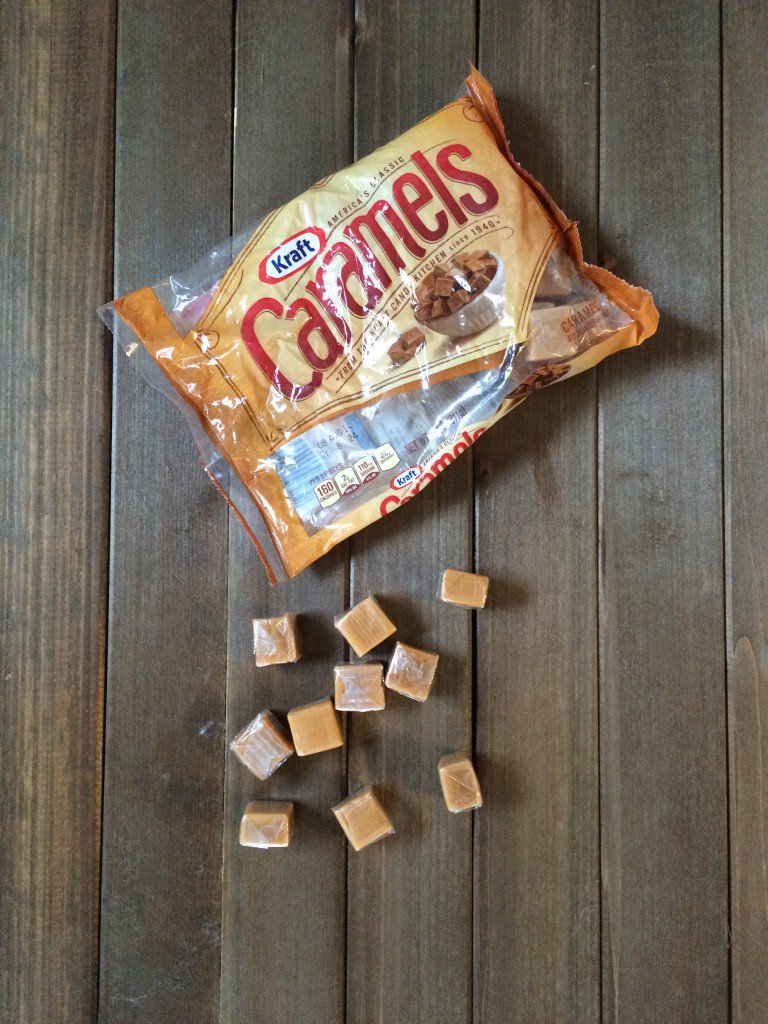
Placed it back in the fridge for 15 minutes to set. Now best part – Salted caramel sauce- this cant get easier . I used caramel chewys and milk for this to avoid making sauce from scratch . I had purchased these chewys and caramel bites months back and they really proved handy and worked exactly the way I make sauce from scratch.
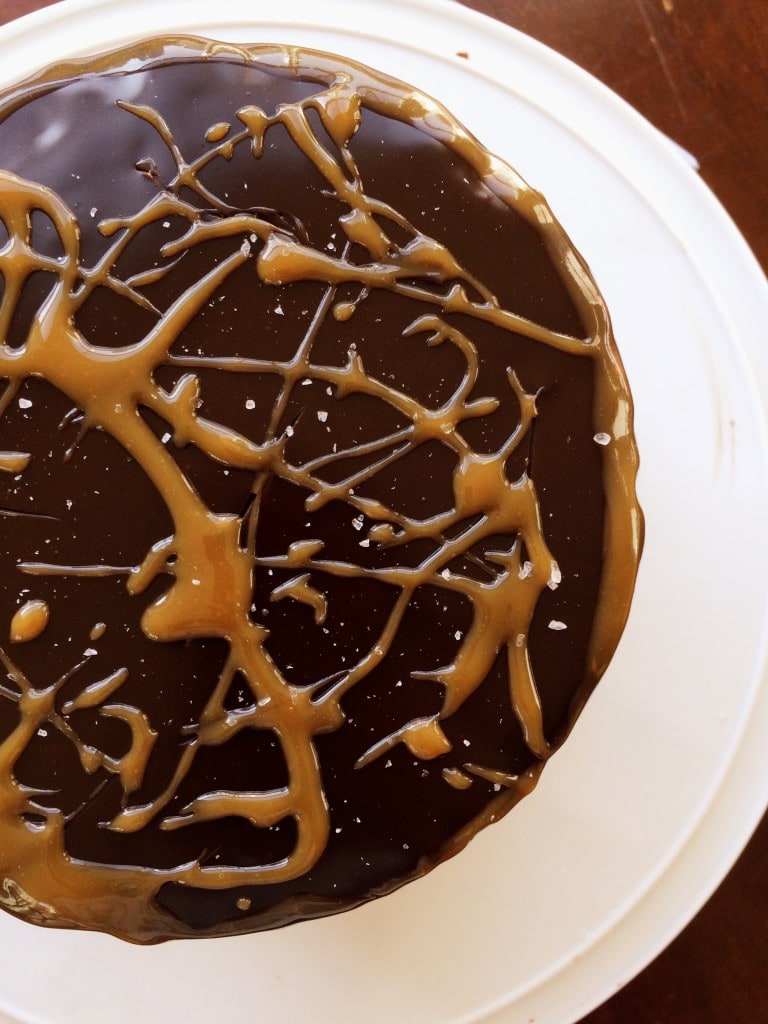
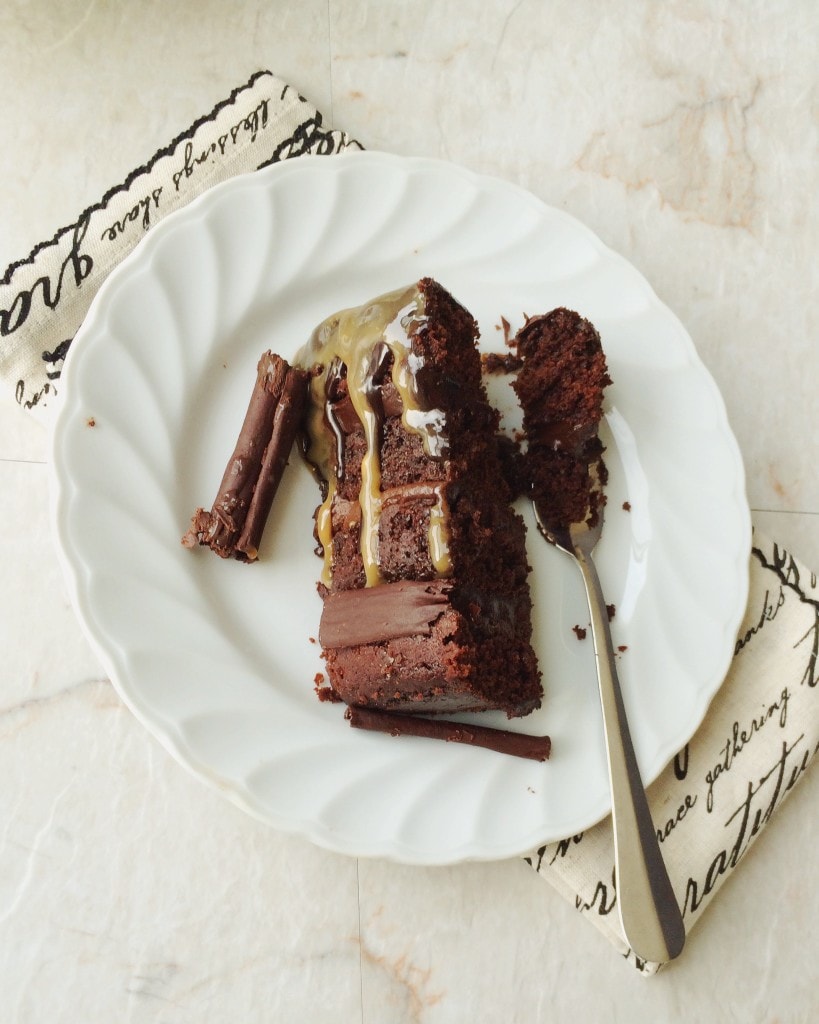
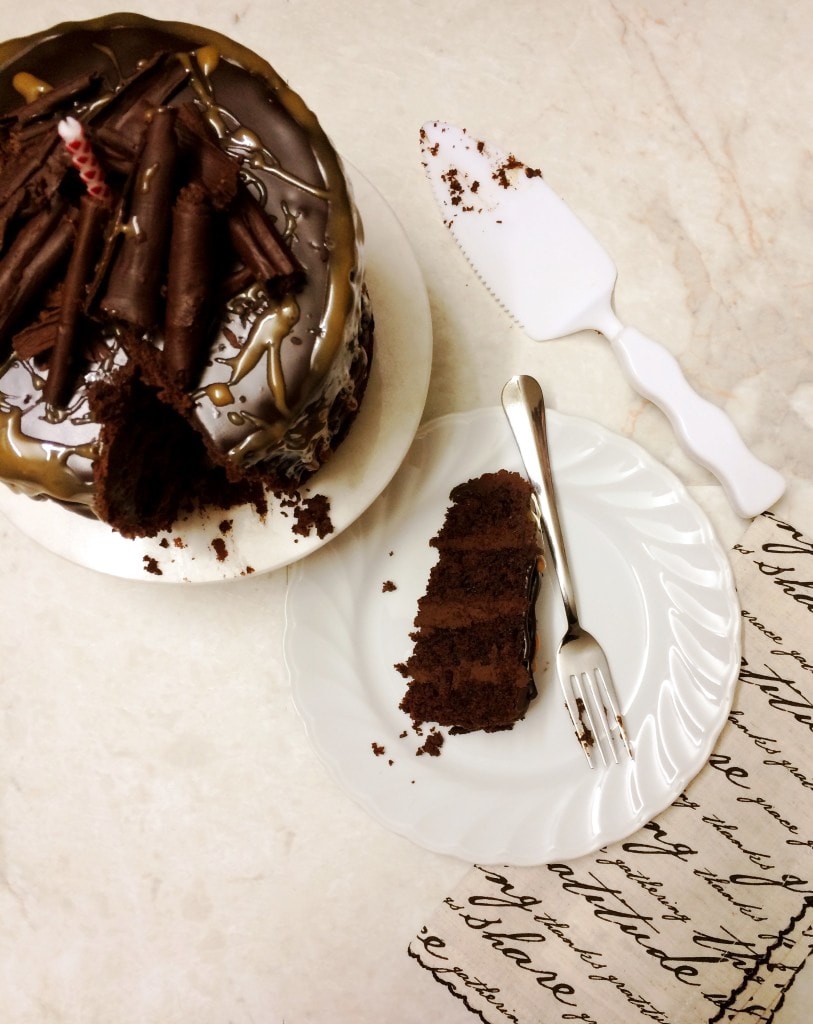
All I had to do is unwrap them , add some milk and microwave in intervals on 50% power just the way you do it for melting chocolate, stirring occasionally in between until a smooth sauce . You can use double boiler method as well. You can add more milk later for desired consistency , 1 teaspoon at a time . The caramel sauce is ready to use when its not warm to touch . I have used – 10 chewy squares and 1.5 tablespoon milk if using caramel bites – use ½ cup and 1 tablespoon milk Pulled the cake out from the fridge . Drizzled caramel unevenly on the top and on the sides and let it drip. Sprinkled some sea salt . I was running out of patience here. So did some random uneven caramel sprinkle on top as it would be covered with chocolate curls.
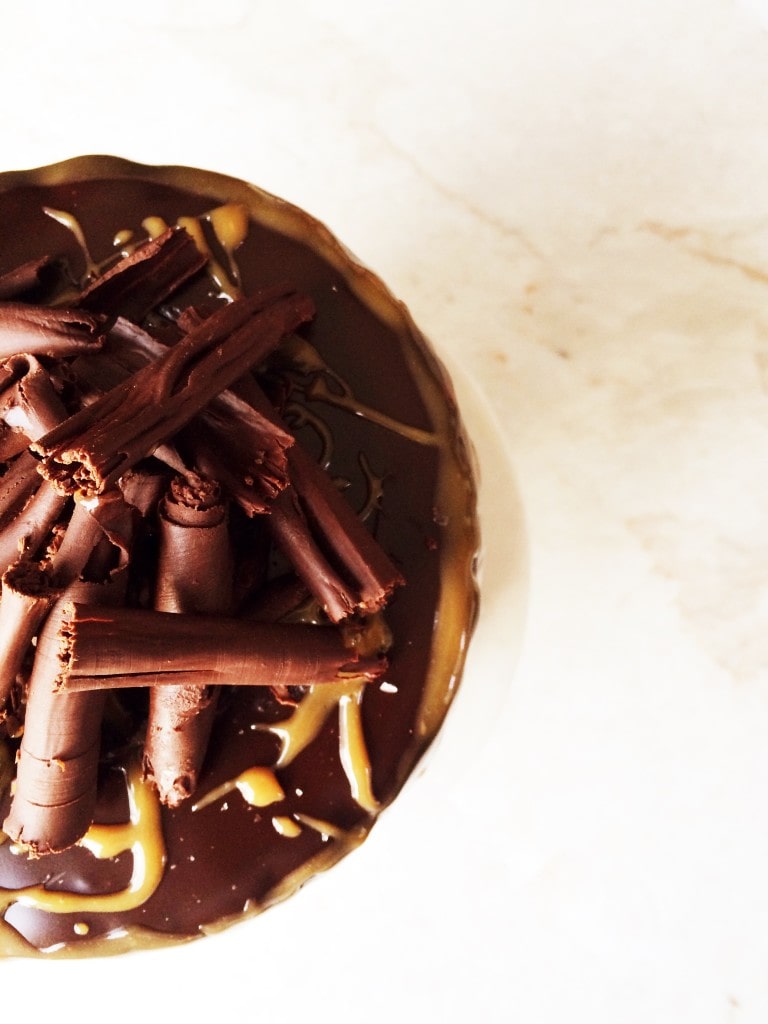
Arranged the chocolate curls . . Removed the plastic wrap , and cleaned edges with moist paper napkin. At the end I felt so proud of my self , so satisfied and accomplished. My husband was so surprised seeing the cake as he thought I would never attempt it because of the sprain.
Seeing the happiness in his eyes made it all worth the process.
And he says , this was the best cake he ever had in his life.
Makes me feel out of this world!! – worth all the effort 🙂
Happy Birthday darling once again – I find the strength in me because of you.
Hope you like this recipe and do give it a try. Do not miss a single recipe by subscribing to my blog and following me on my facebook pagecarveyourcraving . I would love to hear from you. If you have tried any of my recipes do drop in a feedback in the comment section or on my Facebook page carveyourcraving in messages section and follow me onPinterest . We are now on instagram too – follow me here. Happy cooking! Do share it with the world! If sharing ,please link back to the post as reproducing, distributing or copying pictures or text/ recipes that belong to carveyourcraving is a copyright violation. You can always link back to the website. Thanks for stopping by.