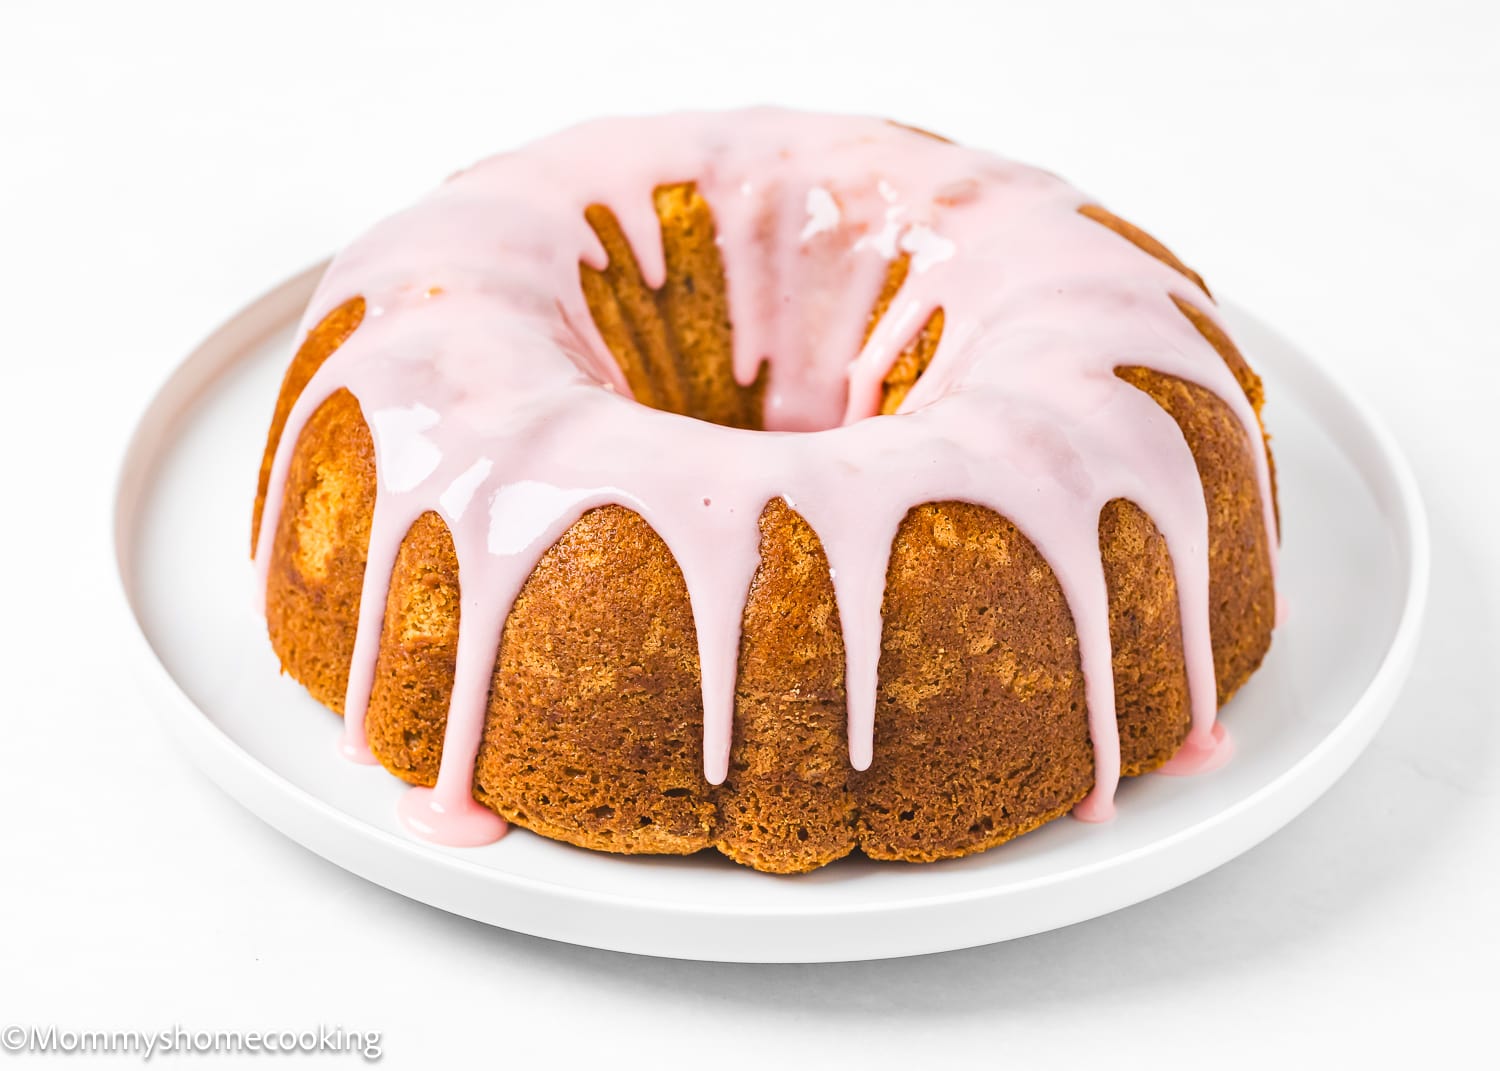
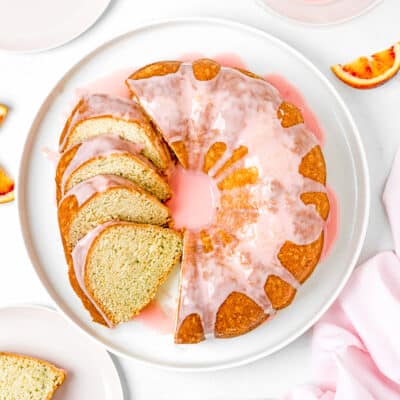
Simply Divine: Egg-Free Orange Bundt Cake Recipe
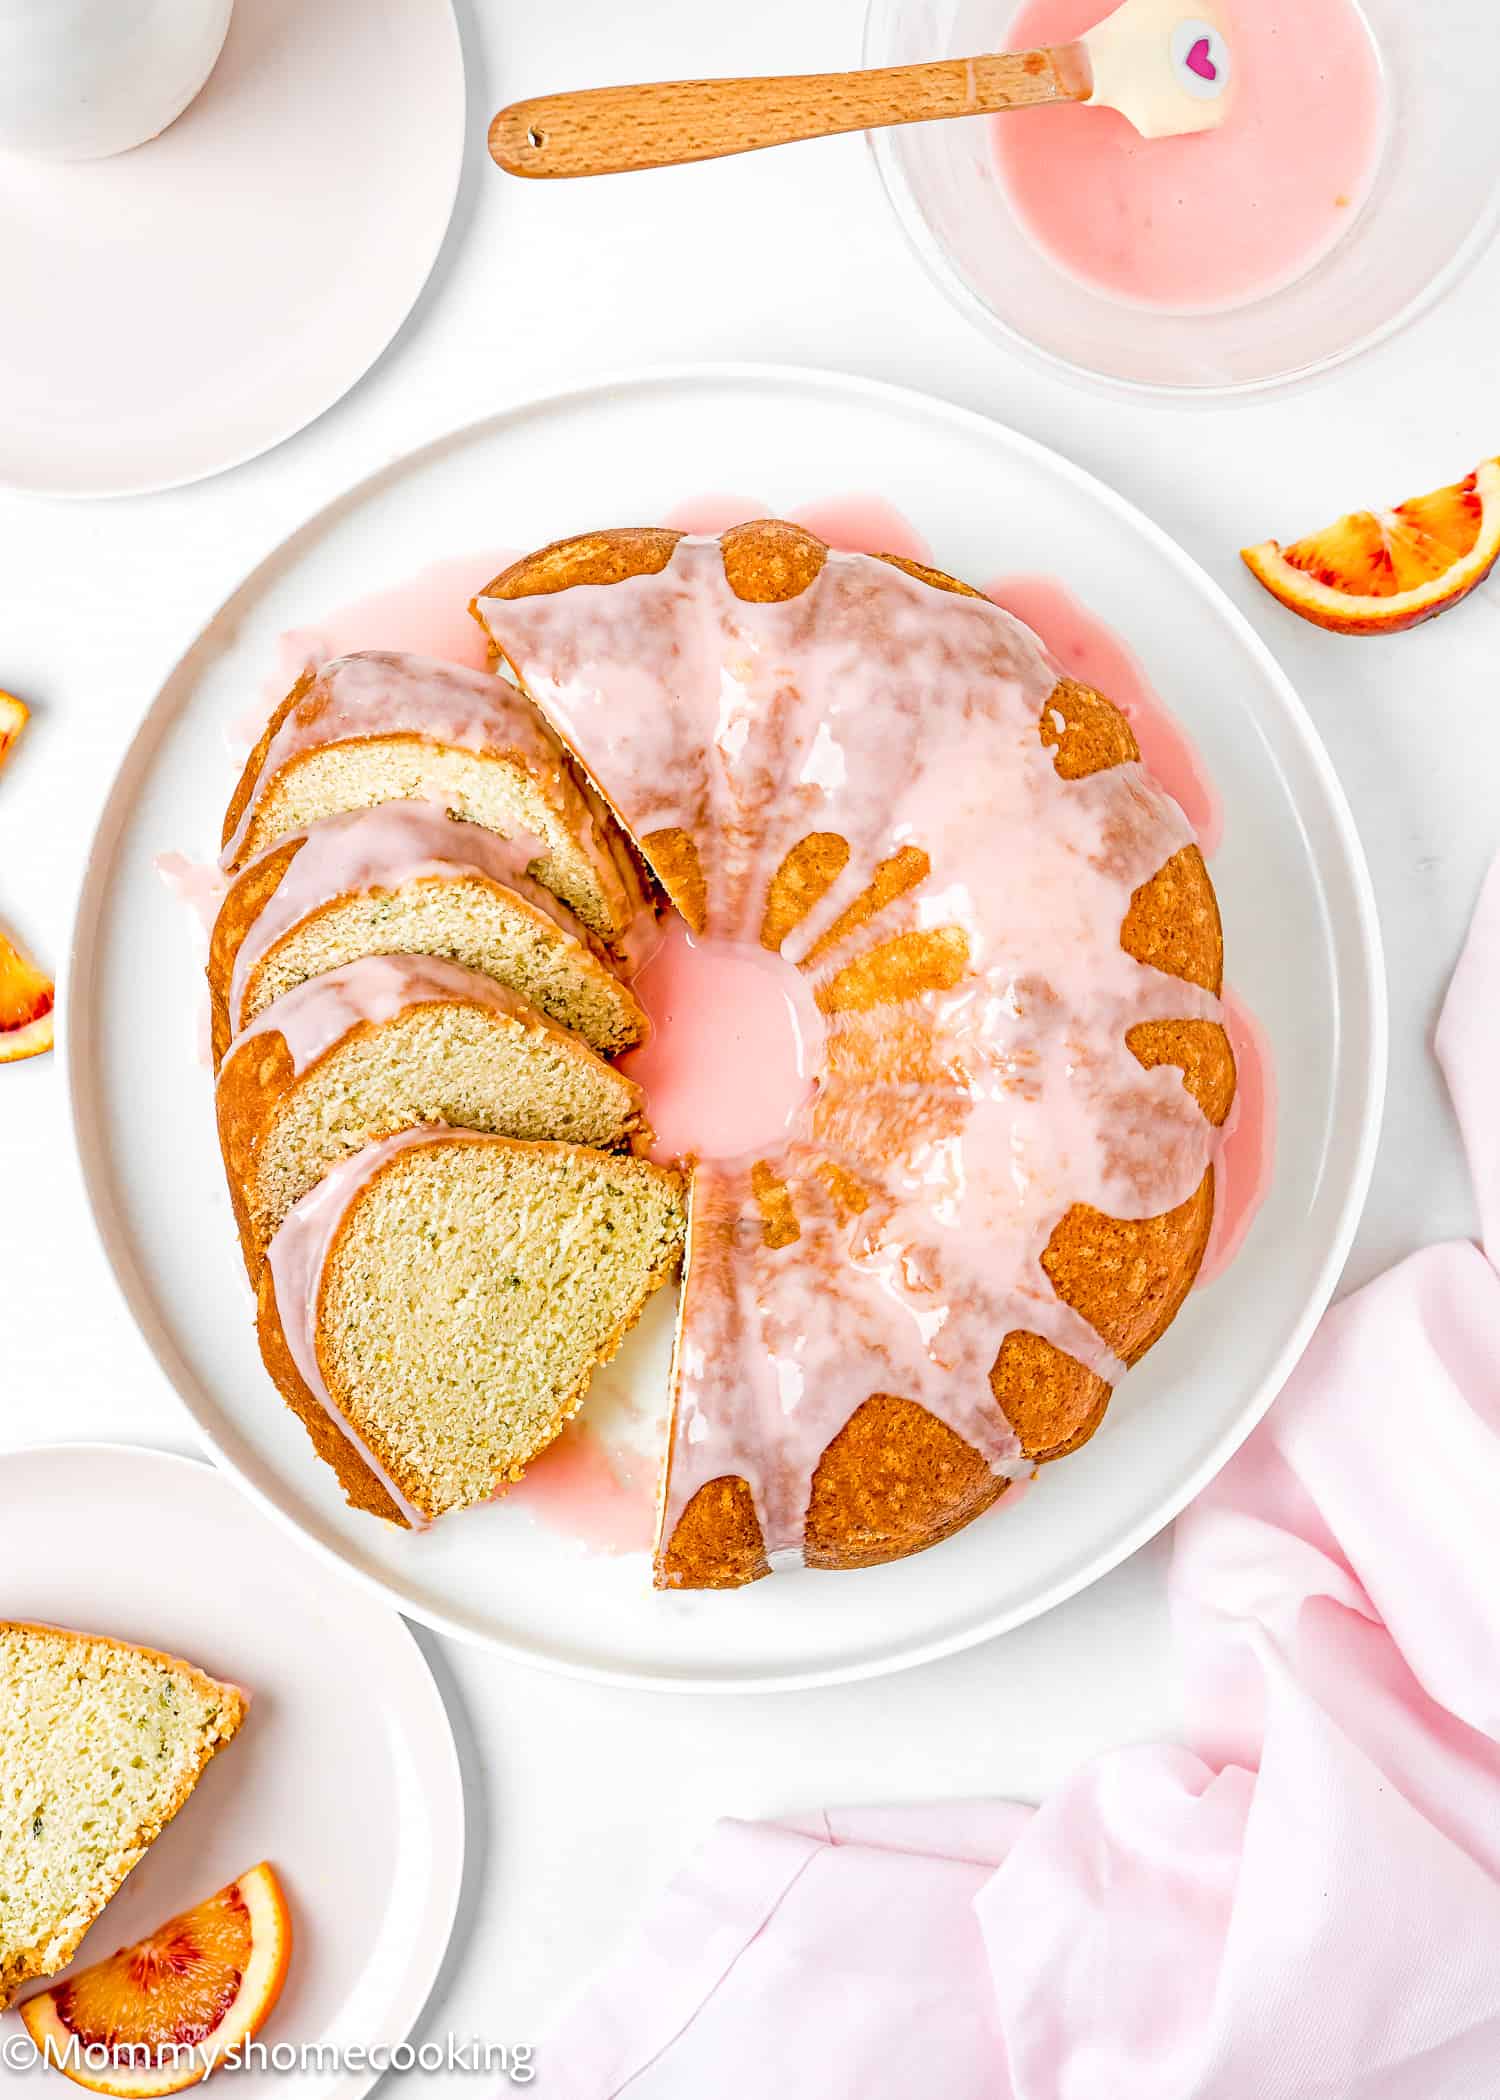
This Simple Orange Bundt Cake is bursting with bright, tangy flavor, boasts a dense, moist crumb, and is simple in charm. This egg-free delight is a true crowd-pleaser and will bring a smile to your face with every forkful! In this recipe, I decided to add a fun twist by incorporating blood oranges’ vibrant and flavorful essence. Their rich, crimson flesh not only adds a pop of color to the batter and glaze but also imparts a subtly different flavor profile, with hints of berry-like sweetness and a touch of citrusy complexity. Therefore, I highly recommend trying this recipe with blood oranges if you happen to find them in your local grocery store. Whether you’re hosting a casual brunch, celebrating a special occasion, or simply treating yourself to a well-deserved dessert, this cake fits the bill perfectly. So treat yourself to this delicious dessert and enjoy it to your heart’s content!
Process Overview: How To Make Simple Orange Bundt Cake Without Eggs Step-by-Step
Please check the recipe card at the bottom of the post for exact quantities and detailed instructions (scroll down).
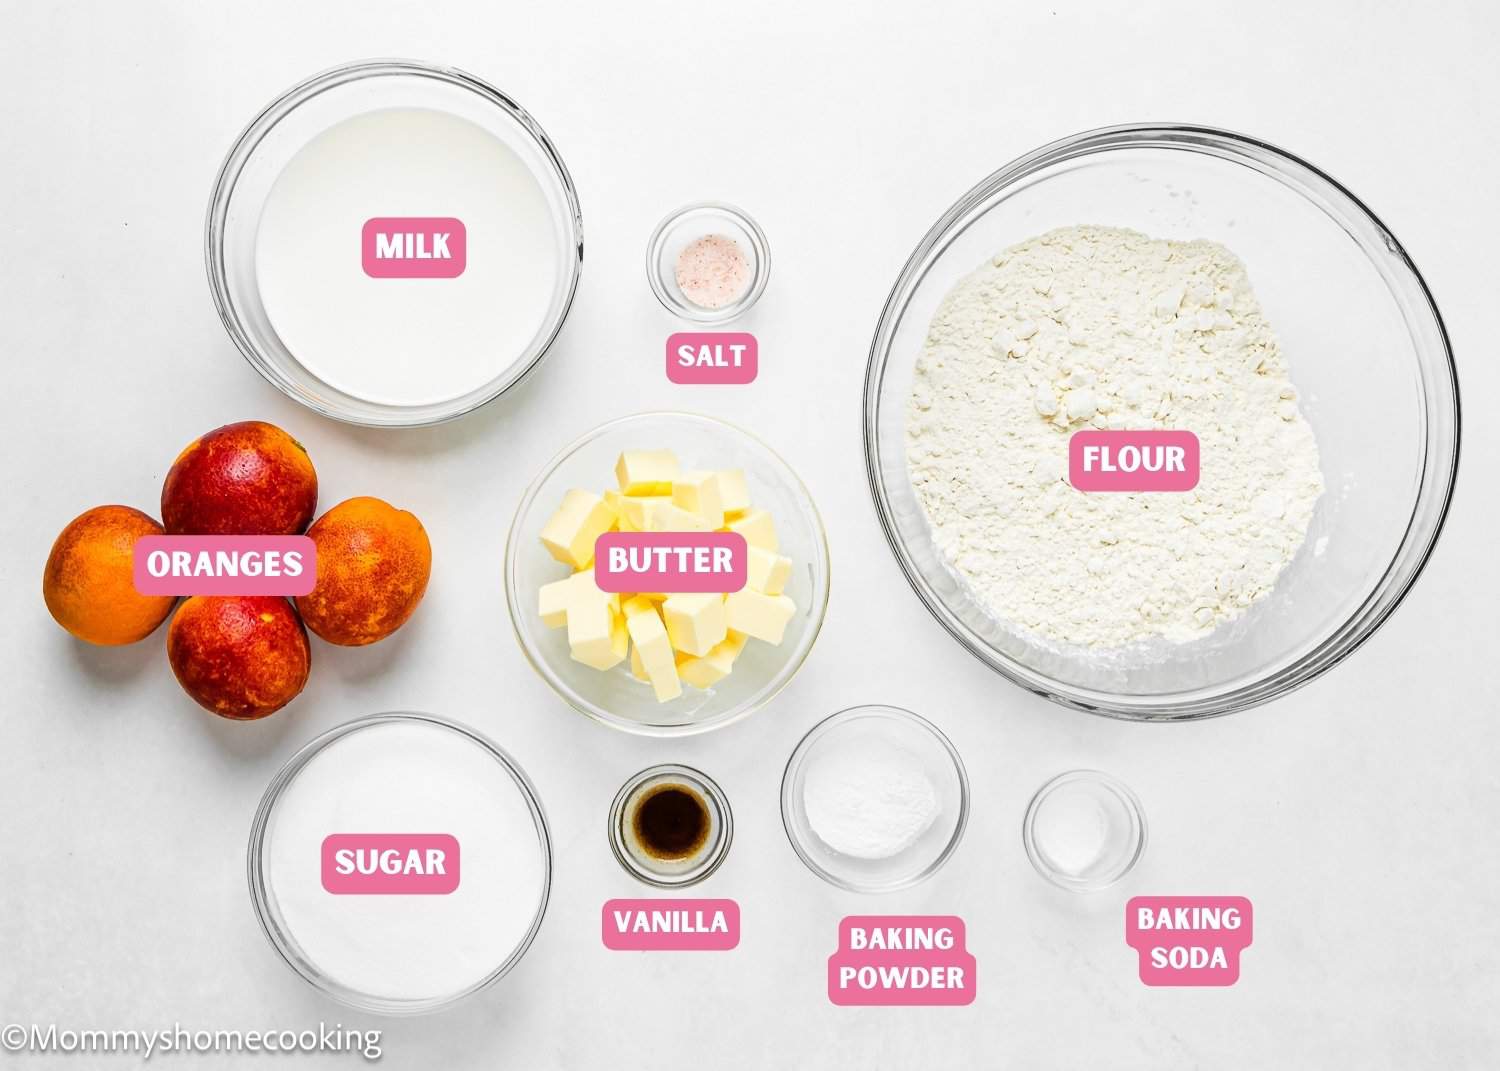
All-Purpose Flour: The foundation of any good cake, providing structure and stability to the batter. Make sure to measure accurately. In my opinion, a kitchen scale is the best way to measure your ingredients. Baking Powder and Baking Soda: Leavening agents that help the cake rise and achieve its tender crumb. Make sure they’re not expired or too old. To avoid a chemical aftertaste, use baking powder that is labeled aluminum-free. I usually use the Clabber Girl brand, and though the ingredients state aluminum, I’ve never noticed an aluminum aftertaste. Salt: Enhances the flavors and balances the sweetness of the cake. I prefer kosher or sea salt. If you only have table salt handy, I recommend reducing the amount to half. Fresh Oranges (Juice and Zest): The shining stars of this recipe, lending their bright citrus flavor and aroma to every bite. Opt for freshly squeezed juice and zest for the best results. You can use regular oranges or blood oranges. Milk (or Dairy-Free Alternative): Adds moisture and richness to the cake batter. Choose your preferred dairy or non-dairy option based on dietary needs. Pure Vanilla Extract: Infuses the cake with subtle warmth and depth of flavor. Reach for pure vanilla instead of imitation for optimal flavor. Even better, try homemade vanilla extract! Butter (or Dairy-Free Butter): Contributes richness and tenderness to the cake. I prefer to use unsalted butter, but if you only have salted butter handy, you can use it. In this case, skip the salt called in the recipe. Swap with dairy-free/vegan butter for a dairy-free version. Granulated Sugar: Sweetens the cake and helps achieve that golden-brown crust. Use regular white granulated sugar or caster sugar. I do not recommend reducing the amount of sugar or changing the type of sugar, as it will change the cake’s texture. For the Glaze: You’ll need confectioner’s sugar and more orange juice.
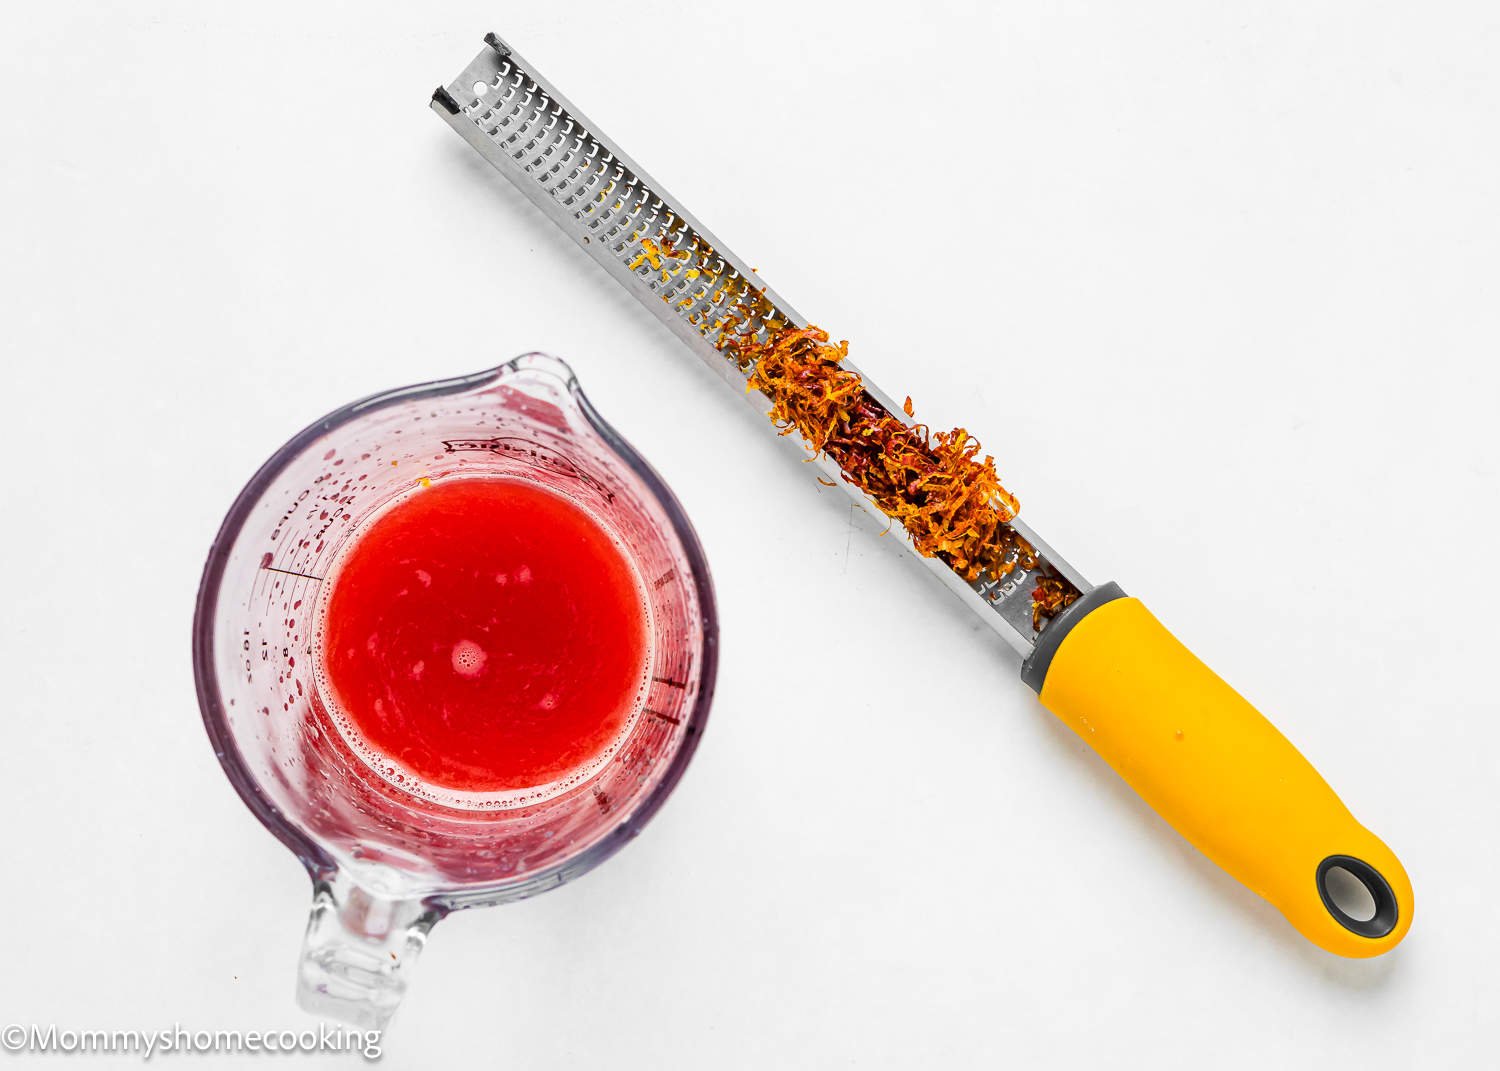
Step 1 – Zest and Squeeze The Oranges
It’s generally a good idea to zest the oranges before squeezing them for juice. So go ahead and zest those oranges first, then squeeze the juice bursting with citrus goodness!
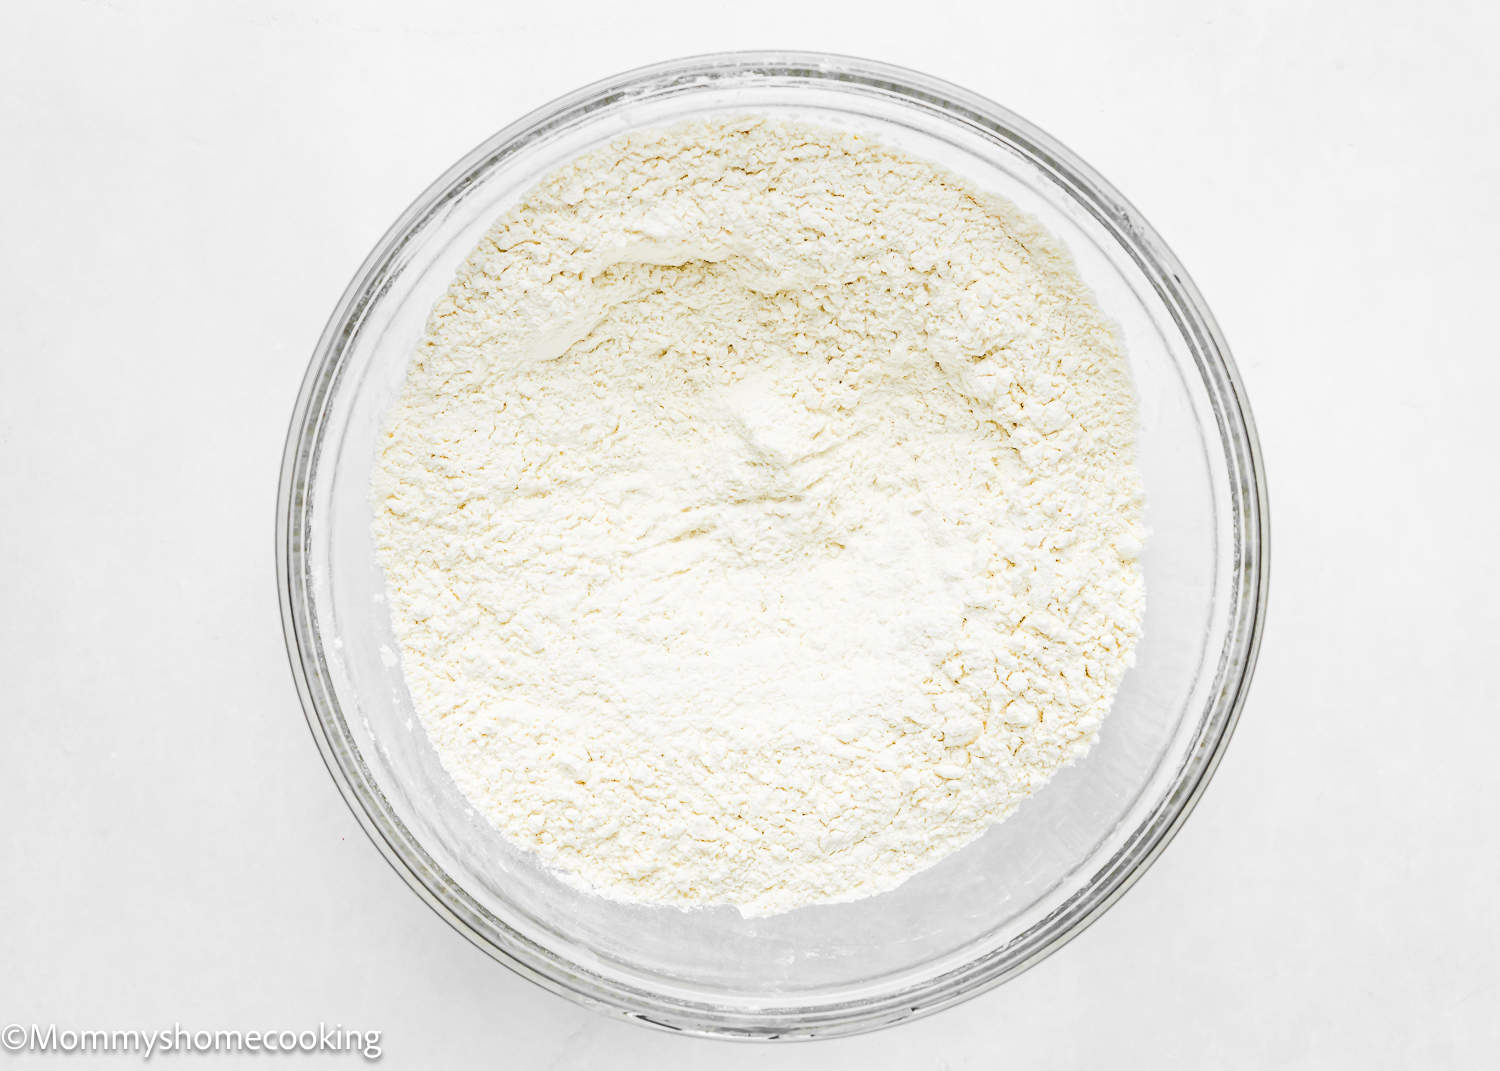
Step 2 – Mix Dry Ingredients
Sift flour, baking powder, baking soda, and salt in a large bowl. Set aside.
Step 3 – Stir Wet Ingredient
In a large bowl or liquid measuring cup, stir together orange juice, milk, and vanilla extract.
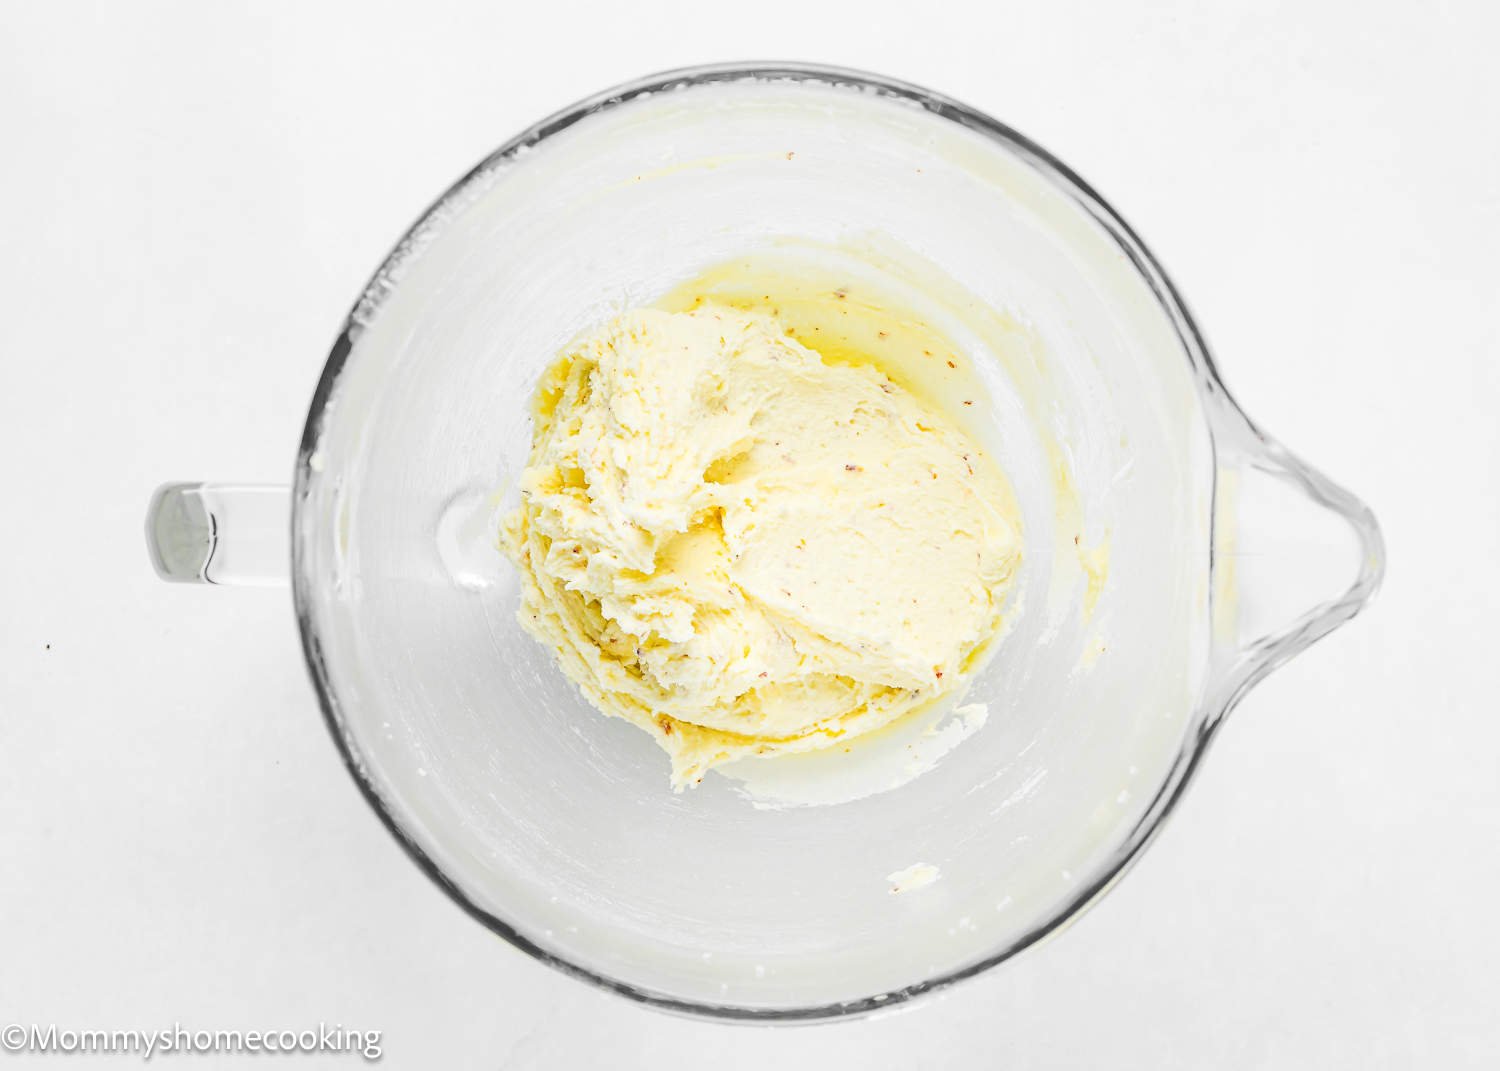
Step 4 – Cream Butter and Sugar
In a large bowl, beat the sugar and butter until creamy and pale at medium-high speed, about 3 – 4 minutes. Scrape down the sides and up the bottom of the bowl with a rubber spatula as needed. Add orange zest and mix until for 2 minutes.
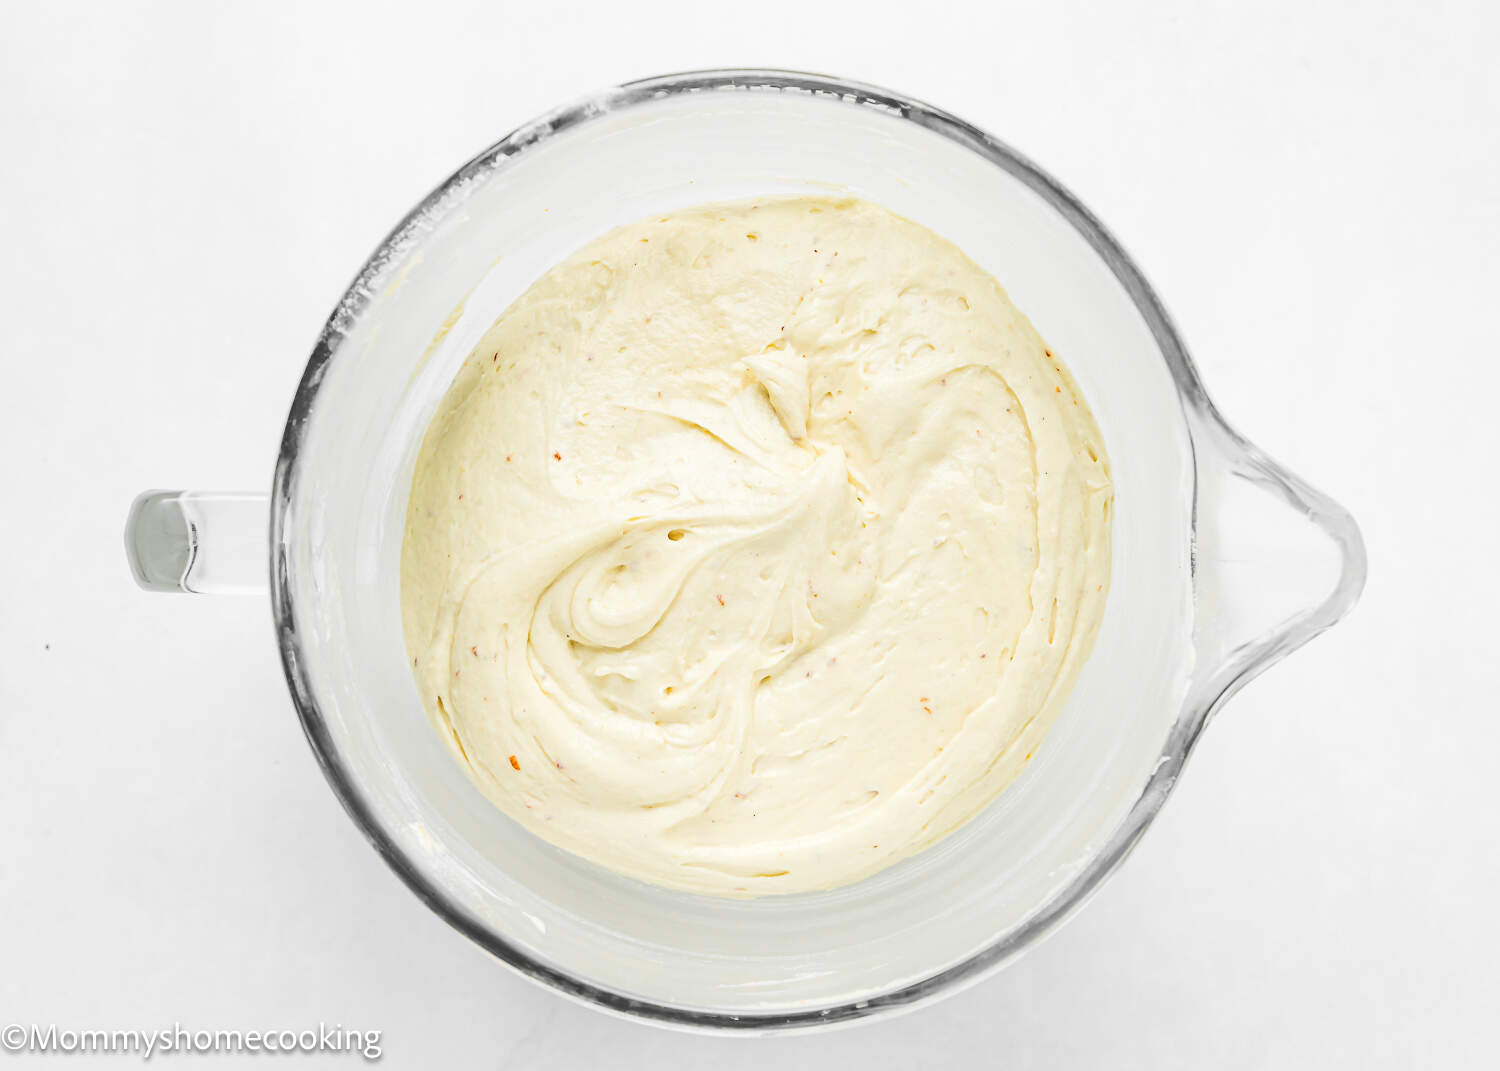
Step 5 – Add Dry Ingredients
Reduce the speed to low and mix half of the flour mixture until it is just combined. Add wet ingredients mixture in three additions, scraping down the mixing bowl with a spatula, and turn the batter over several times to ensure all ingredients are well incorporated. Add the remaining half of the flour; beat just until combined. Do not overmix the batter.
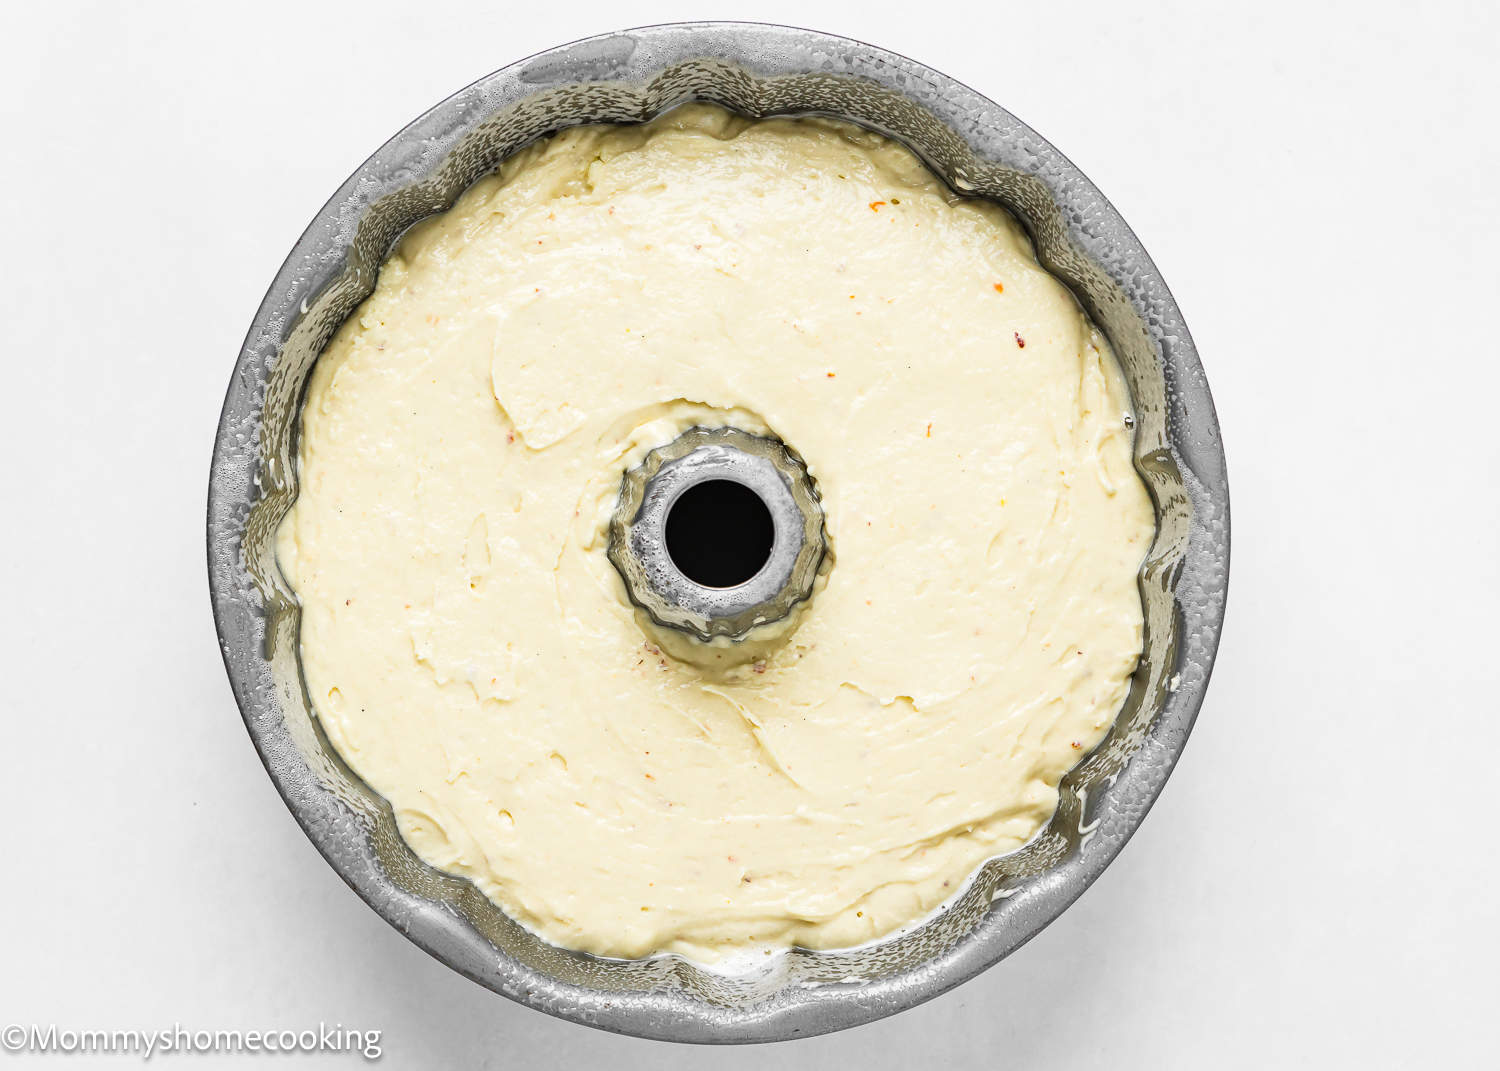
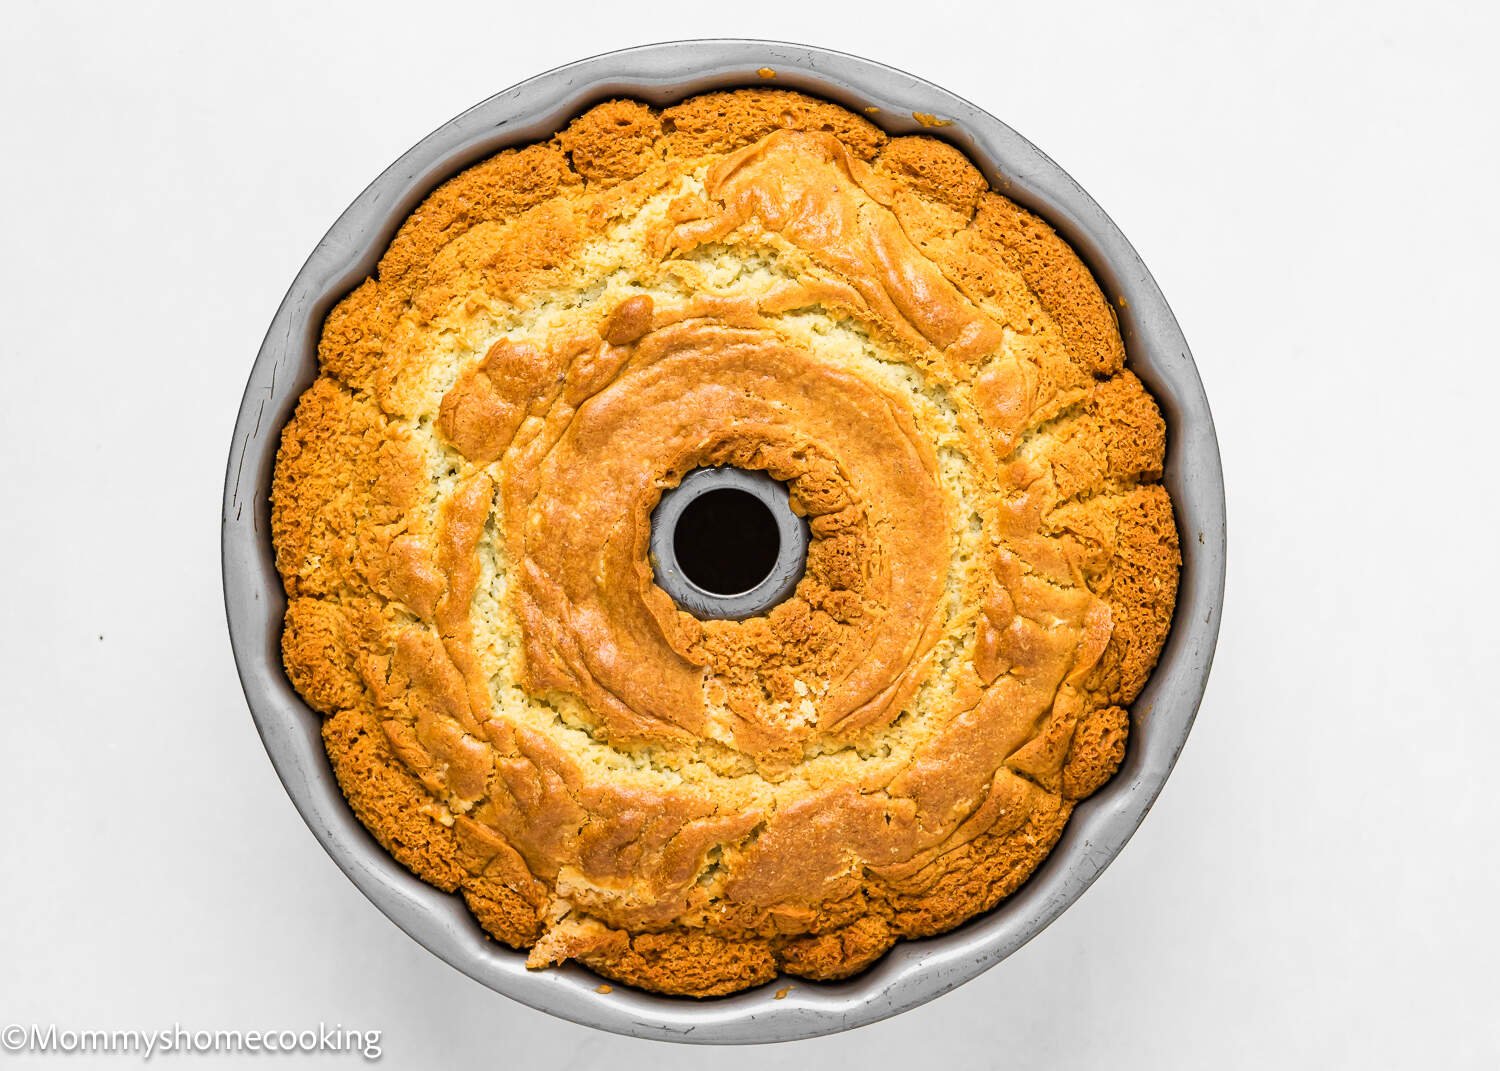
Step 6 – Bake
Pour the cake mixture into the prepared pan. Bake for 55 – 65 minutes or until a skewer comes out clean when poked in the center.
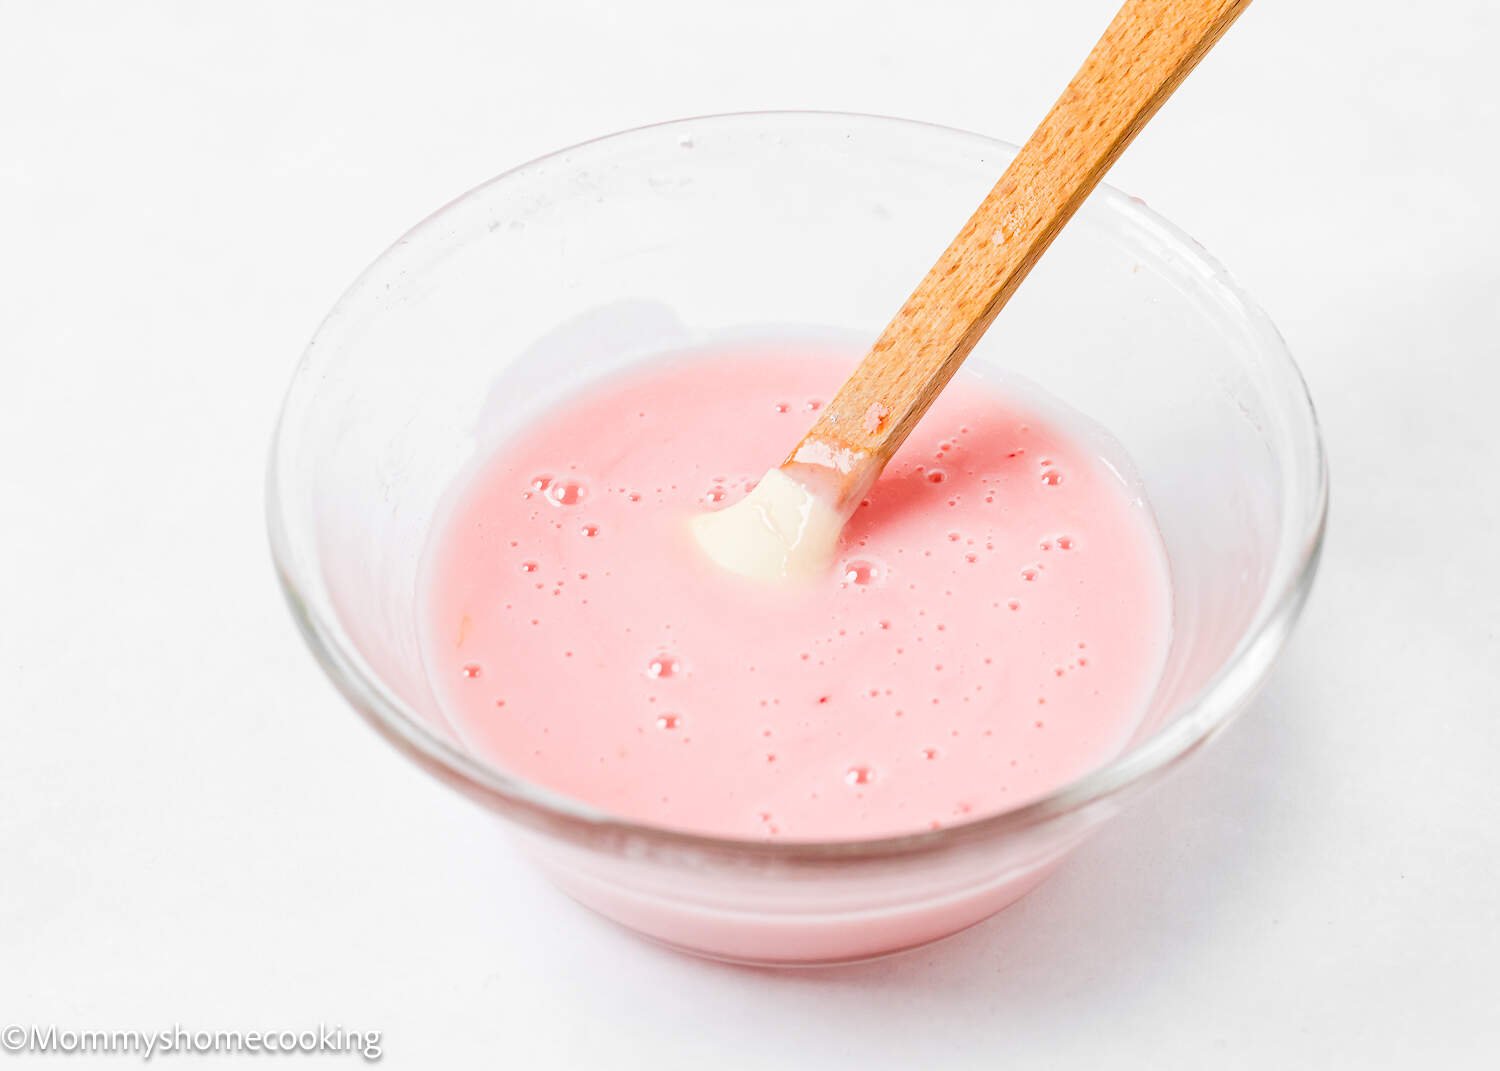
Step 6 – Prepare The Glaze
For the glaze, whisk the confectioners’ sugar and orange juice together in a small bowl. Drizzle over the cooled cake, allowing it to drip down the sides.
Recipe Tips
Food Allergy Swaps
Dairy-Free: To make this recipe dairy-free, you can easily swap out the dairy ingredients for non-dairy alternatives. Instead of milk, use non-dairy milk like soy or oat milk. And use vegan butter instead of dairy butter. There are many brands available in stores. I usually use Earth Balance Vegan Buttery Sticks. Check out my favorite dairy-free substitutes here.
Gluten-Free: Use a gluten-free, all-purpose flour blend. Look for a gluten-free flour blend specifically formulated for baking, as it will have the right combination of flours and starches to mimic the texture of wheat flour. My favorite is Better Batter Original Blend.
Variations & Additions
Lemon Twist: Swap the oranges for lemons to create a zesty Lemon Bundt Cake with a delightful citrus kick. Almond Infusion: Add a splash of almond extract to the batter for a subtle nutty undertone that complements the citrus flavor beautifully. Chocolate Glaze: Alternatively, drizzle the finished cake with a decadent chocolate glaze for an irresistible chocolate-orange combination.
Storing and Freezing Instructions
Store leftover cake in an airtight container at room temperature for 3 – 4 days. Freeze: Let the cake cool completely. Wrap it in several layers of plastic wrap to ensure it is tightly sealed. If you like, you can also add an extra layer of aluminum foil for extra protection against freezer burn. Defrost at room temperature before serving. The cake will lose some of its fluffiness if refrigerated or frozen. PRO-TIP: When a baked cake, even one with frosting, is left uncovered at room temperature, it tends to dry out rapidly. To maintain its freshness, it’s best to wrap the cake in plastic wrap first and then aluminum foil. Then, store the cake in an airtight container to preserve its freshness and moisture for as long as possible. This method effectively seals in moisture and creates a barrier against the drying effects of air.
More Bundt Cake Recipes You’ll Love!
Eggless Chocolate Bundt Cake Homemade Eggless Strawberry Bundt Cake Eggless Carrot Bundt Cake Eggless Red Velvet Bundt Cake Browse more recipes…
Recipe Card 📖