Oriana’s Thoughts On The Recipe
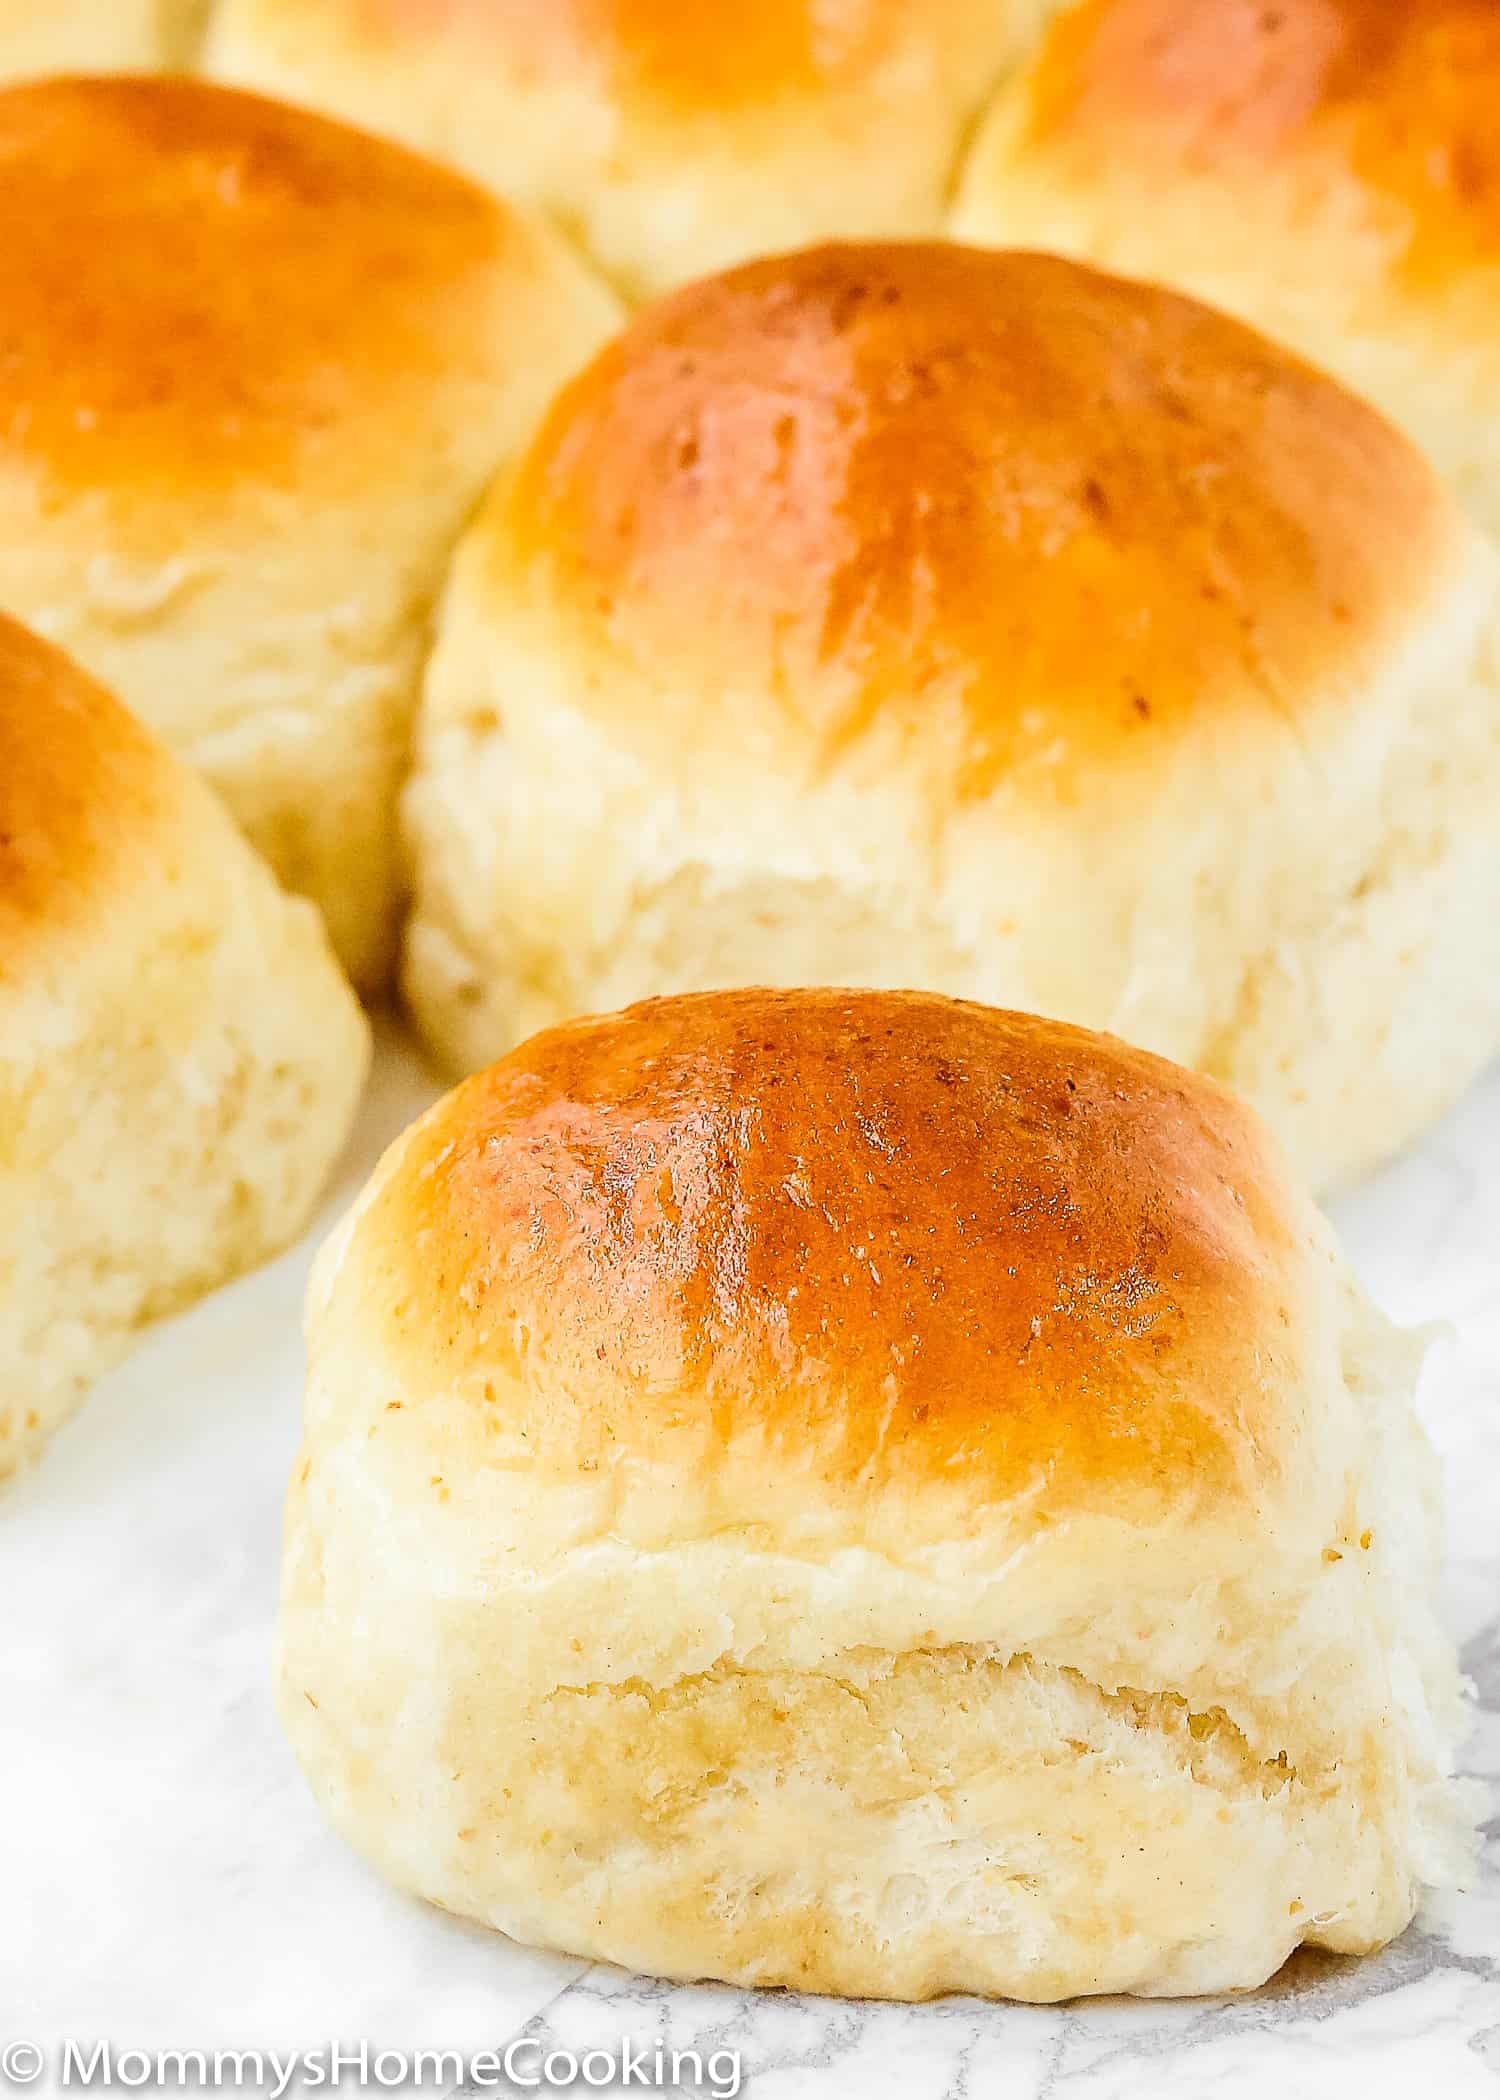
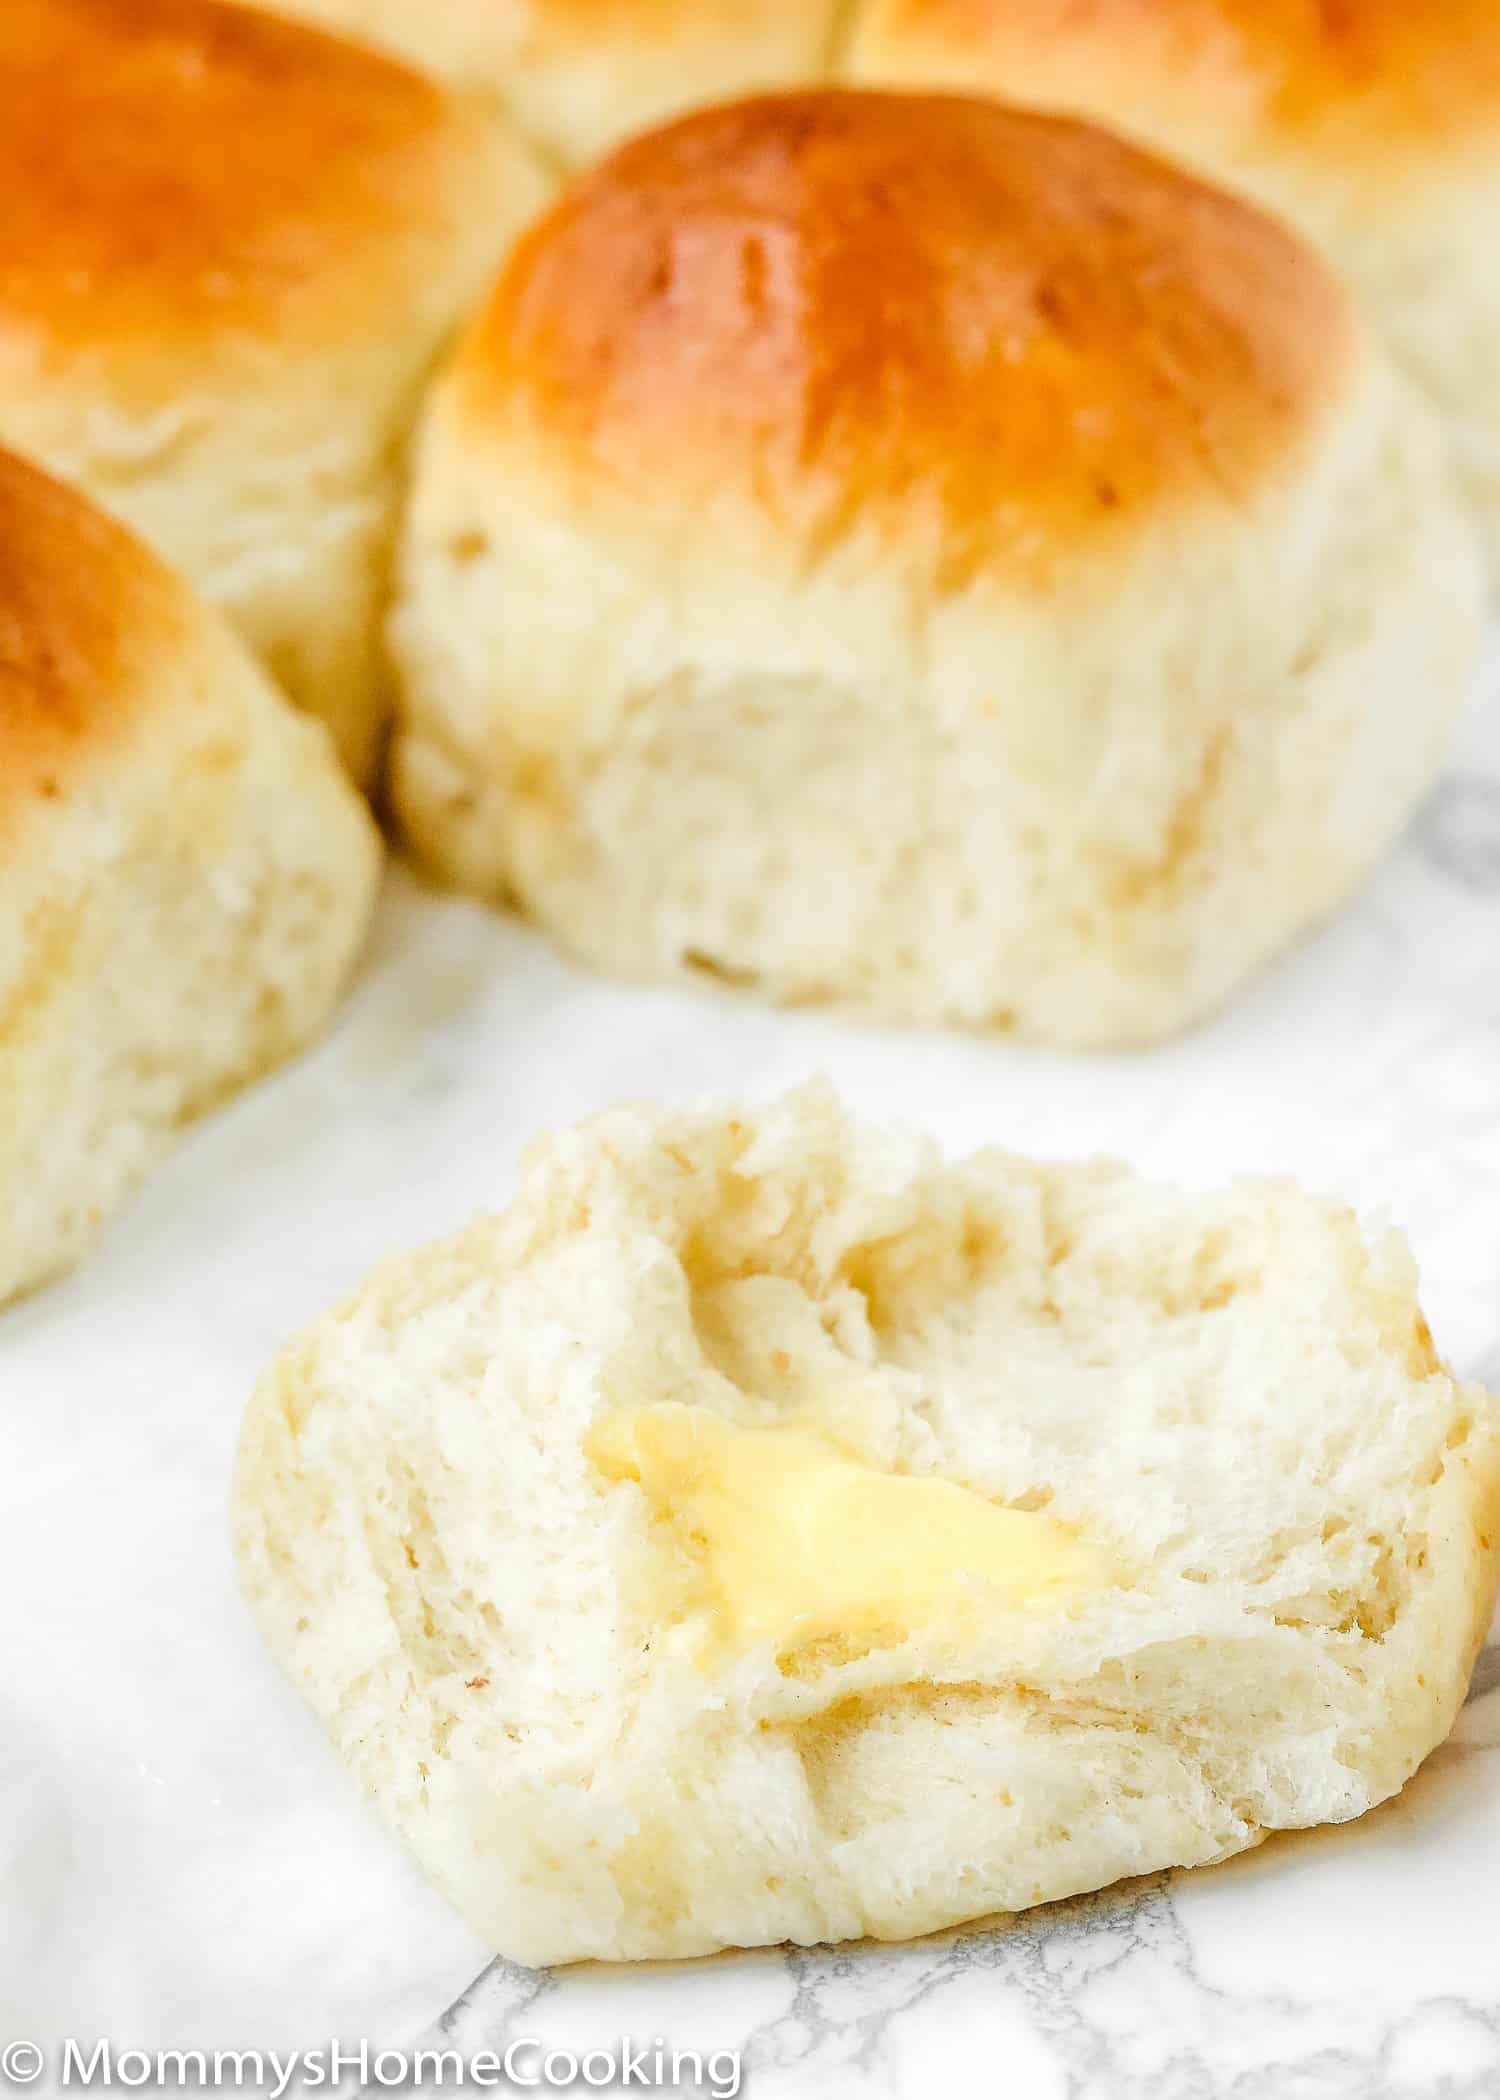
These Soft Eggless Dinner Rolls are SO delicious and easy to make! I know there are tons of frozen and canned bread out there, and don’t get me wrong, I use them very often since they are super convenient. But I think there is nothing like the smell of fresh homemade bread out of the oven. Seriously…when these eggless rolls are in the oven, the whole kitchen smells heavenly. And once they’re out… everyone makes their way into the kitchen to get a roll to try! They’re so fluffy, buttery, and soft. Despite being eggless, these rolls have a golden brown exterior and a pillowy center. Even better, they’re so easy to make that anyone can make this recipe! These soft eggless dinner rolls are a MUST at family gatherings, holiday dinners, or just any occasion. They are, of course, fantastic slathered with butter (my personal favorite) but are also great for dipping in soups, chili, and mopping up gravy and/or sauce.
Ingredients You’ll Need, Substitutions & Notes
Amounts are included in the printable recipe below (scroll down). Most of these items you probably already have in your pantry, which is why it will be easy on the budget! Here’s what you’ll need:
Warm Water: you’ll need it to activated the yeast. Sugar: Regular white granulated sugar or caster sugar. Yeast: You can use active yeast or instant yeast. If using instant yeast, you don’t need to activate it; just mix it with the dry ingredients. Flour: I use bread flour when available, but this recipe will also work fine with all-purpose flour. Salt: I prefer kosher or sea salt. If you only have table salt handy, I recommend reducing the amount to half. Evaporated Milk: I like to use evaporated milk in this recipe because it helps create the perfect fluffy texture. Evaporated milk is simply regular milk that has been heated to remove about 60% of its water content, resulting in a thicker and creamier consistency. While you can substitute regular milk in this recipe, keep in mind that its higher water content can lead to a slightly different texture and less richness compared to using evaporated milk. Milk: I like to use whole milk for baking, but you can use any milk you have handy. Butter: I use unsalted butter, but if you only have salted butter handy, you can use it. In this case, skip the salt called in the recipe.
Food Allergy Swaps
Dairy-Free: To make this recipe dairy-free, you can easily swap out the dairy ingredients for non-dairy alternatives. Butter: Use vegan butter instead of dairy butter. Many brands are available in stores. I usually use Earth Balance Vegan Buttery Sticks or Miyoko’s Creamery Organic Vegan Butter. For the evaporated milk, use evaporated coconut milk or evaporated oat milk, or make your own dairy-free evaporated milk with your favorite plant-based milk. Evaporated milk is just milk that has been reduced to eliminate the water content, so it’s super easy to make at home with any milk of your choice. Check out my How to Make Evaporated Milk post. Milk: Instead of milk, use non-dairy milk like soy or oat milk. Gluten-Free: Use a gluten-free, all-purpose flour blend. Look for a gluten-free flour blend specifically formulated for baking bread, as it will have the right combination of flours and starches to mimic the texture of wheat flour. My favorite is Better Batter Original Blend.
Process Overview: Step-by-Step Photos
Detailed instructions are included in the printable recipe below (scroll down).
Step 1 – Bloom Your Yeast (if using active yeast)
Place warm water and sugar in a small bowl; mix to combine. Sprinkle with yeast, and let stand until foamy, about 5 – 7 minutes. Note: If using instant yeast, you can omit this step and just mix the yeast with the dry ingredients.
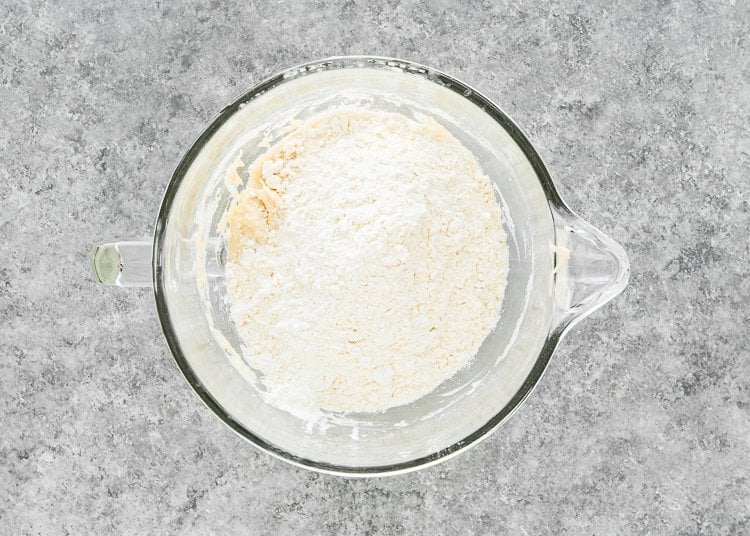
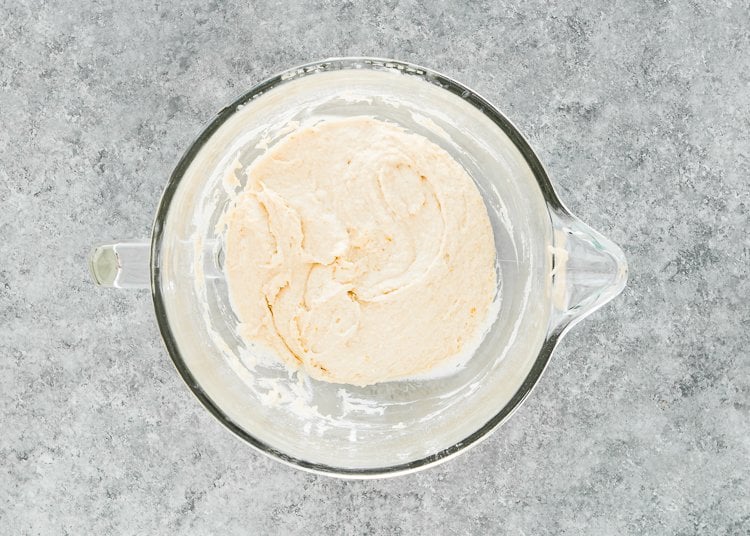
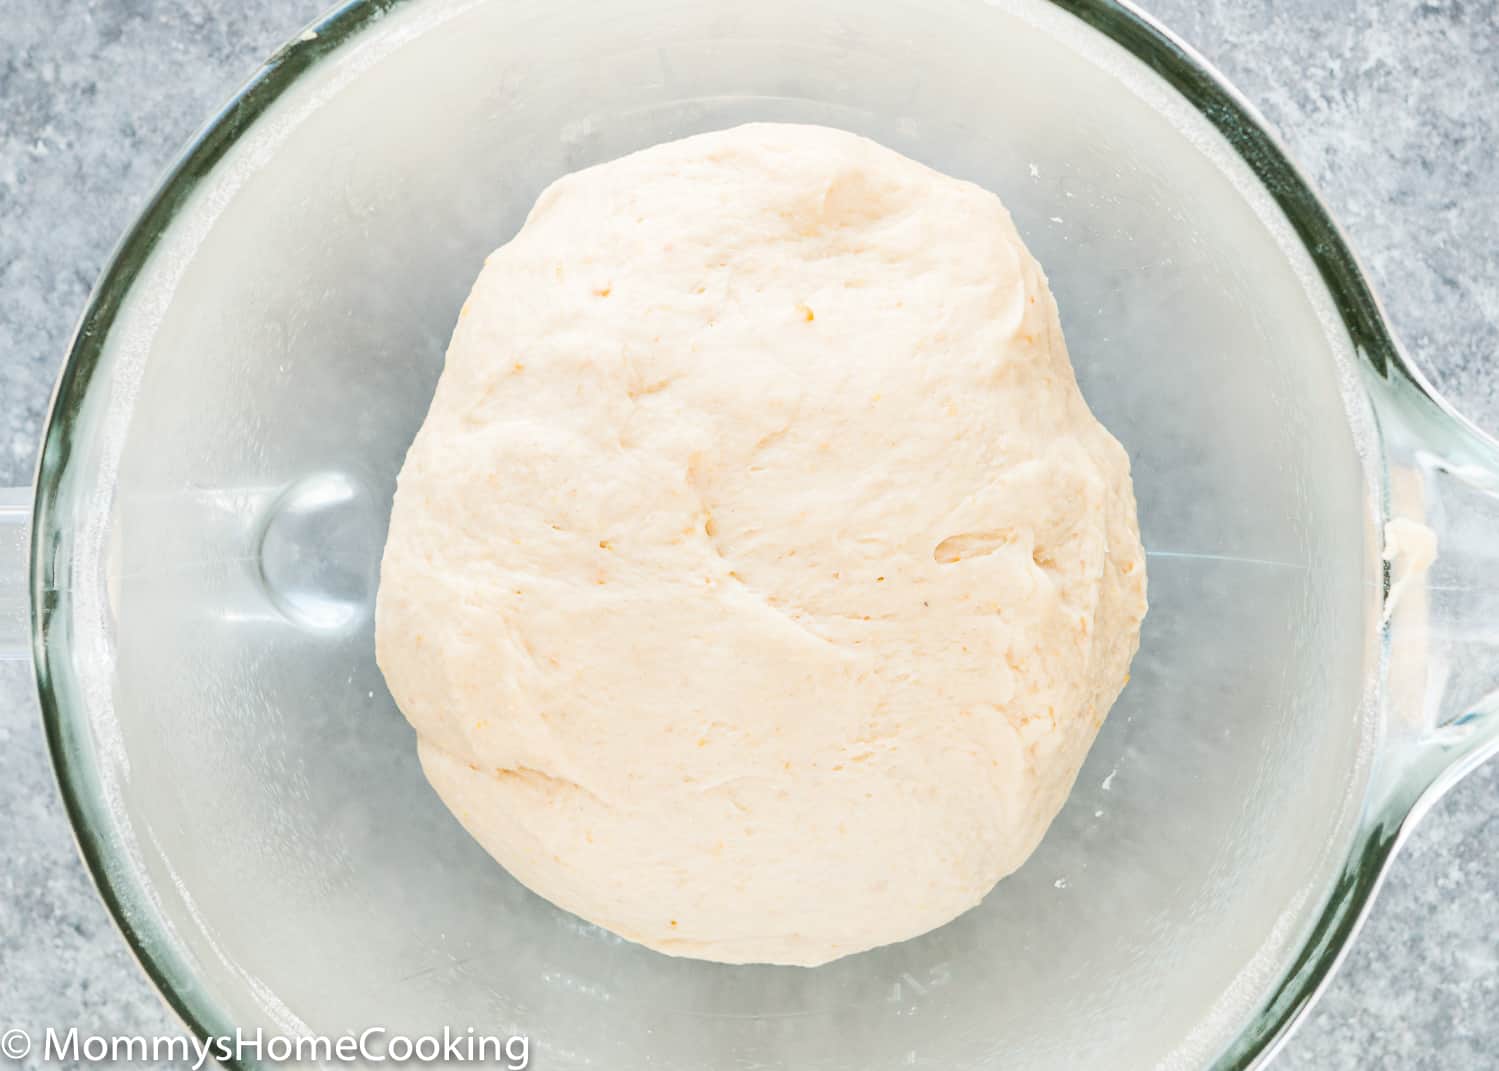
Step 2 – Make the Egg-Free Bread Dough
Place all the dry ingredients together in the bowl of your stand mixer; mix to combine. Pro Tip: If you do not own a stand mixer, you can do this in a large mixing bowl; just mix the dough together with a large wooden spoon/rubber spatula. It will take a bit of arm muscle. Make a well in the center. Add wet ingredients and mix until all the ingredients are well combined, and the dough comes together in a ball, about 2-3 minutes. Continue mixing for about 2 – 3 more minutes to knead the dough until smooth and bounces back when pressed.
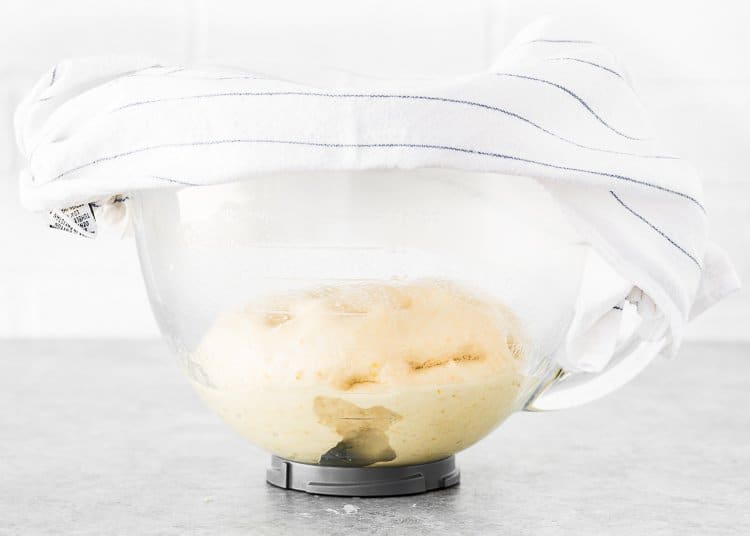
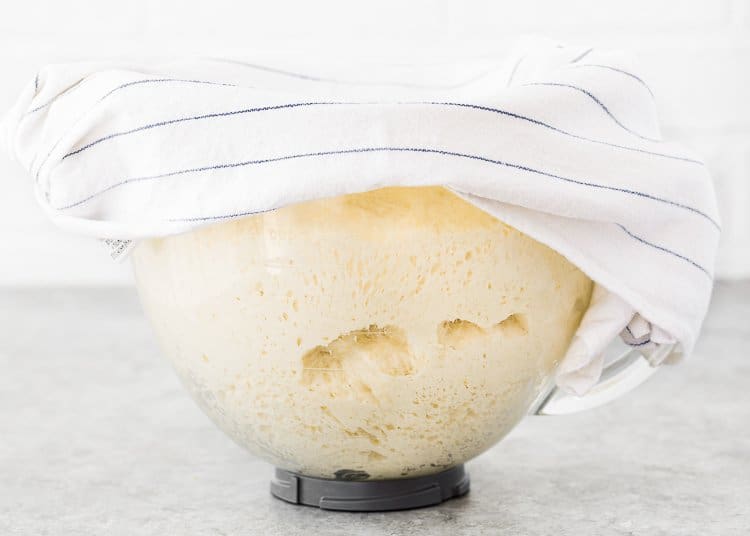
Step 3 – Let the Dough Rise
Place in an oiled bowl, cover with plastic wrap, and place in a warm place to rise until doubled in size, about 1 – 2 hours.
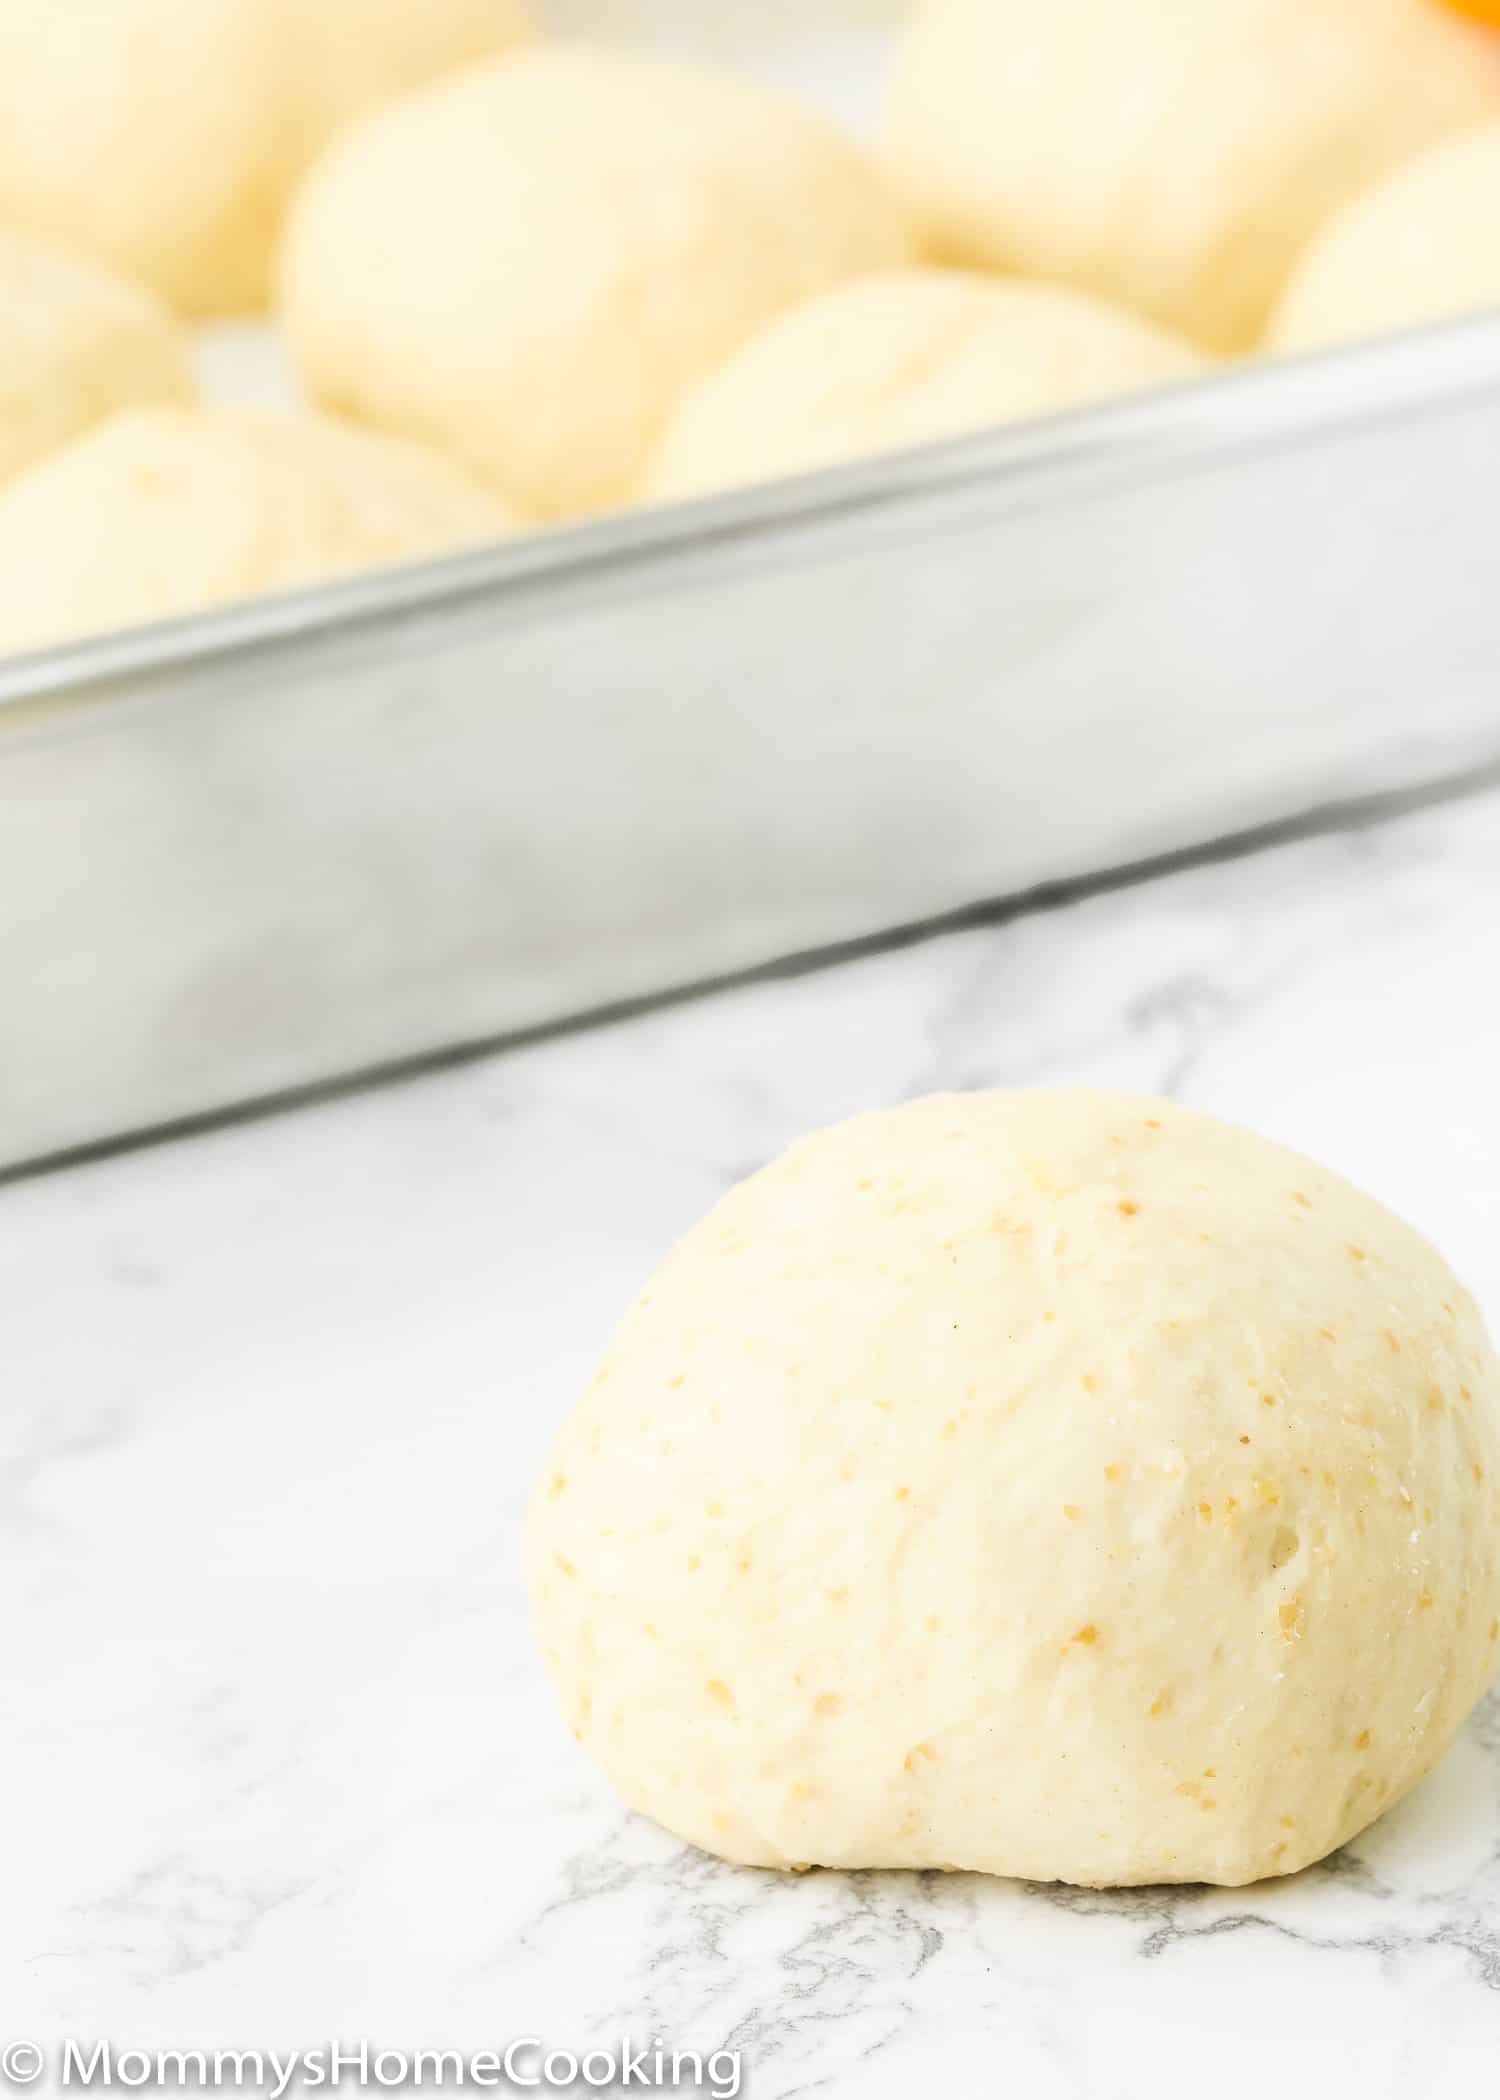
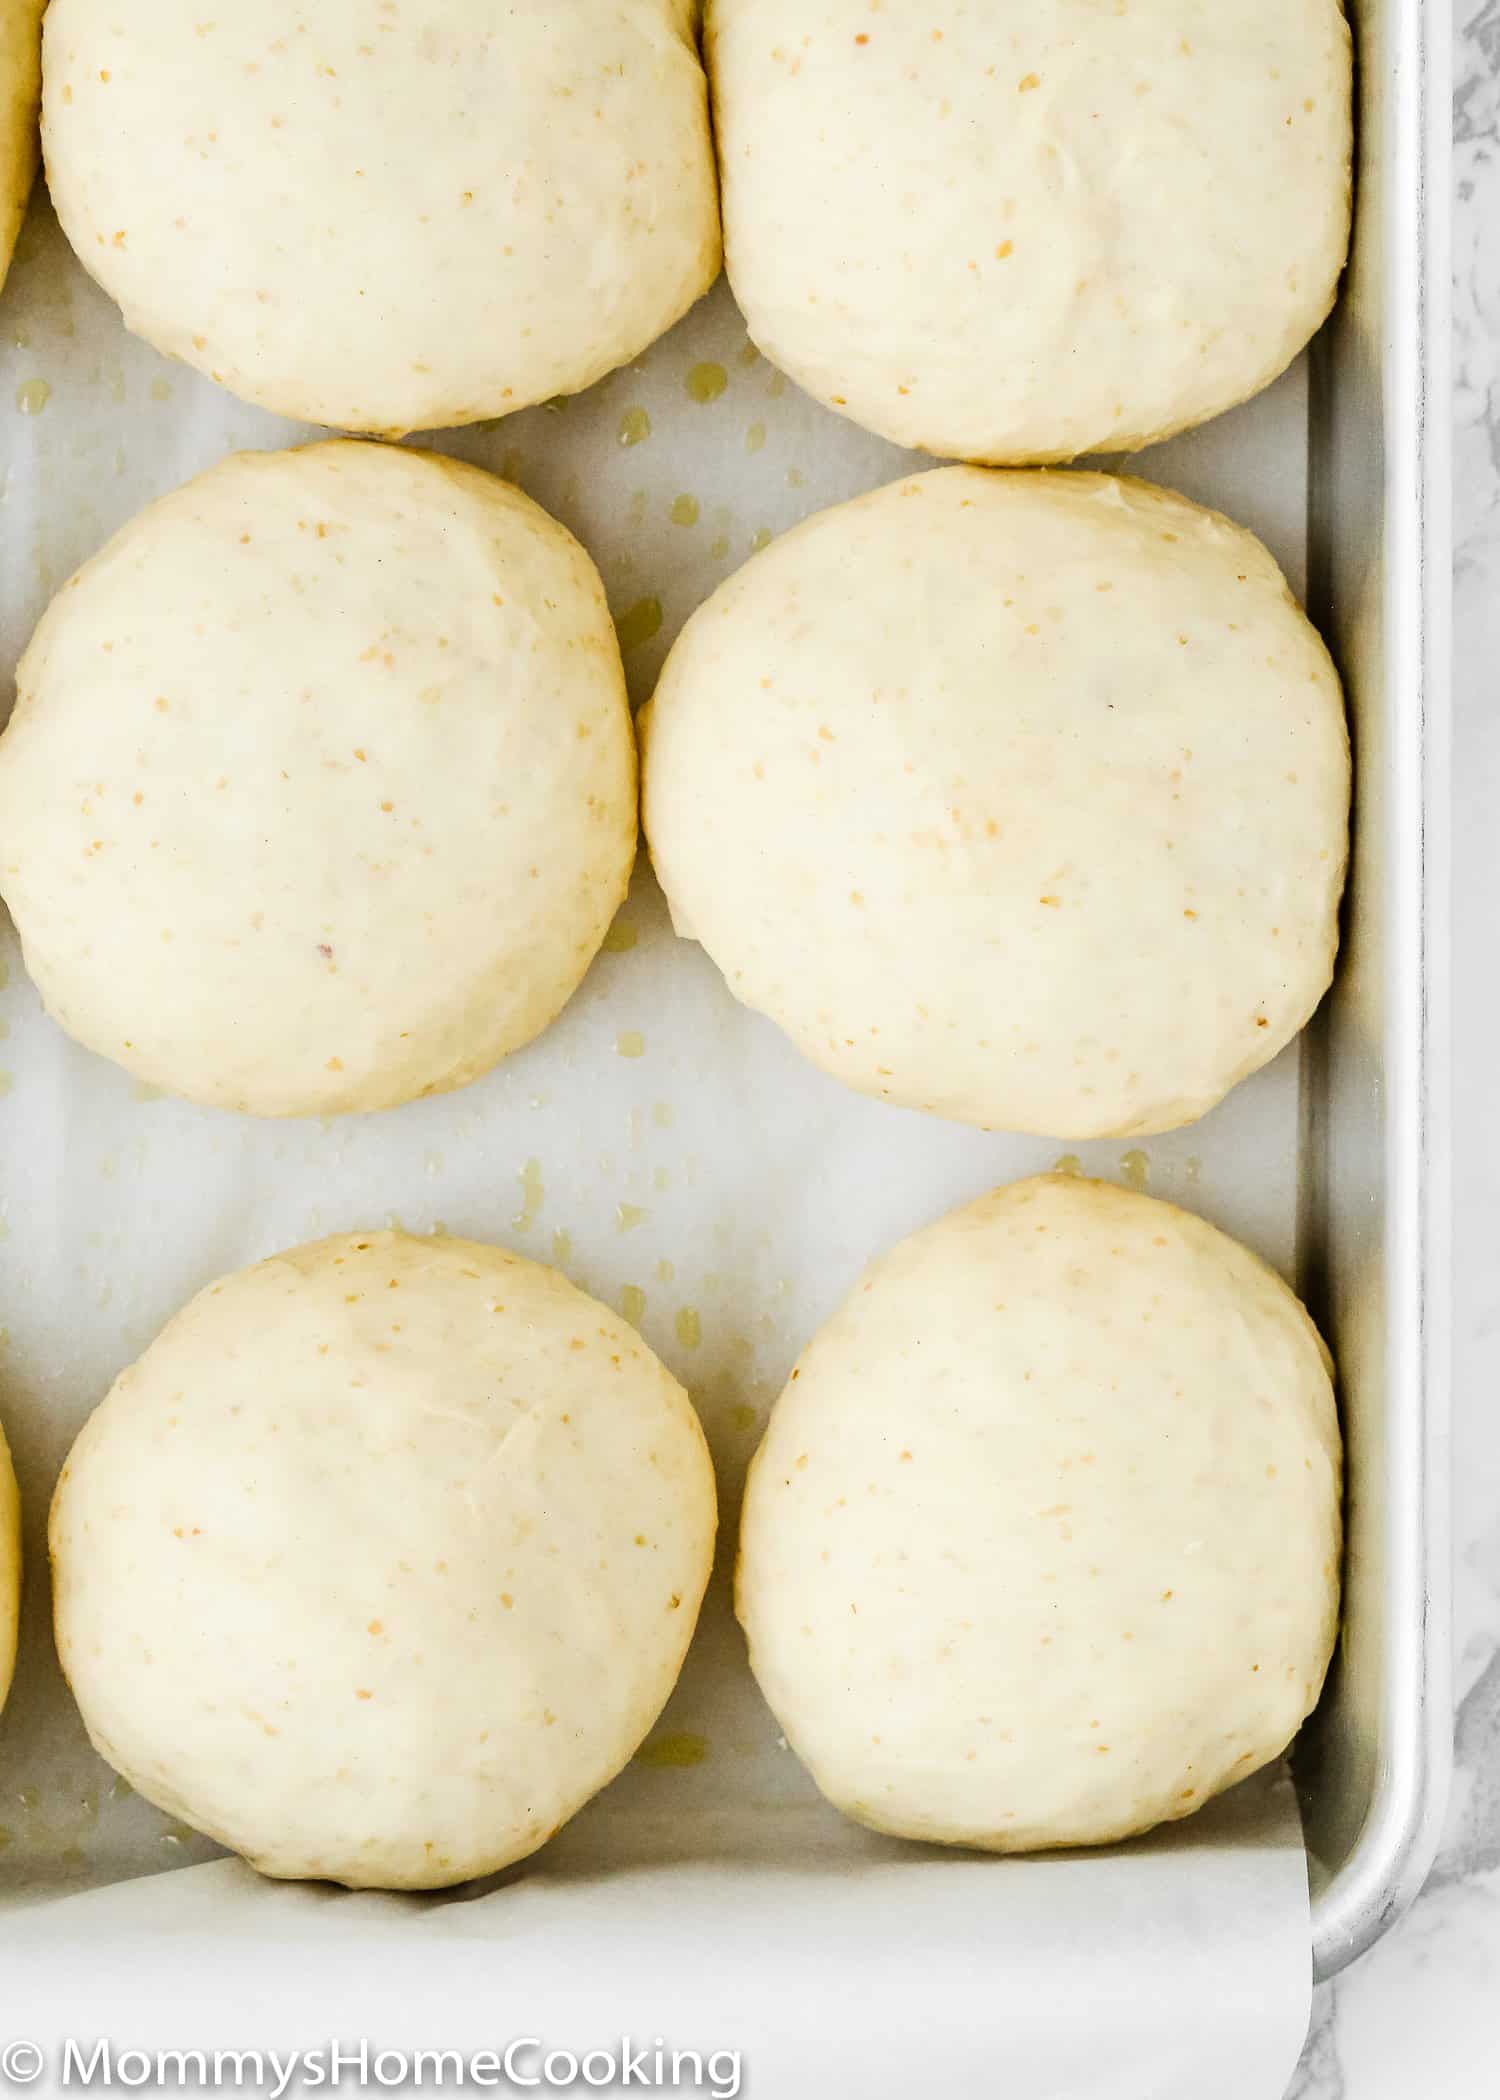
Step 4 – Form the Rolls
Turn the risen dough out onto your counter, then press down and divide into 12 equal pieces. Take each piece of dough and roll it into a smooth ball. Place the ball seam side down in the prepared baking pan. Pro Tip: To form a nice and smooth roll, I recommend cupping the ball with your hands and moving it in a tight circular motion. This will pull the edge down and create a nice roll.
Step 5 – Let the Rolls Rise Again
Cover the baking pan with a kitchen towel so that the formed buns won’t dry out. Return the pan to a warm place and leave for 30 – 45 minutes, or until the dough has risen and almost doubled in volume.
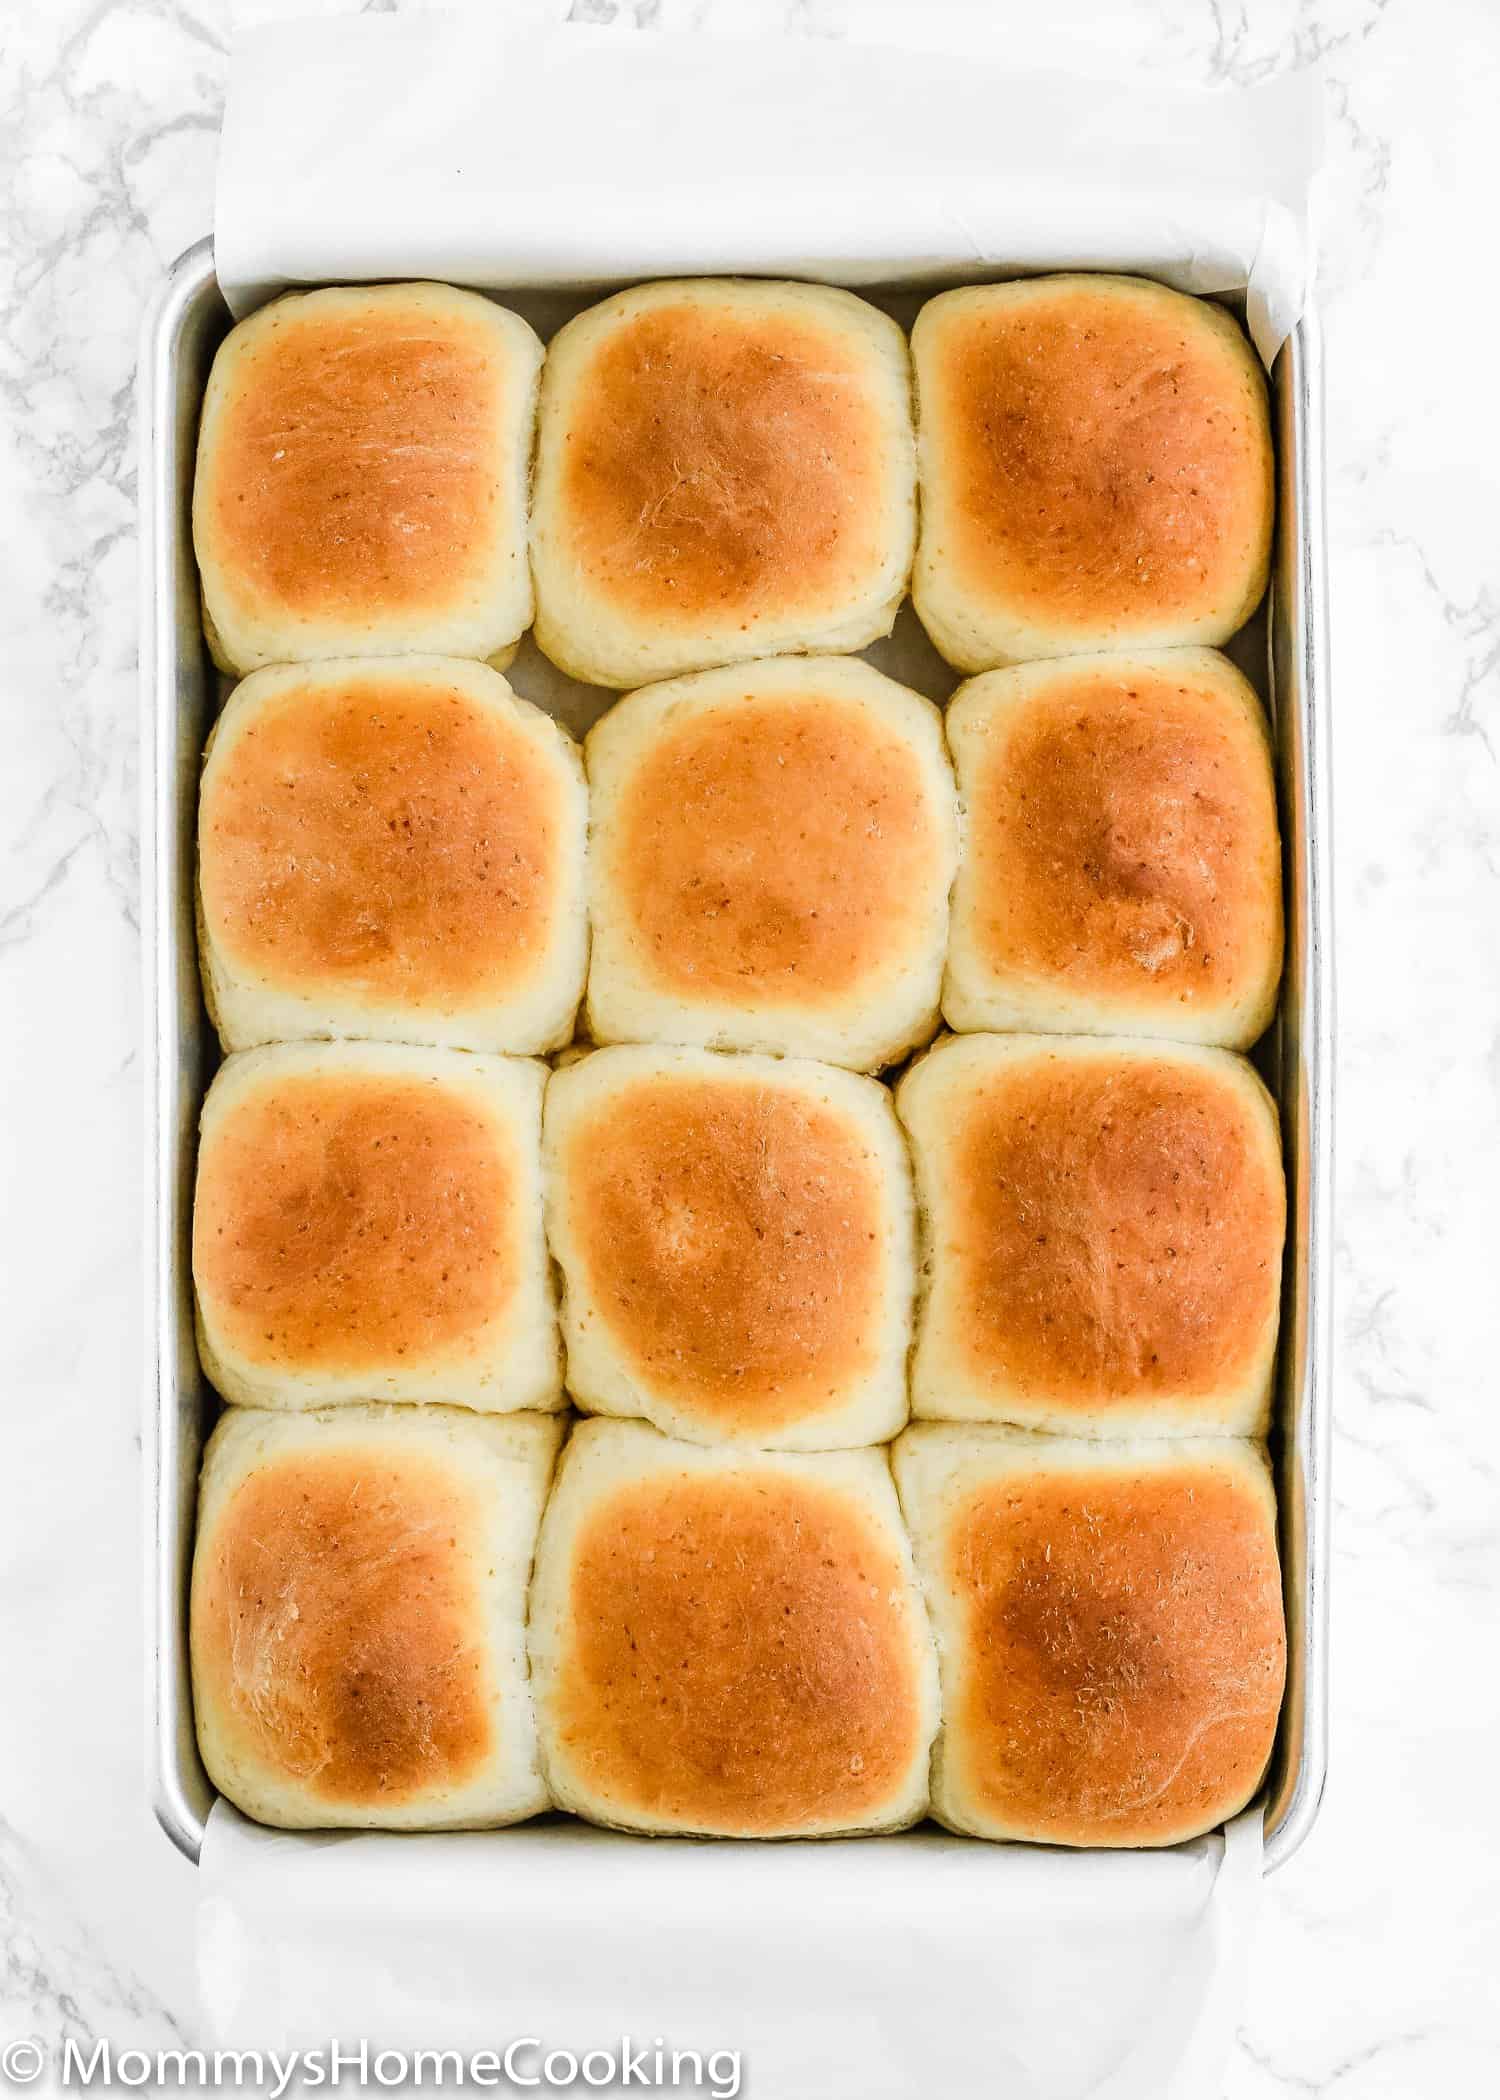
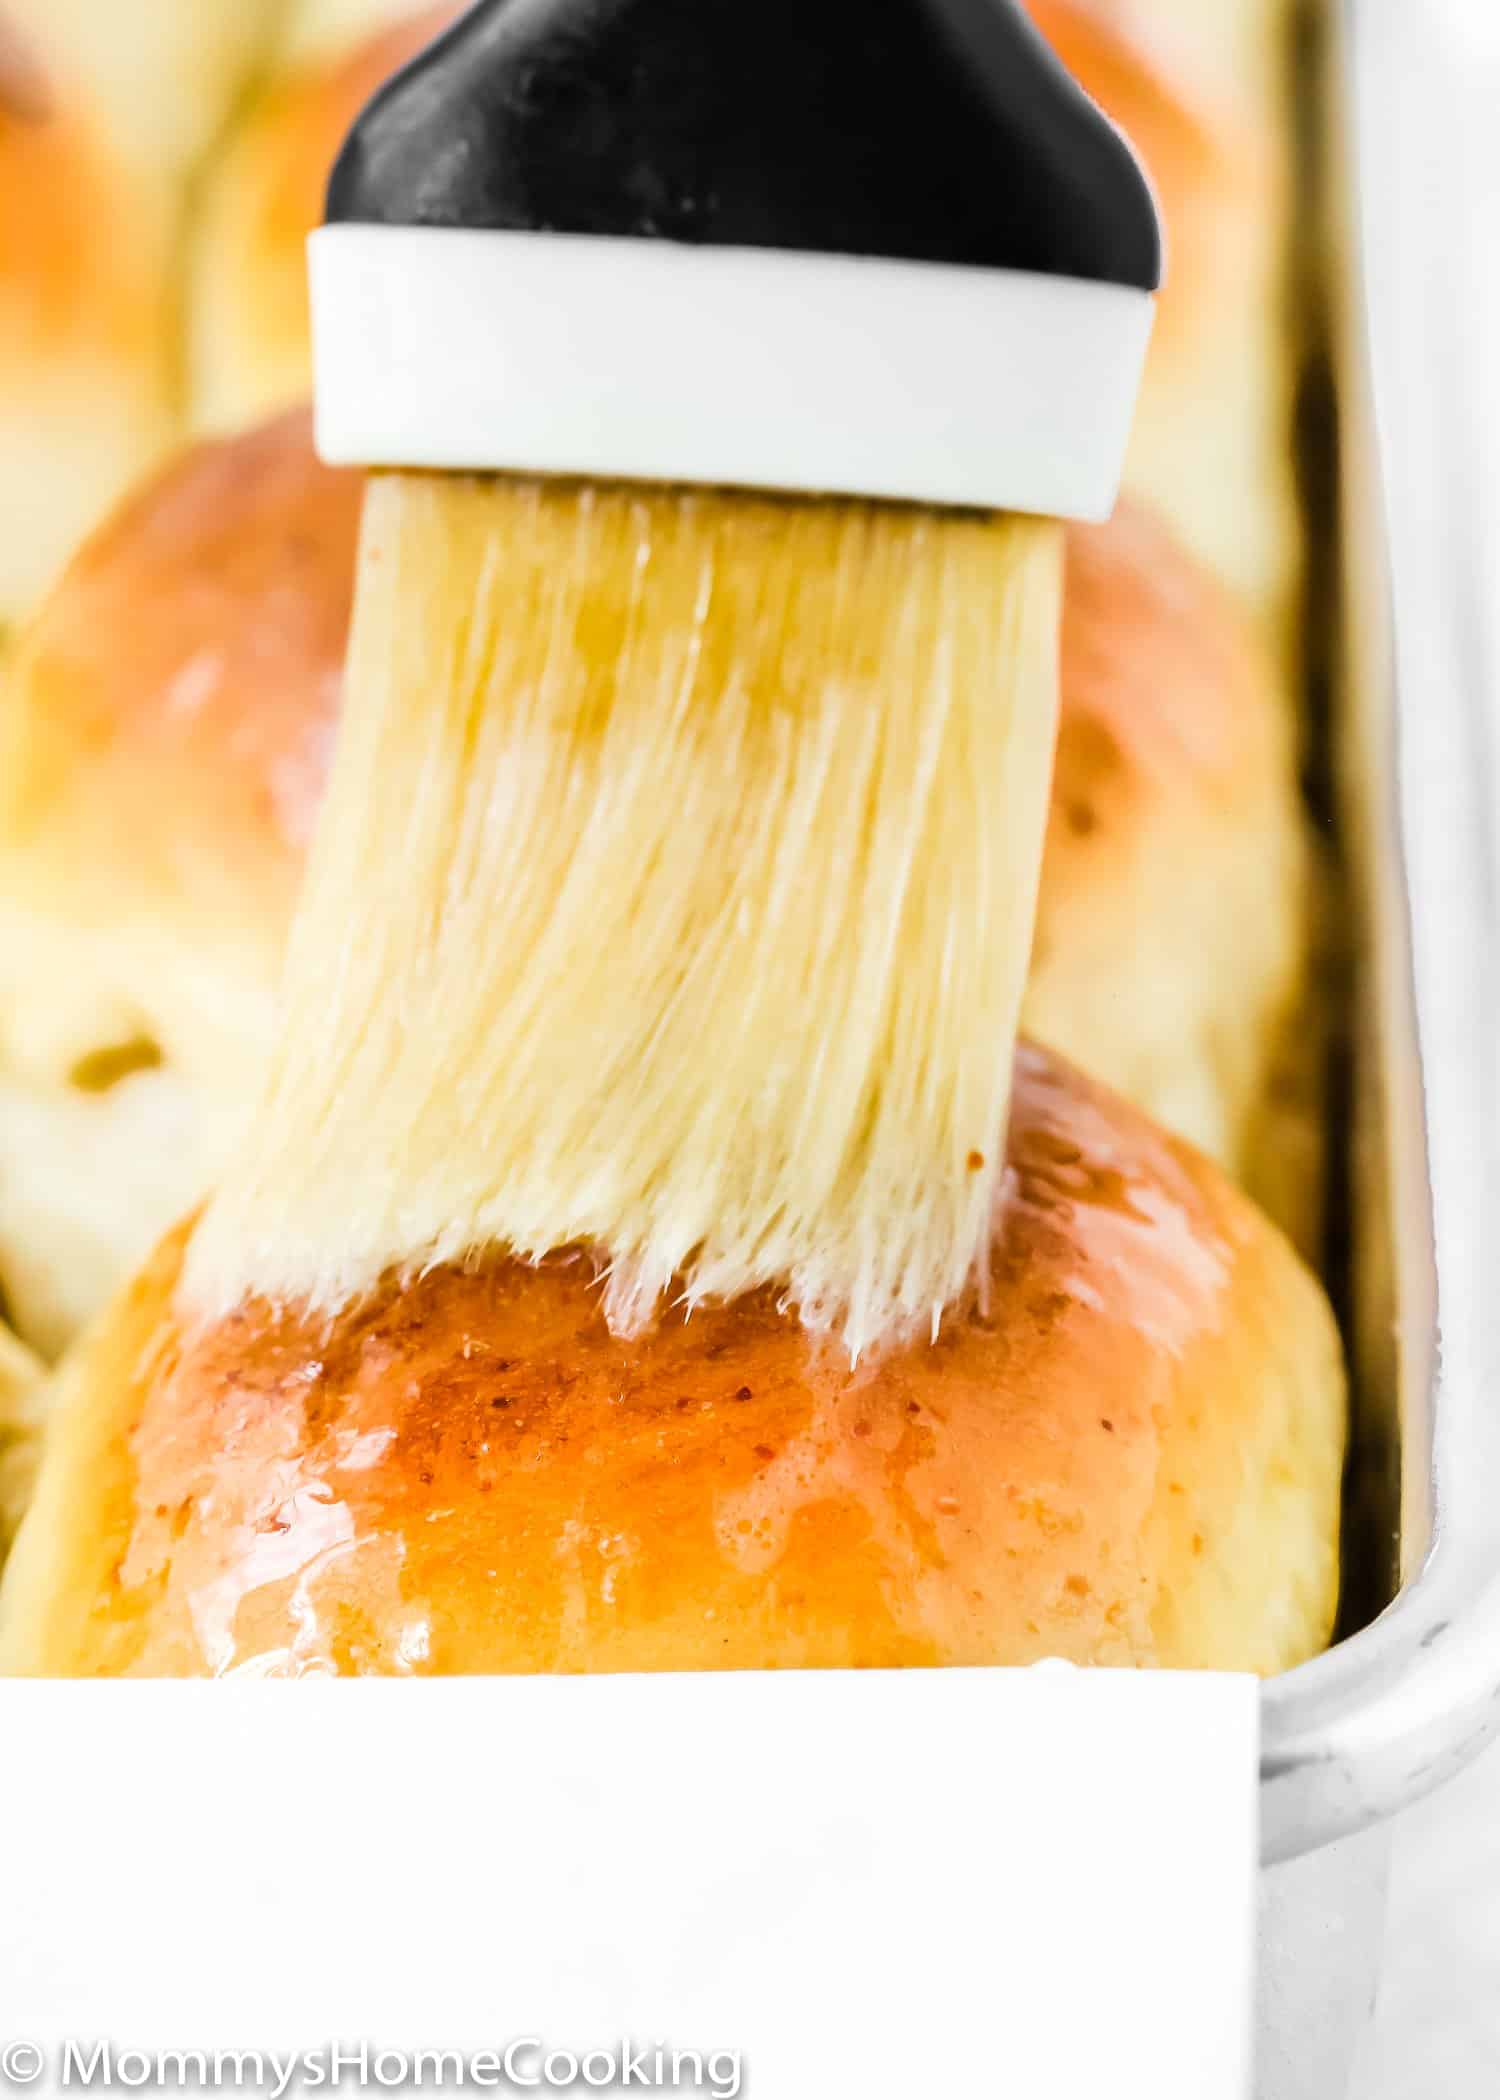
Step 6 – Bake & Enjoy
Once the rolls have risen, Preheat the oven and then bake them for about 15 – 20 minutes or until golden brown. Brush them with melted butter immediately when they come out of the oven.
Variations You Can Apply To This Recipe
You can easily jazz these rolls up! Just add any herbs or spices you like to the dough, such as chopped rosemary, dried basil, dried parsley, Italian seasoning, or garlic (about 2 tablespoons). You can also add some grated cheddar cheese or mozzarella to make a cheesy version (about 1 cup). Other cheese varieties work but avoid super-soft cheeses. You can also mix melted butter with garlic and brush over the top as soon as they are out of the oven. If Using Active Yeast. It’s important to have warm water to bloom your yeast in. If your water is too hot, then your yeast will die. If your water is too cold, then your yeast won’t activate. The ideal temperature of the water is 68° to 81°F. The yeast should begin to foam after 5 to 8 minutes. You will be able to see creamy foam and bubbles on the surface of the water. If Usinf Instant Yeast. You don’t need to activate it in the warm water (step 1); just skip this step and add it along with the flour and other dry ingredients in step 3. Bread flour has more protein content than all-purpose flour, which helps with gluten development. It is recommended if you want to make a chewy and elastic crumb. However, you can also use all-purpose flour for this recipe. The dough’s consistency and texture may vary slightly, but you’ll still be rewarded with delicious homemade rolls regardless of whether you use bread flour or all-purpose flour. You can bake the eggless dinner rolls in any baking pan: rectangular, round, or a combination of pans. Always preheat the oven for 15 – 20 minutes for the best results. The time it takes to rise may vary depending on the temperature of your kitchen. Be sure to wait until the dough has doubled. Alternatively, you can let the rolls rise inside an off-oven with the light on.
Make Ahead Egg-Free Dinner Rolls
Overnight Egg-Free Dinner Rolls
You can easily make these dinner rolls ahead of time by rolling the dough into rolls and then refrigerating overnight (uncooked). When you’re ready to bake them, at least 3 hours before you need them, remove the rolls from the refrigerator and allow them to rise in a warm place for about 1-2 hours before baking.
Freeze Unbaked Egg-Free Dinner Rolls
To freeze the dough after it has risen, shape the dough into rolls and place them in the baking pan. Place the baking pan into the freezer and freeze until the rolls are very firm. Transfer the frozen-shaped rolls into a plastic bag and freeze for up to 2 weeks.
Defrost & Bake Egg-Free Bread Rolls
Place frozen rolls in a lightly greased baking pan. Cover with plastic wrap or a damp towel and let rise until puffy, about 2- 3 hours, then bake as the recipe instructs.
Storing & Freezing Instructions
These egg-free dinner rolls are so delicious that you might not even have leftovers to pack up! But if you do have leftovers or you’re planning on making these ahead of time for a party, here’s how to do so.
Leftovers
The eggless dinner rolls will stay fresh in an airtight container or wrapped in aluminum foil at room temperature for up to 4 days. You can also warm them in a toaster oven or microwave if you’d like them to be toasty.
Freeze Baked Dinner Rolls
You can freeze these dinner rolls for later if you have too much. Simply let the eggless dinner rolls cool and then wrap them up tightly with aluminum foil or plastic freezer wrap and freeze for a month. Thaw and reheat until warm before enjoying.
Recipe Card
You’ve asked, and I’ve answered! Read on for a handful of answers to the most frequently asked questions about eggless baking. Originally posted in March 2021, this recipe was updated in October 2024 to include even more helpful information. We made a slight adjustment to the recipe itself after many readers shared they had a flax allergy, so it no longer includes flax eggs.