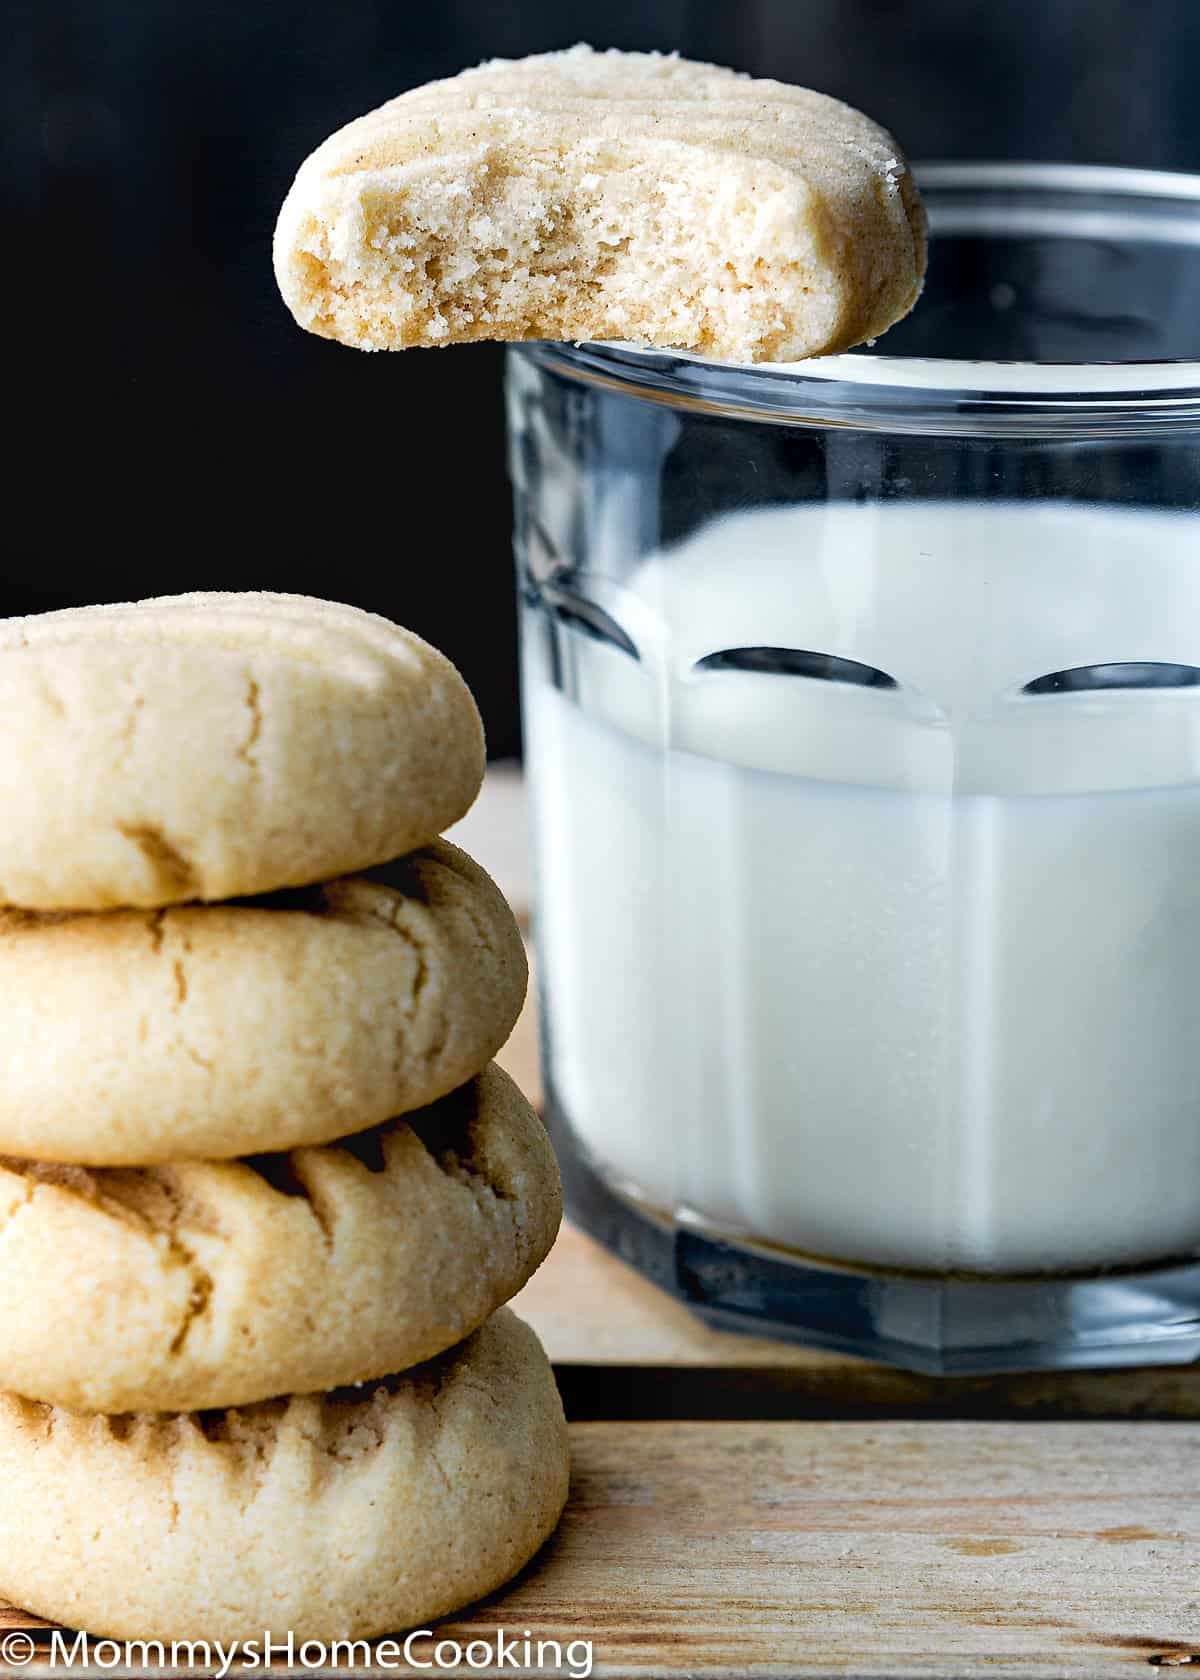
Venezuelan Polvorosas Cookies Recipe
When I feel nostalgic and want to recreate my childhood’s most comforting food memories in my kitchen, I make Venezuelan Polvorosas. These cookies were my weakness when I was a child. Okay … Let me rephrase that; they still are!! Oh man… they are so good!! The name “Polvorosas” refers to the sandy texture of these delicate and crumbly cookies. These cookies conjure up many memories for me. My aunt was a great baker, and I remember that every time we went to visit her, she had these humongous glass jars filled with all kinds of sweets. Papitas (little milk truffles), Catalinas (Venezuelan molasses cookies), Conservas de Coco (sweets made with coconut), Polvorosas, of course, and many, many more. As you can imagine, that was like heaven for me. Besides my aunt’s house, Polvorosas cookies were present at every birthday, baptism, communion, wedding event, you name it, and they were there too. Now you can make them yourself and see why I am so obsessed with these cookies. Let’s get started!
Recipe Highlights
They’re uniquely flavorful and dense with a melt-in-your-mouth texture.Super easy to make.Only a few simple ingredients.Perfect for gifting.Surprisingly addicting; you can’t stop at one!
Vegetable shortening: For traditional Venezuelan Polvorosas, shortening is a MUST. This made them soft and melt-in-your-mouth tender. This is the one I use, Vegetable shortening.Sugar: Regular white granulated sugar o caster sugar. I do not recommend reducing the amount of sugar or changing the type of sugar, as it will change the texture of the polvorosas.Salt: I prefer kosher or sea salt. If you only have table salt handy, I recommend reducing the amount to half.Vanilla extract: For optimal flavor, reach for pure vanilla instead of imitation. Even better, try homemade vanilla extract! If you are looking for non-alcoholic vanilla flavoring, I recommend Simply Organic Vanilla Flavoring.Cinnamon: For extra flavor!Flour: Standard all-purpose flour works best here; skip the cake flour, bread flour, and wheat flour. Make sure to measure accurately; a kitchen scale is the best way to measure your ingredients, in my opinion. Powdered sugar: This is optional for coating the cookies after they are baked.
Step 1 – Prepare The Equipment
Preheat oven to 350º F (180º C). Line cookie sheets with parchment paper. Set aside.
Step 2 — Make The Dough
In the bowl of an electric stand mixer fitted with the paddle attachment, mix shortening on medium speed until creamy, about 1 minute. Add in sugar, salt, vanilla, and cinnamon; continue mixing for 2 – 3 minutes. Add in flour slowly with a mixer set on low speed and mix just until combined.
Step 3 — Bake The Cookies
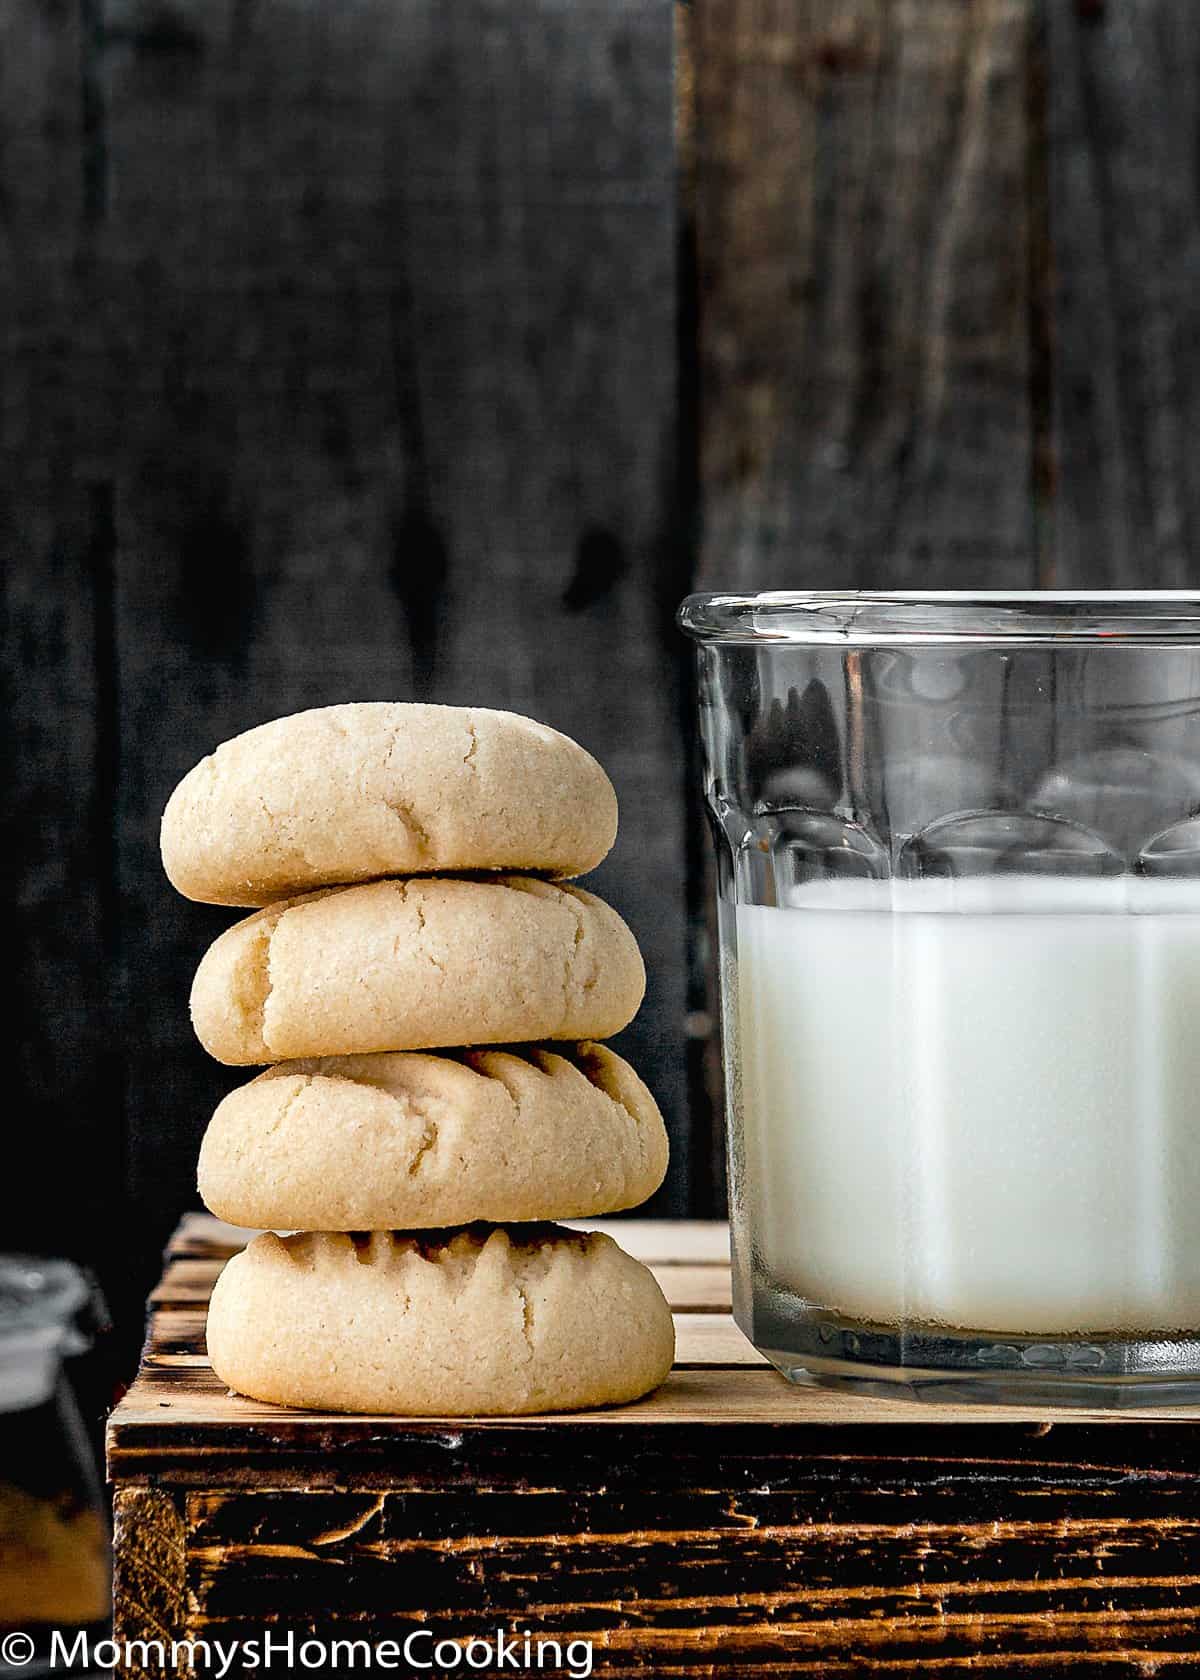
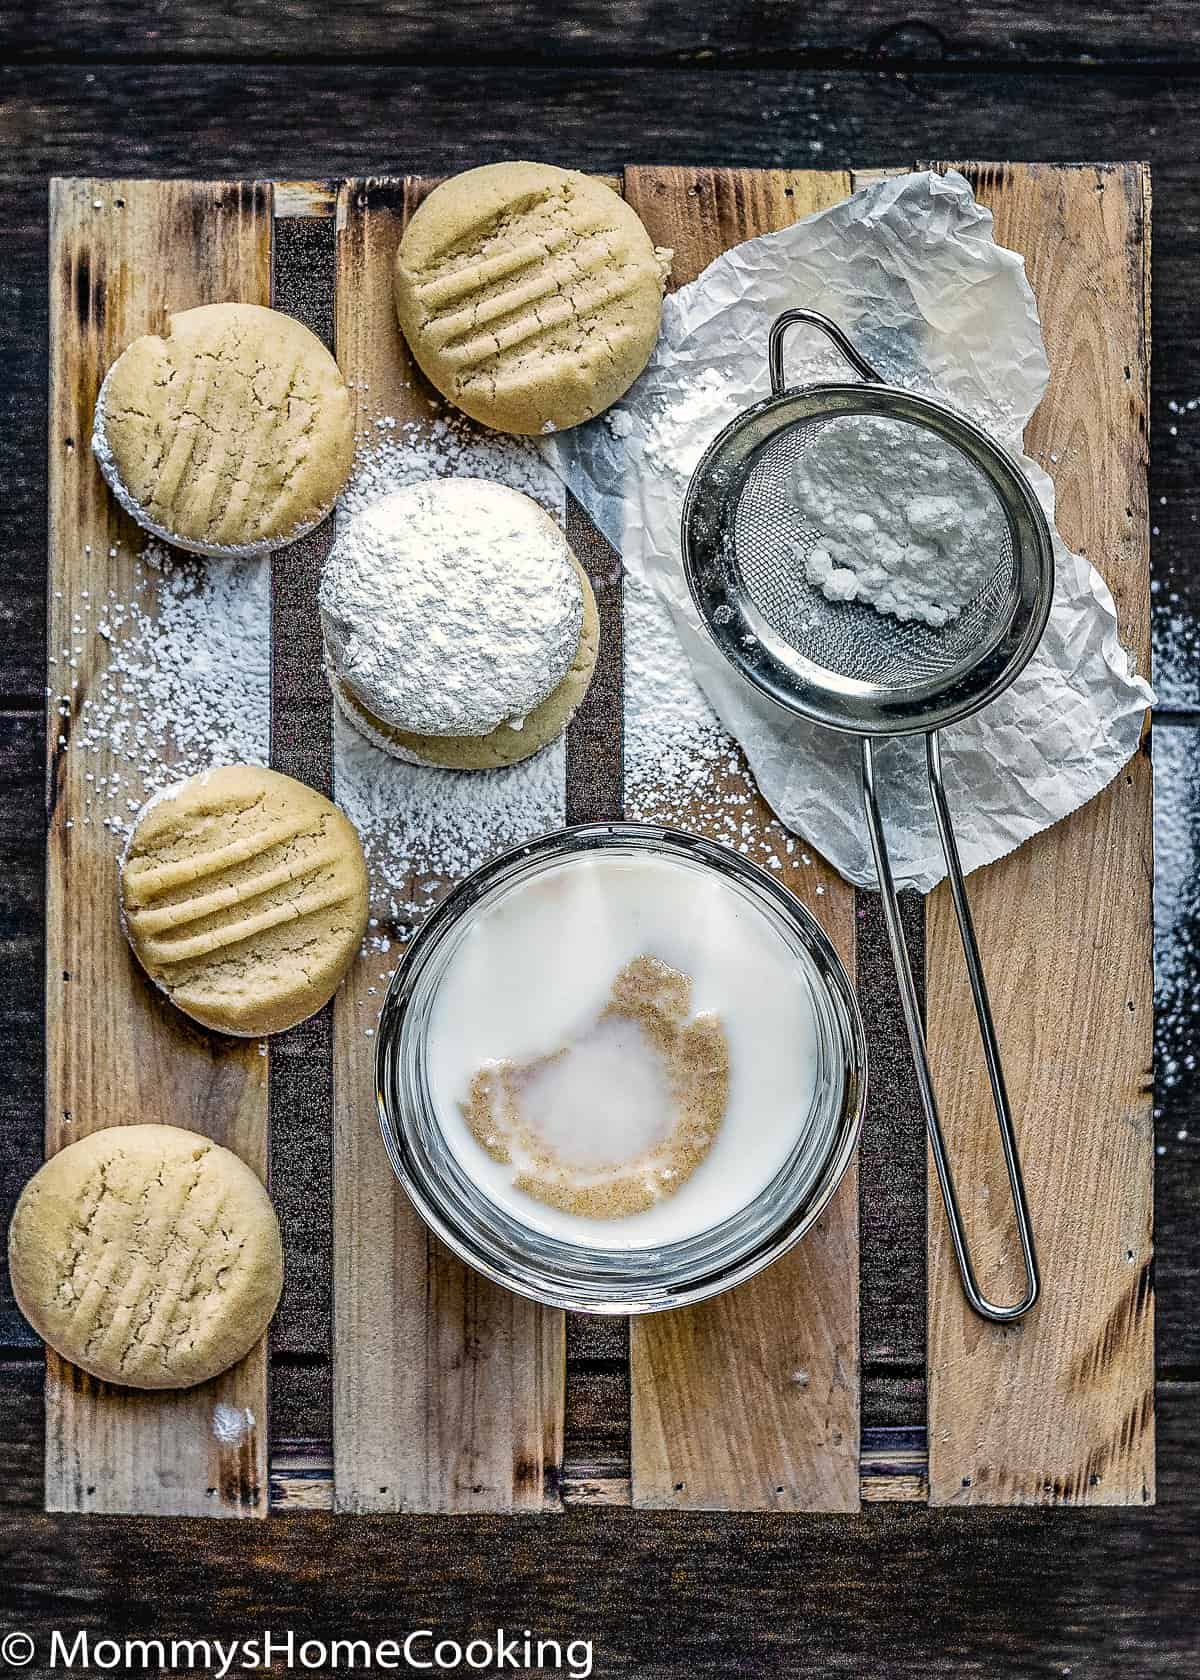
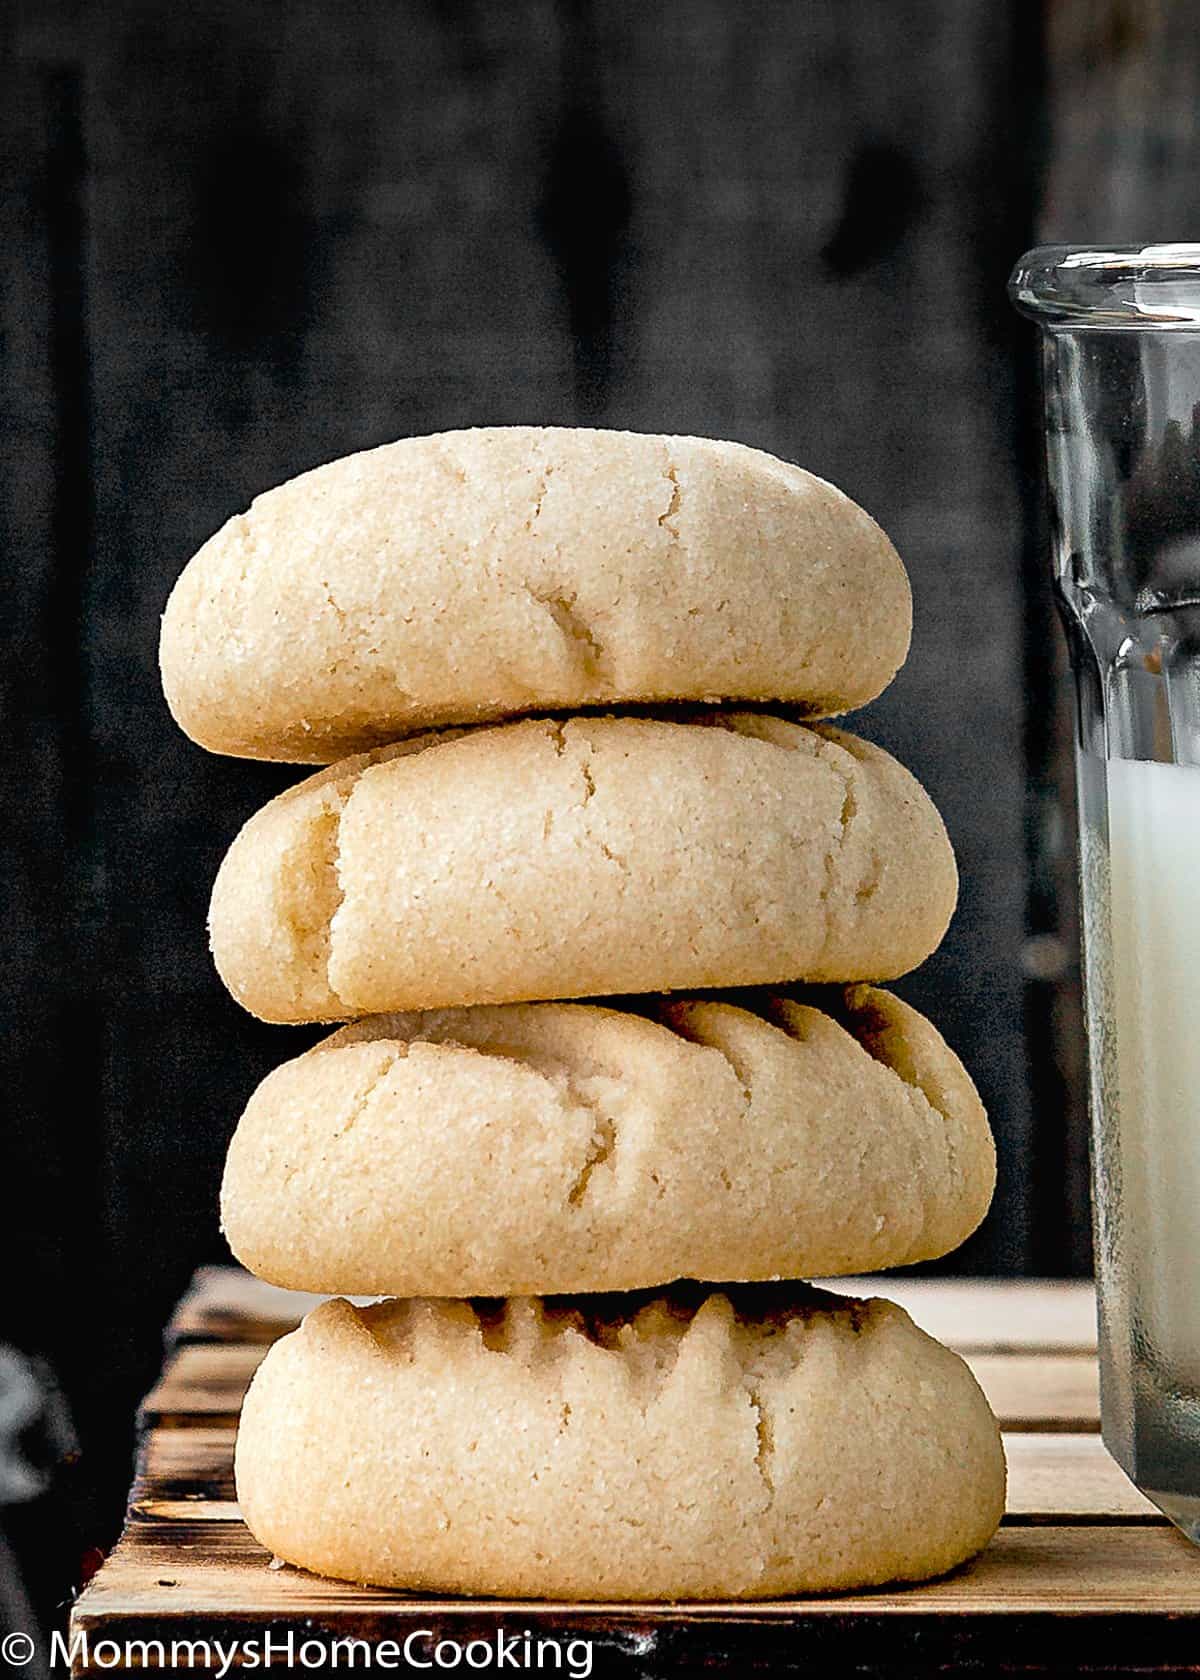
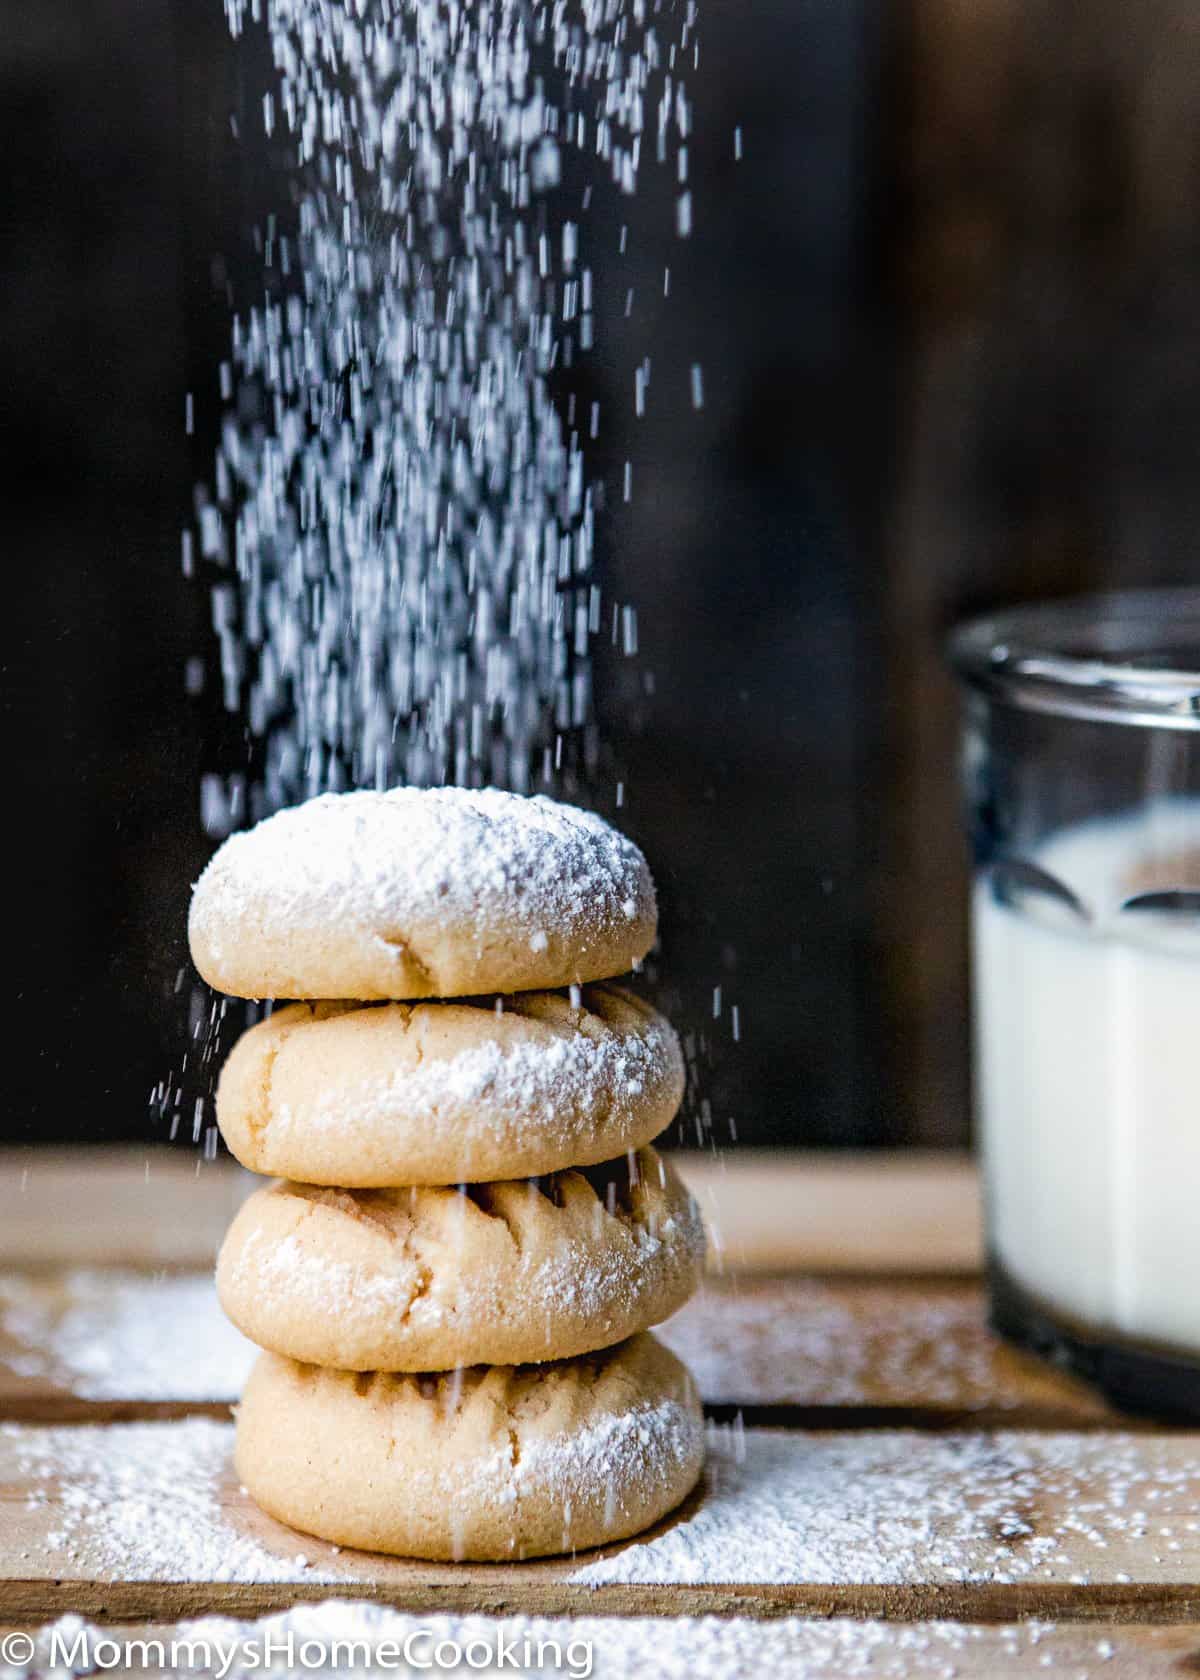
Roll balls of dough (about 1 tablespoon of dough per cookie). Arrange the balls on a large baking sheet, spacing them 1/2 inch apart. Press a fork into the tops to flatten them a little. Bake for 20 to 25 minutes or until very lightly browned on the sides. Transfer to a wire rack to cool, then once cookies are cool, sprinkle with powdered sugar, if desired. For traditional Venezuelan Polvorosas, shortening is a MUST. This made them soft and melt-in-your-mouth tender. Avoid over-mixing the cookie batter, or you’ll get dense cookies. I recommend using real vanilla extract and not artificial extract for the best results.
Leftovers
Store extra cookies in an airtight container for up to 7 days.
Freezer
You can freeze these cookies before or after you bake them. Flash freeze them in a single layer on a sheet pan until frozen and transfer them to a freezer bag or container. You can bake these straight from frozen; simply increase the time by a couple of minutes.
More Venezuelan Recipes You’ll Love!
Venezuelan Chocolate MarquesaVenezuelan Flan QuesilloEasy Arroz con Leche [Recipe+Video]Venezuelan Papitas de Leche {Milk Truffles}Venezuelan Eggnog Ponche CremaEggless Flan CookiesBrowse more recipes…
Recipe Card 📖
You’ve asked, and I’ve answered! Read on for a handful of answers to the most frequently asked questions about eggless baking. This recipe was originally published on December 2015. The recipe remains the same, but more notes, tips, photos, and information have been added to the post in November 2022 to make it as helpful as possible!